はじめに
CentOS6にJenkins2.2-1.1(2016/05/10時点で最新)をAnsibleのplaybookでインストールをして、ブラウザからJenkins2にログインするまでをまとめたものです。
別途Jenkins2とGitlab連携についても書く予定です。
環境
| 種別 | 名称 | ver. |
|---|---|---|
| Ansible Server | OS | CentOS release 6.7 (Final) minimum |
| Ansible Server | Ansible | ansible 2.1.0 (devel d358a22542) last updated 2016/04/04 23:43:05 (GMT +900) git install |
| Jenkins Server | OS | CentOS release 6.7 (Final) minimum |
| Jenkins Server | java | openjdk version "1.8.0_91" |
| Jenkins Server | Jenkins | jenkins-2.2-1.1 |
なお、インターネット接続についてはproxyを利用しない環境です。
Ansible playbook
plyabookについて
- Ansibleの
yumrepoモジュールがうまく動作しなかったので今回は使用していません。 - Jenkinsのインストールで
jenkins-2.2-1.1とバージョン指定をしていますが、yum: name=jenkins state=latestのようにするとその時点での最新版(2.x)がインストールされます。 -
gitやopenssh-serverのインストールは必須ではありません。 - 必要に応じてyum updateのコメントアウトを外してください。
a_jenkins2_install_noproxy.yml
---
# Please use the OS of centOS6 and RHEL6. Also, please use in an environment that does not care about the HTTP_PROXY.
# yumrepo module you can use in Ansible version 2.1 or higher.
# In the case of Ansible version 2.0 or less, and then comment out the yumrepo block,
# please remove the comment "download jenkins.repo" and "rpm import jenkins-ci.org.key".

# Setting the destination inventory host
- hosts: all
  become: yes
  become_method: sudo
  become_user: root

# Don't gather hosts facts for performance
  gather_facts: no

# Setting the task
  tasks:
#    - name: yum update         should have been updated(latest)
#      yum: name=* state=latest

    - name: openssh-server     should have been installed(latest)
      yum: name=openssh-server state=latest

    - name: java-1.8.0-openjdk should have been installed(latest)
      yum: name=java-1.8.0-openjdk state=latest

    - name: git                should have been installed(latest)
      yum: name=git state=latest

#    - name: Add jenkins repo
#      yumrepo: name=jenkins baseurl=http://pkg.jenkins-ci.org/redhat gpgcheck=yes gpgkey=http://pkg.jenkins-ci.org/redhat/jenkins-ci.org.key

    - name: download jenkins.repo
      get_url: url=http://pkg.jenkins-ci.org/redhat/jenkins.repo dest=/etc/yum.repos.d/jenkins.repo

    - name: rpm import jenkins-ci.org.key
      command: rpm --import http://pkg.jenkins-ci.org/redhat/jenkins-ci.org.key
      register: raw_result
    - debug: var=raw_result.stdout_lines

    - name: jenkins-2.2-1.1   should have been installed
      yum: name=jenkins-2.2-1.1 state=present

    - name: jenkins           should have been running
      service: name=jenkins state=started enabled=yes

    - name: lokkit -p 8080:tcp
      command: lokkit -p 8080:tcp
      register: raw_result
    - debug: var=raw_result.stdout_lines
Ansible インベントリファイル
hosts
[vmservers]
jenkins2 ansible_host=xxx.xxx.xxx.xxx

[vmservers:vars]
ansible_user=foo
Ansible Playbook 実行結果
# ansible-playbook -i hosts a_jenkins2_install_noproxy.yml

PLAY [all] *********************************************************************

TASK [openssh-server     should have been installed(latest)] *******************
changed: [jenkins2]

TASK [java-1.8.0-openjdk should have been installed(latest)] *******************
changed: [jenkins2]

TASK [git                should have been installed(latest)] *******************
changed: [jenkins2]

TASK [download jenkins.repo] ***************************************************
changed: [jenkins2]

TASK [rpm import jenkins-ci.org.key] *******************************************
changed: [jenkins2]
 [WARNING]: Consider using yum, dnf or zypper module rather than running rpm


TASK [debug] *******************************************************************
ok: [jenkins2] => {
    "raw_result.stdout_lines": []
}

TASK [jenkins-2.2-1.1   should have been installed] ****************************
changed: [jenkins2]

TASK [jenkins           should have been running] ******************************
changed: [jenkins2]

TASK [lokkit -p 8080:tcp] ******************************************************
changed: [jenkins2]

TASK [debug] *******************************************************************
ok: [jenkins2] => {
    "raw_result.stdout_lines": []
}

PLAY RECAP *********************************************************************
jenkins2                   : ok=10   changed=8    unreachable=0    failed=0

#
Jenkins2 初期設定
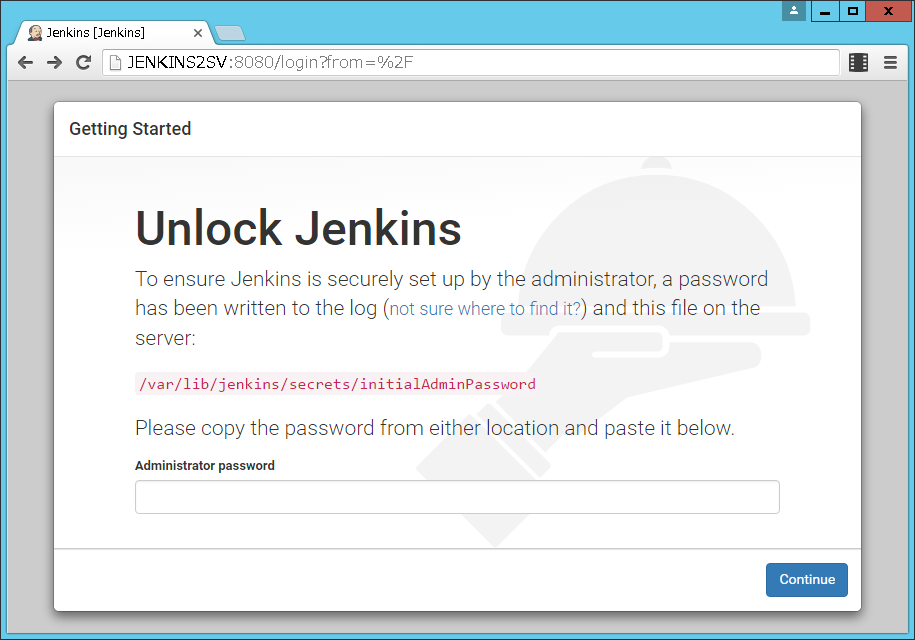
- ブラウザでjenkinsサーバへ接続します。Jenkins2よりUnlockが必要となったのでWeb画面に書いてある通り
Administrator passwordを確認(rootユーザでjenknisサーバへログインしてcat /var/lib/jenkins/secrets/initialAdminPassword等)し、
ブラウザ上で入力しContinueボタンを押下します。
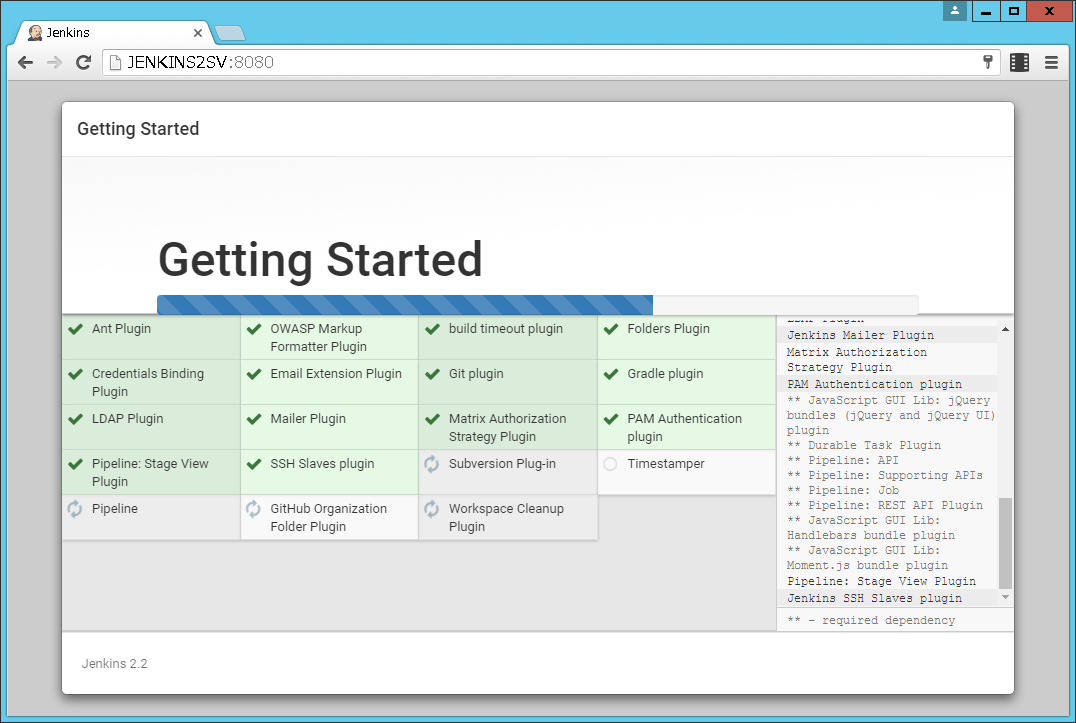
- pluginをインストールします。
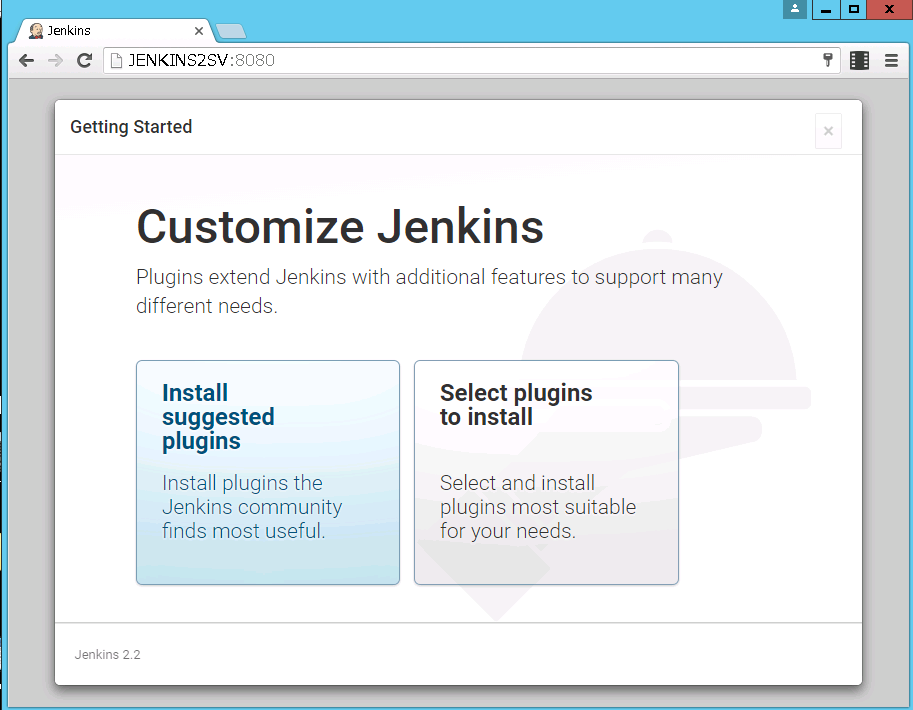
- 今回は
Install Suggested pluginsを選択します。
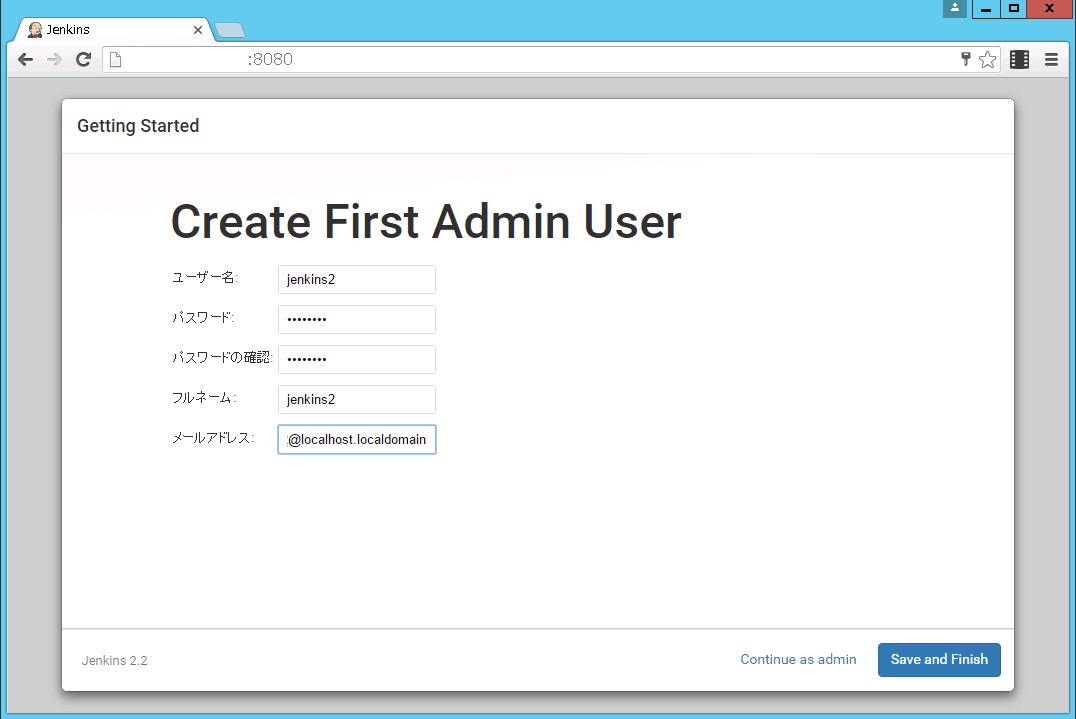
- 初期の管理者アカウントを作成します。(ログインで利用します。)
ユーザー名等を入力してSave and Finishボタンを押下します。
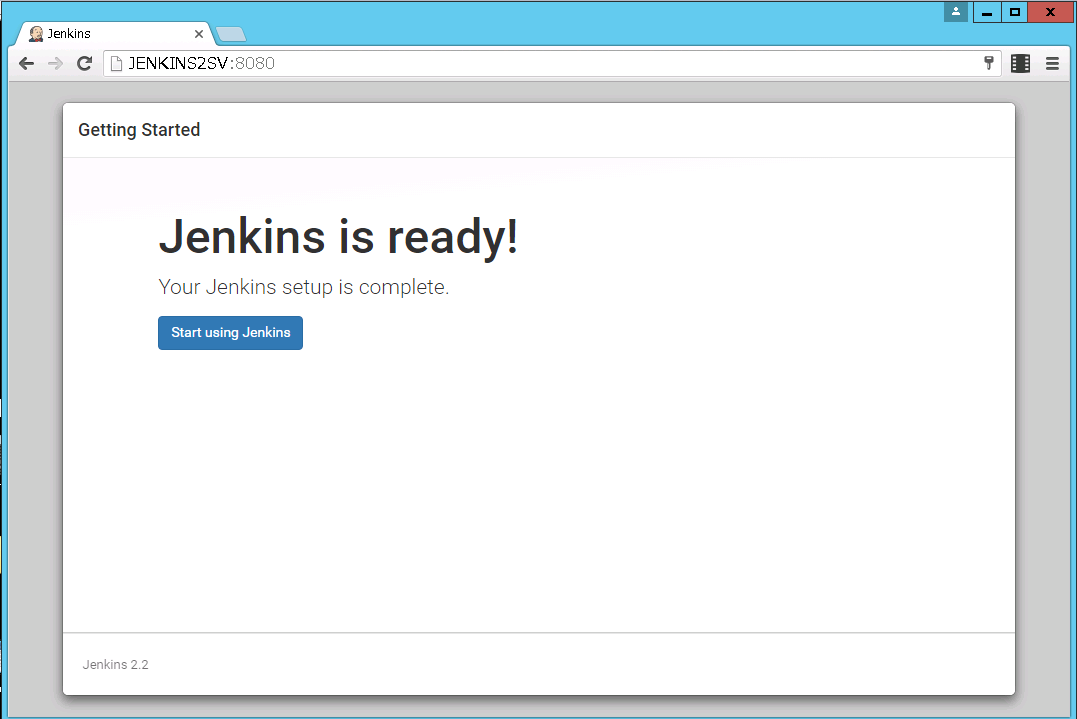
- これでJenkins2の初期設定は完了です。
Start using Jenkinsボタンを押下してログイン画面に遷移します。
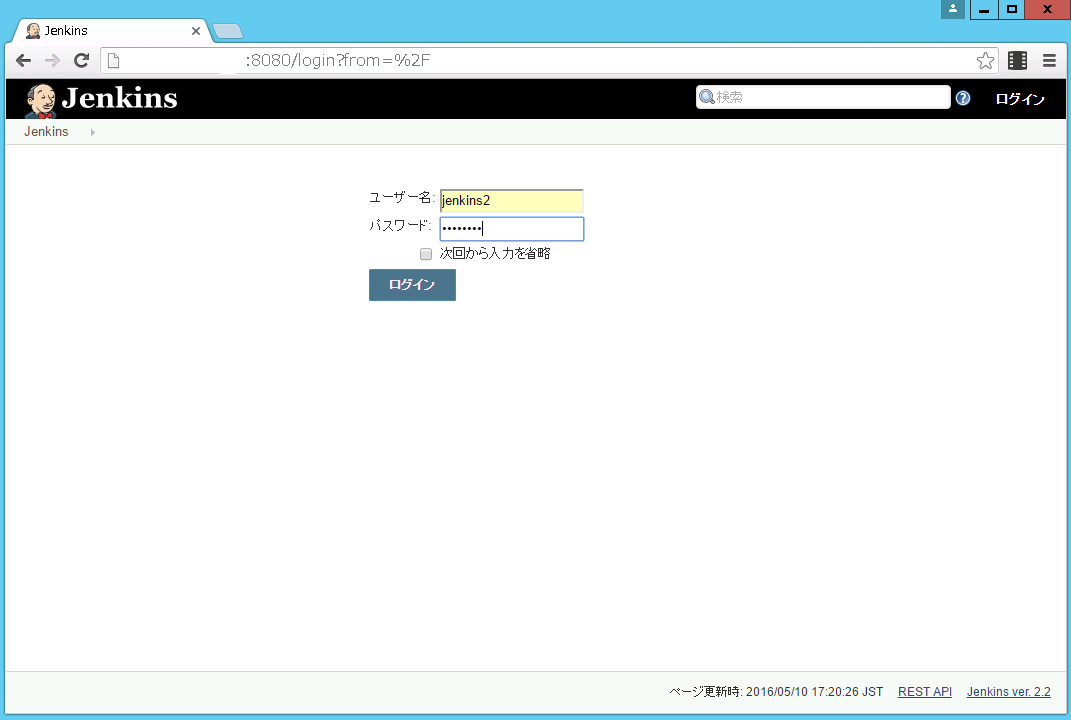
Jenkins2 へログイン
- さきほど登録した初期管理者のユーザー名とパスワードを入力してログインします。
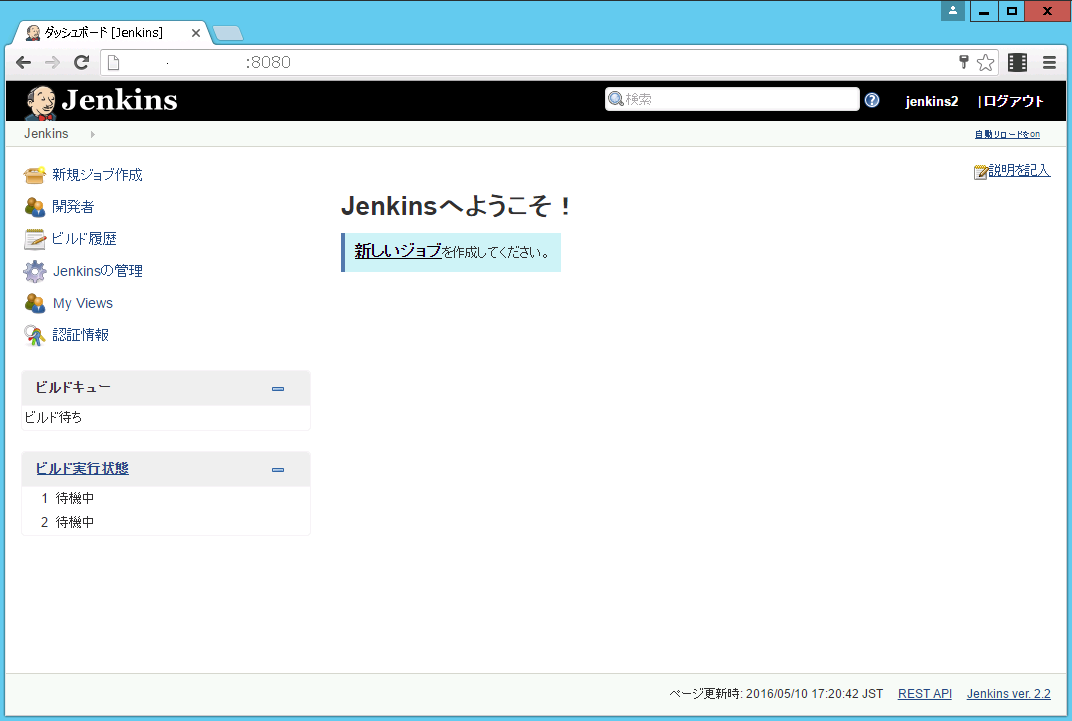
- ログイン完了!
以上