今回は SwiftPM で SwiftLint を導入する記事を書いていこうと思います。
本記事の内容は Github にも上がっているので、参考にしてみてください。
実装
workspaceの追加
今回は複数の .xcodeproj を使用するので、 xcworkspace を追加します。
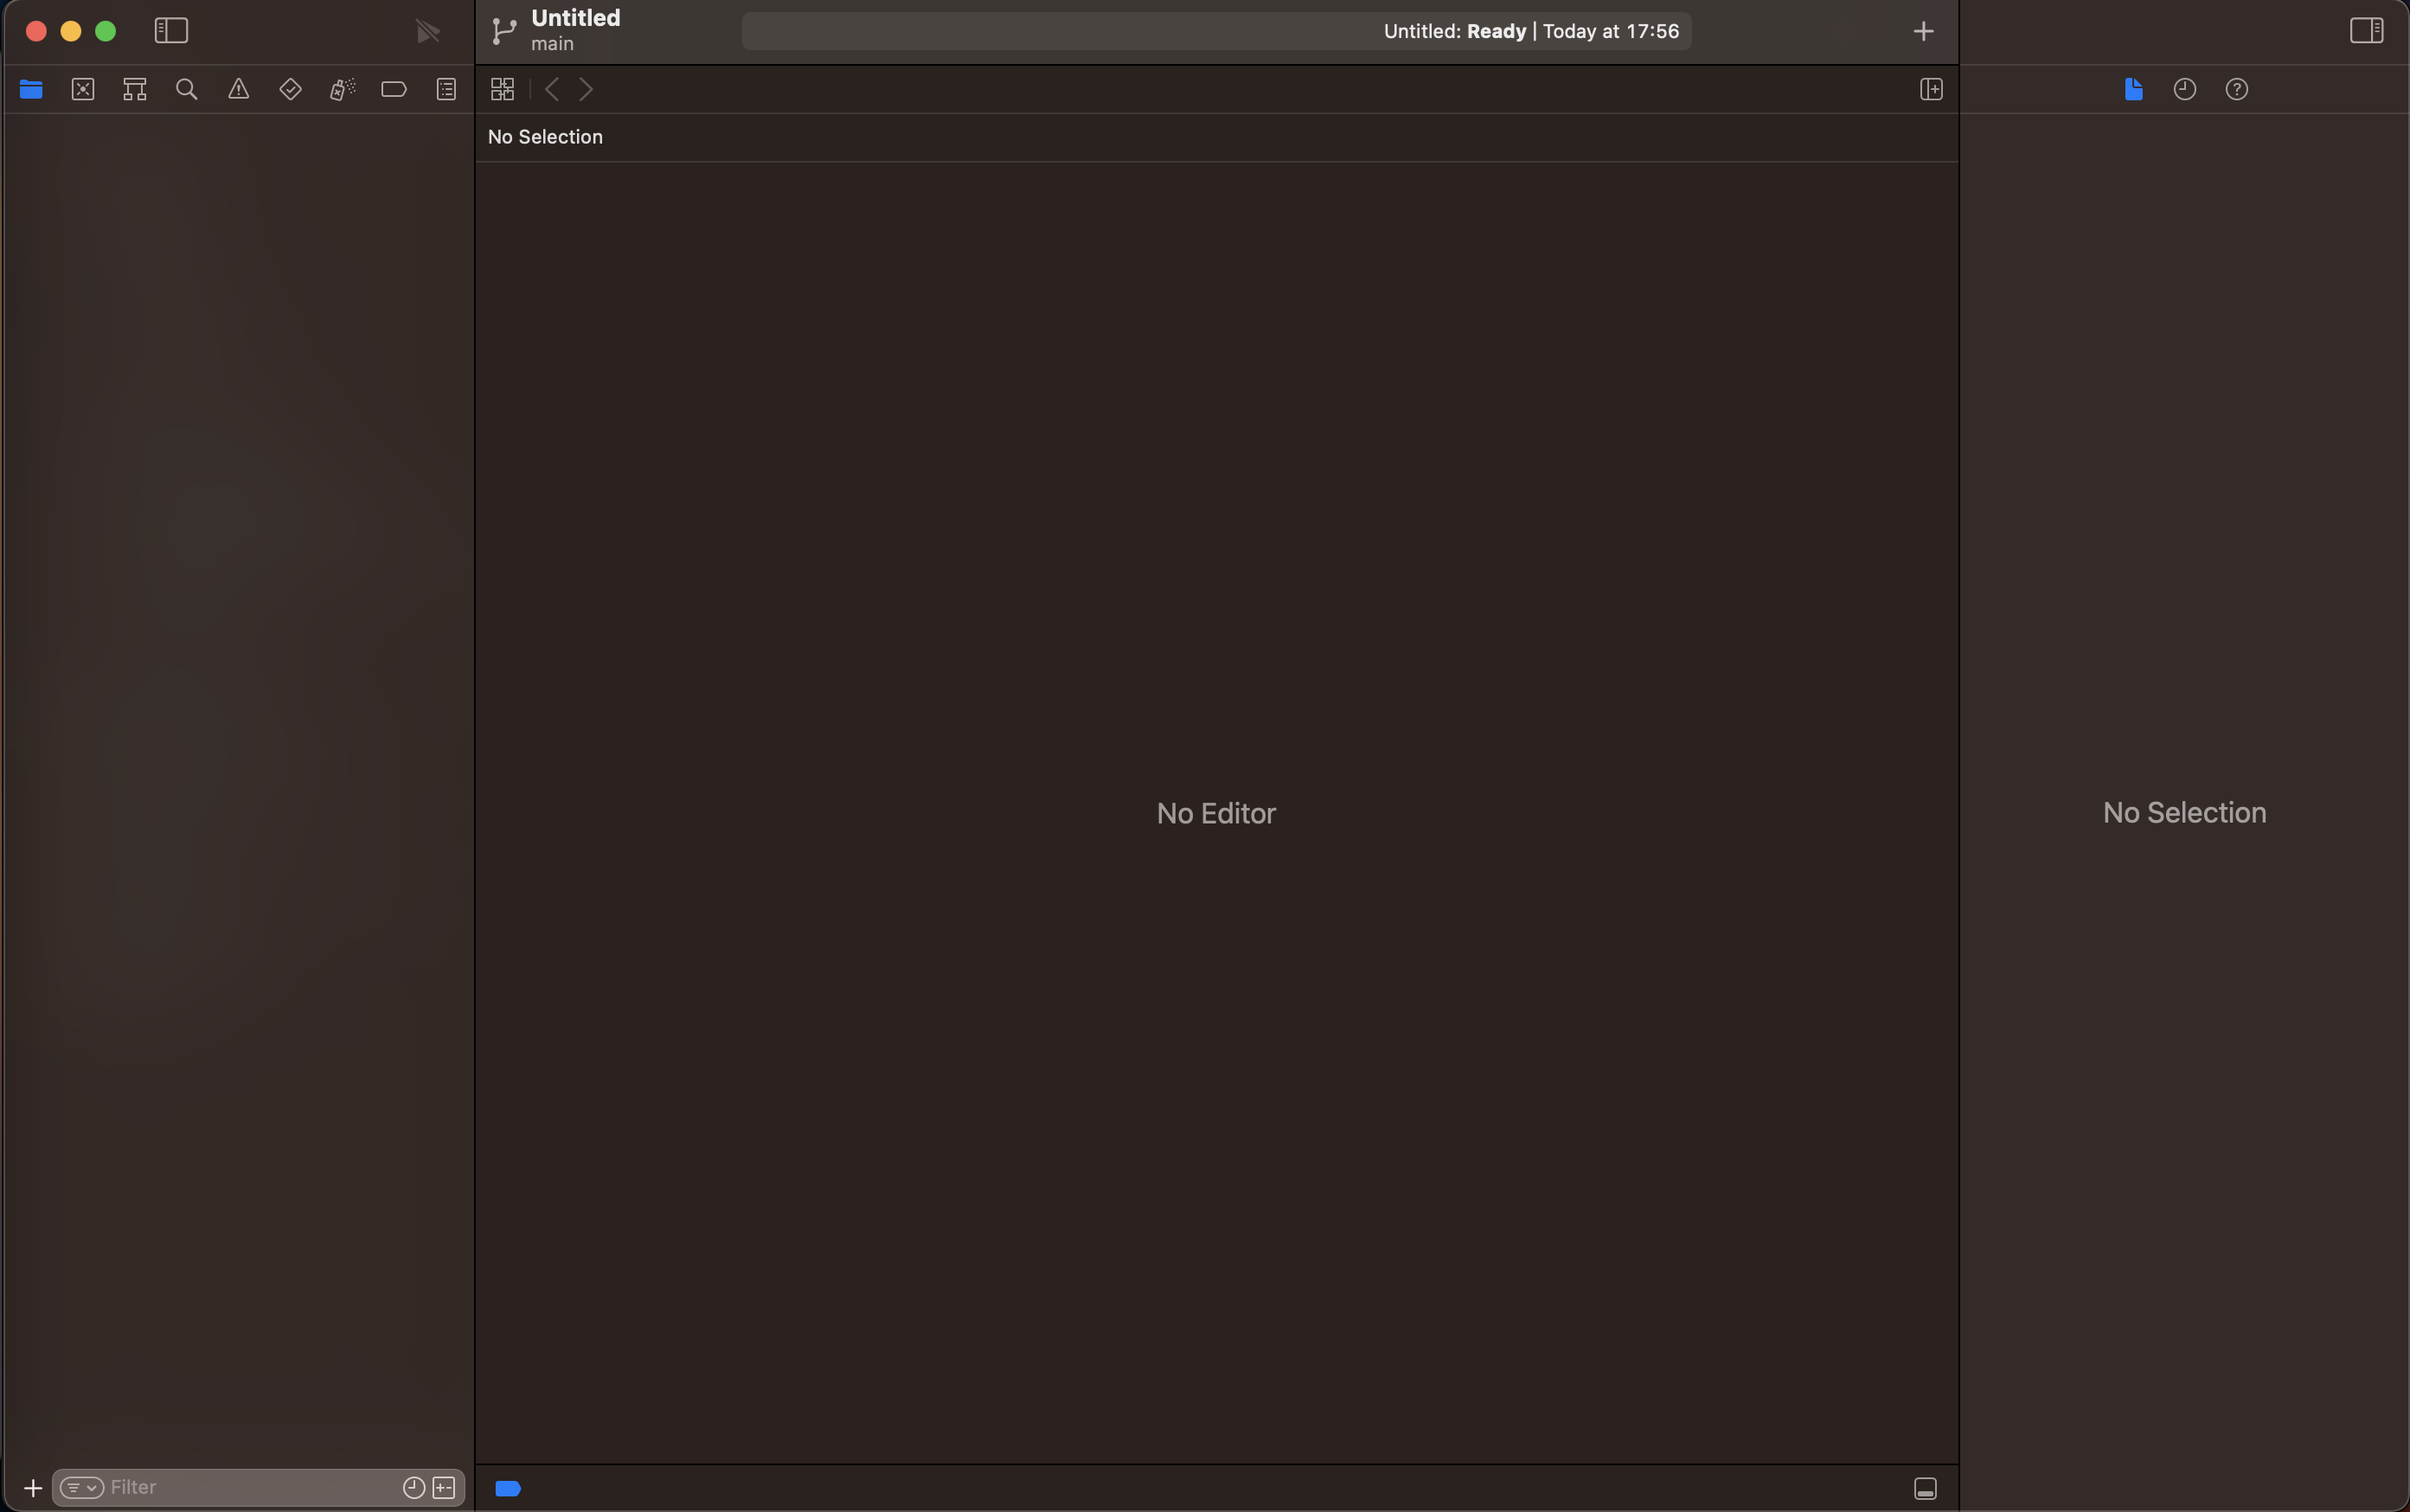
メニュバーの File > New > Workspace... で追加することができます。
workspace を開いても何も表示されませんが、すでに作成してある .xcodeproj をドラッグ&ドロップすれば表示させることができます。
※表示されない場合は開き直してください。
package の追加
メニュバーから File > New > Package... から追加することができます。
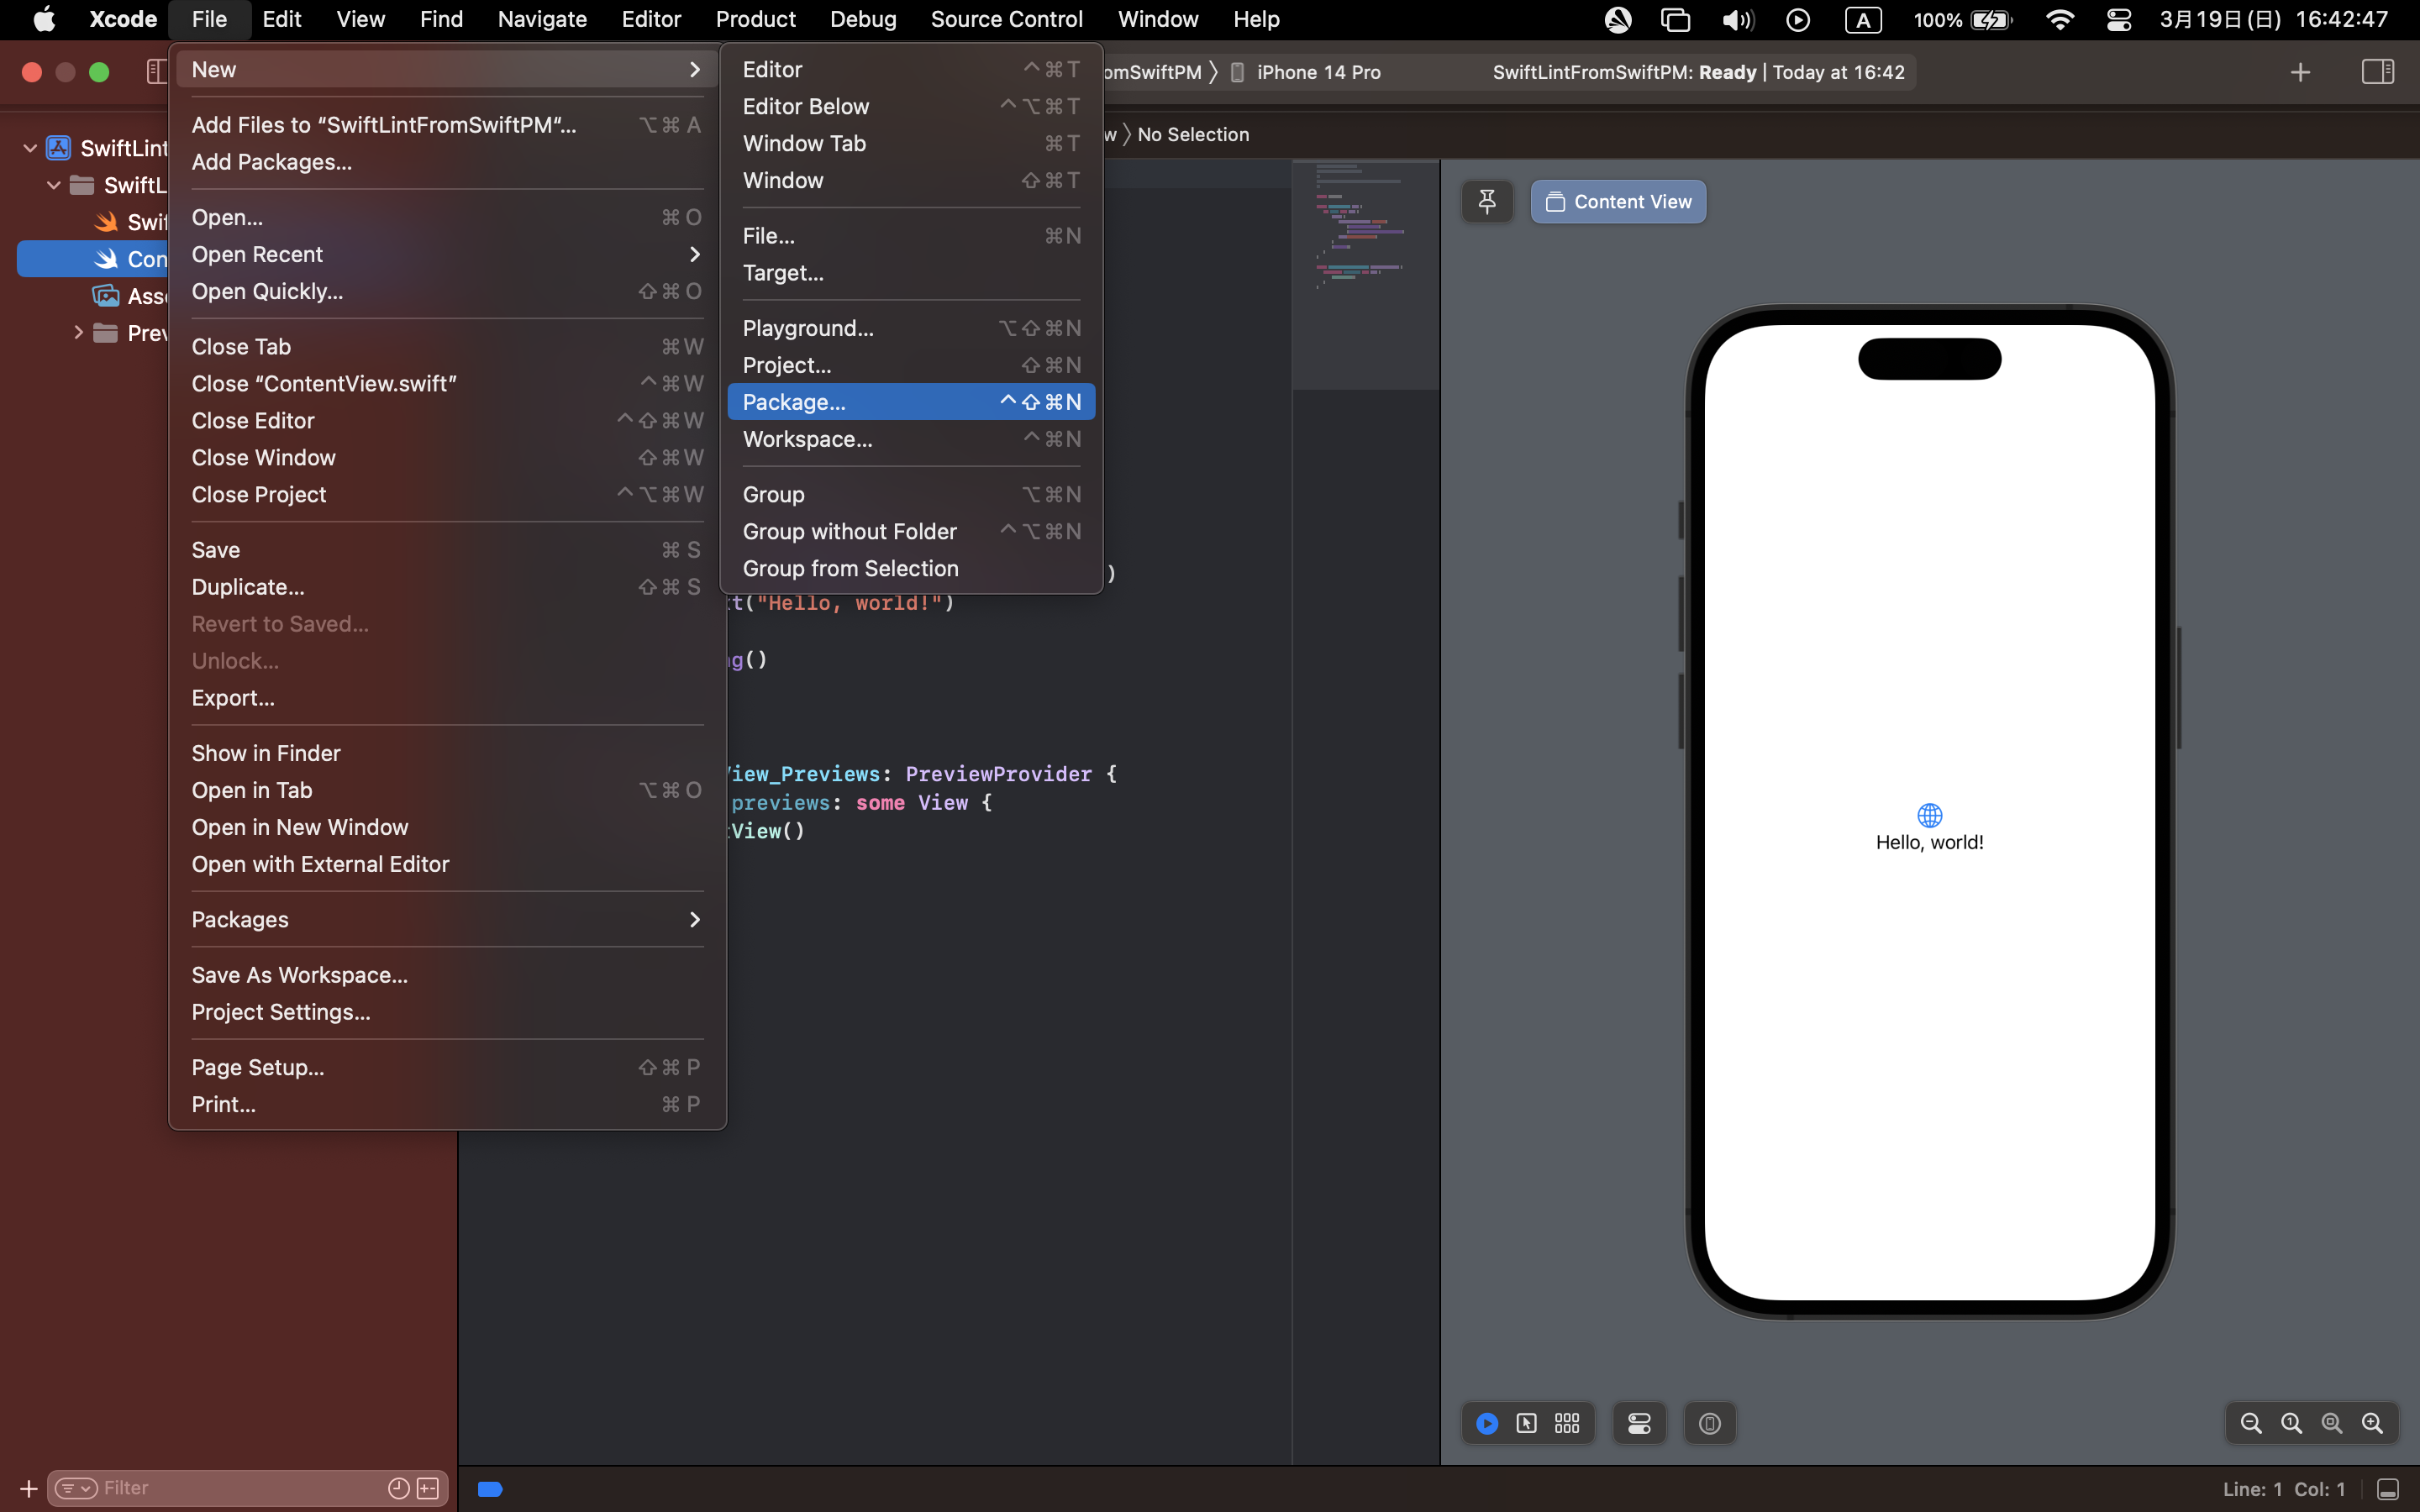
特に名前に指定はありませんが、BuildTools というパッケージ名にします。
Add to と group にはそれぞれ作成したプロジェクトを選択します。
Package の編集
BuildTools の Package.swift を開いて、SwiftLint を追加します。
import PackageDescription

let package = Package(
    name: "BuildTools",
    products: [
        // Products define the executables and libraries a package produces, and make them visible to other packages.
        .library(
            name: "BuildTools",
            targets: ["BuildTools"]),
    ],
    dependencies: [
        // Dependencies declare other packages that this package depends on.
        // .package(url: /* package url */, from: "1.0.0"),
+        .package(url: "https://github.com/realm/SwiftLint.git", branch: "main")
    ],
    targets: [
        // Targets are the basic building blocks of a package. A target can define a module or a test suite.
        // Targets can depend on other targets in this package, and on products in packages this package depends on.
        .target(
            name: "BuildTools",
            dependencies: []),
        .testTarget(
            name: "BuildToolsTests",
            dependencies: ["BuildTools"]),
    ]
)
RunScriptの設定
画像を参考に Run Script を追加します。
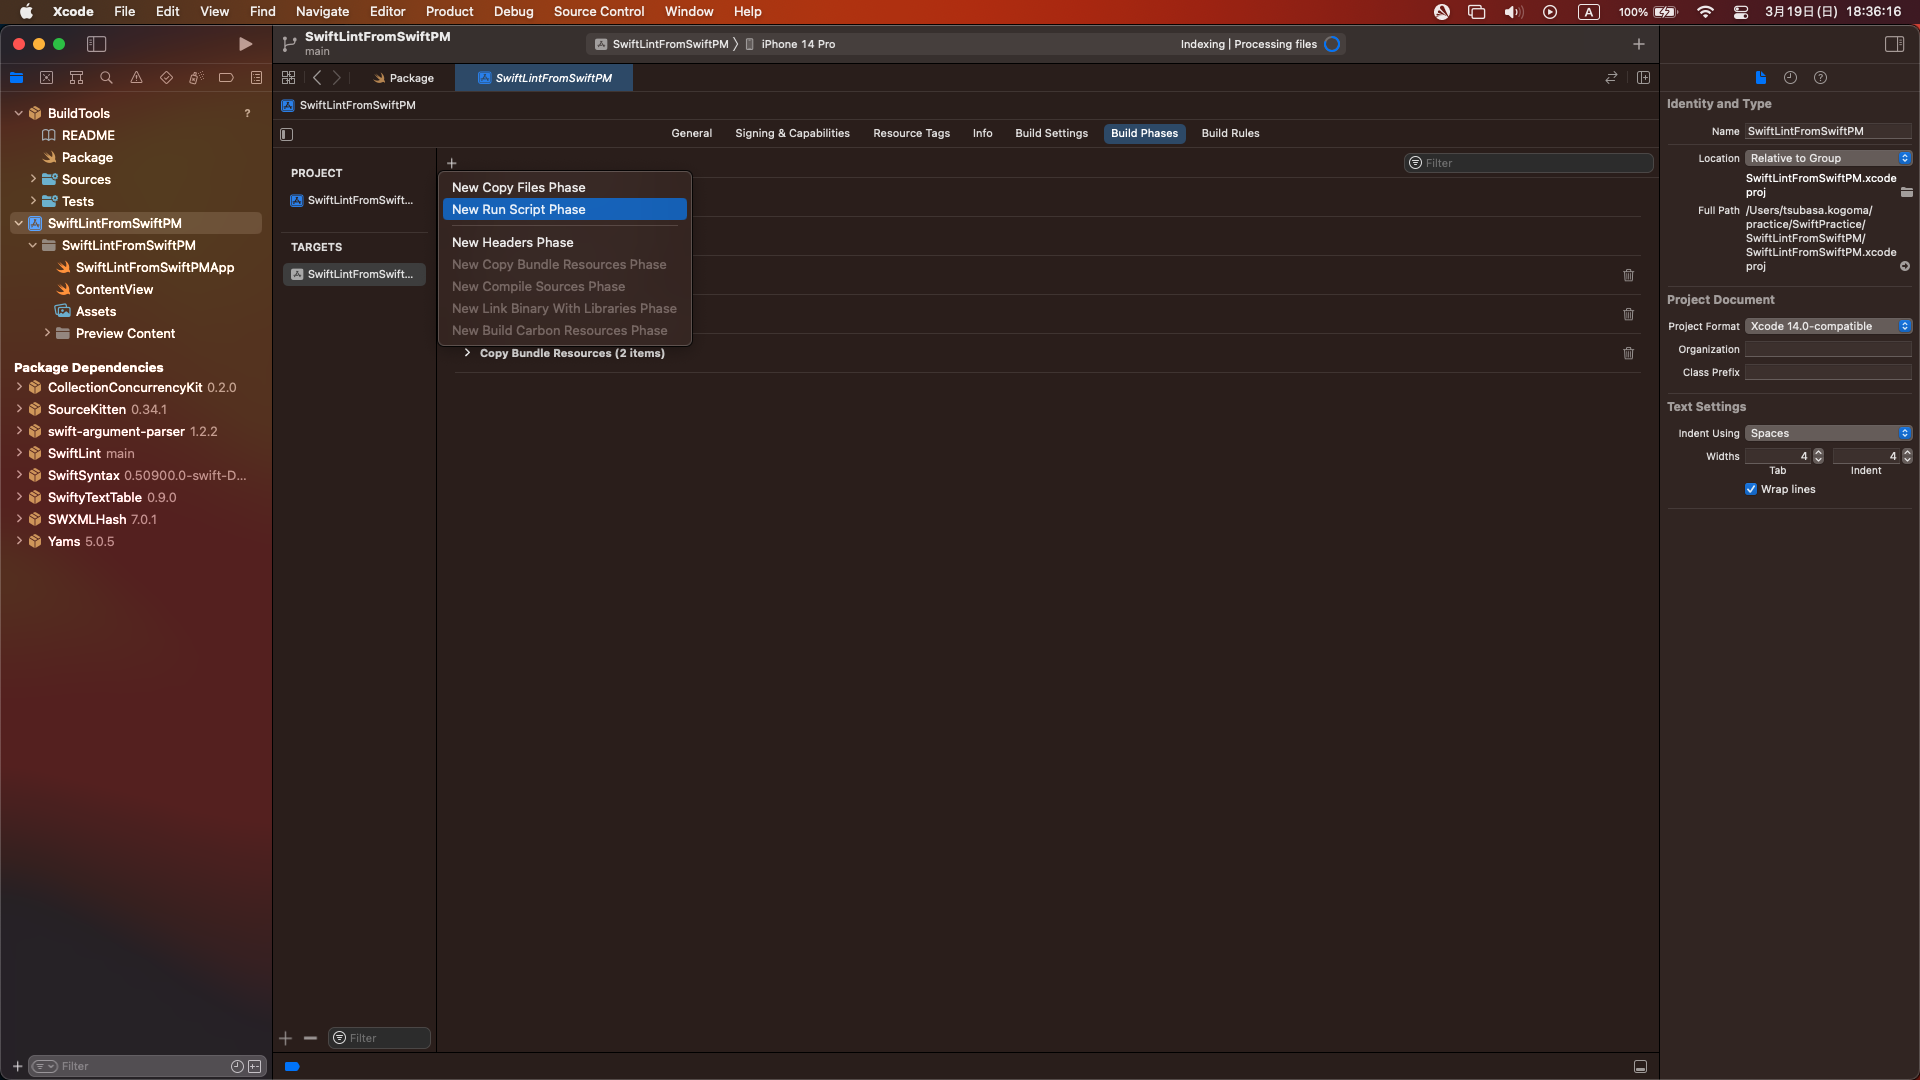
※パッケージ名を BuildTools にしていない方は、設定したパッケージ名に修正してください。
xcrun --sdk macosx swift build -c release --package-path BuildTools

xcrun --sdk macosx swift build -c release \
--package-path ./BuildTools/.build/checkouts/SwiftLint \
--product swiftlint

./BuildTools/.build/checkouts/SwiftLint/.build/release/swiftlint lint --config $SRCROOT/.swiftlint.yml
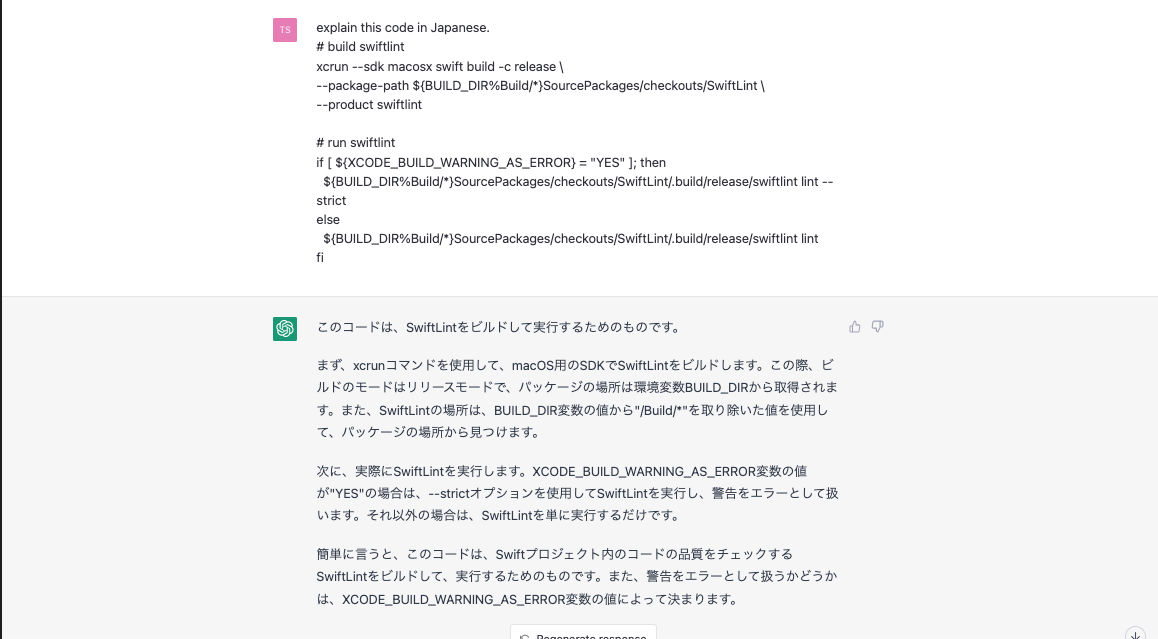
RunScript に書かれている内容がわからない時は、ChatGPT に質問してみると理解につながることになると思います。
こちらの記事のスクリプトを ChatGPT3.5 にコピペした結果このようになりました。
.swiftlint.yml の追加
touch .swiftlint.yml
SwiftLint の Githubからコピペします。
ただし、コピペだけでは動かないので、以下の部分を修正します。
included:
-  - Plugins
-  - Source
-  - Tests
+ ${TARGET_NAME}

// 省略
swiftlintの警告を発生させる
次は意図的に警告を発生させるためにContentView.swiftを以下のように編集します。
- struct ContentView: View {
+ struct ContentView : View {
      var body: some View {
          VStack {
              Image(systemName: "globe")
                  .imageScale(.large)
                  .foregroundColor(.accentColor)
              Text("Hello, world!")
          }
          .padding()
      }
  }
Command + B または Command + R を実行すれば、以下の警告が表示されるはずです。
Colons should be next to the identifier when specifying a type and next to the key in dictionary literals (colon)
これで SwiftLint を SwiftPM で導入することができました。
参考リンク