GiLab CI | GiLab CI でCIを実行するまで
概要
GiLab CI でCIを実行します
前提
-
GitLab サーバーはインストール済
-
GitLab CI サーバーはインストール済
-
GitLab CI Runner サーバーはインストール済
-
テスト対象は自作 gem プロジェクトの gottani を使います
手順
- テスト対象の git リポジトリを GitLab サーバーに追加します
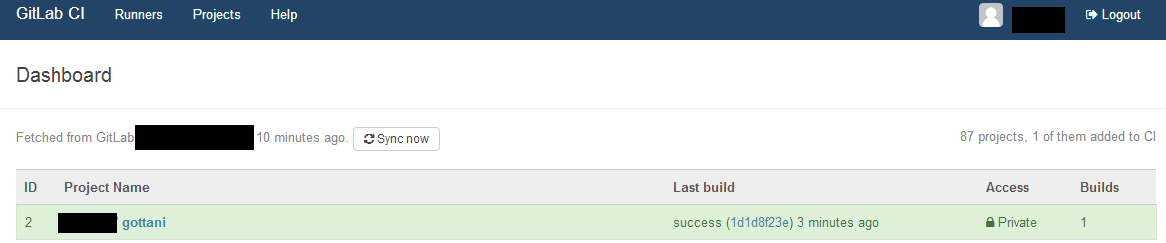
- GitLab CIサーバーのトップページで Sync now ボタンをクリックします

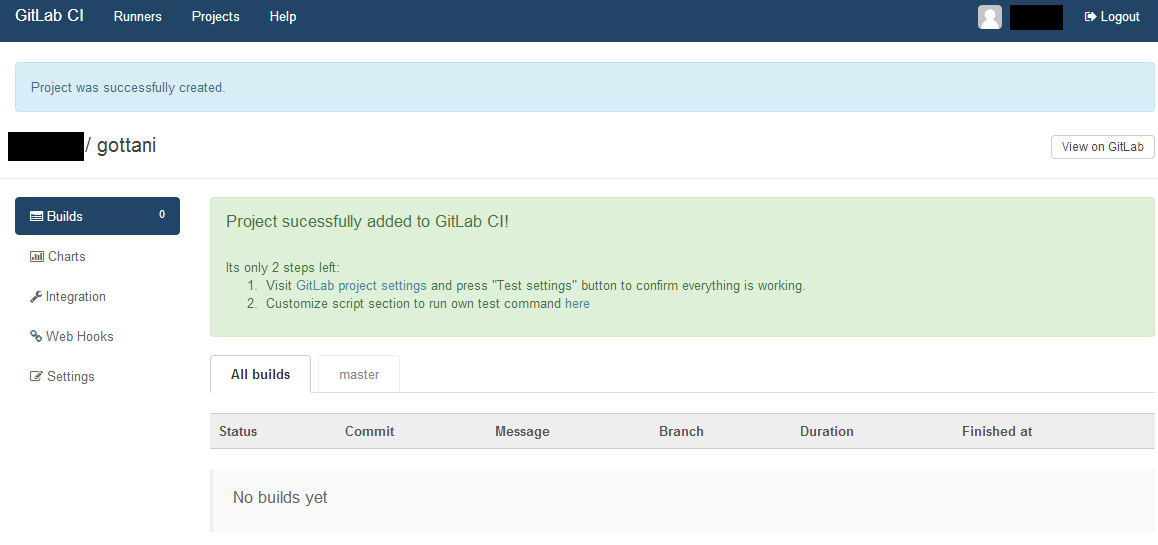
- 対象プロジェクトが表示されたのを確認後、Add ボタンをクリックします。

- プロジェクトが登録されます
- Settings メニューを選択し、Build Steps を編集します。今回は bundle install と rspec の実行のみ行います
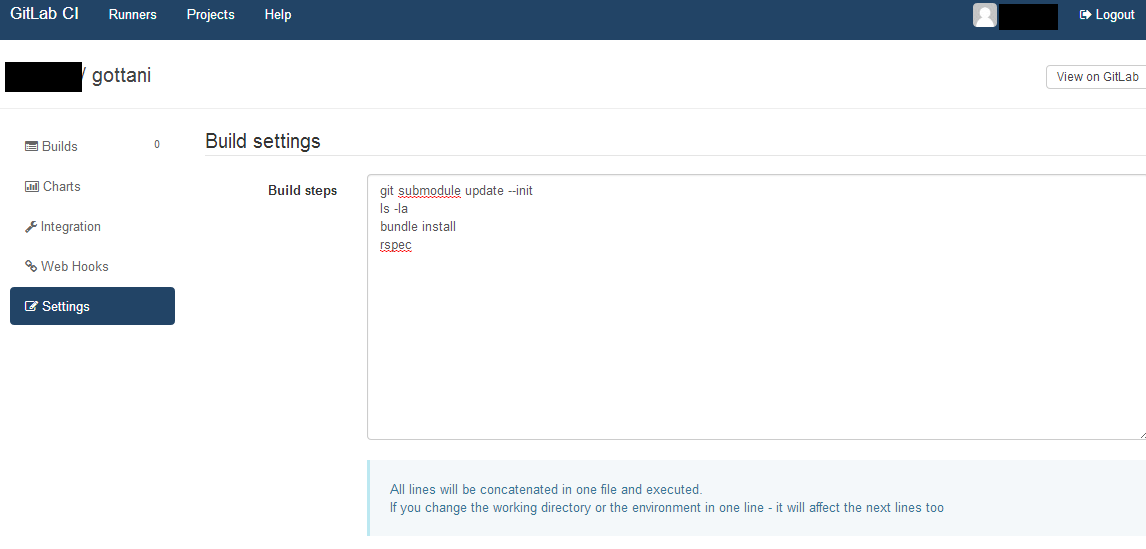
- 画面最下部の Save Changes を選択し、設定を反映します。

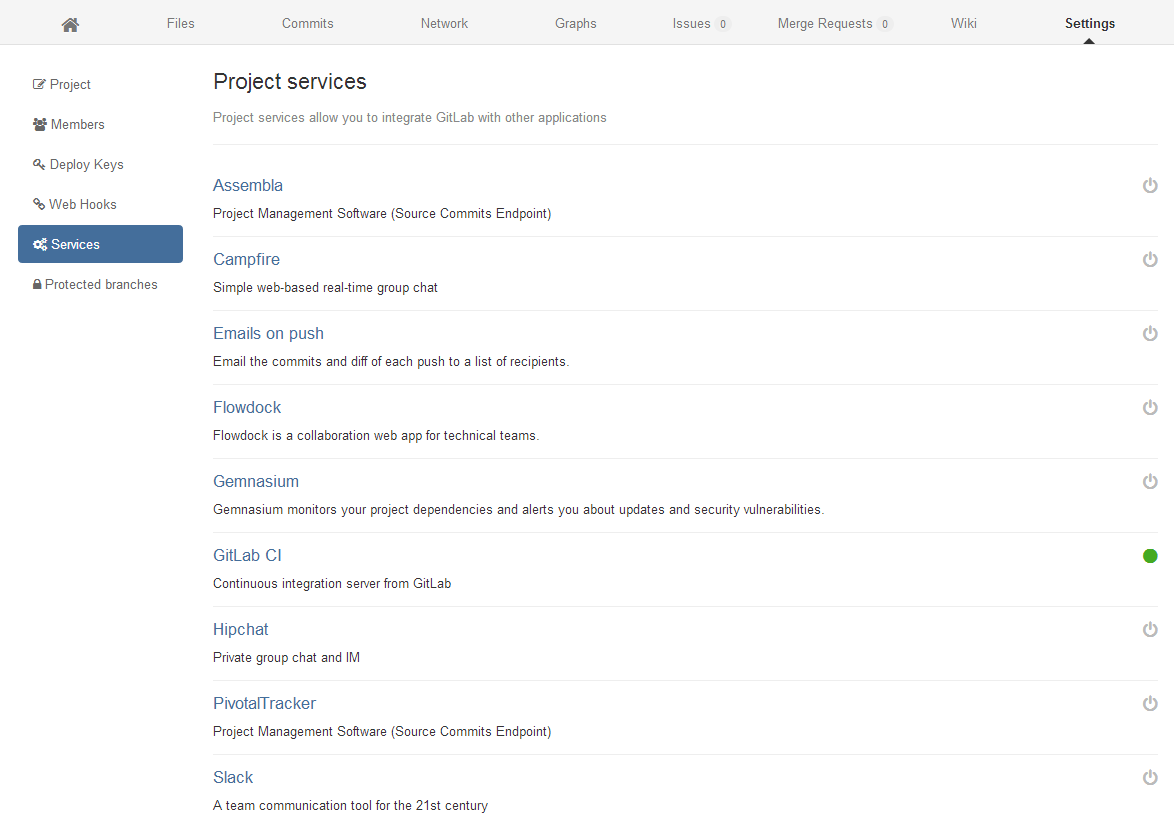
- GitLab の Service メニューを確認すると GitLab CI との連携が有効になっていることを確認できます。
- 一回 GitLab に適当な更新内容を push してCIを実行します
- GitLab CIのトップページを確認すると、CIが成功していることが確認できます。
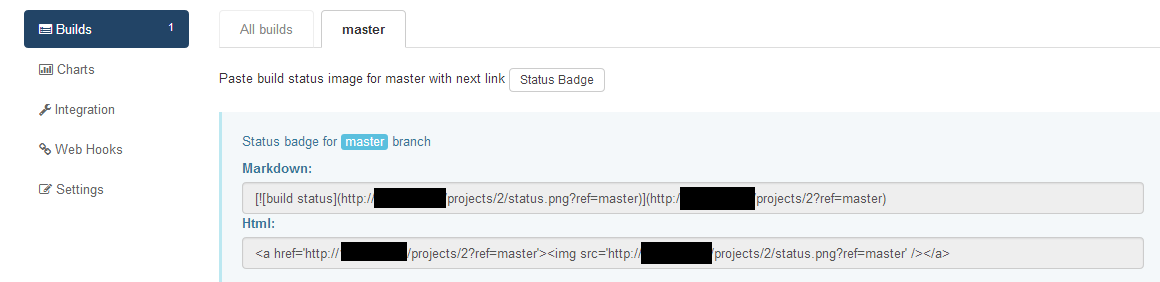
- GitLab CIで gottani のプロジェクトページを表示後、Builds の master タブを選択し、 Status Badge ボタンを選択します
- READMEなどにバッジを張り付けるためのスクリプトが表示されるので、Markdown か HTML のうち必要なほうをコピーします。
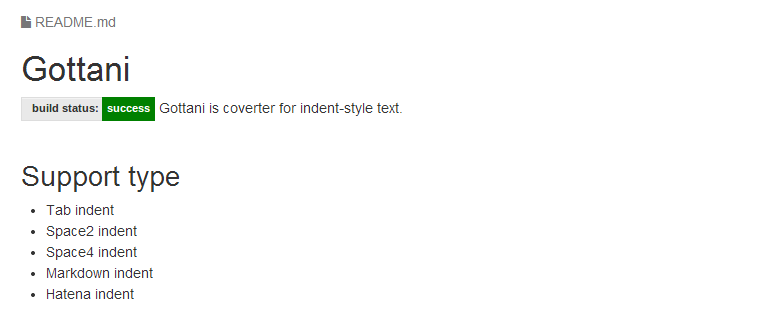
- gottani の README.md にコピーした内容を貼り付けます。
# Gottani
[](http://gitlab_ci_server_path/projects/2?ref=master)
Gottani is coverter for indent-style text.
:
: その他の内容
- commit, push します。
git add README.md
git commit -m "Add GitLab CI badge link to README.md."
git push origin master
- READMEに GitLab CIのビルド結果のバッジが埋め込まれました