Reactに少しずつ慣れてきました。
始め立てのうちは1ファイルにザーッとコードを書いて動いたら満足!って感じでしたが、慣れてくると機能ごとにコンポーネント分けしてコード整理したくなってきます。
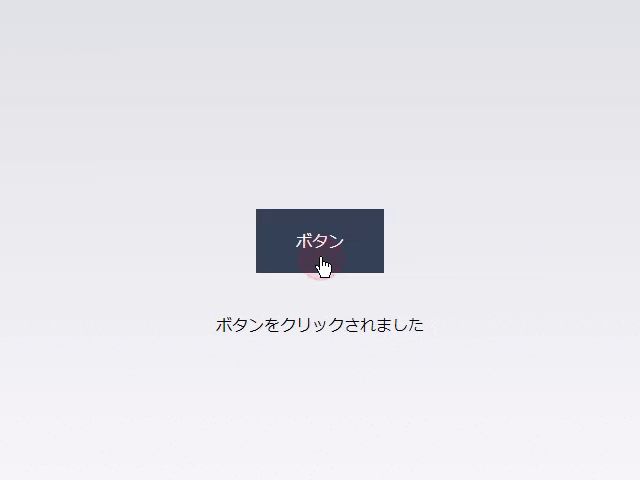
例えば、以下のようなボタンを押すと表示が切り替わるようなコード。
コードサンプル
page.tsx
"use client";

import { useState } from "react";

export default function Home() {
  const [open, setOpen] = useState(false);

  const handleClick = () => {
    setOpen(!open);
  };

  return (
    <main className="flex min-h-screen flex-col items-center justify-center p-24">
      <button
        className="bg-slate-700 text-white px-10 py-5"
        onClick={handleClick}
      >
        ボタン
      </button>
      <div className="mt-10">
        {!open ? "ボタンをクリックしてください" : "ボタンをクリックされました"}
      </div>
    </main>
  );
}
propsで状態を渡しコンポーネント分けする
これを親コンポーネントと子コンポーネント(ボタン、テキスト)に分けたくなったとします。
コード内には、状態管理をするためのuseStateが存在しています。
状態を管理しているStateが親ファイルと子ファイル間で分かれてしまうとどうなるでしょう。
当然状態は管理できなくなり更新が効かなくなります。
んーどうしましょう?
Reactにはデータを親コンポーネントから子コンポーネントに受け渡しできるpropsという機能がありました。
実はこのpropsは数値や文字列だけではなく、関数や状態まで渡せるのです!
早速、ボタンとテキストをそれぞれコンポーネント化してみます。
page.tsx
"use client";

import { useState } from "react";

import { Button } from "../components/Button";
import { Text } from "../components/Text";

export default function Home() {
  const [open, setOpen] = useState(false);

  const handleClick = () => {
    setOpen(!open);
  };

  return (
    <main className="flex min-h-screen flex-col items-center justify-center p-24">
      <Button handler={handleClick} />
      <Text isOpen={open} />
    </main>
  );
}
<Button />にはイベントハンドラーが必要なのでhandlerというpropsでhandleClick関数を渡し、<Text />にはisOpenというpropsでStateを渡しています。
props名は自由なので各々変えていただいて大丈夫です。
Button.tsx
export const Button = ({ handler }: { handler: () => void }) => {
  return (
    <>
      <button className="bg-slate-700 text-white px-10 py-5" onClick={handler}>
        ボタン
      </button>
    </>
  );
};
Buttonコンポーネントでhandlerを受け取ったので、onClickイベントにhandlerを指定します。
Text.tsx
export const Text = ({ isOpen }: { isOpen: boolean }) => {
  return (
    <div className="mt-10">
      {!isOpen ? "ボタンをクリックしてください" : "ボタンをクリックされました"}
    </div>
  );
};
同様にTextコンポーネントでStateを受け取り、三項演算子(条件式)で分岐を作ります。
これで状態を維持したまま、コードを整形することができました!