はじめに
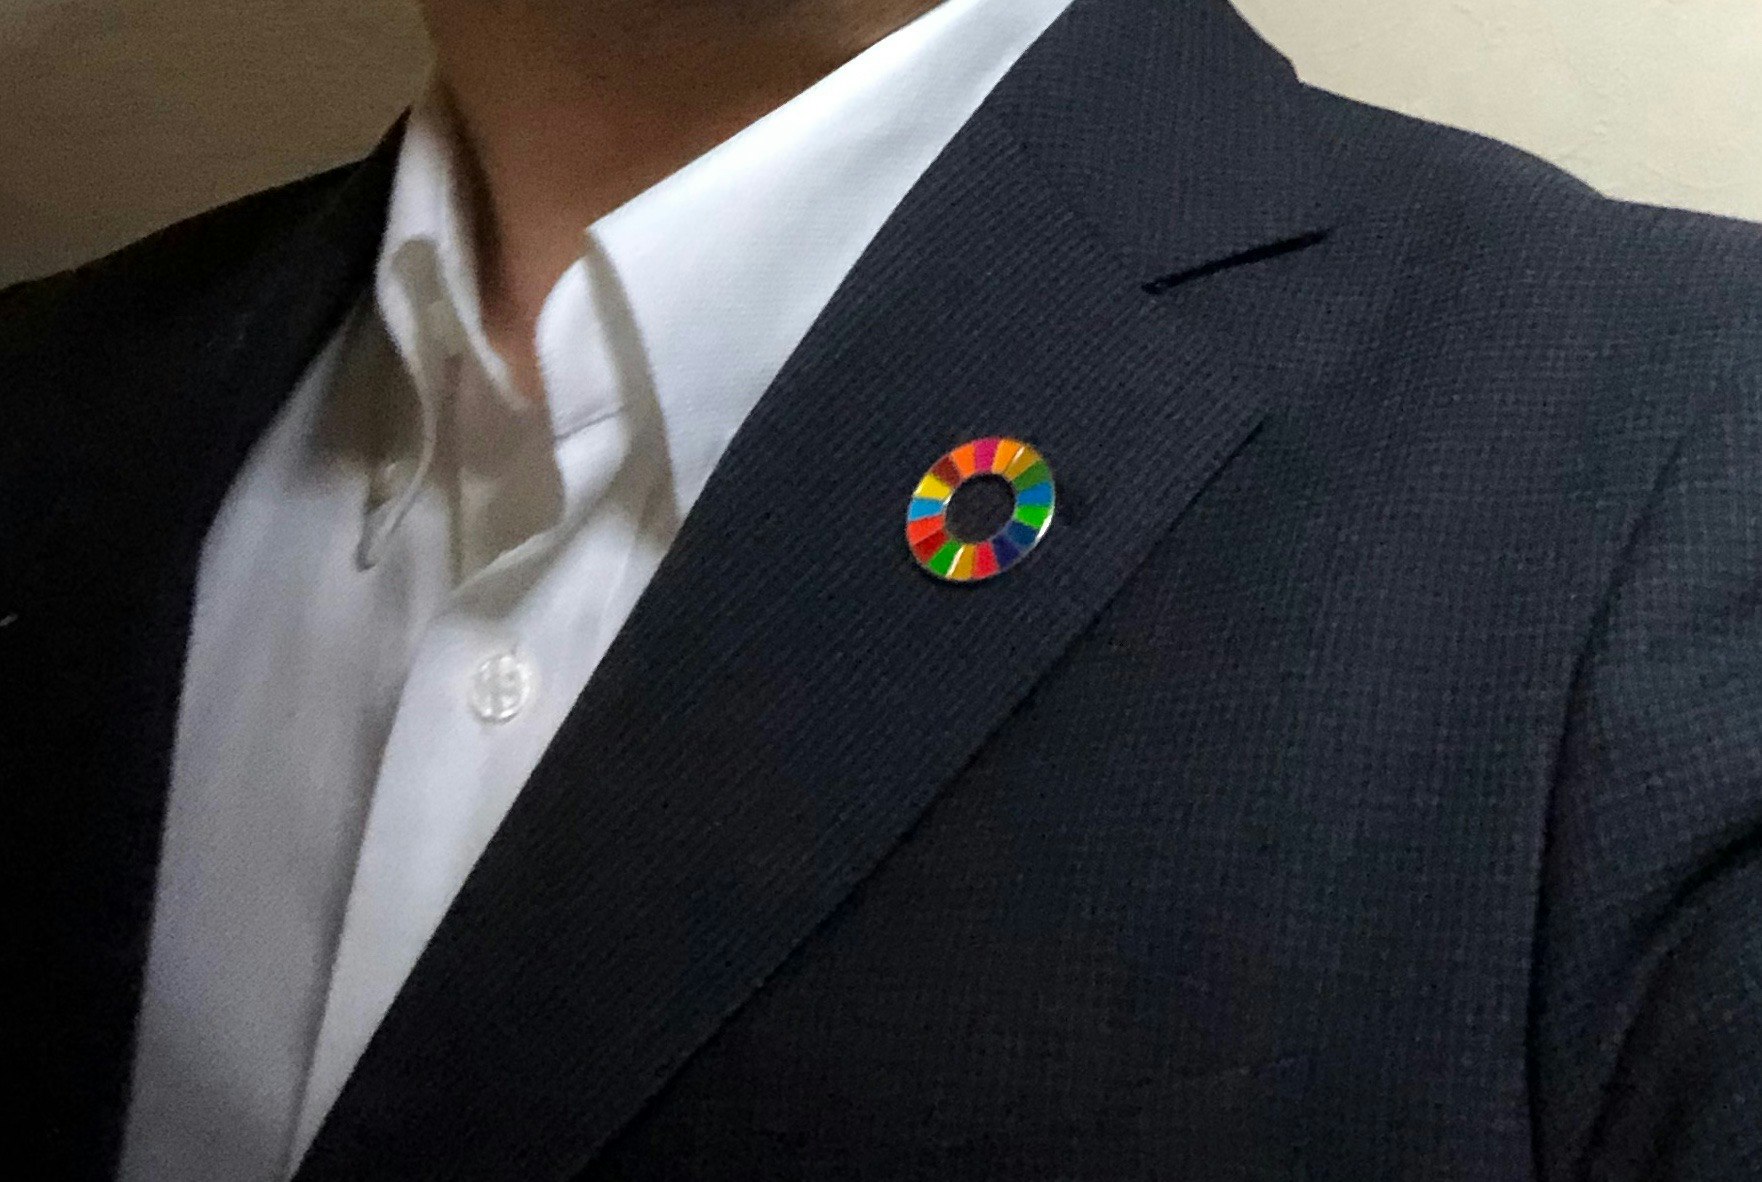
最近、こんなバッジ付けてる人、よく見かけますね。
これは、SDGsのバッジで、これを付けてる人の所属する会社がアピールするためのものらしいです。
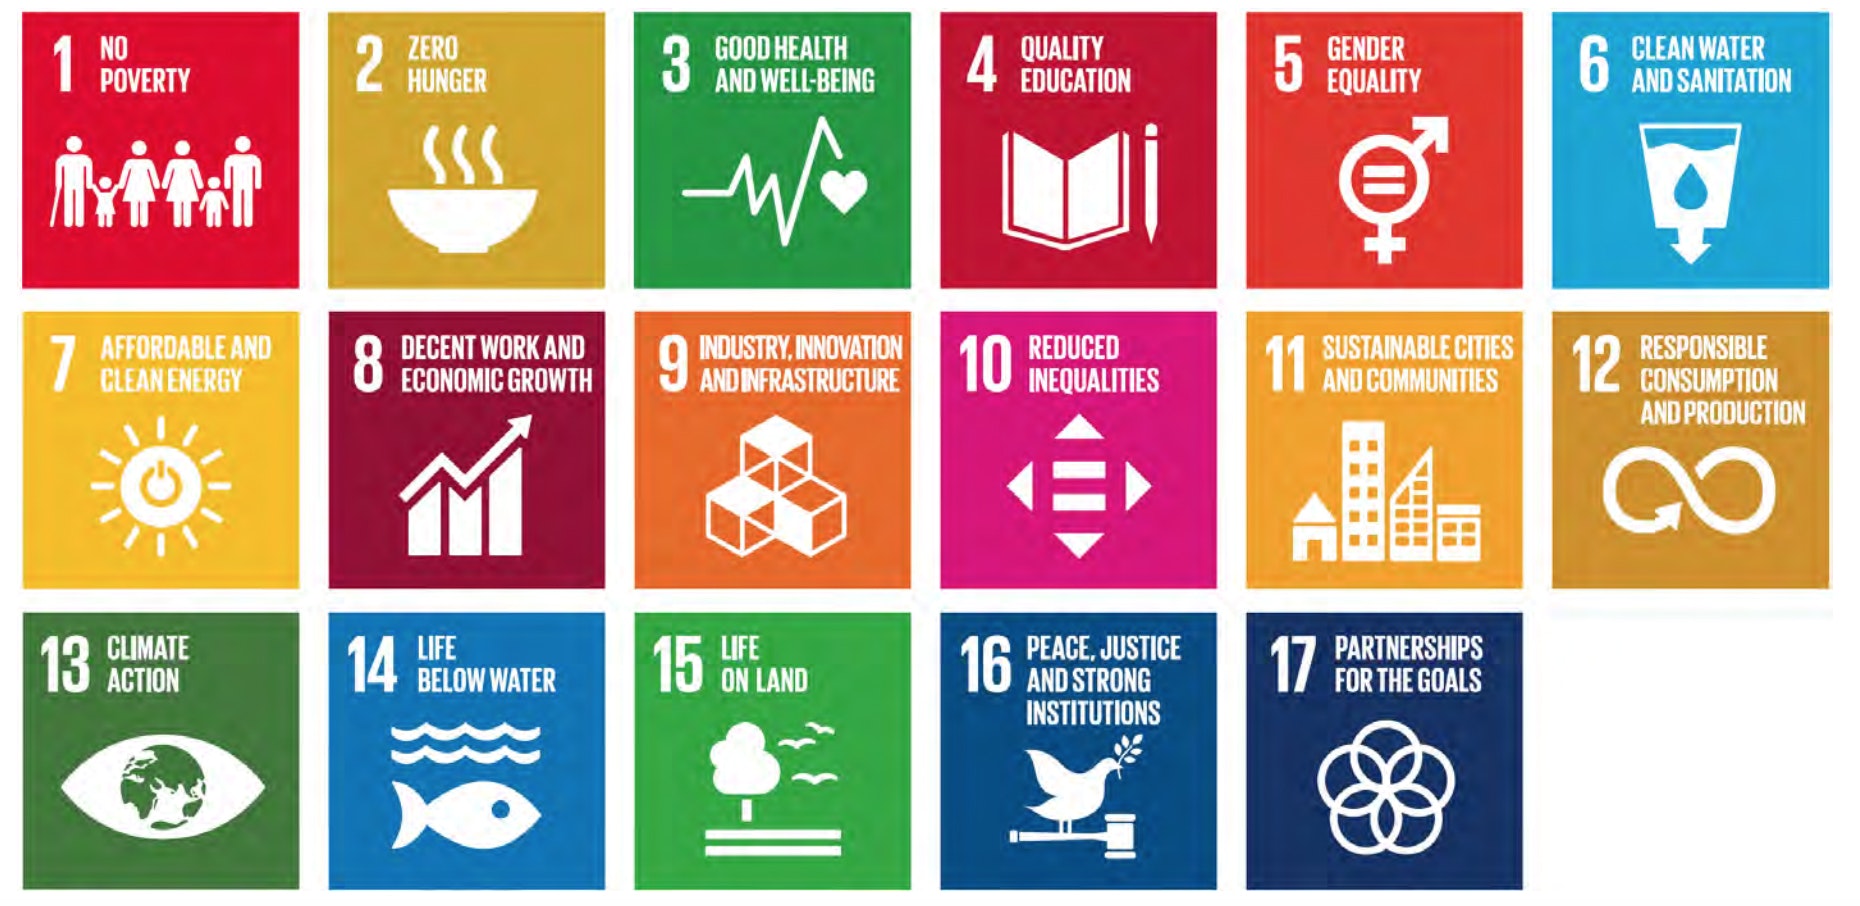
SDGsとは国連サミットで採択された「持続可能な開発目標(Sustainable Development Goals)」の略で、17の目標からなります。最近流行ってます。
作ったもの
このバッジは結構派手ですし、アフリカの大統領とか偉い人が付けていそうな重厚さに正直るのに抵抗があります。
ましては、アフターファイブでパーティに行くのは、結構恥ずかしい。
というわけで、アフターファイブのパーティに映えるオサレなSDGsバッジを作ってみました。
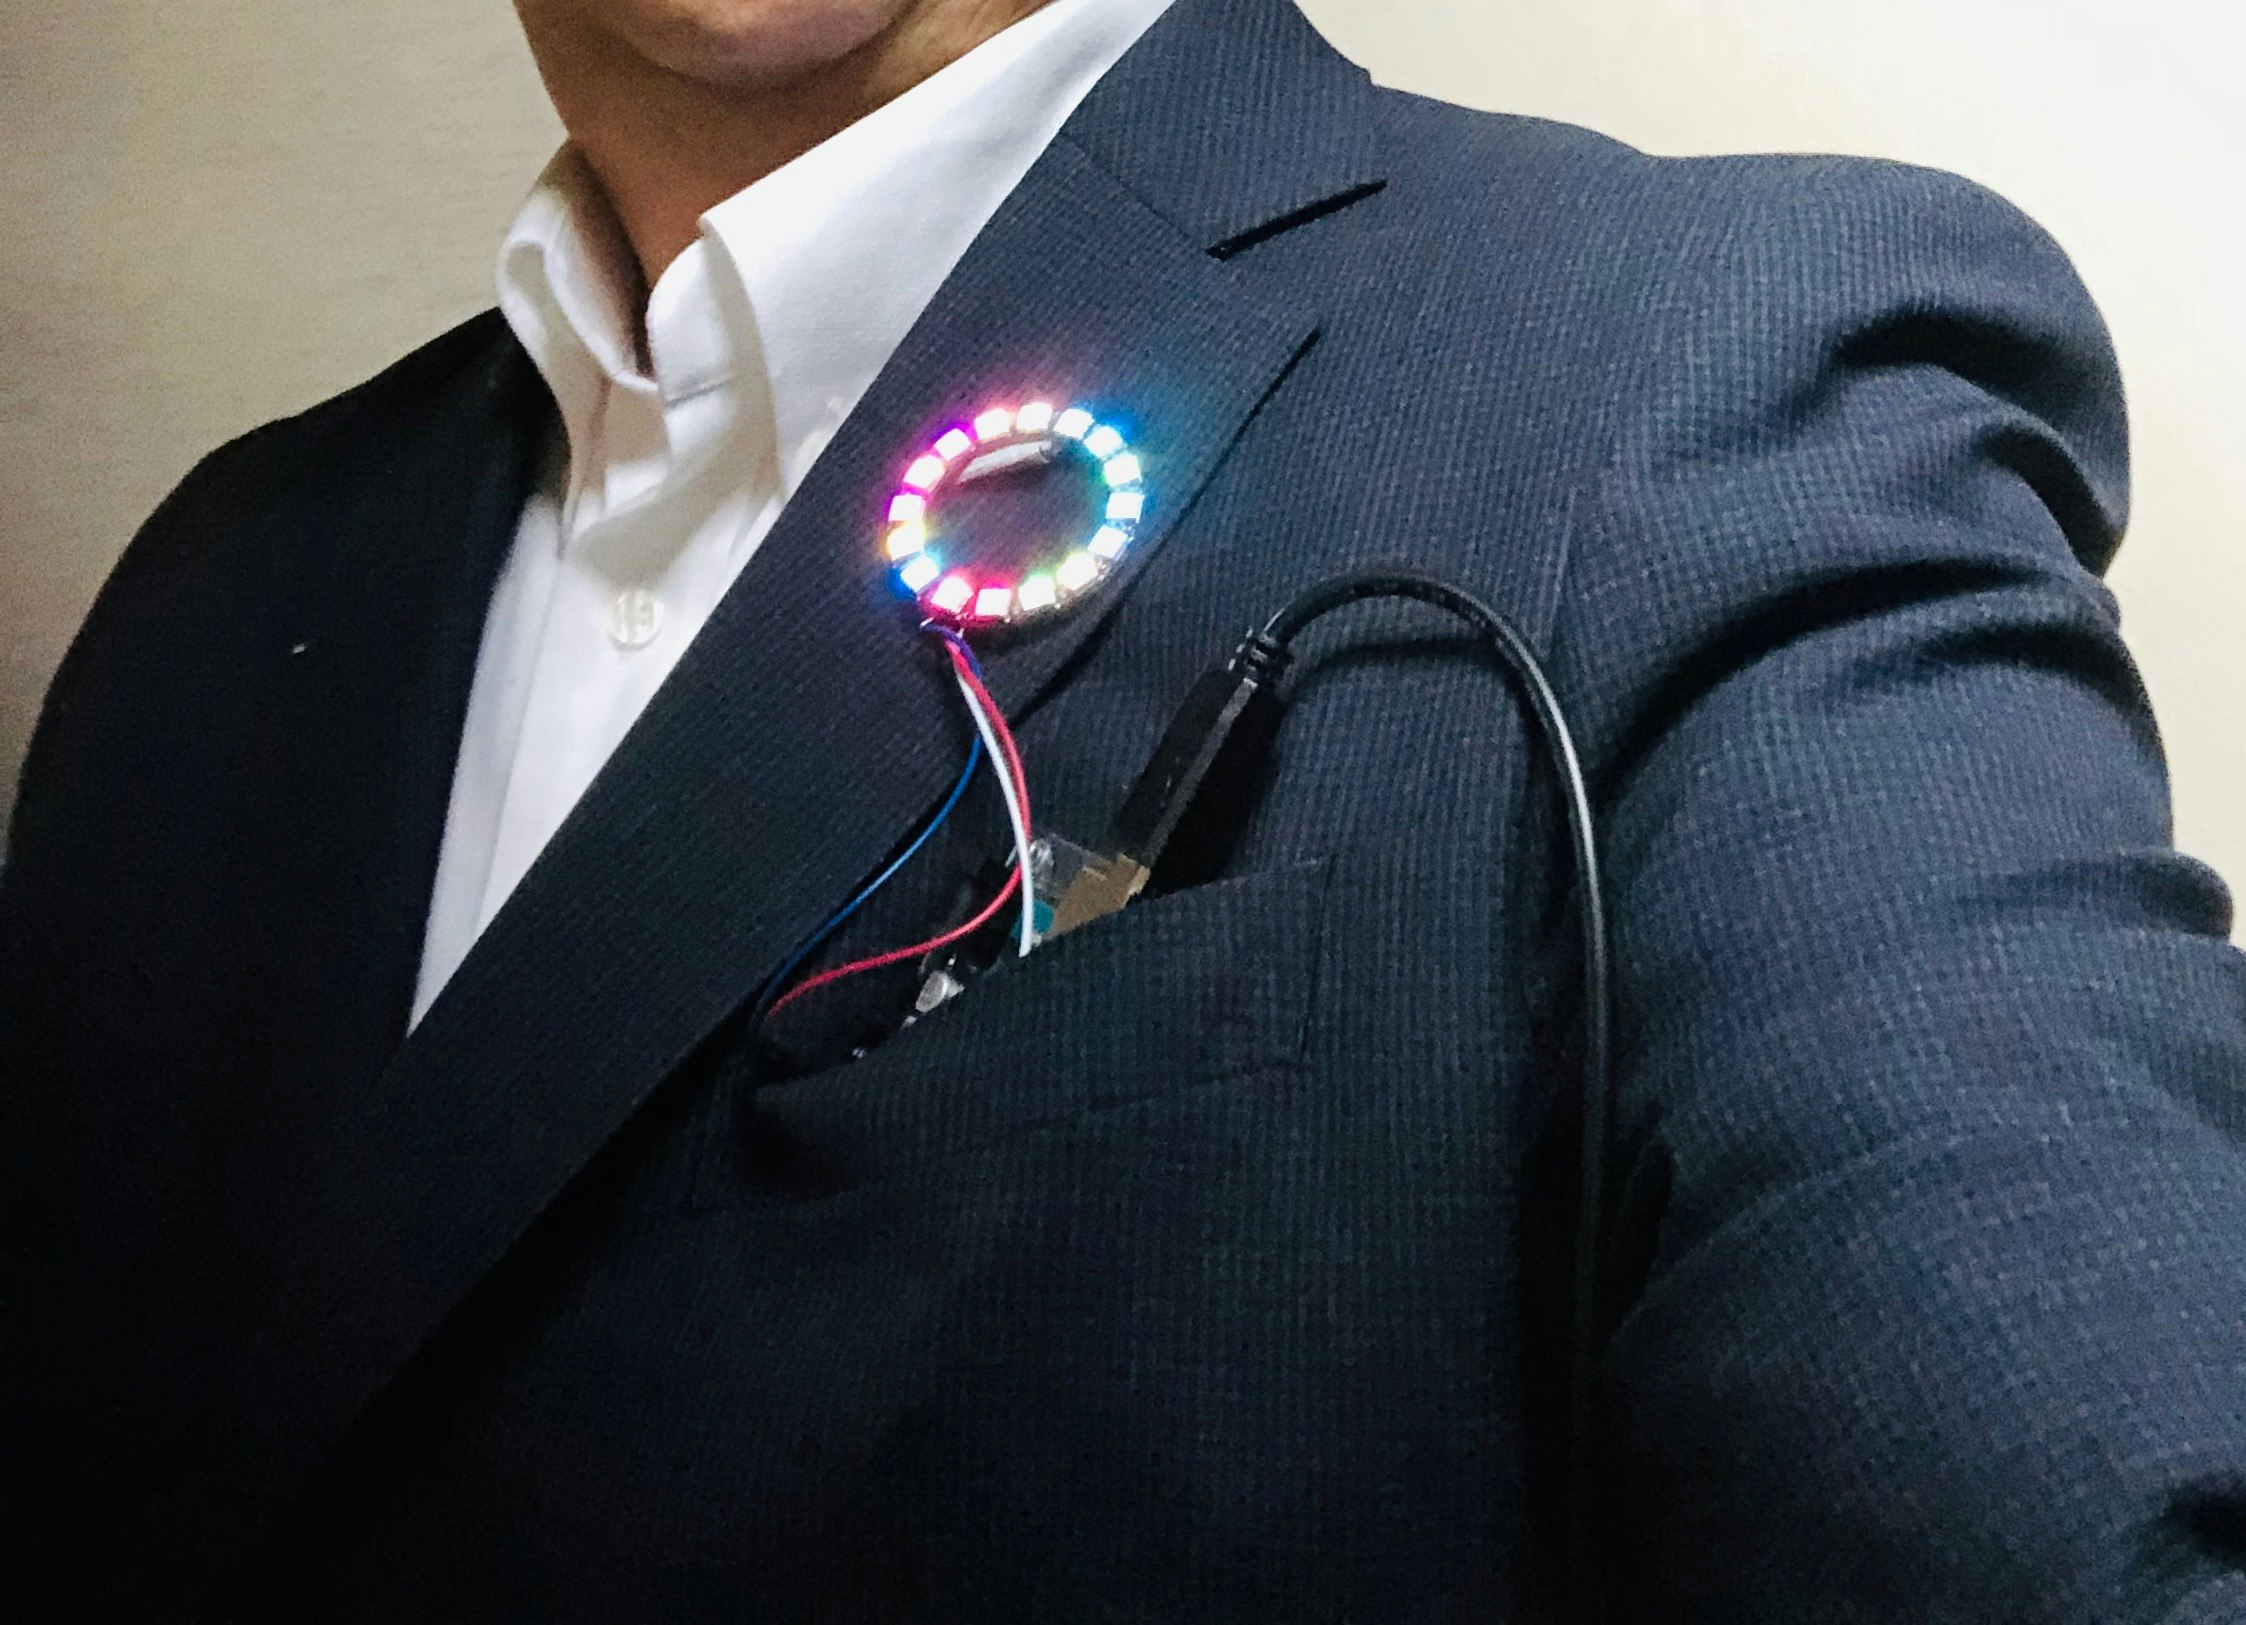
とりあえず思いつきで作ったので、機械や線がはみ出てますが、
今後、暇があれば、小型化、配線を改良します。
作り方
参考サイト
ほとんど、こちらのブログを見て作りました。
ブログ主さん、ありがとうございました。
必要物
・NeoPixel Ring
・Arduino Nano
・ジャンパワイヤー(片方がオス)
・はんだごて
はんだづけ
下手くそで恥ずかしい。
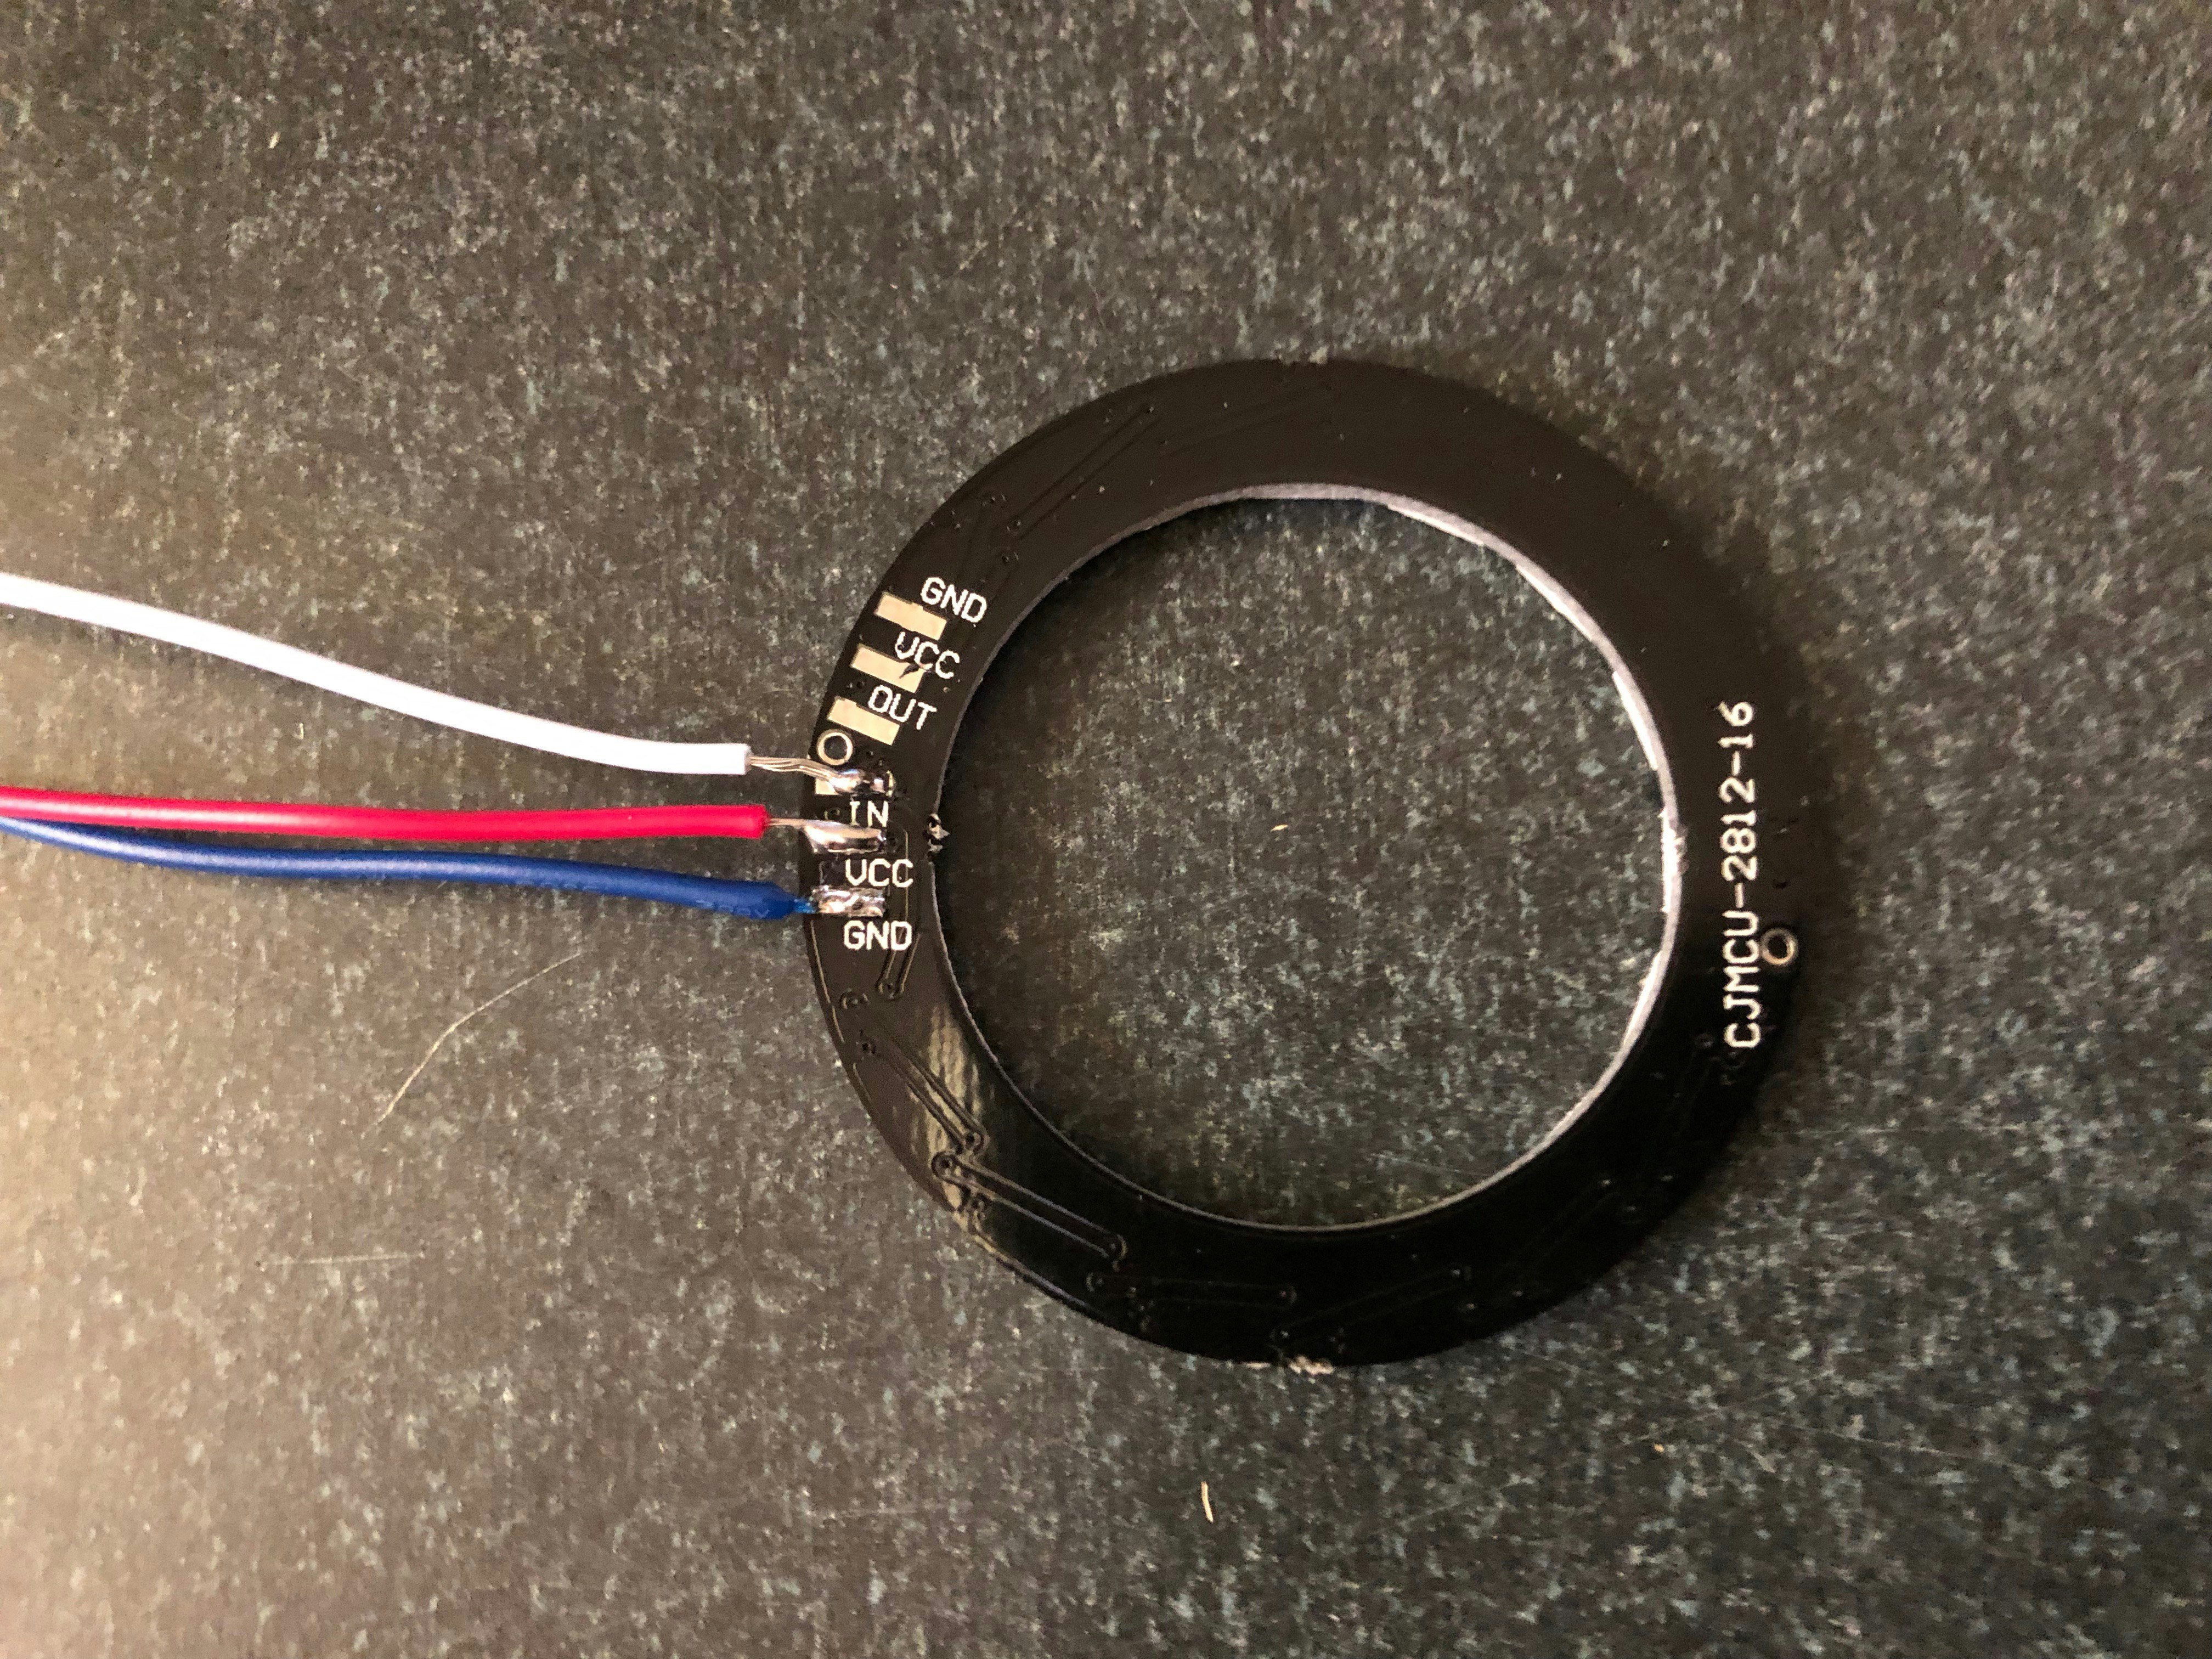
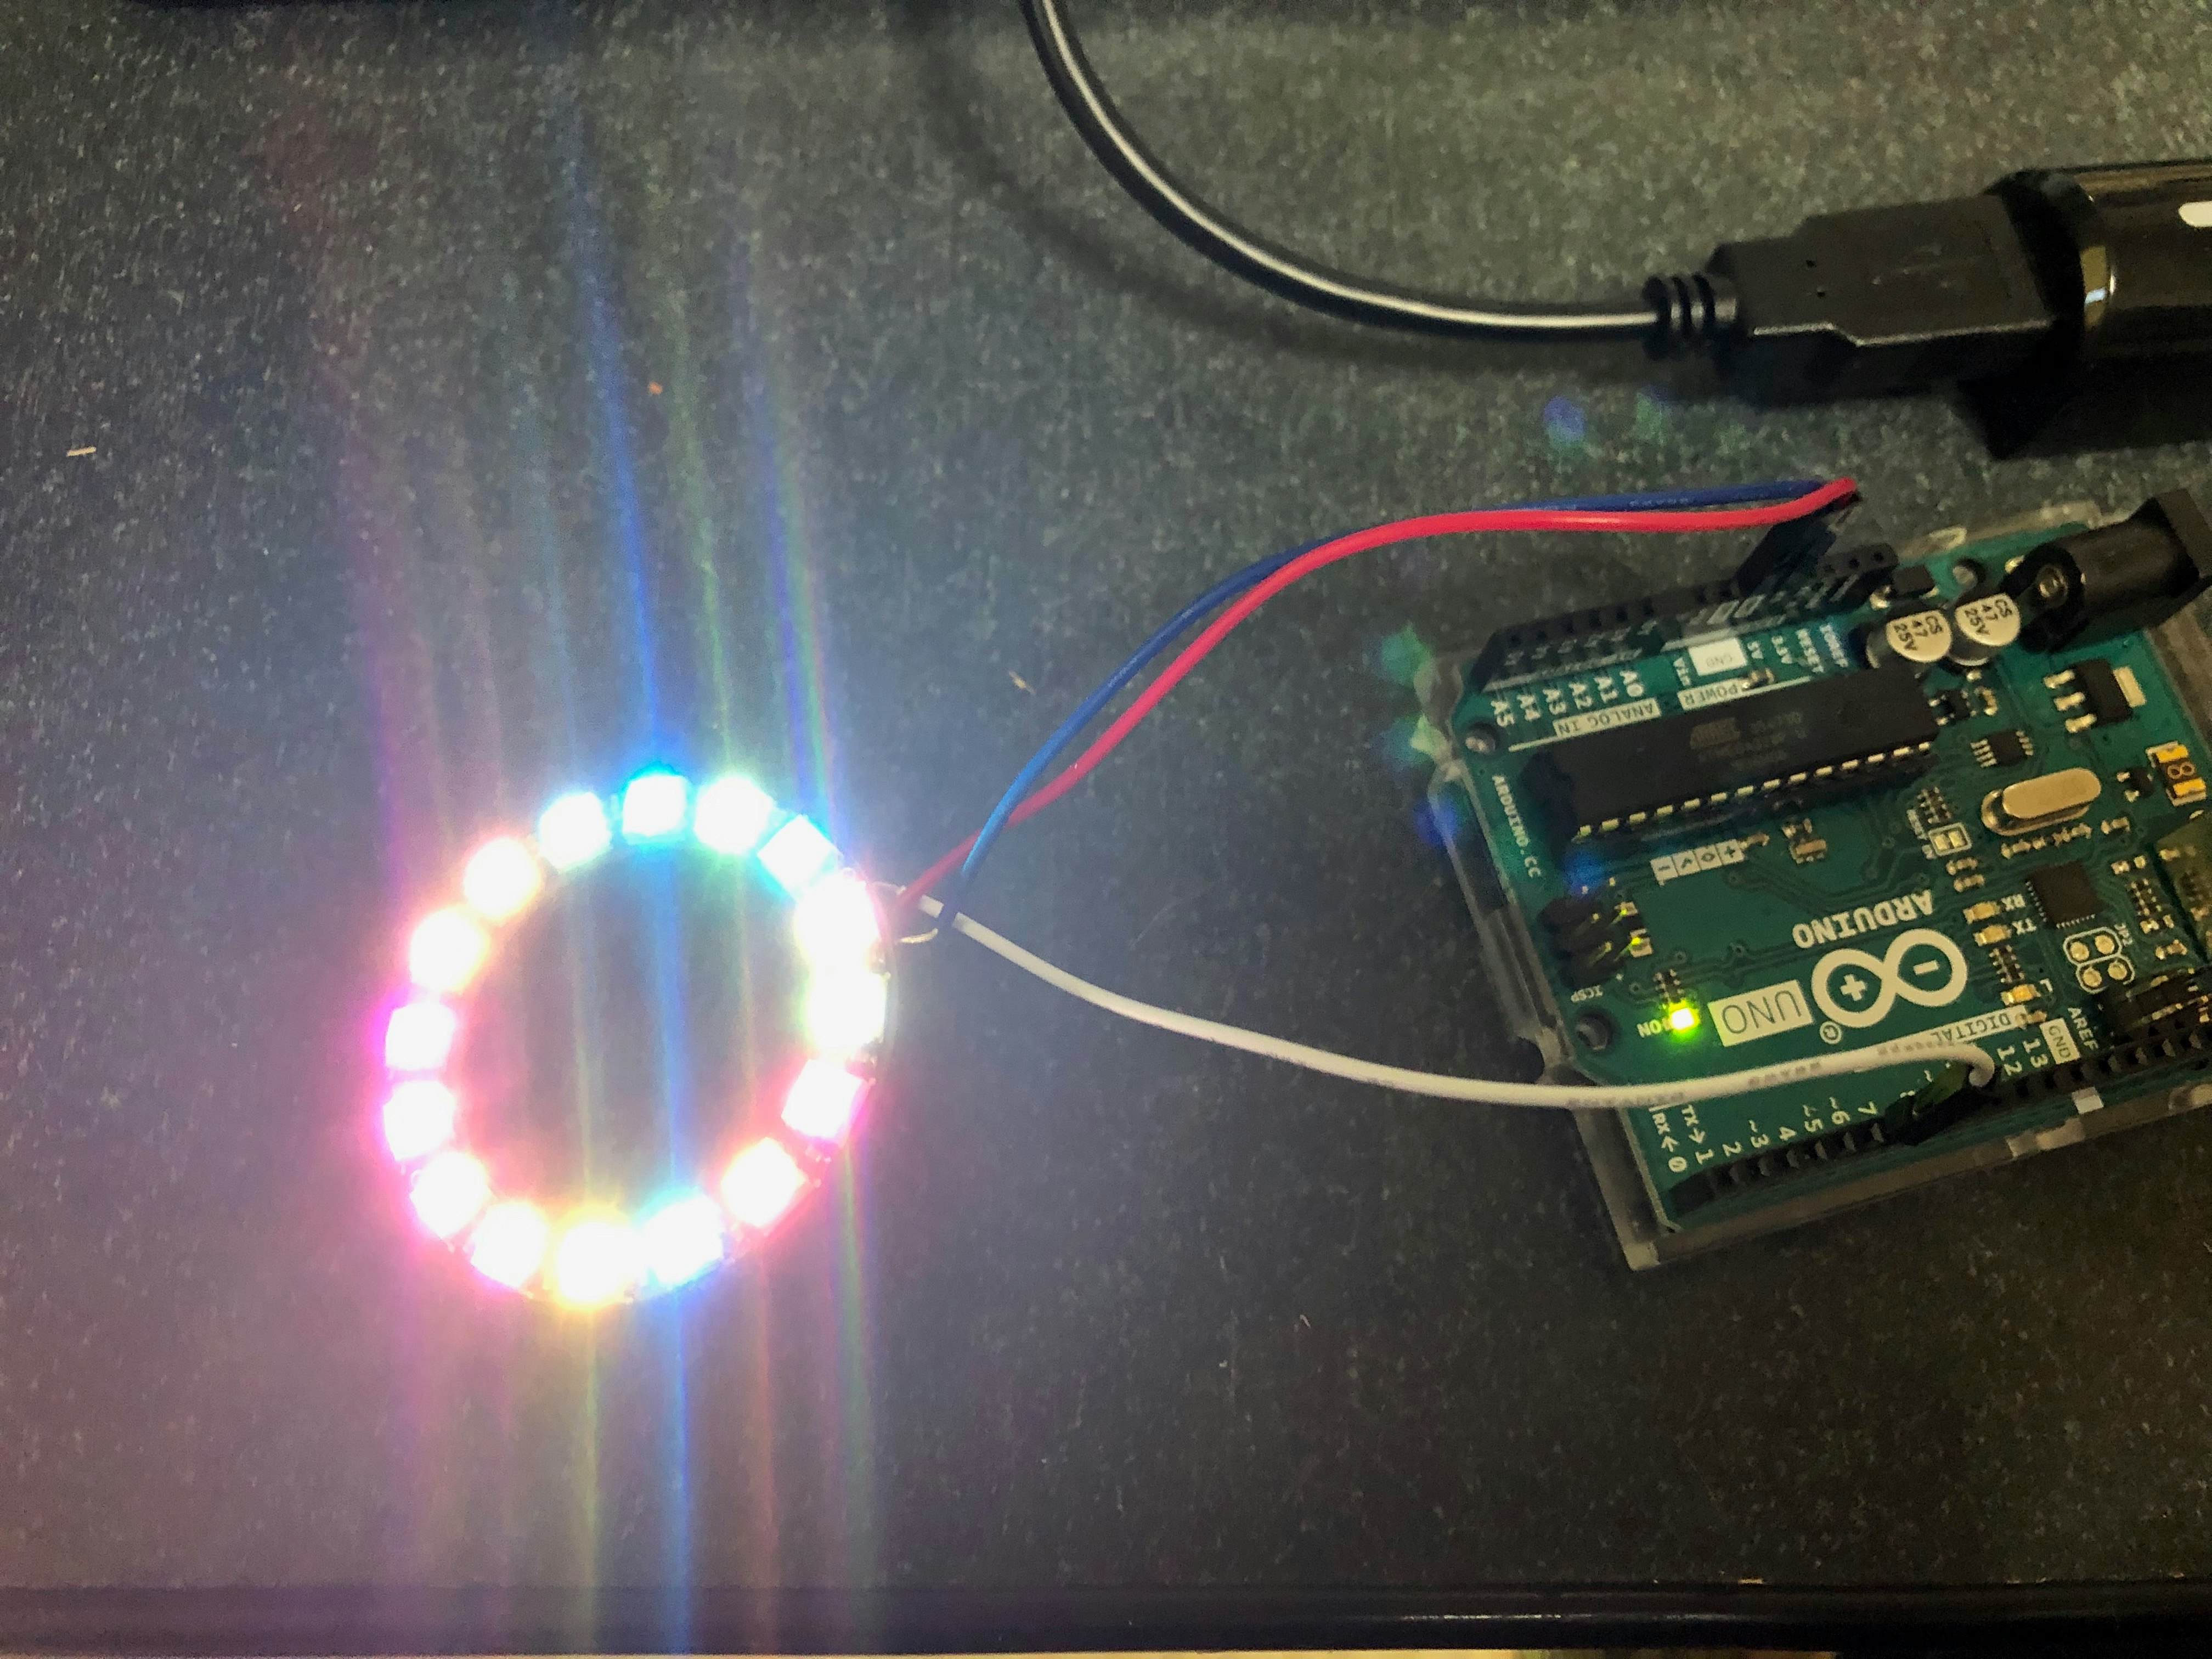
配線(Arduino ― Neopixel)
・5V ― VCC
・GND ― GND
・6番ピン ― IN
NeoPixelのライブラリ
Githubから入手
https://github.com/adafruit/Adafruit_NeoPixel
クローンしてきたディレクトリを
~/arduino/libraries/NeoPixel
に配置
スケッチ(ソースコード)
これも独学なので恥ずかしい。
# include <Adafruit_NeoPixel.h>

# define PIN 6

// Parameter 1 = number of pixels in strip
// Parameter 2 = pin number (most are valid)
// Parameter 3 = pixel type flags, add together as needed:
//   NEO_KHZ800  800 KHz bitstream (most NeoPixel products w/WS2812 LEDs)
//   NEO_KHZ400  400 KHz (classic 'v1' (not v2) FLORA pixels, WS2811 drivers)
//   NEO_GRB     Pixels are wired for GRB bitstream (most NeoPixel products)
//   NEO_RGB     Pixels are wired for RGB bitstream (v1 FLORA pixels, not v2)
Adafruit_NeoPixel strip = Adafruit_NeoPixel(160, PIN, NEO_GRB + NEO_KHZ800);

//SDGsの各目標のRGB値
uint32_t sdgsColor[17][3]= {
  {229,36,59},
  {221,166,58},
  {75,159,56},
  {197,25,45},
  {255,58,33},
  {38,189,226},
  {252,195,11},
  {162,25,66},
  {253,105,37},
  {221,19,103},
  {253,157,36},
  {191,139,46},
  {63,126,68},
  {10,151,217},
  {86,192,43},
  {0,104,157},
  {25,72,106}
};

int j=0;

void setup() {
  strip.begin();
  strip.setBrightness(7); //adjust brightness here
  strip.show(); // Initialize all pixels to 'off'
}

void loop() {
  // Some example procedures showing how to display to the pixels:
  uint32_t c;

  for(int i=0; i<16; i++) {
    int ledNumber=i+j;
    if (ledNumber>16) {ledNumber = ledNumber -16;}
    c = strip.Color(sdgsColor[ledNumber][0],sdgsColor[ledNumber][1],sdgsColor[ledNumber][2]);
    strip.setPixelColor(i, c);
    strip.show();
  }

  delay(500);

   j=j+1;
   if (j>17) {j=0;}
}
配列sdgsColor
SDGsの各目標のRGB値を配列sdgsColorに設定。
RGB値は国際連合広報センターのウェブサイトに掲載されていました。
https://www.unic.or.jp/files/UN-Guidelines-for-Use-of-SDG-logo-and-17-icons-December-2017_JP.pdf
void loop()
LEDを点灯させてます
なお、このリングはLEDが16個です。
SDGsは17個の目標、1個LEDが足りません。
しょうがないので、LED上では16個の色、1つずつずらして表示しています。
例えば、最初は1から16まで、次は2から17まで、その次は3から17と1、
という風に表示しています。
おかげで回転してるかのような効果が出ました。
完成
このスケッチをArduinoに読み込ませれば完成!
あとは、小型化、配線を改良して、バッジらしくしましょう。
PS.
応用して、アイアンマンのようなものを作りました。
