1.準備
PlasticSCMのサイトでアカウントを作成
https://www.plasticscm.com/account/login
PlasticSCMをここからダウンロード
https://www.plasticscm.com/download
Unity のプロジェクトを開く。
Plastic SCM を開き、
Open or Create other Workspace

新規ワークスペースを作成

新規
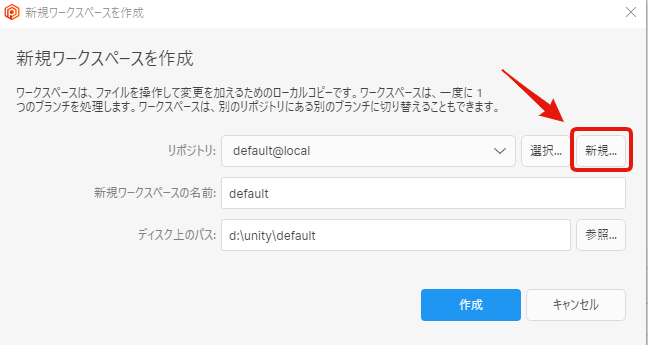
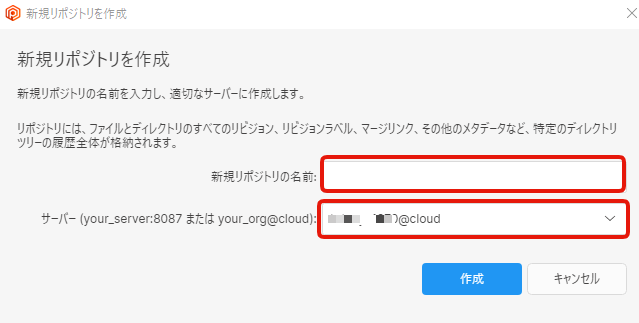
名前を入力、サーバーを選択し、OK
名前はなんでもいいけど、元プロジェクトと同じのほうが混乱しない
ディスク上のパスを選択
Unityにすでにプロジェクトがある場合は、そこのフォルダを選択
※注意:よく注意しておかないと、空のフォルダが作成されることがあり、間違ってそことリポジトリを連携してしまうミスをする可能性があります。

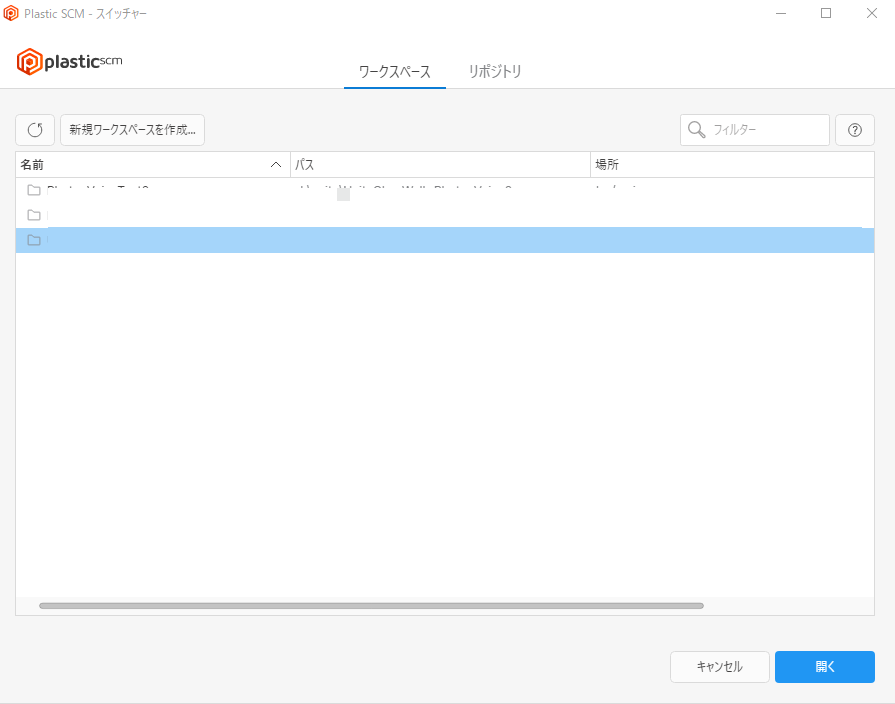
新規ワークスペースが追加されました。
2.最初のアップロード
開く

Libralyフォルダを右クリックし、無視リストに追加

上と同じようにTempフォルダを右クリックし、無視リストに追加
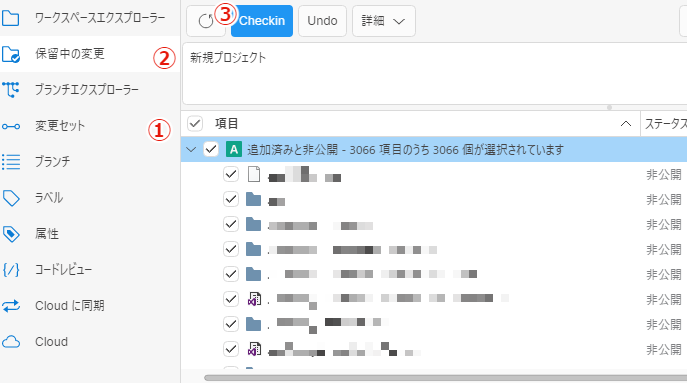
保留中の変更をクリック

1,更新したいものにチェック
2,あとで何をしたか分かるようにコメント入れる
3,チェックイン
3. チームメンバーを加える
Plastic SCMのダッシュボードにアクセスhttps://www.plasticscm.com/dashboard/cloud
「Configure」>「Users and groups」


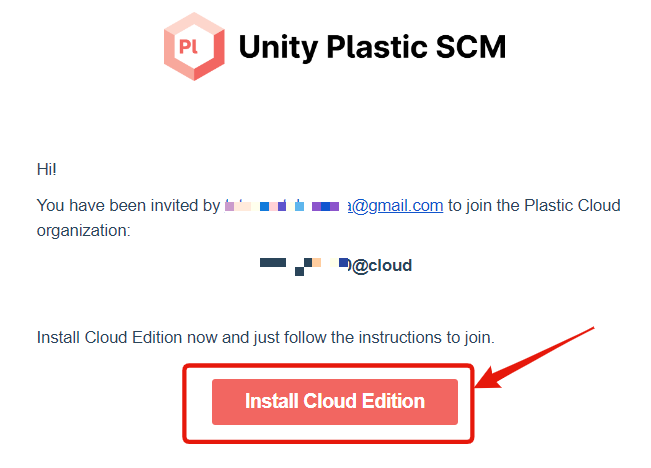
4. チームメンバー側
こんなメールが来る
(参考)自分が持ってる他のPCで開くには
Unity Hubで、
開く > リモートから開く

PlasticSCMのアイコン(下図)をクリック

Incoming Changes に他のPCや他者が変更したファイルが表示される。
Update workpspace をクリックすると、今使用してるPCに反映される。

以上です。