1.初めに
blender上のPythonで簡単なモデリングを行う手順を紹介します。
なお、環境はblenderのバージョンは2.8.5、OSはWindows10です。
なお2.7から2.8で仕様に大幅な変更があったのでご注意ください。2.7と2.8の互換性はほぼないと思っていただいてよいと思います。
2.日本語設定
日本語を使う必要がある方は以下の設定をします。特に難しいことはありません。
User Preferences → Interfaceタブ
Translationにチェックを入れて、LangageをJapaneseに設定
Tooltips、Interface、New Data3つすべてをONにし、ユーザー設定の保存をクリックします。
なお、現時点でのバージョンではエディタ上で日本語は直接入力ができません。必要な時は他のテキストエディタで入力した文字をコピペします。
3.blender上でのPythonの使い方
blender上でPythonコードを実行しエラーが発生した場合は、コンソール画面を表示する必要があります。
コンソール画面を表示するには
Windowsの場合
上部のWindowメニューからToggle System Consoleをクリックし、コンソール画面を表示します。
Macの場合
blenderの起動をアイコンをダブルクリックするのではなく、ターミナルから以下のコマンドを入力してblenderを起動してください。
/Applications/blender.app/Contents/MacOS/blender
(アプリフォルダの位置(/Applications/blender.app)は環境によって変わります)
3.要素の基本的な構成
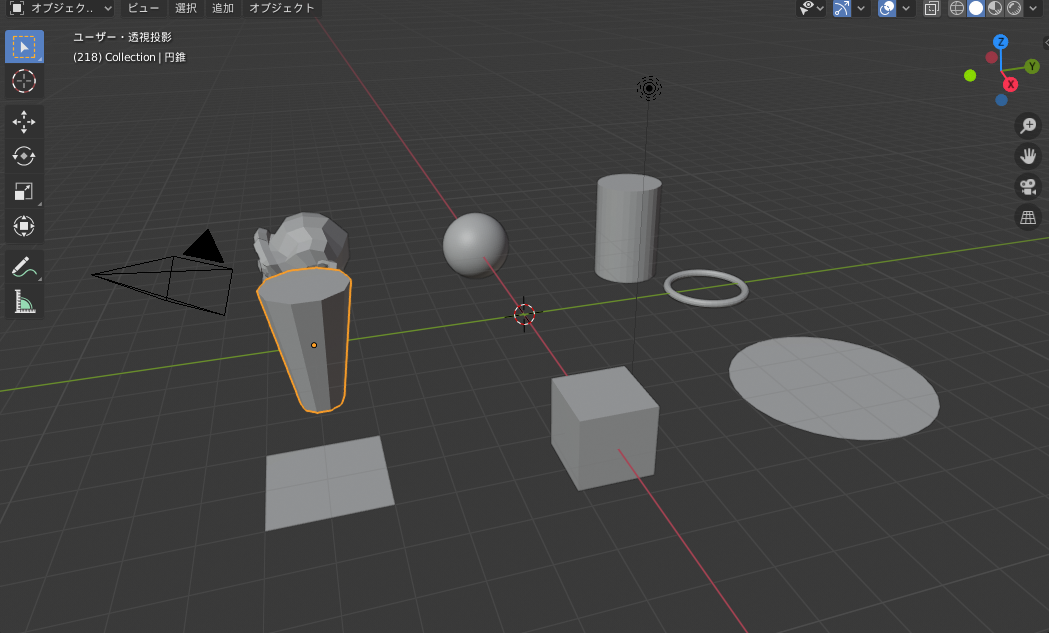
blenderはプリミティブと呼ばれる要素を配置します。
import bpy  # blenderインポート

# 1.円柱location:図形の中心座標 radius:円の半径 depth:高さ rotation:立体の回転角(rad)
bpy.ops.mesh.primitive_cylinder_add(location=(-5, 5, 0), radius=1, depth=3, rotation=(0, 0, 0))

# 2.立方体 location:図形の中心座標 size:立方体の一辺の長さ rotation:立体の回転角(rad)
bpy.ops.mesh.primitive_cube_add(location=(5, 0, 0), size=1.5, rotation=(0, 0, 0))

# 3.球体 location:図形の中心座標  radius :球の半径 subdivisions:分割数
bpy.ops.mesh.primitive_ico_sphere_add(location=(-5, 0, 0), radius=1, subdivisions=5)

# 4.monkey location:図形の中心座標  size:サイズ
bpy.ops.mesh.primitive_monkey_add(location = (-5, -5, 0), size = 3.0)

# 5.ドーナツ形 location:図形の中心座標 major_radius:輪の半径 minor_radius:筒の半径 rotation:立体の回転角(rad)
bpy.ops.mesh.primitive_torus_add(location=(0, 5, 0), major_radius=1.0, minor_radius=0.1, rotation=(0, 0, 0))

# 6.平板(円) location:図形の中心座標 fill_type:塗りつぶし radius:半径 rotation:立体の回転角(rad)
bpy.ops.mesh.primitive_circle_add(location=(5, 5, 0), fill_type="NGON", radius=2, rotation=(0, 0, 0))

# 7.平板(正方形) location:図形の中心座標  size :辺の長さ rotation:立体の回転角(rad)
bpy.ops.mesh.primitive_plane_add(location=(5, -5, 0), rotation=(0, 0, 0), size=2)

# 8.多角錐 location:図形の中心座標 vertices:頂点の数 radius1,radius2:円の半径 depth:高さ rotation:立体の回転角(rad)
bpy.ops.mesh.primitive_cone_add(location=(0,-5,0),vertices=10,radius1=0.5,radius2=1,depth=3, rotation=(0, 0, 0))
4.様々なモデリング
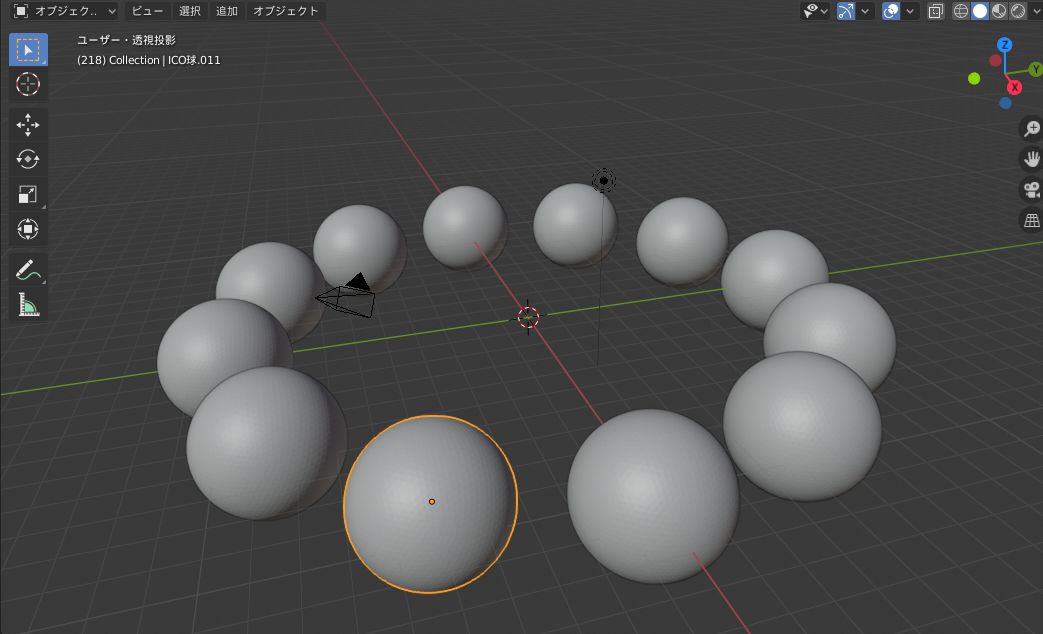
4.1 ループによる球体描画
import bpy
import math

# 既存要素削除
for item in bpy.data.meshes:
    bpy.data.meshes.remove(item)

N = 12
RR1 = 10.0
RR2 = 2.0
for i in range(0, N):
    rad = 2 * math.pi * i /N  # 角度計算2π i /n
    xx = RR1 * math.cos(rad) # x座標計算 半径*cosθ
    yy = RR1 * math.sin(rad) # y座標計算 半径*sinθ
    # 球体作成
    bpy.ops.mesh.primitive_ico_sphere_add(location=(xx, yy, 0),radius= RR2, subdivisions = 5 )
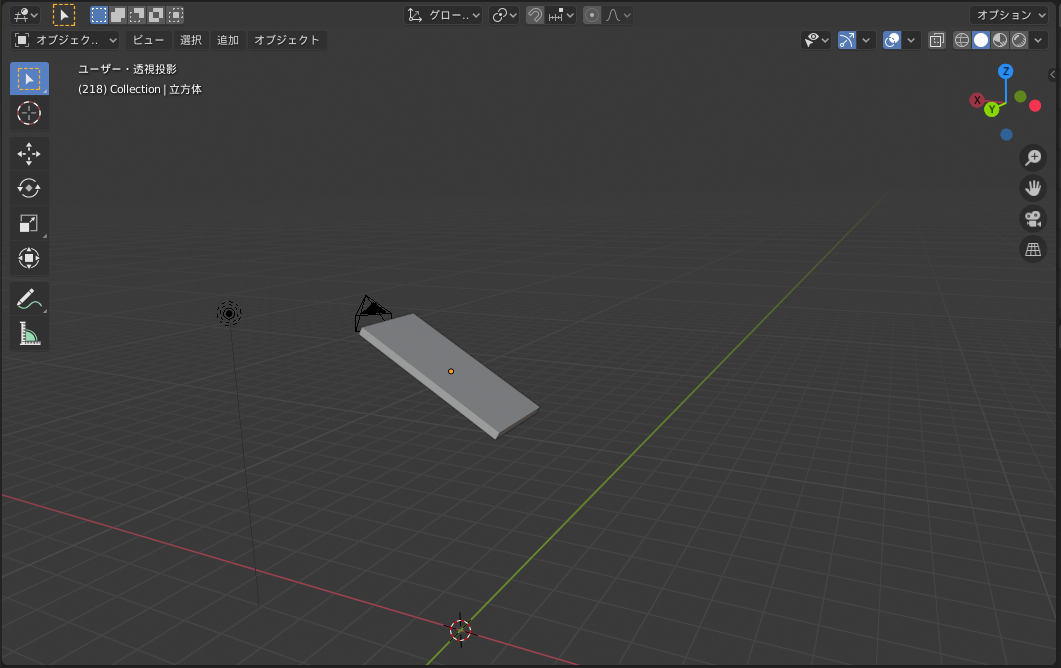
4.2 プリミティブの変形・回転・移動
import bpy

# 既存要素削除
for item in bpy.data.meshes:
    bpy.data.meshes.remove(item)
# 立方体の描画
bpy.ops.mesh.primitive_cube_add(location=(0, 0, 0), size=1.5, rotation=(0, 0, 0))
# 図形を変形(X方向2倍、Y方向1倍、厚さ方向0.5倍)
bpy.ops.transform.resize(value=(2.0,1.0,0.1))
# 図形を回転(Y軸周りに 30°)
bpy.ops.transform.rotate(value=3.1415/6 ,orient_axis='Y')
# 図形を移動(Z軸方向に 5移動)
bpy.ops.transform.translate(value=(0,0,5))
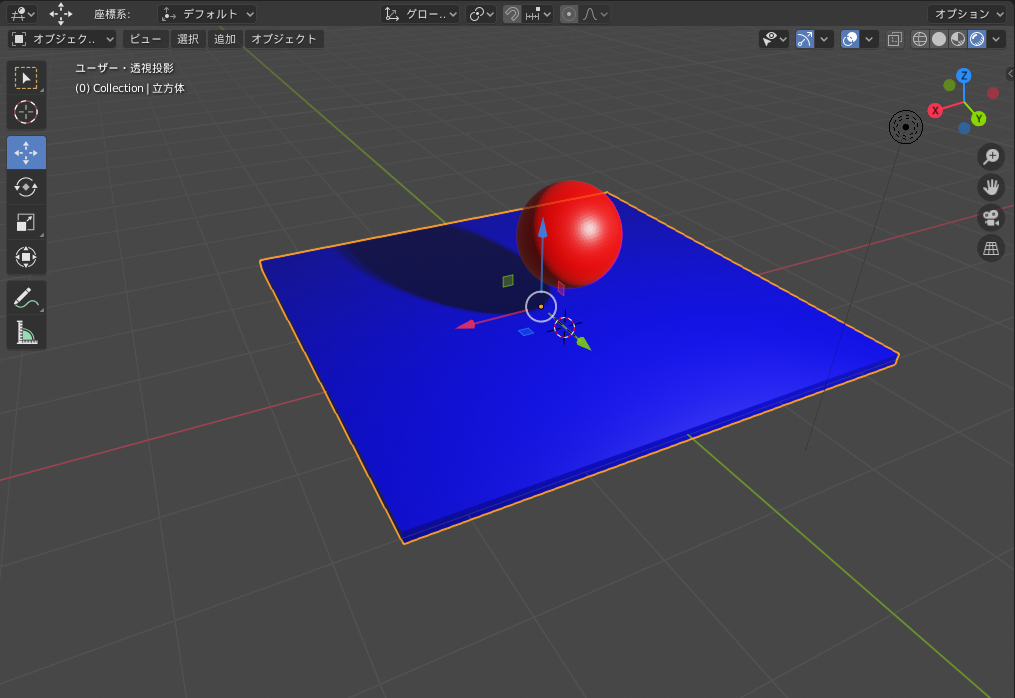
4.3 材質の設定
import bpy

# 1.既存要素削除
for item in bpy.data.meshes:
    bpy.data.meshes.remove(item)

# 2.材質の定義(赤色)
mat1 = bpy.data.materials.new('Red')
mat1.diffuse_color = (1.0, 0.0, 0.0, 1.0)

# 3.材質の定義(青色)
mat2 = bpy.data.materials.new('blue')
mat2.diffuse_color = (0.0, 0.0, 1.0, 1.0)

# 4.球体作成
bpy.ops.mesh.primitive_ico_sphere_add(location=(0, 0, 1), radius = 0.5, subdivisions=5 )
bpy.context.object.data.materials.append(mat1) # 材質(赤)指定

# 5.平板作成
bpy.ops.mesh.primitive_cube_add(location=(0, -0.5, 0), size=2.5)
bpy.ops.transform.resize(value=(2.0,2.0,0.05)) # 図形を変形(X方向2倍、Y方向2倍、厚さ方向0.05倍)
bpy.context.object.data.materials.append(mat2) # 材質(青)指定
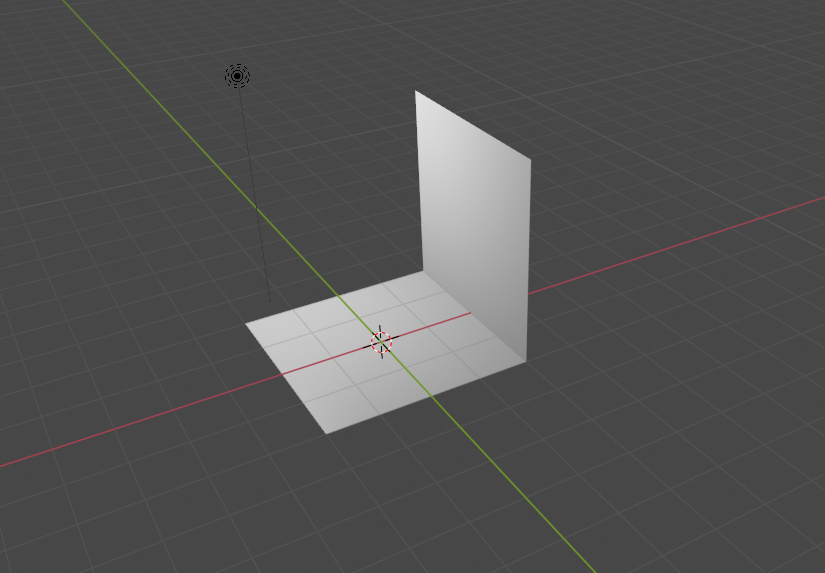
4.4 メッシュの作成1
import bpy

# 既存要素削除
for item in bpy.data.meshes:
    bpy.data.meshes.remove(item)

# 頂点データの作成
verts = [[-2.0, -2.0, 0.0], [-2.0, 2.0,  0.0], [2.0, 2.0,  0.0] , [2.0, -2.0,  0.0], [2.0, -2.0, 4.0] , [2.0, 2.0, 4.0]  ]
# 面データの作成
faces = [[0,1,2,3], [2,3,4,5]]

msh = bpy.data.meshes.new("cubemesh") #Meshデータの宣言
msh.from_pydata(verts, [], faces) # 頂点座標と各面の頂点の情報でメッシュを作成
obj = bpy.data.objects.new("cube", msh) # メッシュデータでオブジェクトを作成
bpy.context.scene.collection.objects.link(obj) # シーンにオブジェクトを配置
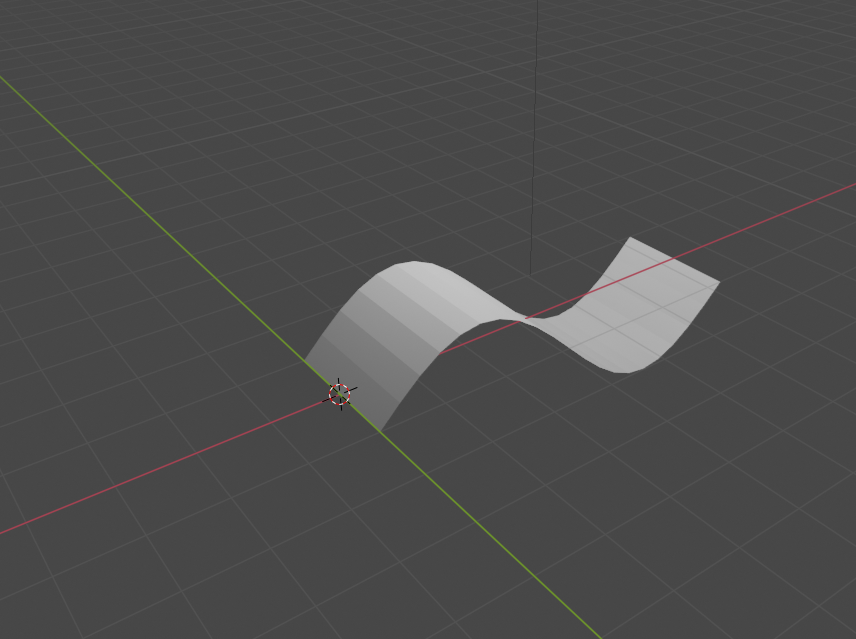
4.5 メッシュの作成2
import bpy
import math

# 既存要素削除
for item in bpy.data.meshes:
    bpy.data.meshes.remove(item)

# 頂点の作成
verts = []
for i in range(0,21):
    x = 2 *math.pi / 20 * i
    verts.append([x, -1, math.sin(x)])

for i in range(0,21):
    x = 2 * math.pi / 20 * i
    verts.append([x,  1, math.sin(x)])

# 面データの作成
faces = []
for i in range(0,20):
    faces.append([i, i+1, i+22, i+21])

msh = bpy.data.meshes.new("sinmesh")
msh.from_pydata(verts, [], faces)
obj = bpy.data.objects.new("sin", msh)
bpy.context.scene.collection.objects.link(obj)
5.最後に
Blenderもオープンソースのフリーウェアなのでモデリングをするには悪くありません。
2.7から2.8の仕様変更が衝撃的だったので、これ以上blenderに深入りしないことにしました。
