はじめに
VueのaxiosでAWS Lambdaで作成したAPIを実行してみました。
大まかな流れは以下のとおりです。
- Lambda関数の作成
- API Gatewayの設定
- Pythonから叩く
- CORSの設定
- VueからAPIを叩く
では、やっていきましょう。
開発環境
- Windows 11
- Vue 2.7.14
- Node.js 14.17.5
- Python 3.11.0
実装
1.Lambda関数の作成
AWS Management Consoleにサインインして、Lambdaサービスを開きます。
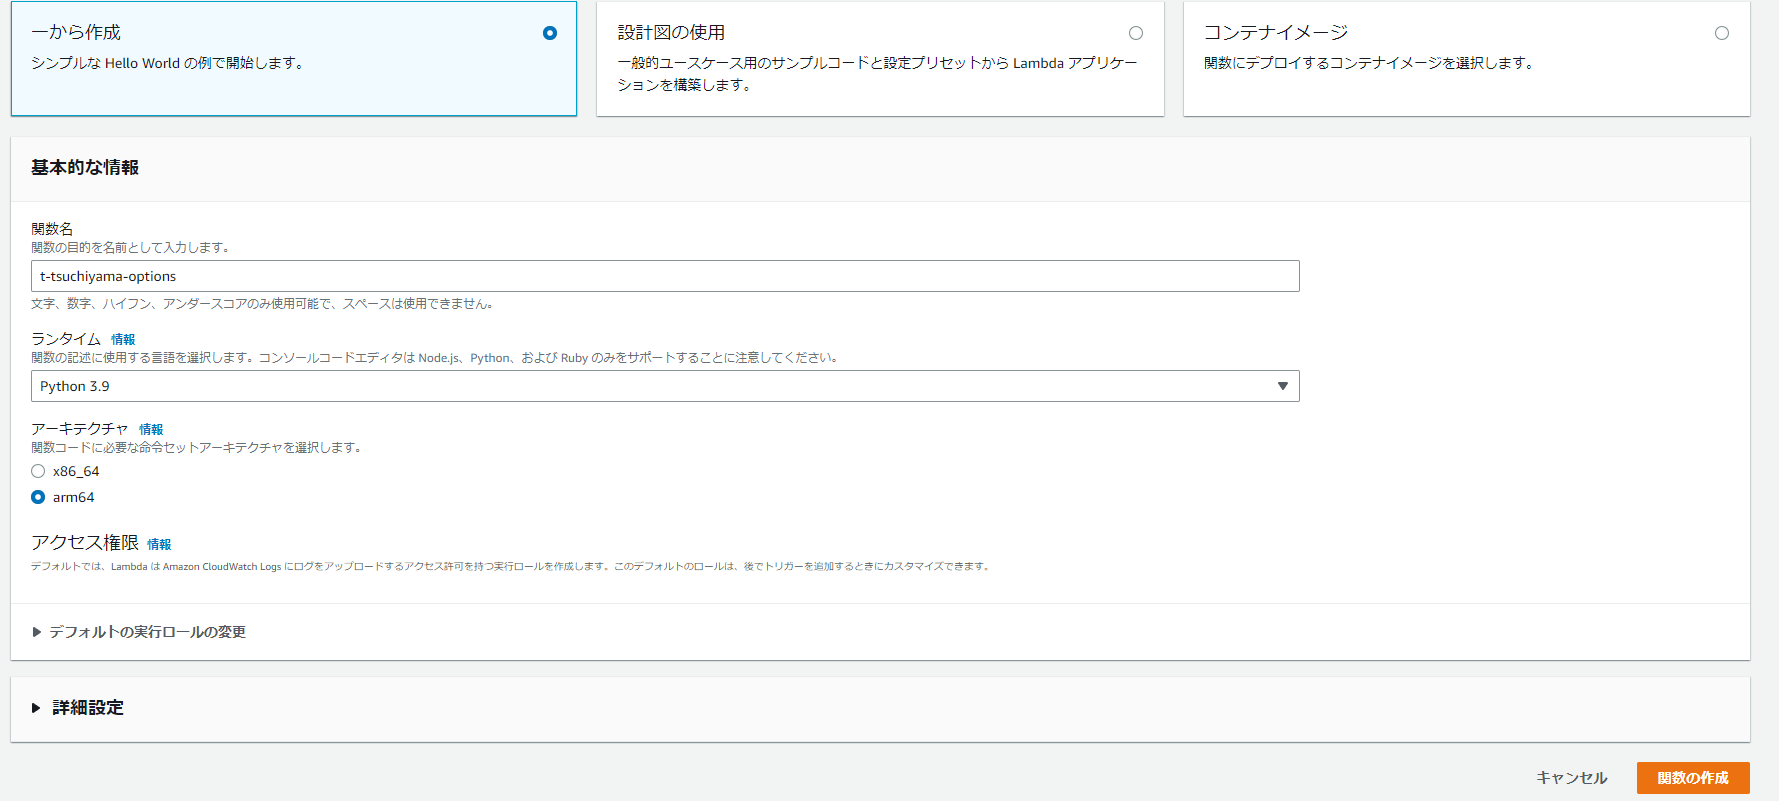
「関数の作成」ボタンをクリックし、必要な情報を入力していきます。
今回は、t-tsuchiyama-helloworldという関数を作成しました。
t-tsuchiyama-helloworldのlambda_function.pyの中身は以下のとおりです。
import json

def lambda_handler(event, context):
    return {
        'statusCode': 200,
        'body': json.dumps('Hello from Lambda!'),
    }
2.API Gatewayの設定
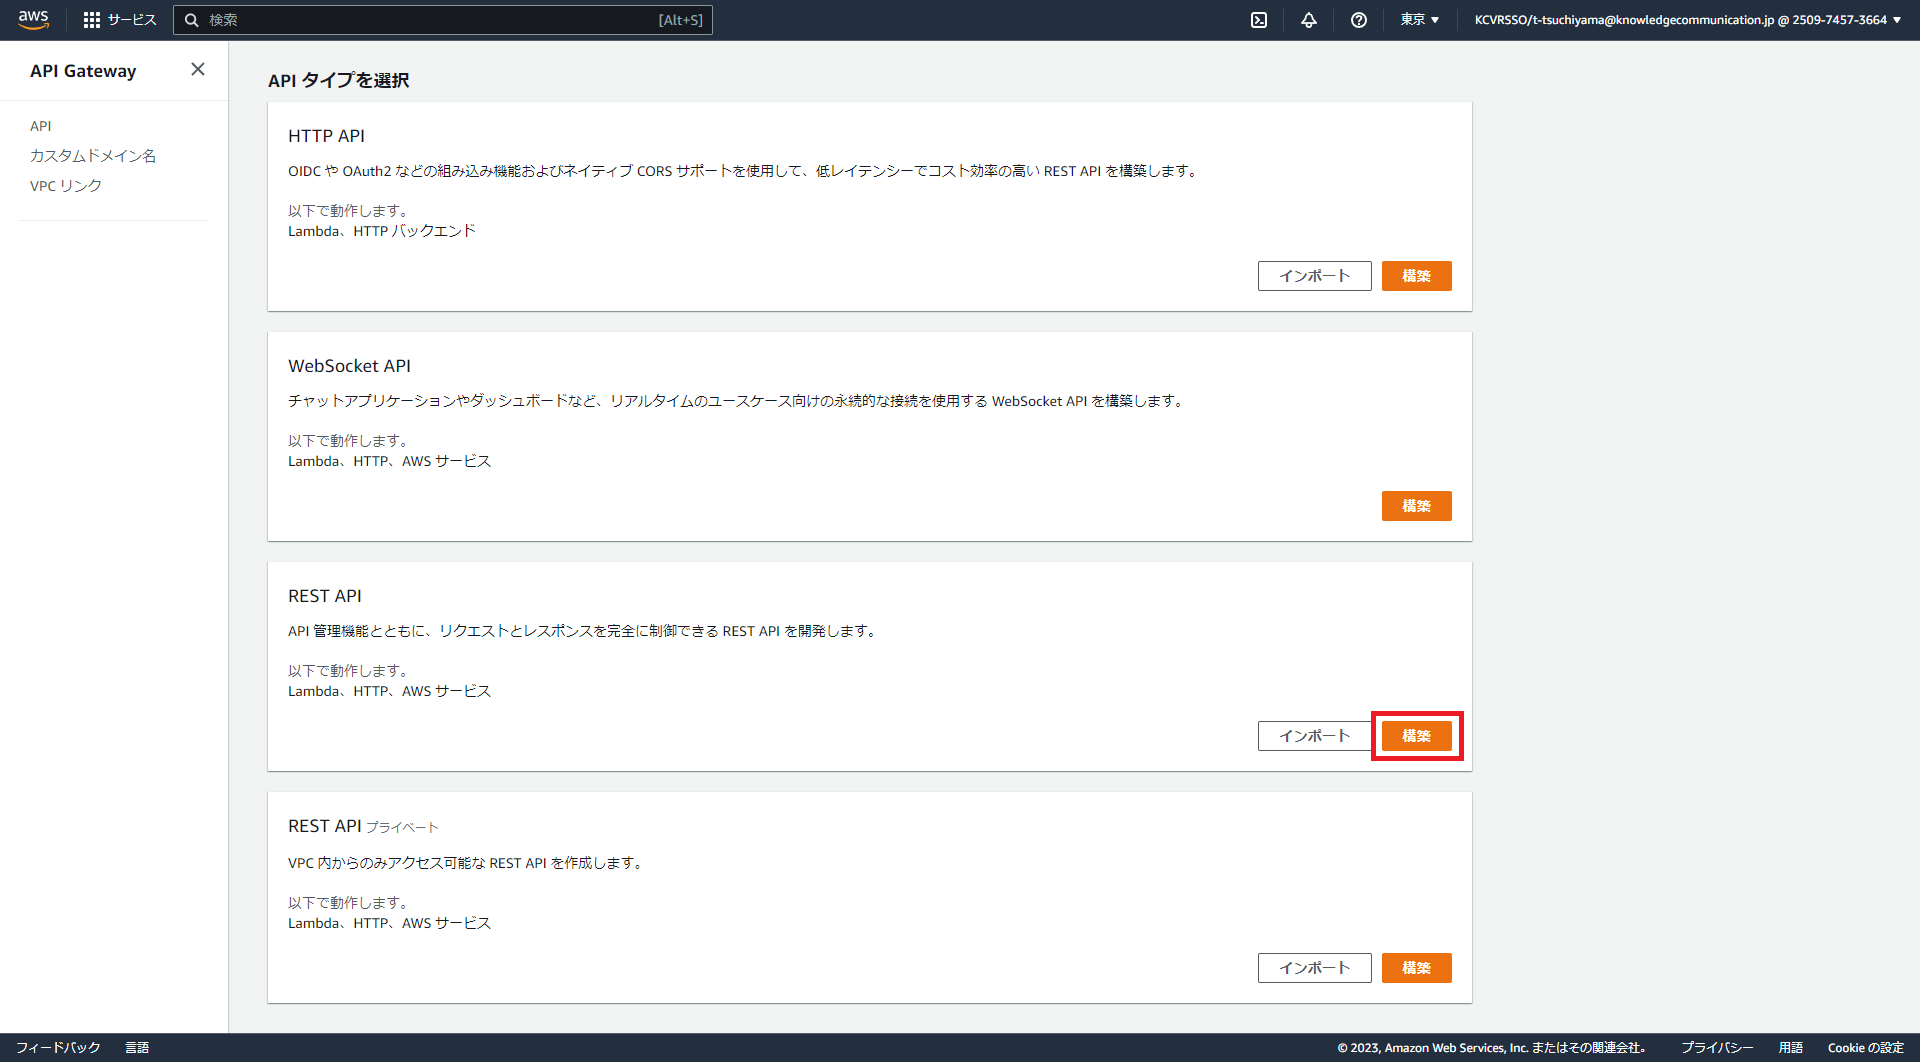
API Gatewayサービスを開き、「APIの作成」をクリックします。
APIタイプは「REST API」を選択し、「構築」をクリックします。
API名を入力し、「APIの作成」をクリックします。
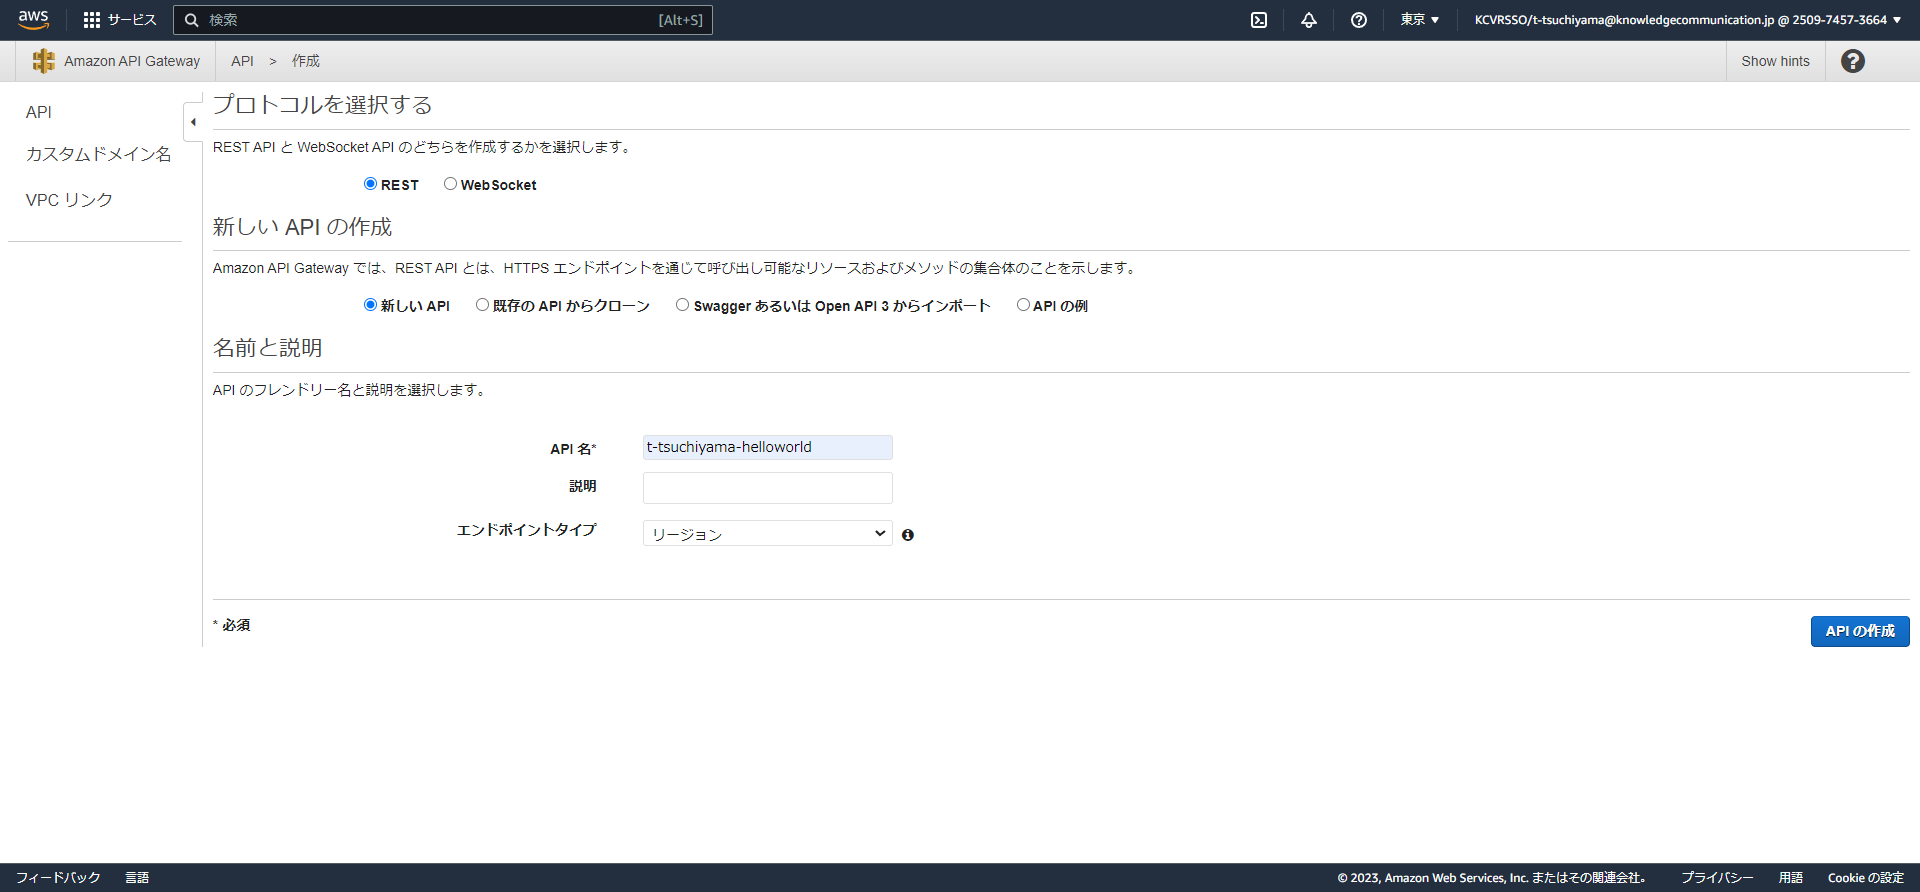
私は、「t-tsuchiyama-helloworld」というAPIを作成しました。
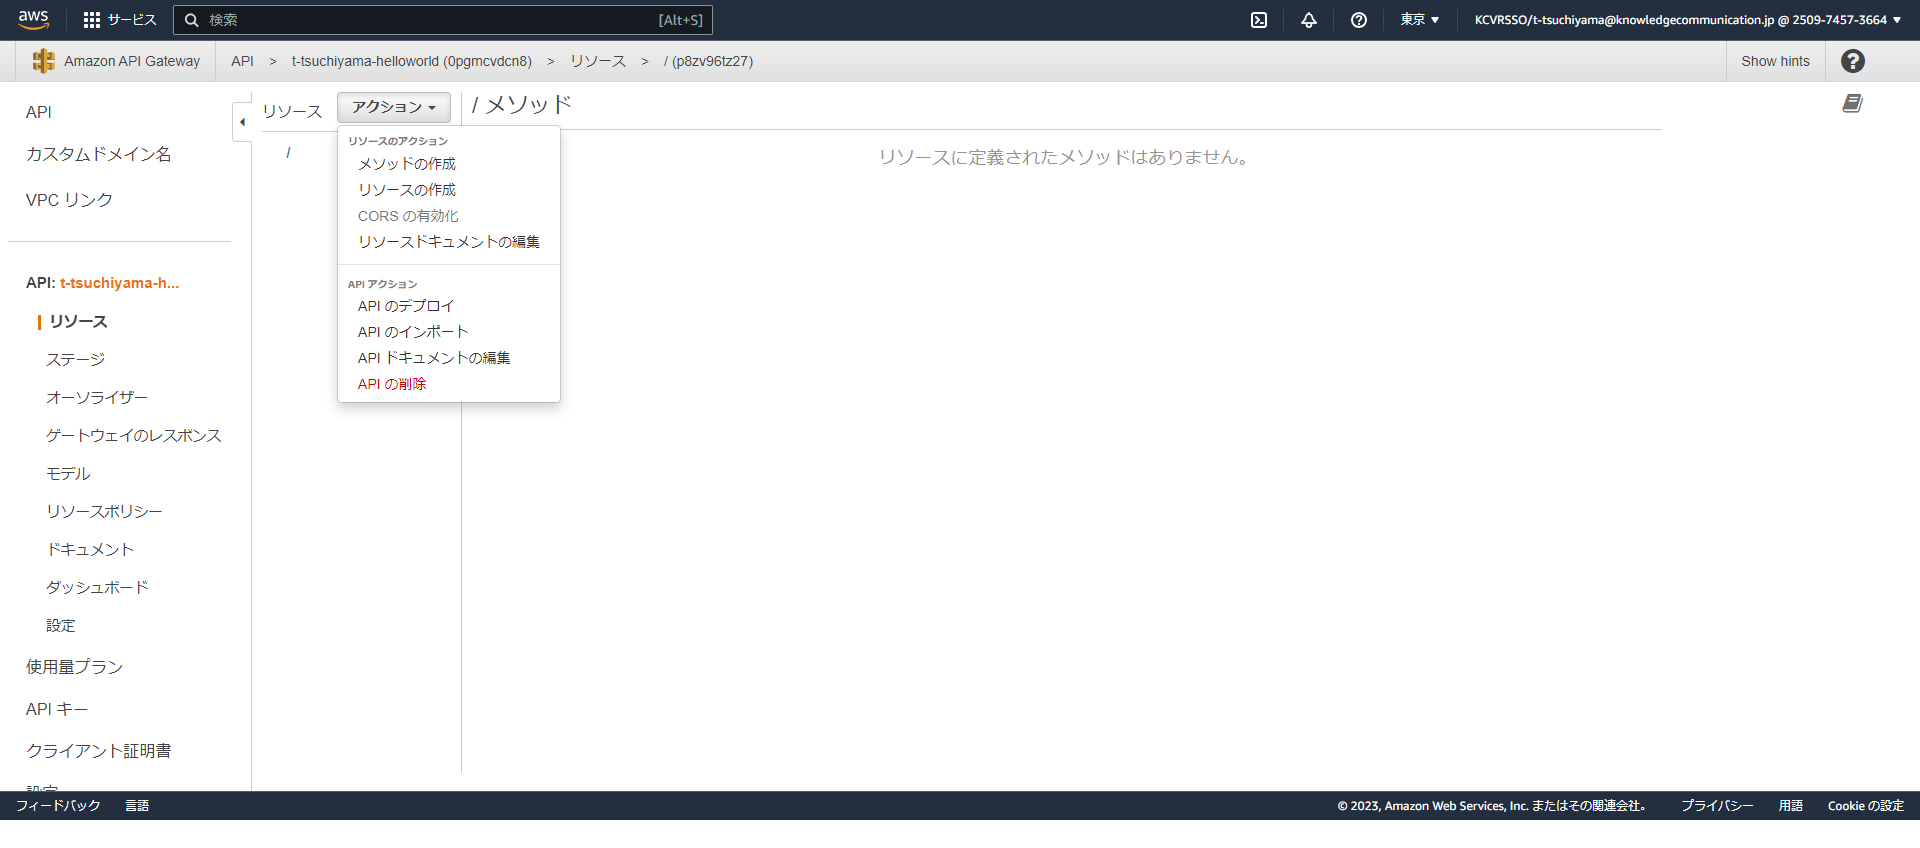
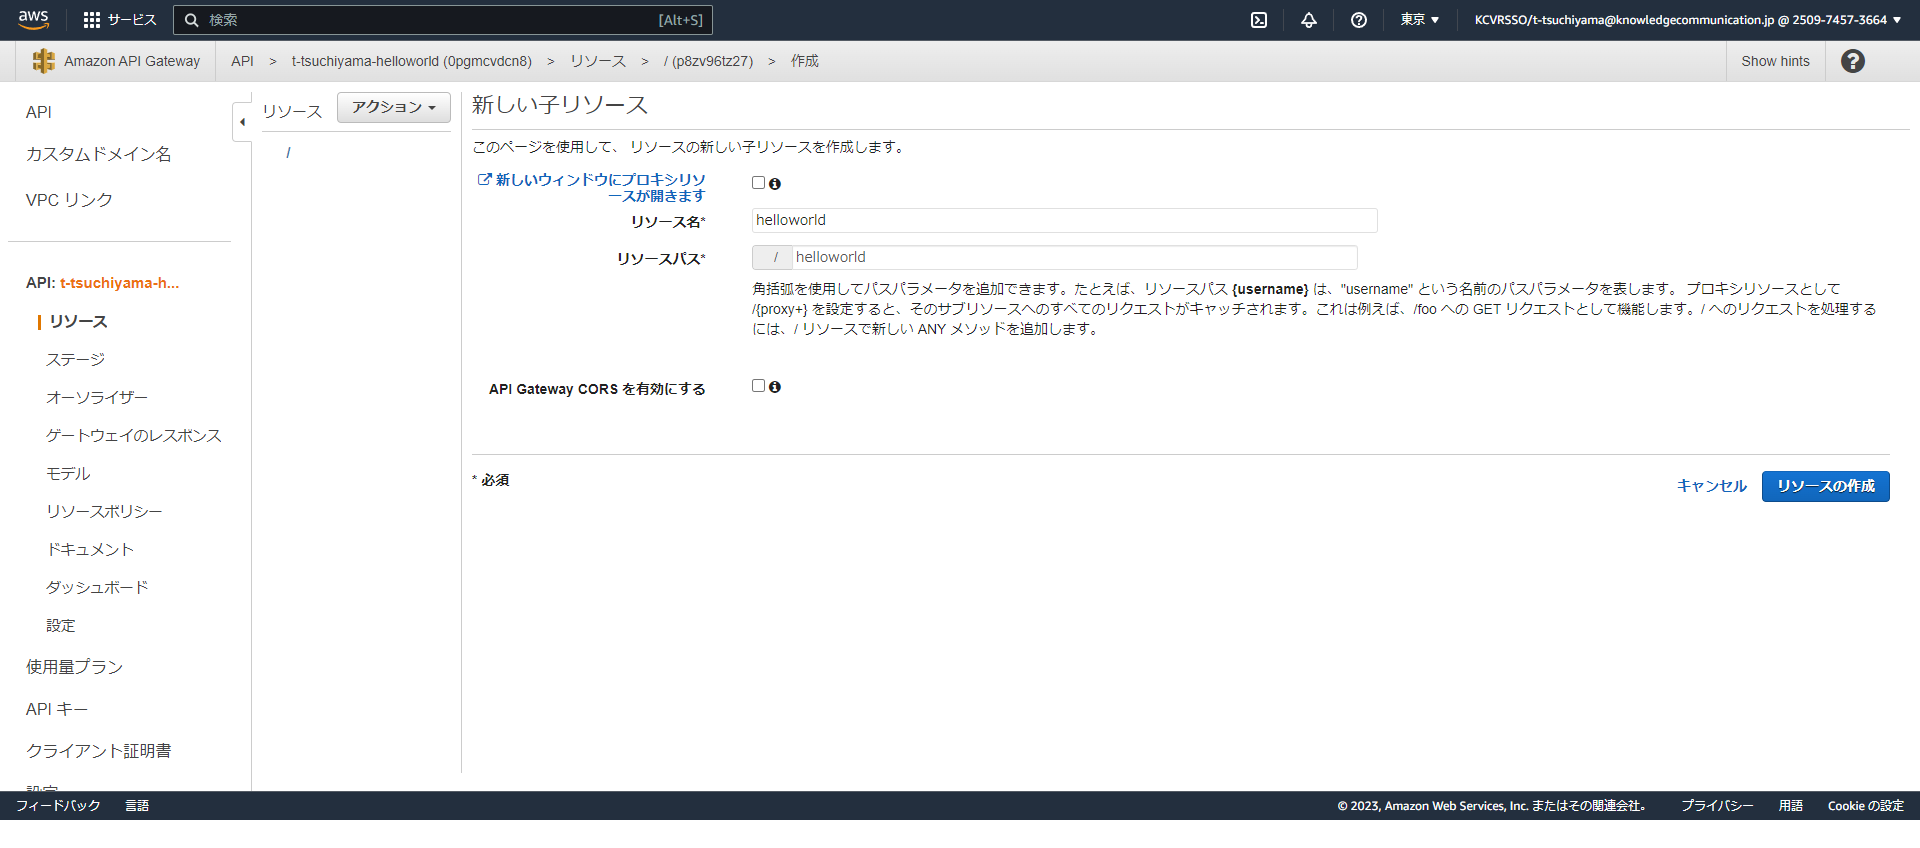
作成したAPIのアクションから「リソースの作成」をクリックします。
リソース名を入力し、「リソースの作成」をクリックします。
私は「helloworld」にしました。
作成したリソースを選択した状態で、アクションから「メソッドの作成」をクリックします。
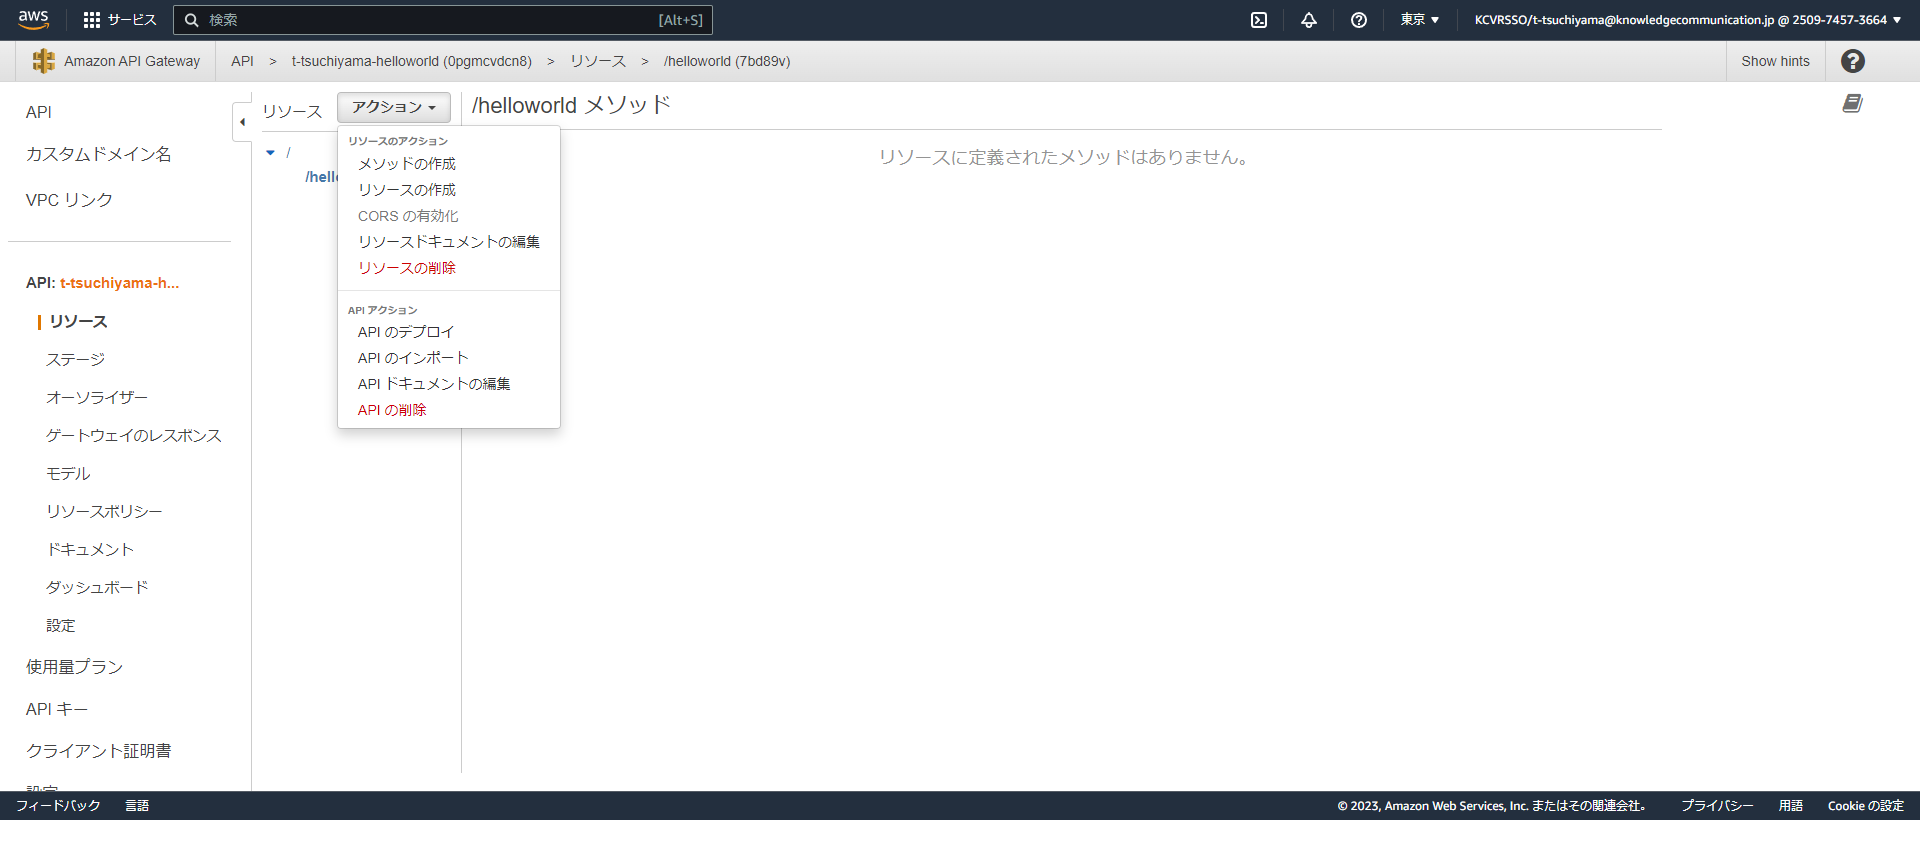
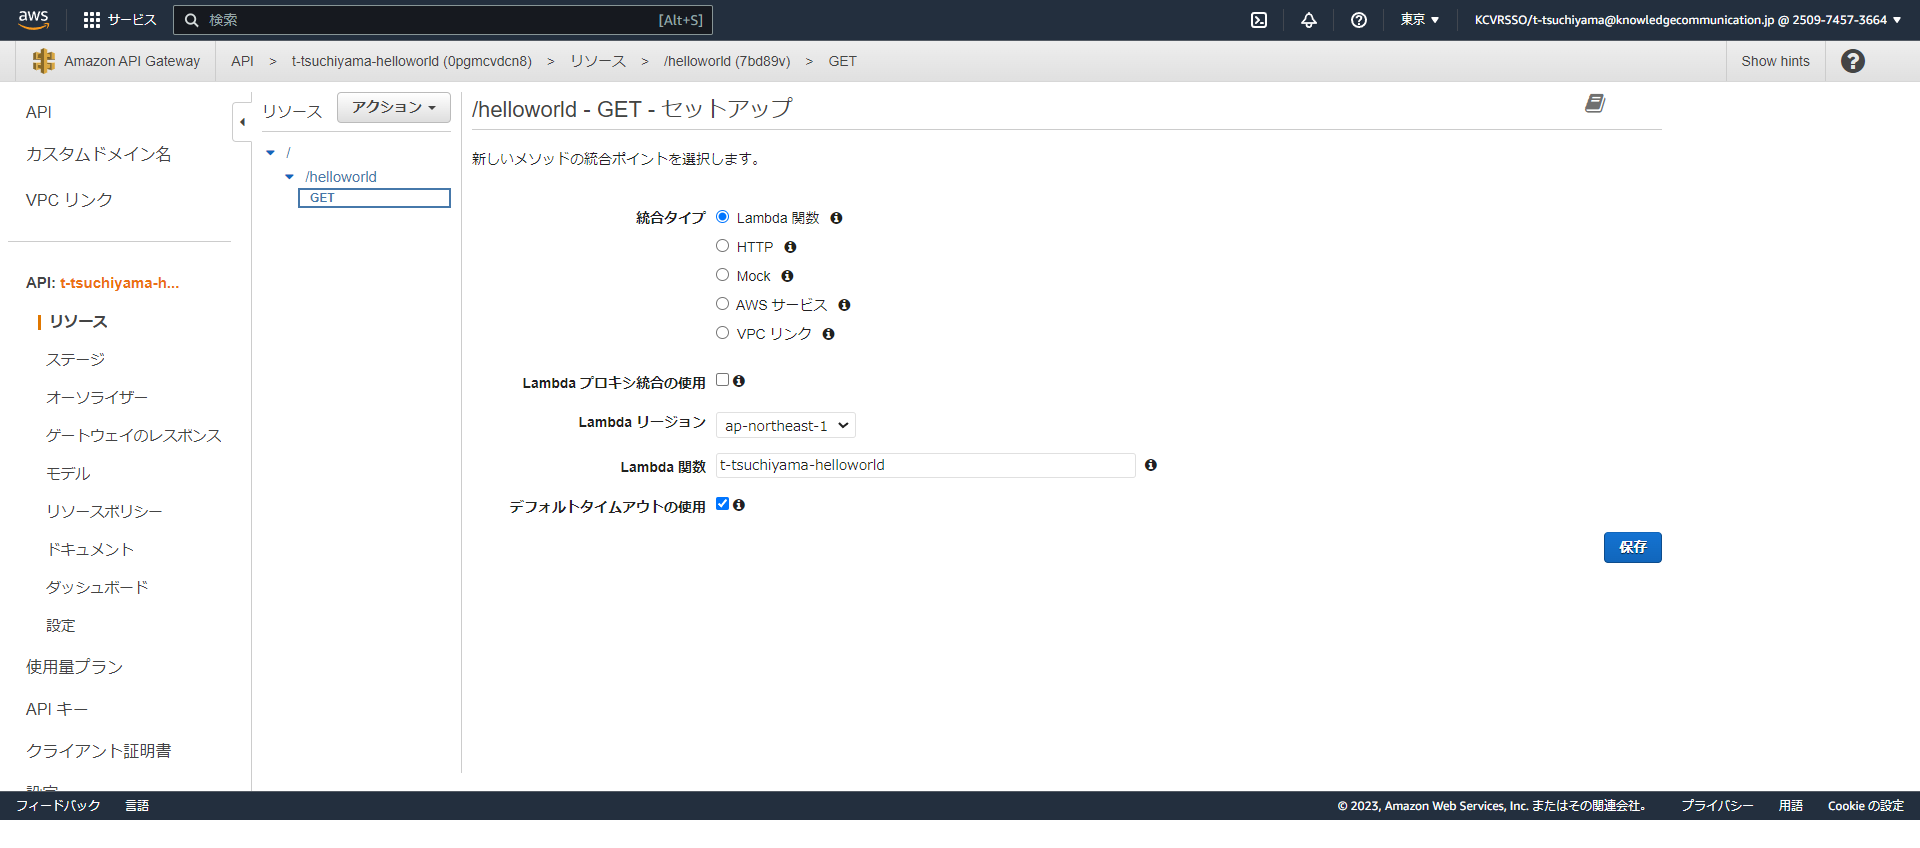
GETを選択し、チェックマークを入れます。
セットアップ画面のLambda関数で先ほど作成したt-tsuchiyama-helloworld関数を紐付けて「保存」ボタンをクリックします。
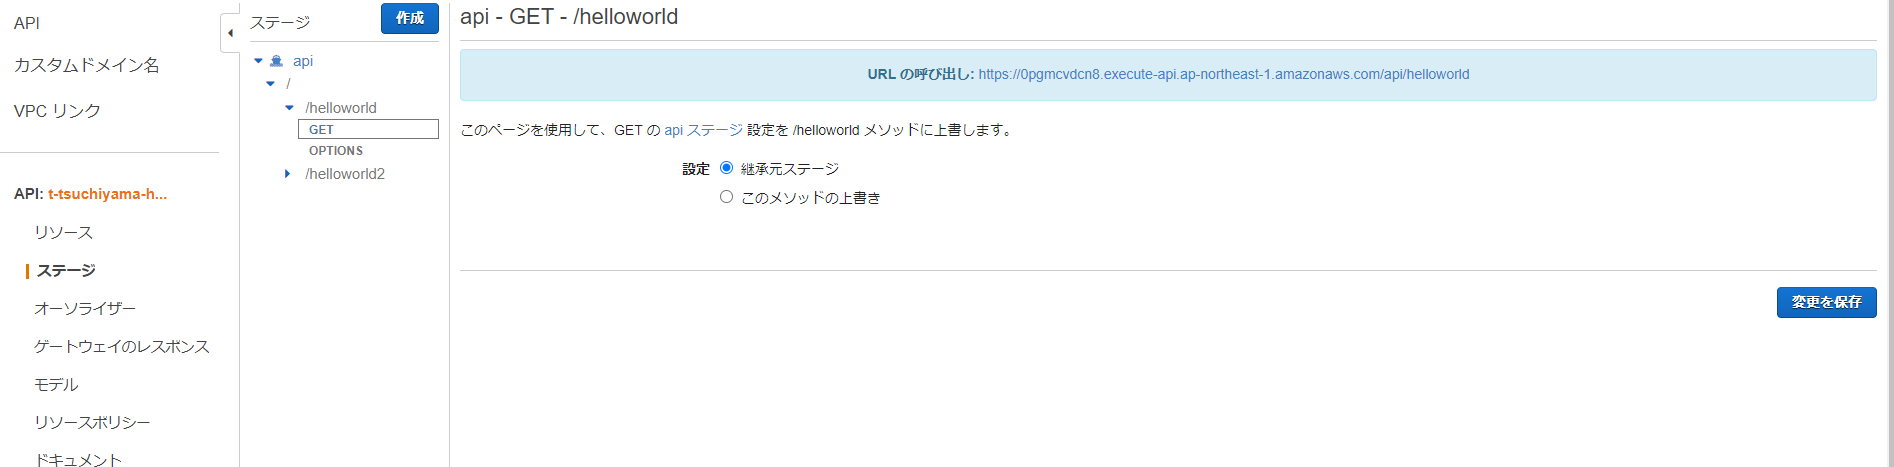
アクションから「APIのデプロイ」を選択し、デプロイされるステージ名を選択します。
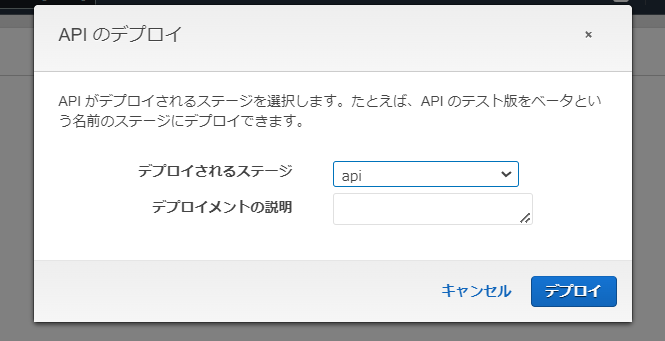
URLは「ステージ」欄を選択すると確認することができます。
3.Pythonから叩く
以下のようなPythonファイルで作成したAPIを叩くことができます。
import requests

url = "https://0pgmcvdcn8.execute-api.ap-northeast-1.amazonaws.com/api/helloworld"
response = requests.get(url)
print(response.status_code)
print(response.text)
実行すると、「Hello from Lambda!」が表示されます。
4.VueからAPIを叩く
次はVueからAPIを叩いてみましょう。
前回の記事に従ってVueアプリを作成し、「HelloWorld.vue」を以下のように書き換えます。
前回の記事は以下のとおりです。
<template>
  <div>
    {{ item }}
  </div>
</template>

<script>
import axios from 'axios';

export default {
  data() {
    return {
      item: ""
    };
  },
  created() {
    axios
      .get('https://0pgmcvdcn8.execute-api.ap-northeast-1.amazonaws.com/api/helloworld')
      .then(response => {
        this.item = response.data;
      })
      .catch(error => {
        console.error(error);
      });
  }
}
</script>

<!-- Add "scoped" attribute to limit CSS to this component only -->
<style scoped>
h3 {
  margin: 40px 0 0;
}
ul {
  list-style-type: none;
  padding: 0;
}
li {
  display: inline-block;
  margin: 0 10px;
}
a {
  color: #42b983;
}
</style>
コードを実行すると以下のようなエラーが出ました。

このエラーを解決するためには、CORSの設定をする必要があります。
まずは、先ほど作成したt-tsuchiyama-helloworld関数と同じ手順でt-tsuchiyama-optionsという関数を作成します。
t-tsuchiyama-optionsのlambda_function.pyは以下の通りです。
import json

def lambda_handler(event, context):
    return {
       'statusCode': 200,
       'body': '',
       'headers': {
            'Access-Control-Allow-Headers': '*',
            'Access-Control-Allow-Origin': '*',
            'Access-Control-Allow-Methods': '*'
        }
    }
API画面に戻り、アクションから「メソッドの作成」をクリックします。
OPTIONSを選択し、チェックマークを入れます。
セットアップ画面のLambda関数で先ほど作成したt-tsuchiyama-options関数を紐付けて「保存」ボタンをクリックします。
加えて、t-tsuchiyama-helloworldの中身にもheaderの中身を追加する必要があります。
追加後のt-tsuchiyama-helloworldのlambda_function.pyは以下のとおりです。
import json

def lambda_handler(event, context):
    return {
        'statusCode': 200,
        'body': json.dumps('Hello from Lambda!'),
        'headers': {
            'Access-Control-Allow-Headers': '*',
            'Access-Control-Allow-Origin': '*',
            'Access-Control-Allow-Methods': '*'
        }
    }
追加して実行すると、「Hello from Lambda!」が表示され、無事にAPIを呼び出すことができました!

まとめ
初めてだったので少し手こずったところはありましたが、記事を見返すとこんなにも簡単にAPIを実行できることがわかりました。
今後、どんどんAPIを使って開発を行っていきます!