Android Things DeveloperPreview 2でNDKを使ったNative PIOがAndroid Things Native Libraryとして提供され、JavaのPIO APIと同等に、GPIO/PWM/I2C/SPI/UART上の周辺装置をC/C++で制御できるようになりました。
I/F
Callbackを除き、JavaのPIO APIメソッドと同等のファンクションが用意されています。第一引数はオブジェクト指向言語のインスタンスにあたるstructポインタ(その構造を知る必要はなく実装は隠蔽されている)を渡すようになっており、第二引数以降はJavaのPIO APIと同じか、getterの戻り値を出力パラメータとして追加しています。
例)Gpio
boolean getValue()
void setValue(boolean value)
int AGpio_getValue(const AGpio* gpio, int* value);
int AGpio_setValue(const AGpio* gpio, int value);
JavaのCallbackにあたる部分は、NDKのLooperを利用して定期的にポーリングするか、割り込みを検知します。
    while (!app->destroyRequested) {
        android_poll_source* source;
        // wait indefinitly for an interrupt or a lifecycle event.
        int pollResult = ALooper_pollOnce(-1, NULL, NULL, (void**)&source);
サンプルプロジェクト
Android Things Native Libraryを使ったサンプルプロジェクトsample-nativepioも用意されています。しかし、blink/button/speakerの3つのサンプルが抱き合わせだったり、SystemプロパティもNativeで取得していたりして、なかなかエッセンスを抽出しずらいので、blinkのblink.cppだけ流用して一から最小構成のプロジェクトをRaspberry Pi3用に作成してみました。
尚、Android Things Native Libraryのリンク以外は、NDKを使用した通常のNativeプロジェクト(モジュール)作成手順と同様です。
プロジェクトの作成
Add C and C++ Code to Your Projectを参考にプロジェクトを作成します。
準備
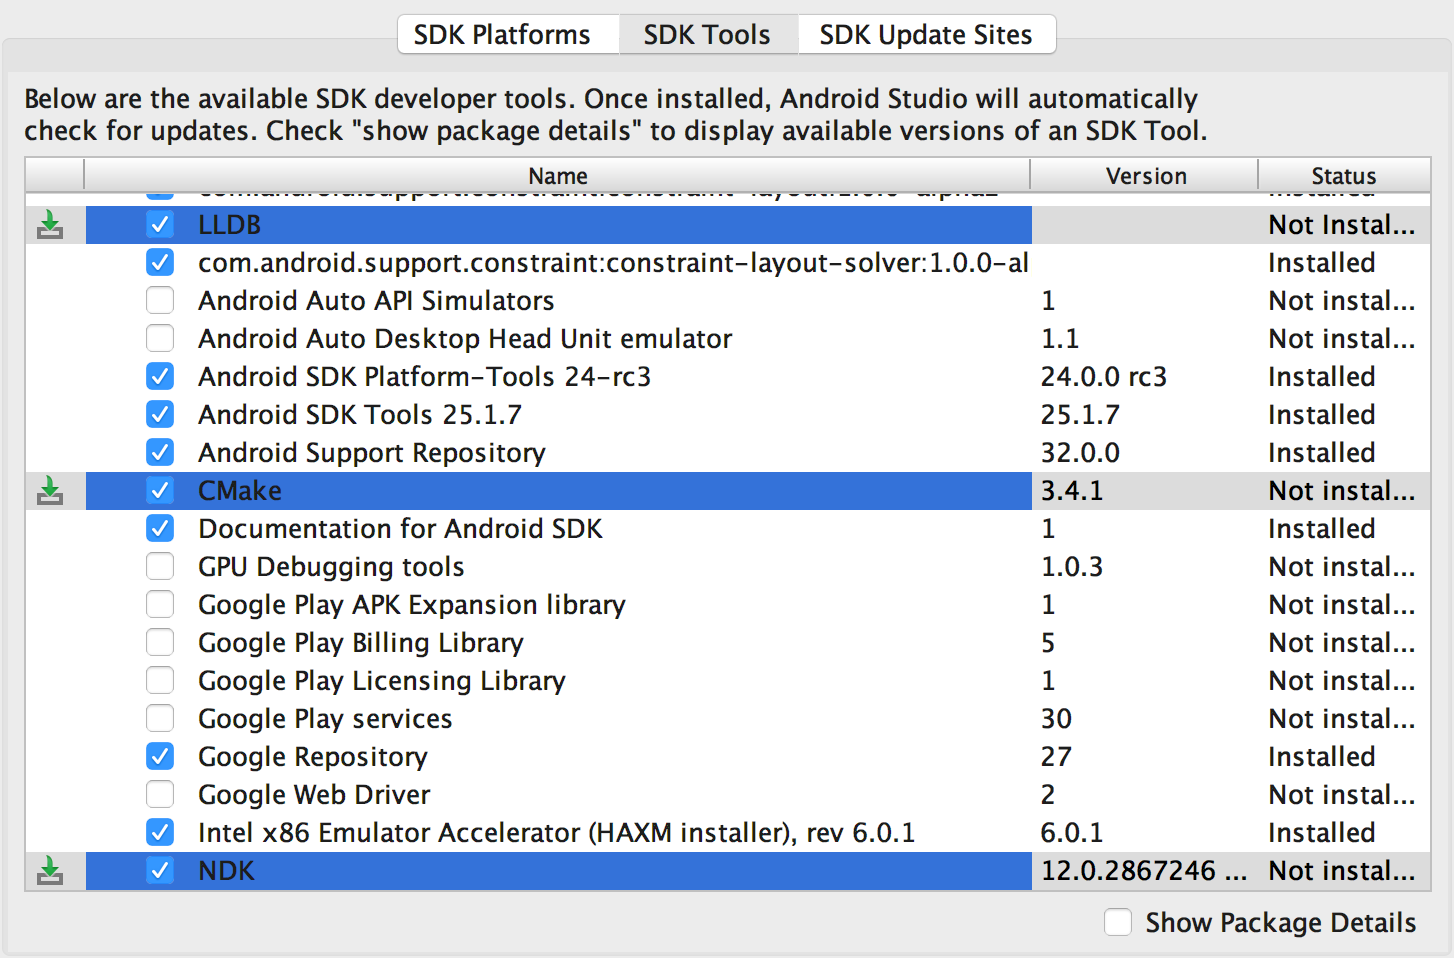
SDKマネージャからNDK、CMake、LLDBをダウンロードしておきます。
作成
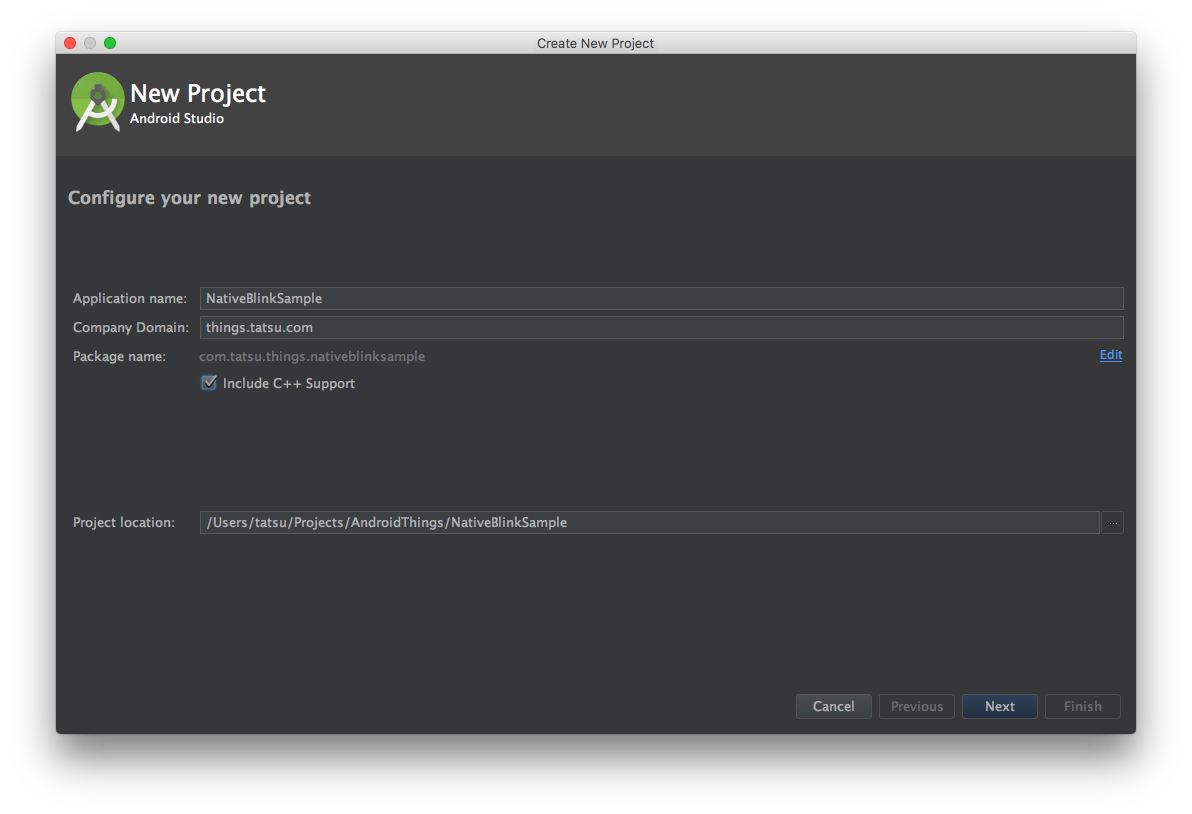
Configure your new projectで、Include C++ Supportをチェックします。
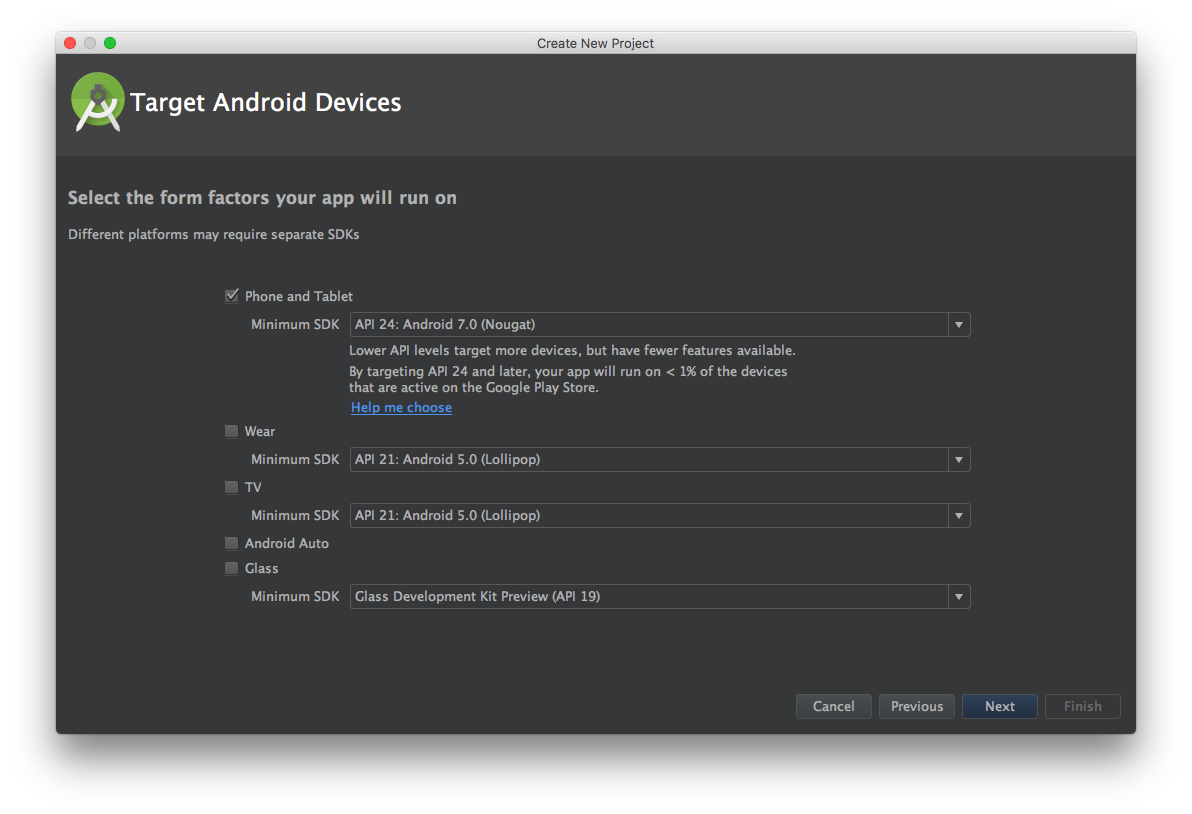
APIバージョンは、Developer PreviewのAPIバージョンである24以上にします。
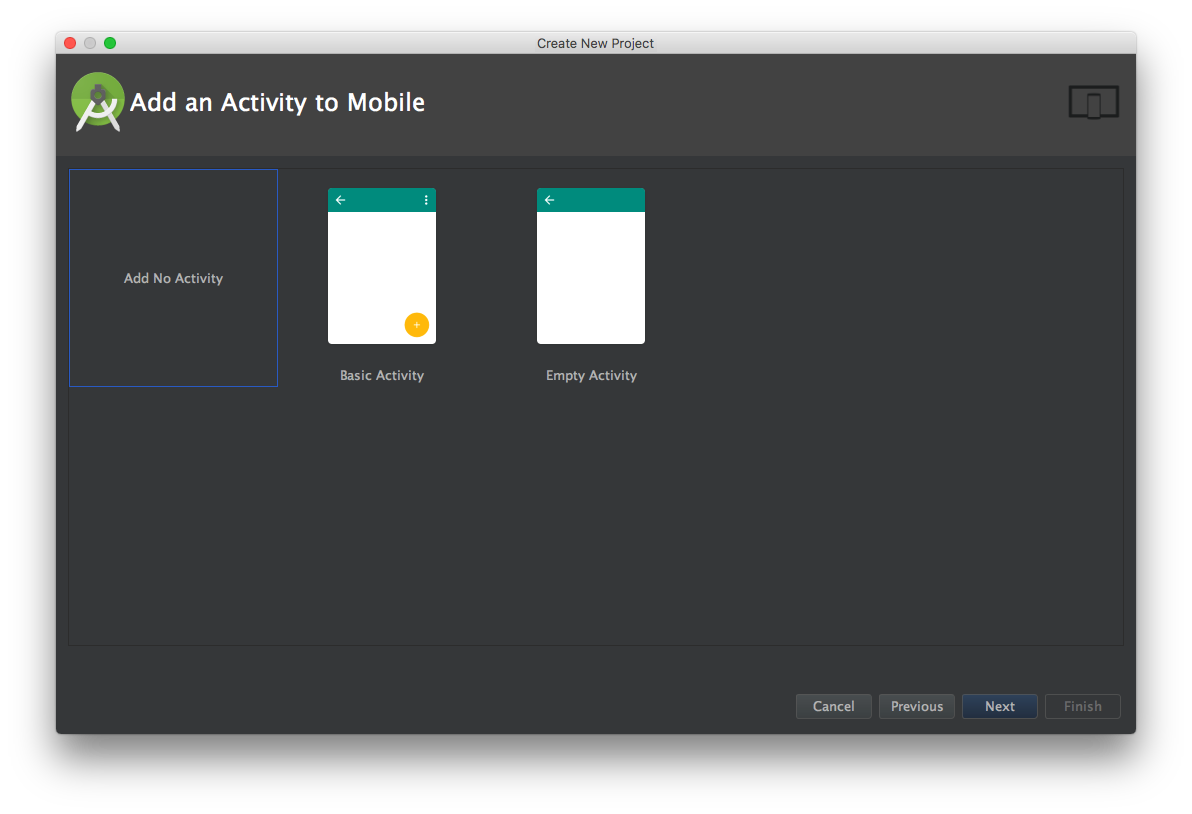
純粋なネイティブアプリのために用意されているNativeActivityを後で指定するので、ここではAdd No Activityを選択します。
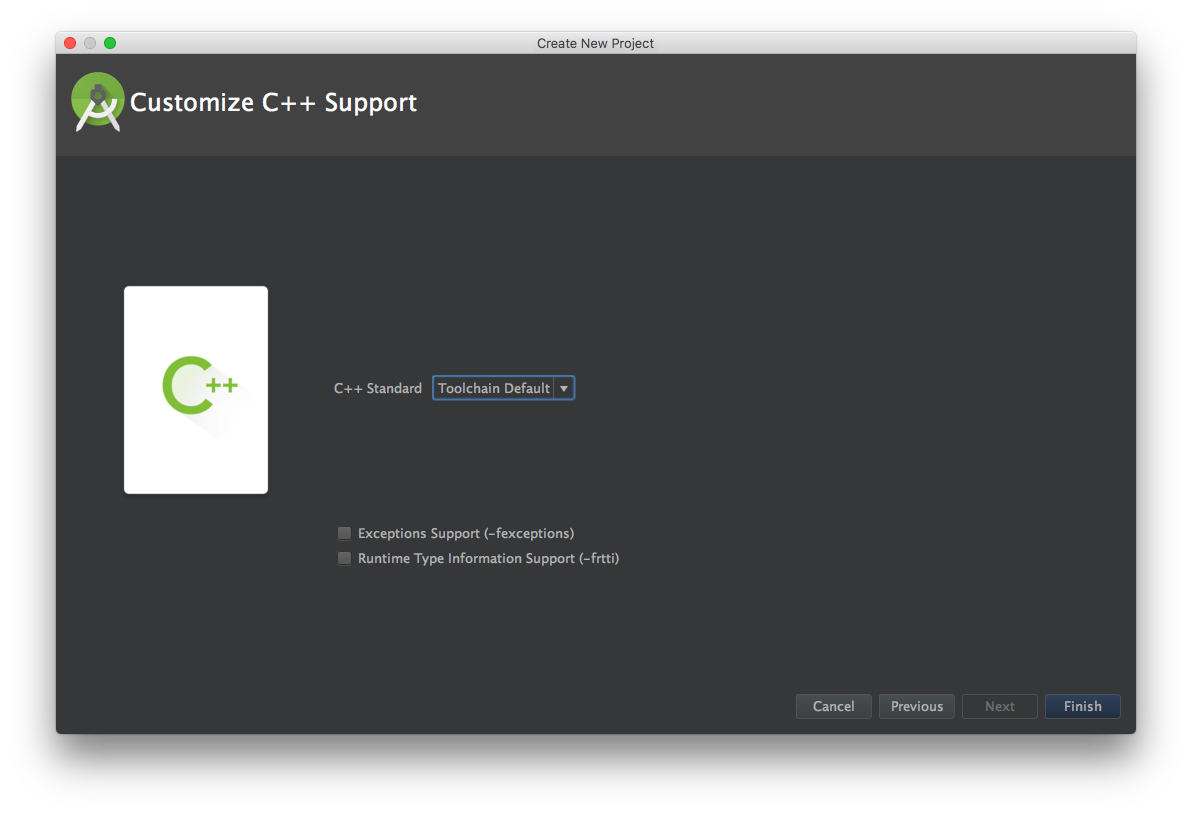
Toolchain Defaultが選択されていることを確認し、Finishで作成します。
Activity追加
プロジェクトを作成したら、AndroidManifest.xmlでNativeActivityの使用を宣言し、ライブラリ名(ここでは"myblinker")を指定します。
        <!-- Our activity is the built-in NativeActivity framework class.
        This will take care of integrating with our NDK code. -->
        <activity android:name="android.app.NativeActivity">
            <!-- Tell NativeActivity the name of or .so -->
            <meta-data android:name="android.app.lib_name"
                android:value="myblinker" />
        </activity>
Android Thingsプロジェクト設定
Create an Android Things Projectの通りにAndroidManifest.xmlを設定します。
        <!-- Add the things shared library -->
        <uses-library android:name="com.google.android.things"/>
            <!-- Launch activity automatically on boot -->
            <intent-filter>
                <action android:name="android.intent.action.MAIN"/>
                <category android:name="android.intent.category.IOT_LAUNCHER"/>
                <category android:name="android.intent.category.DEFAULT"/>
            </intent-filter>
なお、今回はNative PIOを使用するので、Android ThingsのJavaライブラリ追加は不要です。
Android Things Native Library設定
native-libandroidthingsのUsageに従い、プロジェクト直下にNativeライブラリを展開します。
$ git clone https://github.com/androidthings/native-libandroidthings.git
CMakeLists.txtの雛形ライブラリ名を変更するとともに、必要な記述を追記します。
set(CMAKE_MODULE_PATH ${CMAKE_MODULE_PATH} ${PROJECT_DIR}/native-libandroidthings)
find_package(AndroidThings REQUIRED)
include_directories(${ANDROIDTHINGS_INCLUDE_DIRS})
add_library( # Sets the name of the library.
             myblinker

             # Sets the library as a shared library.
             SHARED

             # Provides a relative path to your source file(s).
             # Associated headers in the same location as their source
             # file are automatically included.
             src/main/cpp/myblinker.cpp )
target_include_directories( myblinker
                            PRIVATE
                            ${ANDROID_NDK}/sources/android/native_app_glue)

add_library( app-glue
             STATIC
             ${ANDROID_NDK}/sources/android/native_app_glue/android_native_app_glue.c )
target_link_libraries( # Specifies the target library.
                       myblinker
                       android
                       app-glue
                       ${ANDROIDTHINGS_LIBRARIES}

                       # Links the target library to the log library
                       # included in the NDK.
                       ${log-lib} )
build.gradleでビルドするABIをabiFiltersで指定します。
        ndk {
            abiFilters 'armeabi-v7a', 'x86'
        }
cppファイル
最後に実際にブリンク処理を行うsample-nativepioのblink.cppをmyblinker.cppに改名し、雛形ソースのnative-lib.cppを差し替えています。
なお、blink.cppではNativeライブラリandroid-system-properties
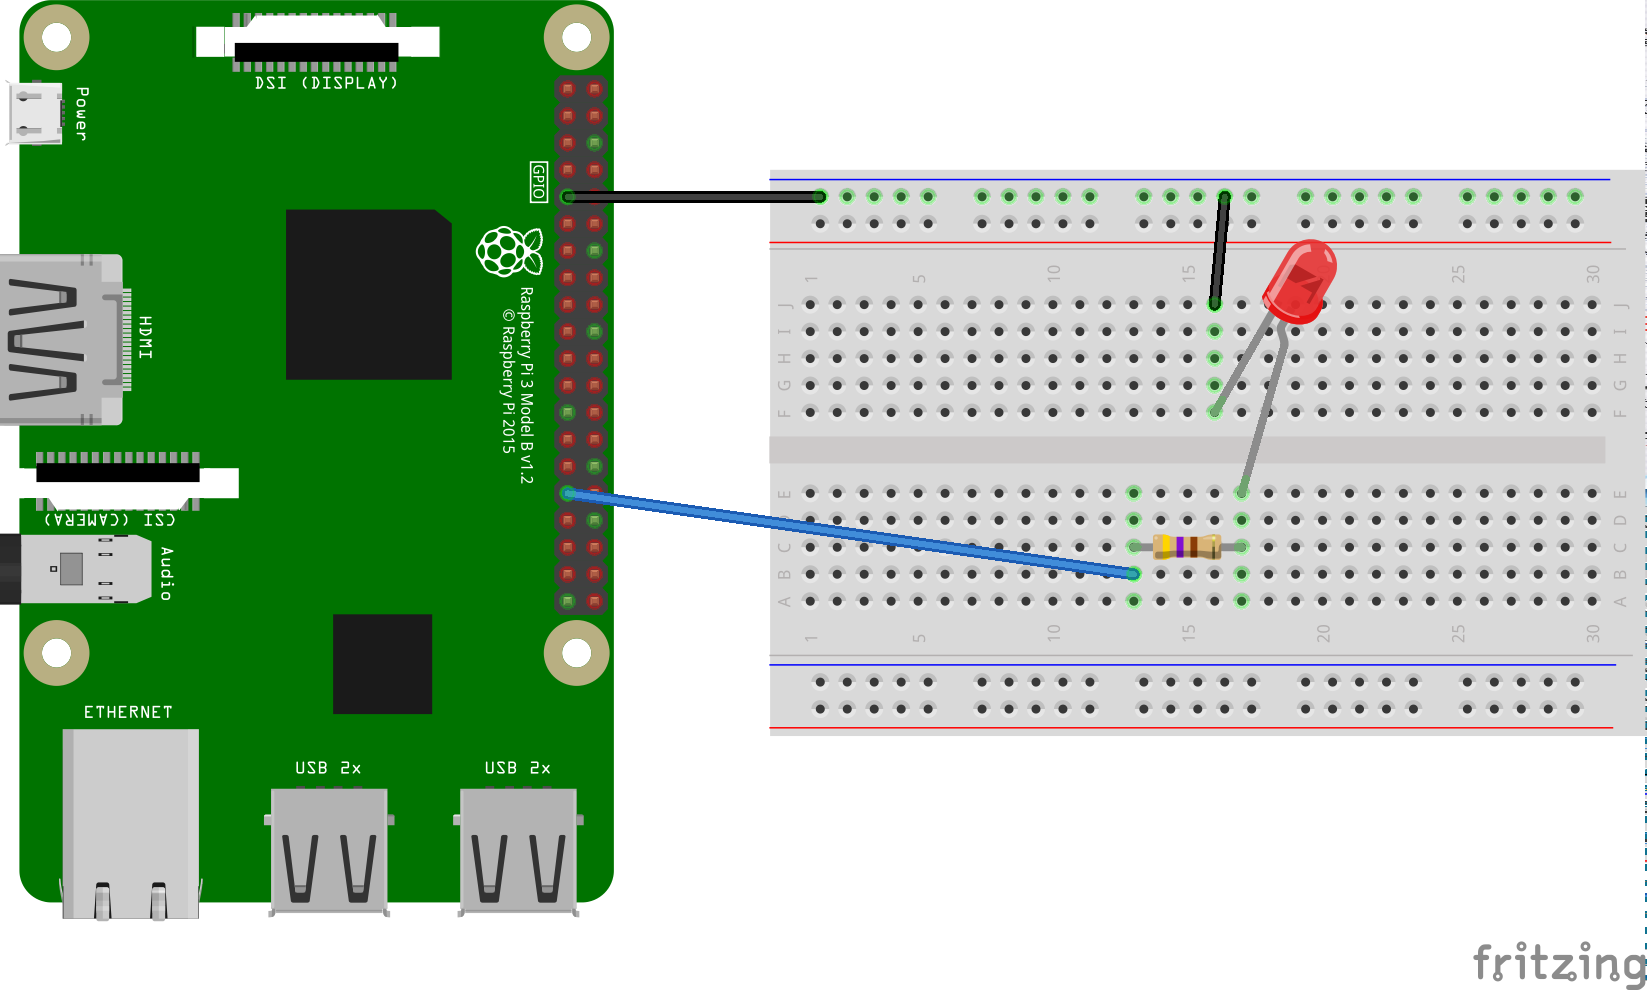
にてビルドデバイスを取得していますが、理解を容易にするために取り去ってLED_GPIOにはRaspberry Pi3用に"BCM6"を直接設定しています。
const char* LED_GPIO = "BCM6";

/*
    AndroidSystemProperties systemProperties(app->activity);
    const char* LED_GPIO;
    if (systemProperties.getBuildDevice() == "rpi3") {
        LED_GPIO = "BCM6";
    } else if (systemProperties.getBuildDevice() == "edison") {
        LED_GPIO = "IO13";
    } else {
        LOGE("unsupported device: %s", systemProperties.getBuildDevice().c_str());
        return;
    }
*/
あとがき
書きかけで、投稿まで間があいてしまいました。説明に漏れがあるかも知れません。詳細はソースをご参照ください。
https://github.com/tatsu/NativeBlinkSample