最初に
この記事はswiftを勉強し始めた超初心者による超初心者のためのものになっているので、細かいミスなどが散見されるかもしれませんがご了承ください。
画面遷移の方法
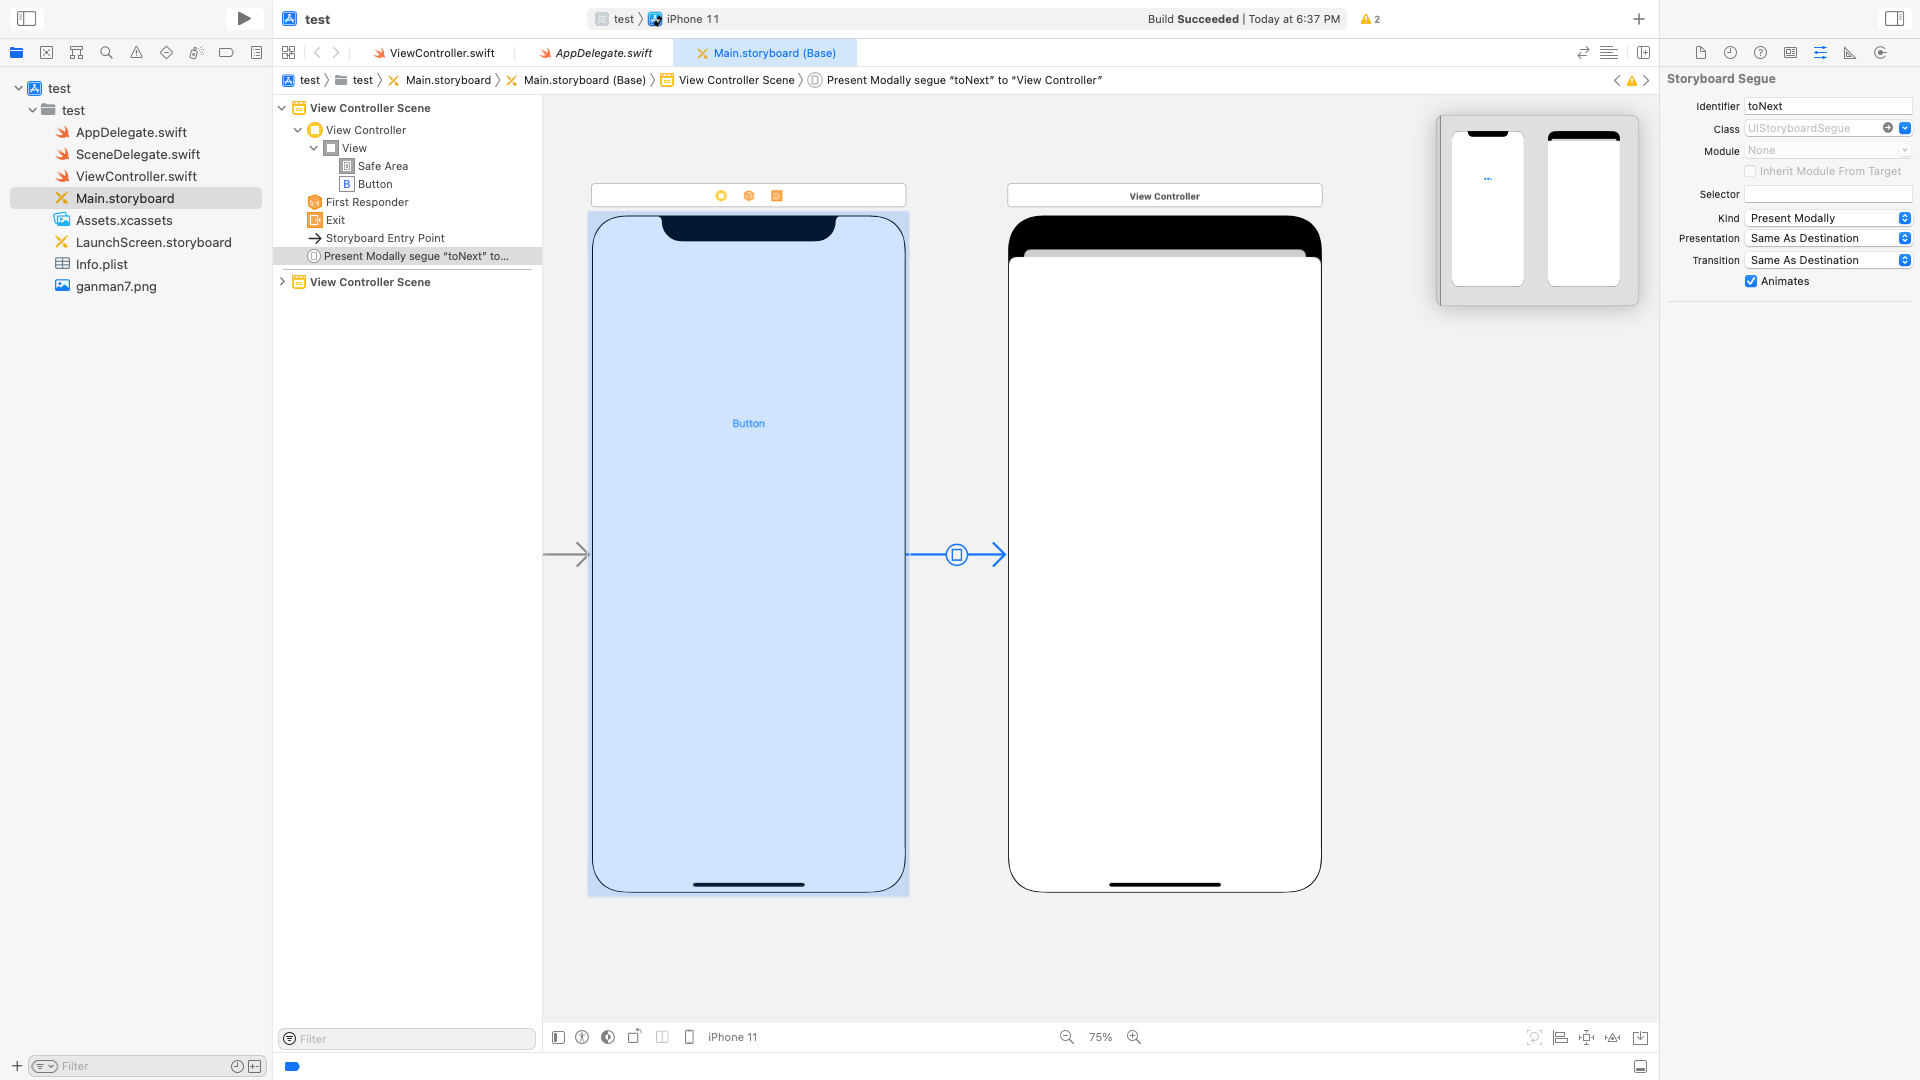
①segueとボタンのみで遷移する

多分一番最初に学ぶやり方です。storyboard 上に button を置き、そこから別の viewController につなげます。その時、遷移の種類が求められるので、行いたい遷移に従って設定しましょう。これで、その button を押すと画面遷移がすることができるようになります。
②segueとコードを利用した画面遷移
ViewController.swift
class ViewController: UIViewController{

   override func viewDidLoad() {
      super.viewDidLoad()
   }

   @IBAction func next(_ sender: UIButton){
      self.performSegue(withIdentifier: "toNext", sender: nil)
   }
}
segue の identifier を設定し、それに応じて画面遷移をする方法です。
③コードのみを利用した画面遷移
ViewController.swift
class ViewController: UIViewContorller{

   override func viewDidLoad() {
      super.viewDidLoad()
   }

   @IBAction func next(_ sender: UIButton){
      //遷移先のViewControllerが存在するstoryboardを宣言する。(この場合はこのViewControllerと同じところに存在するため"self")
      let storyboard: UIStoryboard = self.storyboard!
      //遷移先のViewControllerを宣言する
      let nextViewController = storyboard.instantiateViewController(withIdentifier: "Next")
      //フルスクリーンで表示させる
      nextViewController?.modalPresentationStyle = .fullScreen
      //遷移の種類をcoverVerticalにする
      nextViewControlle?.modalTransitionStyle = .coverVertical
      //宣言したViewControllerを出現させる
      self.present(nextViewController, animated: true, completion: nil)
   }
}
storyboard 上で segue を設定せずに、コードのみで画面遷移を行う方法です。この場合、segue に identifier をつけたのと同様、遷移先のViewControllerにidentifierをつける必要があります。ちなみに、遷移の種類についてはアニメーション付きで分かりやすい記事が他にあるのでそちらを見てください。
④NavigationControllerを使用した画面遷移

NavigationControllerを使用している場合、遷移の種類を"show"(push遷移)にすると、遷移の方向が横になり、自動的に戻るボタンも追加されます。
画面遷移の戻り方
①segueを使用している場合(NavigationController無し)
NextViewController.swift
class NextViewController: UIViewController{

   override func viewDidLoad() {
      super.viewDidLoad()
   }

   @IBAction func back(_ sender: UIButton){
      self.dismiss(animated: true, completion: nil)
   }
}
②NavigationControllerを使用している場合
NavigationControllerを使用している場合は、上述のように自動的に戻るボタンが設定されているので新たにbutton等を設定する必要はありませんが、コードを使用して戻る場合は下記のようになります。
NextViewContrller.swift
class NextViewController: UIViewController{

   override func viewDidLoad() {
      super.viewDidLoad()
   }

   @IBAction func back(_ sender: UIButton){
      self.navigationController?.popViewController(animated: ture)
   }
}
最後に
いろいろ細かいミスがあると思いますので、何かありましたらご指摘お願いします。