X APIの取得方法
PCブラウザ前提で進めていきます。
1. 開発者ページを開く
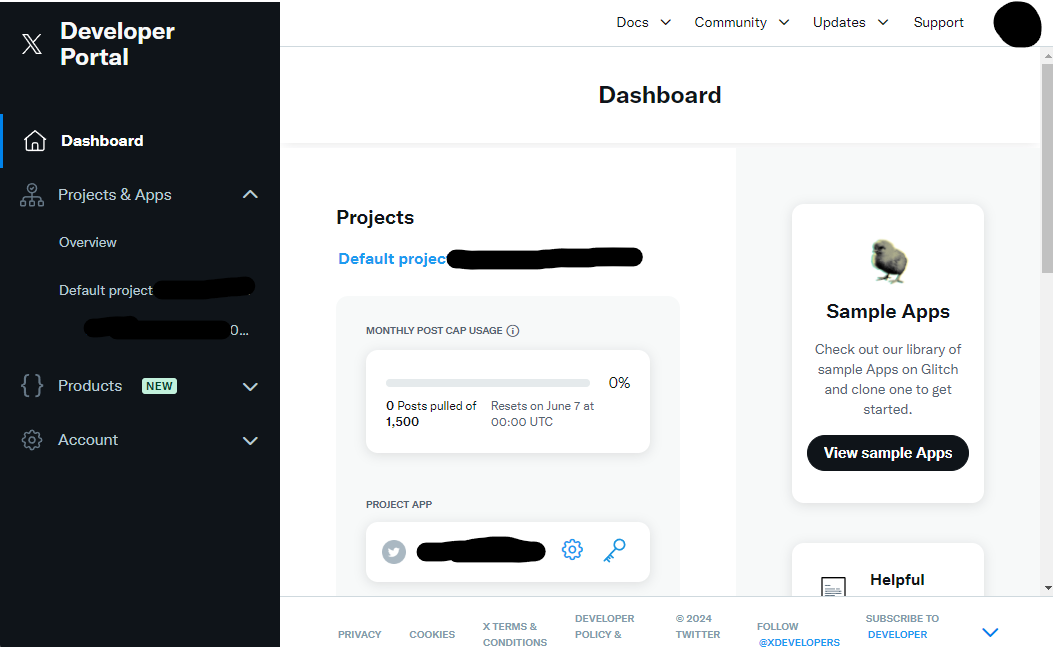
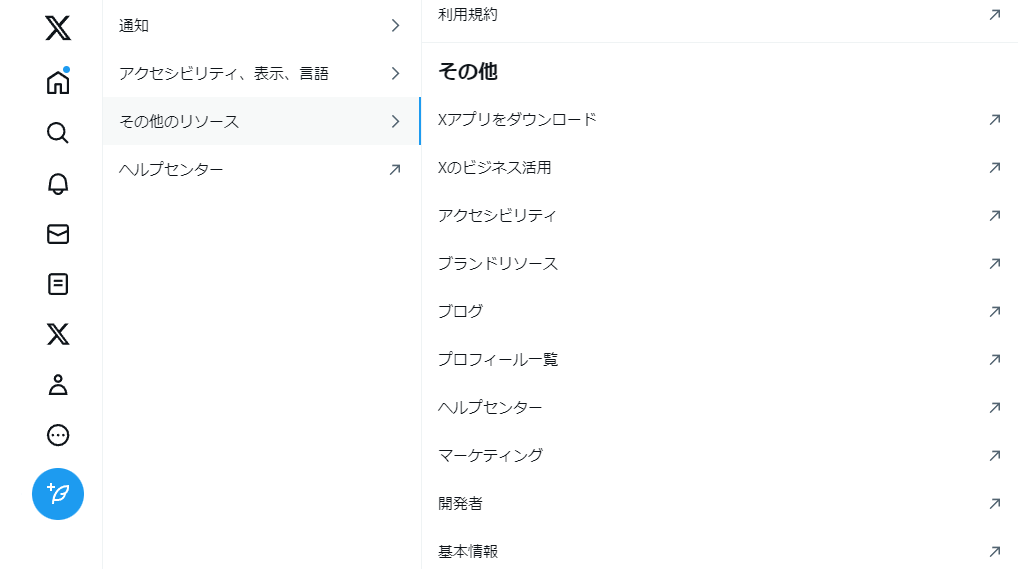
APIを取得するアカウントのXのページから、設定>その他のリソース>開発者を選択します。
2. Sign up
一番下のSign up for Fre Accountを選択します。

3. Client IDとClient Secretの取得
User authentication settingsのSet upを選択します。

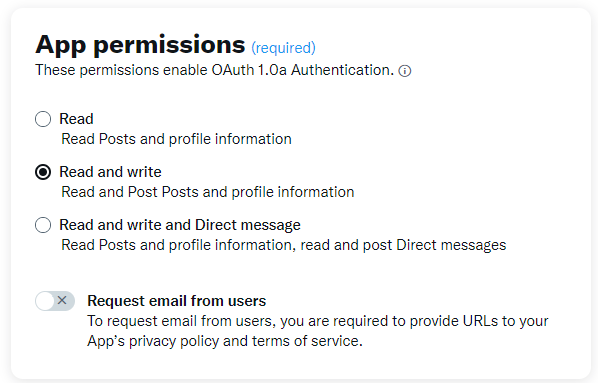
App permissions
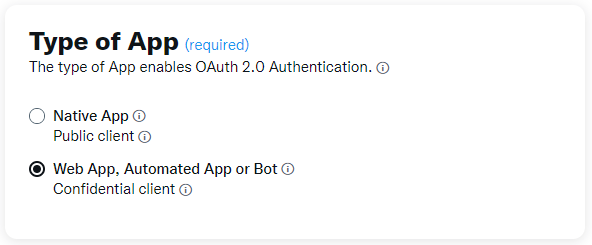
Type of App
Web App, Automated App or Botを選択します。(自信無し!)
App info
Callback URI / Redirect URLにhttp://127.0.0.1を入力します。
これで、ローカルでAPIを試すことができます。

ここまで記入出来たらSaveを押します。
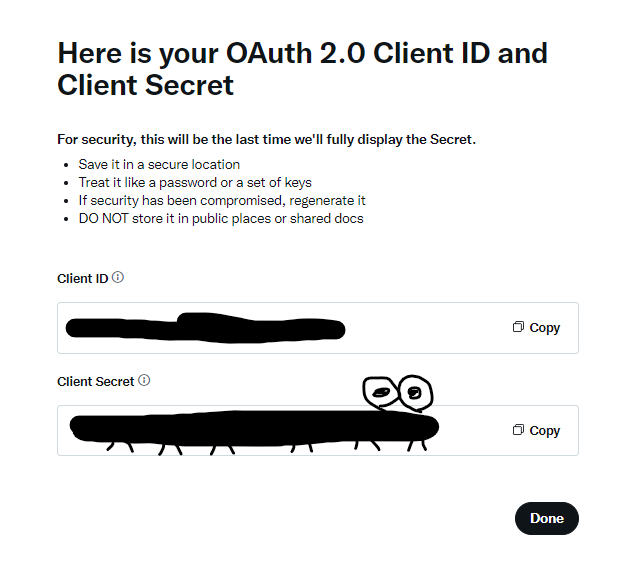
Client IDとClient Secretが表示されるので、コピーしてメモし、Doneを選択します。
またポップアップでClient Secretが出てきます。コピーし忘れていたらここでコピーしておきます。そして、Yes, I saved itを選択します。

User authentication settingsが以下のように表示されます。

4. Tokensの取得
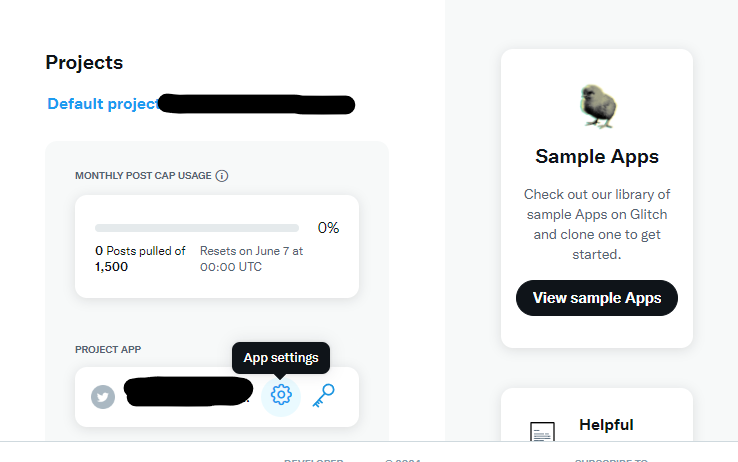
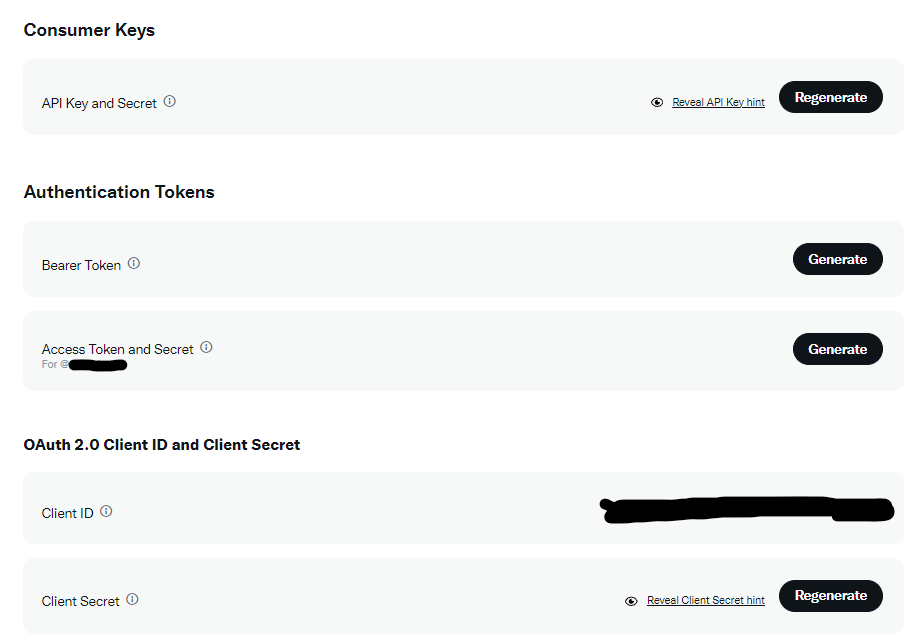
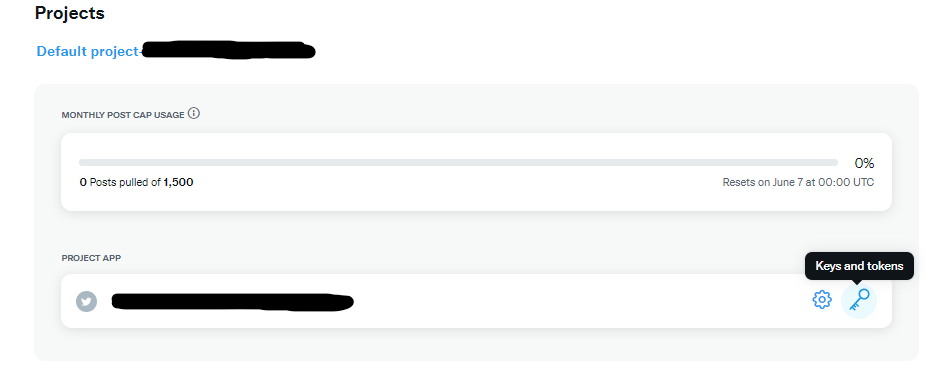
ダッシュボードに戻り、鍵アイコン(Keys and Tokens)を選択します。
API Key an Secretの取得
上の画面でAPI Key an SecretのRegenerateを選択します。
以下のポップアップが出るので、Yes, I regenerateを選択します。

API KeyとSecretをコピーしてメモしておきます。
Yes, I saved themを選択します。

Access Tokenの取得
上の画面でAccess Token and SecretのRegenerateを選択します。
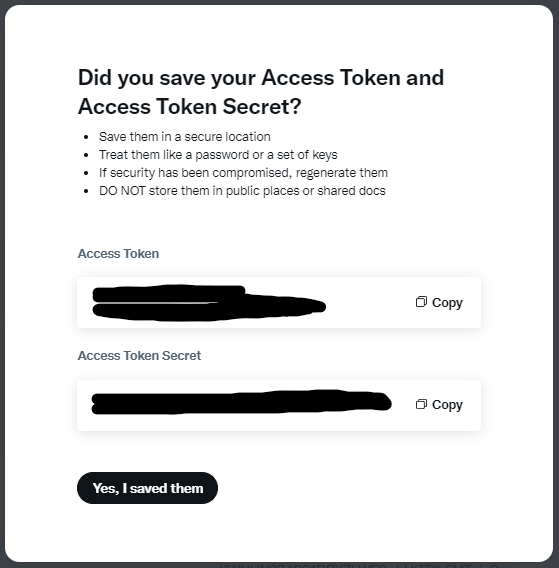
以下のポップアップが表示されるので、コピーしてメモります。
Yes, I saved themを選択します。
おわりに
設定を行わずにAPIを利用してポストを投稿しようとしたらエラーが出て詰まっていました。
ネットで調べて出てくる情報が少し古かったので、今回やった流れをまとめました。


