はじめに
こんにちは たそ(@taso_int)です。
普段ははてなブログで書かせていただきます。
良かった見てください。
https://taso-int.hatenablog.com/archive
去年はAnsible Towerのインストール方法について書きました。
Ansible Tower周りが、Ansible Automation Platformへと変わりました。
構成変更など新機能の追加などがありました。
今回はインストール方法について書こうと思います。
つい最近リリースされたバージョン2.3をインストールしたいと思います。
ライセンスについて
OSはRHEL9を使用します。
Ansible Automation Platformを利用するためにはライセンスが必要となります。
今回はRed HatさんのRed Hat Developer Programに参加し、
Developer Subscriptionを利用しています。
詳しくはこちらを確認してください。
環境
AWS EC2
OS: RHEL9.0
インスタンスタイプ:m5large
ハードディスク: 20GB
セキュリティグループでは最低でもSSHとHTTPSは開けておいてください
公式情報
Ansible Automation Platformのインストール
まず、RedHatのサイトからインストーラーをダウンロードし、サーバー側に配置します。
インストーラーはBundleを選択します。
またRHEL9かRHEL8でインストーラーが変わるので注意してください。
インストーラーにアクセスするにはRedHatアカウントを作成する必要があります。
サーバー側に配置したらファイルを解凍します。
tar xvfz ansible-automation-platform-setup-bundle-2.3-1.tar.gz
cd ansible-automation-platform-setup-bundle-2.3-1
ls
bundle  collections  group_vars  inventory  licenses  README.md  setup.sh
ここにあるinventoryをviで編集していきます。
# Automation Controller Nodes
# There are two valid node_types that can be assigned for this group.
# A node_type=control implies that the node will only be able to run
# project and inventory updates, but not regular jobs.
# A node_type=hybrid will have the ability to run everything.
# If you do not define the node_type, it defaults to hybrid.
#
# control.example node_type=control
# hybrid.example  node_type=hybrid
# hybrid2.example <- this will default to hybrid
[automationcontroller]
ホスト名 ansible_connection=local 記述

[automationcontroller:vars]
peers=execution_nodes

<省略>

[all:vars]
required_ram=true メモリが少ない場合は追記(本番非推奨)
admin_password='' ログイン時のパスワードの設定

pg_host=''
pg_port=5432

pg_database='awx'
pg_username='awx'
pg_password='' DBのパスワードの設定
pg_sslmode='prefer'  # set to 'verify-full' for client-side enforced SSL

# Execution Environment Configuration
#

# Credentials for container registry to pull execution environment images from,
# registry_username and registry_password are required for registry.redhat.io
#
# When deployed with Automation Hub:
# - The installer will push execution environment images to Automation Hub and
#   configure Automation Controller to pull images from the Hub registry.
# - To make Hub to be the only registry to pull execution environment images from,
#   set 'ee_from_hub_only' to True. This is set to True by default when bundle
#   installer is used.

registry_url='registry.redhat.io'
registry_username='' RedHatアカウントのユーザー名
registry_password='' Redhatアカウントのパスワード
# ee_from_hub_only =
修正したら、./setup.shを実行します。
The setup process completed successfully.が出力されればインストール完了です。
ライセンスの有効化
インストールが完了したので、https://EC2のIPアドレス をブラウザで開きます。
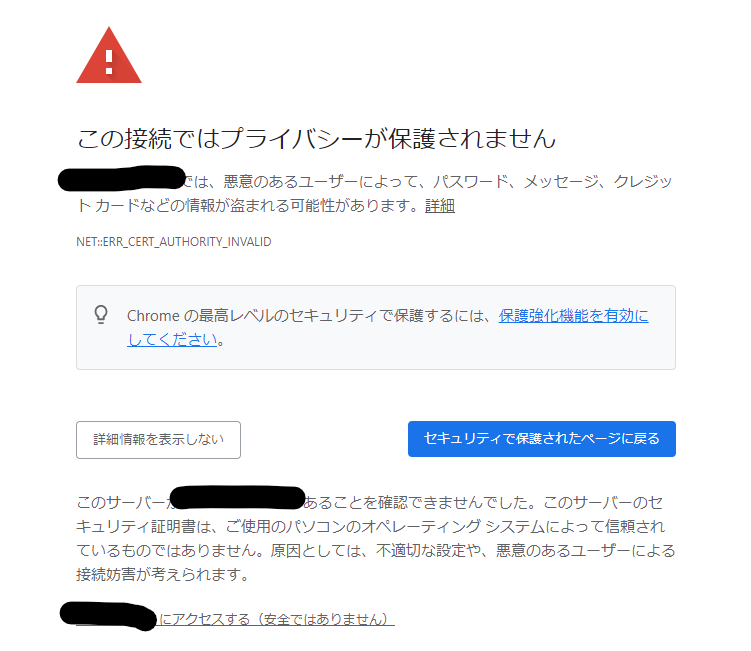
Chromeだと下のような画面が出るので、詳細設定をクリックしてアクセスするをクリックします。

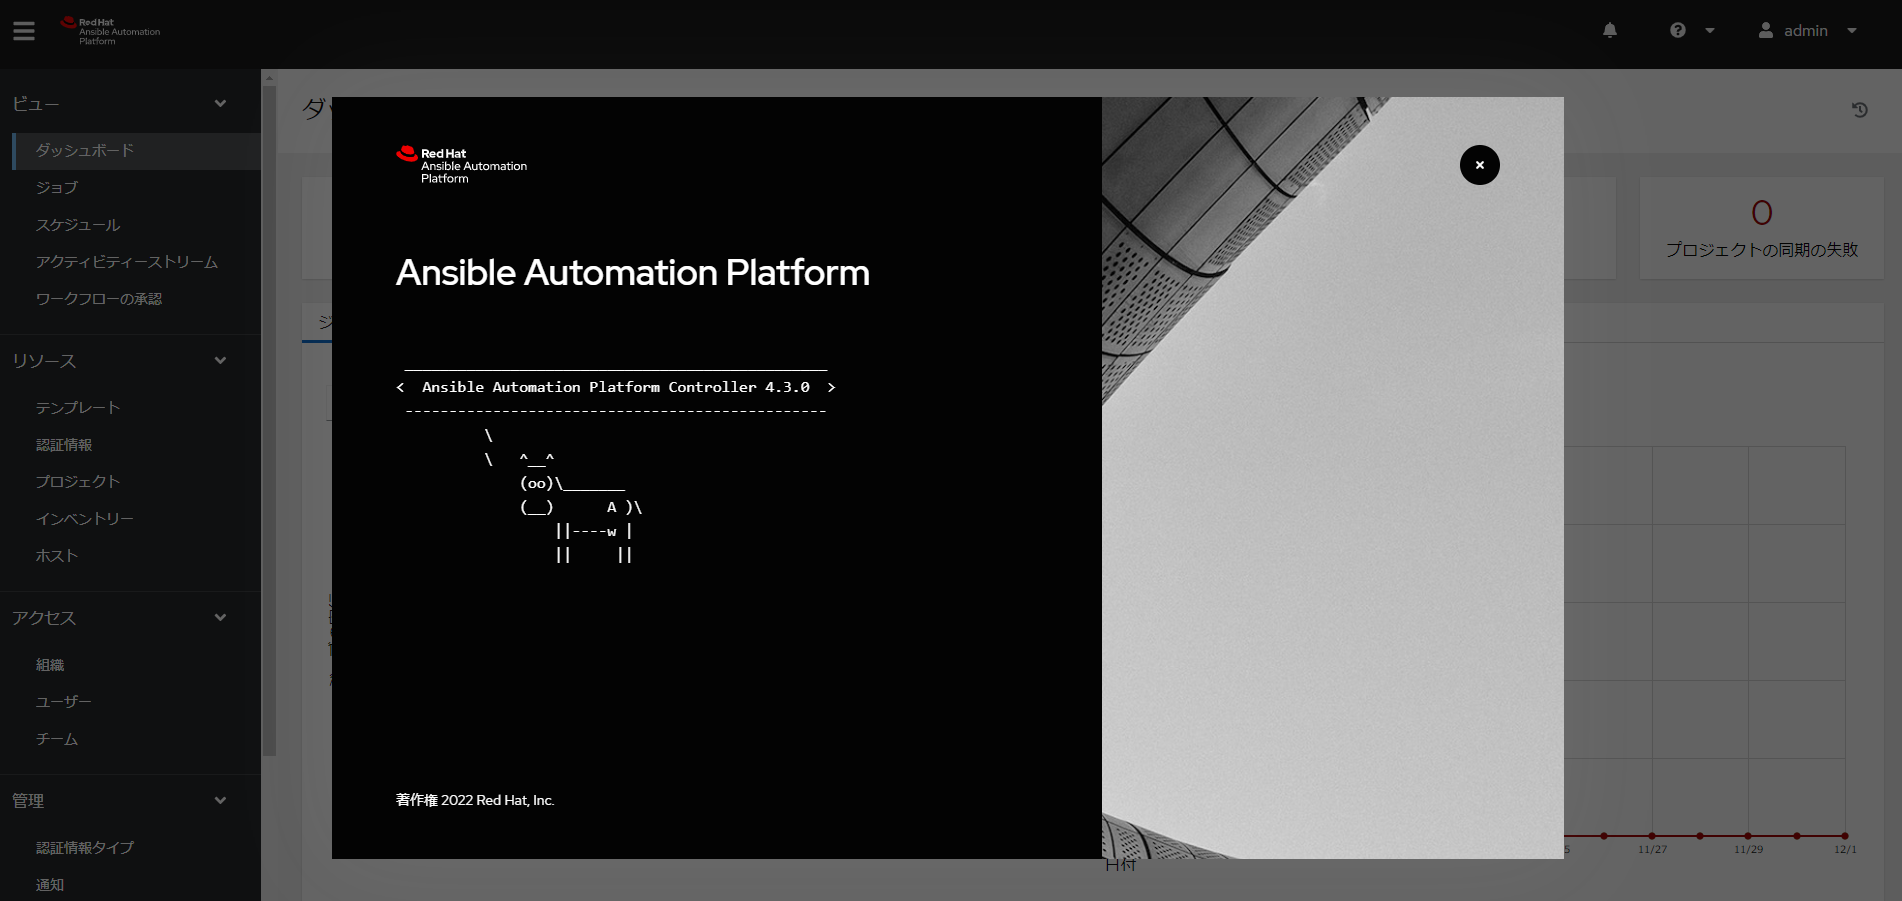
Ansible Automation Platformのホーム画面が出るので、adminと設定したパスワードでログインします。
ログインが成功すると下のような画面が出るので、ユーザー名とパスワードをクリックし、
ライセンスを登録します。

以上で終わりになります。少しでも参考になれば幸いです。
年が経つのは早いですね。頑張っていきましょう!
追記 デモジョブテンプレートが動かなかった対応
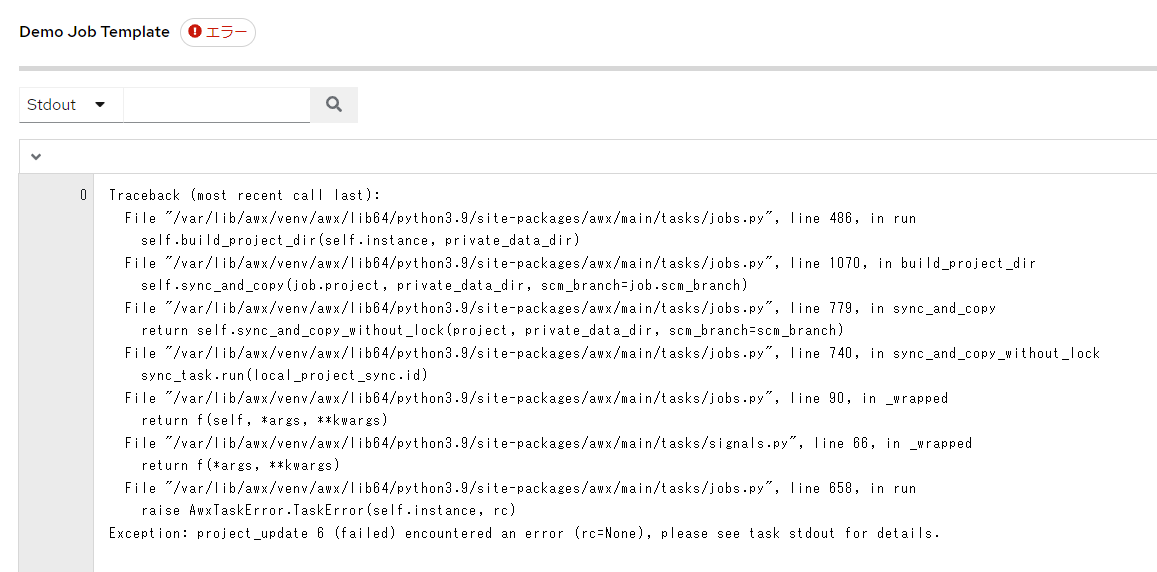
インストール後デモジョブテンプレートを動かすと上手く動きませんでした。
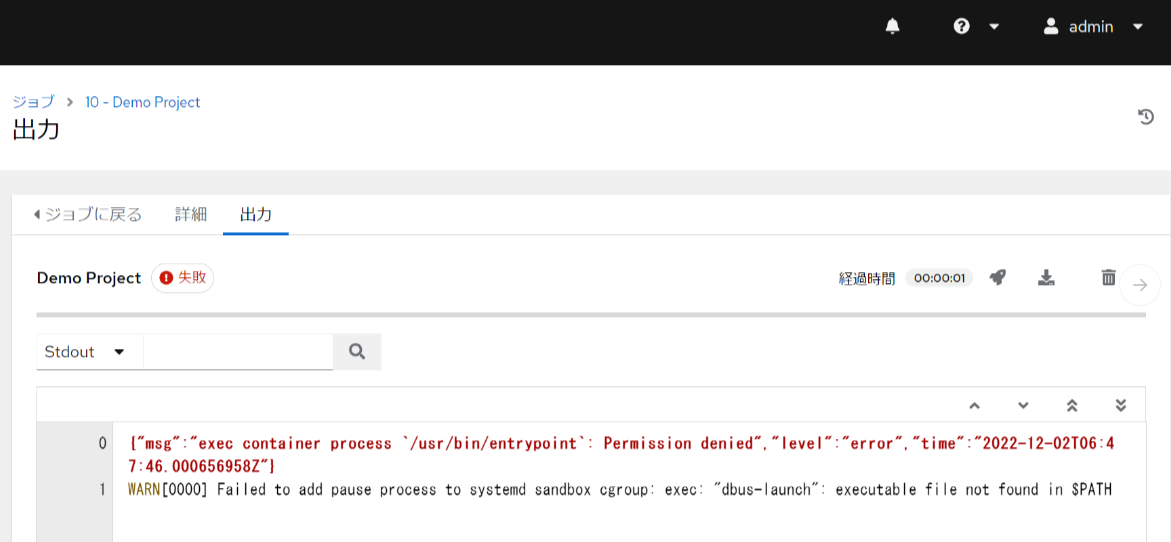
デモジョブテンプレートを動かすときにプロジェクトの更新が動くのですが、
そこでエラーが起きているような感じです。
エラーを調査するとSElinuxが原因らしいです。
ちなみにSElinuxを解除すると問題なくプロジェクトの更新とデモジョブテンプレートが動きました。
SElinux用のパッケージが何故かインストールできていないぽいように見えました。
参考情報と対応に関してはこちらになります。(見るにはRedHatのアカウントが必要)
ちなみにもう一度立て直したら問題なくデモジョブテンプレートが動いたので、
原因の原因がよくわからないままです。


