はじめに
この記事は Slint Advent Calendar 14日目の記事です。
昨日は @hermit4 さんによる Slint言語入門(4) 構文について(続2) でした。
グローバルなシングルトン、便利なのは理解できますが、それでいいのか、という気持ちと、それもいいかという気持ちと、そういうものかなという気持ちが整理できずにいます。
6日目に PSD ファイルをロードする Qt 6 のモジュールを作りました という記事を書いたのですが、そこで開発したPSDを読み込むアプリに、.slint にエクスポートする機能を作ったときに、グローバルシングルトンを使えば良かったかもしれないと後悔しています。もし直せたら直してまた記事にしようかな。
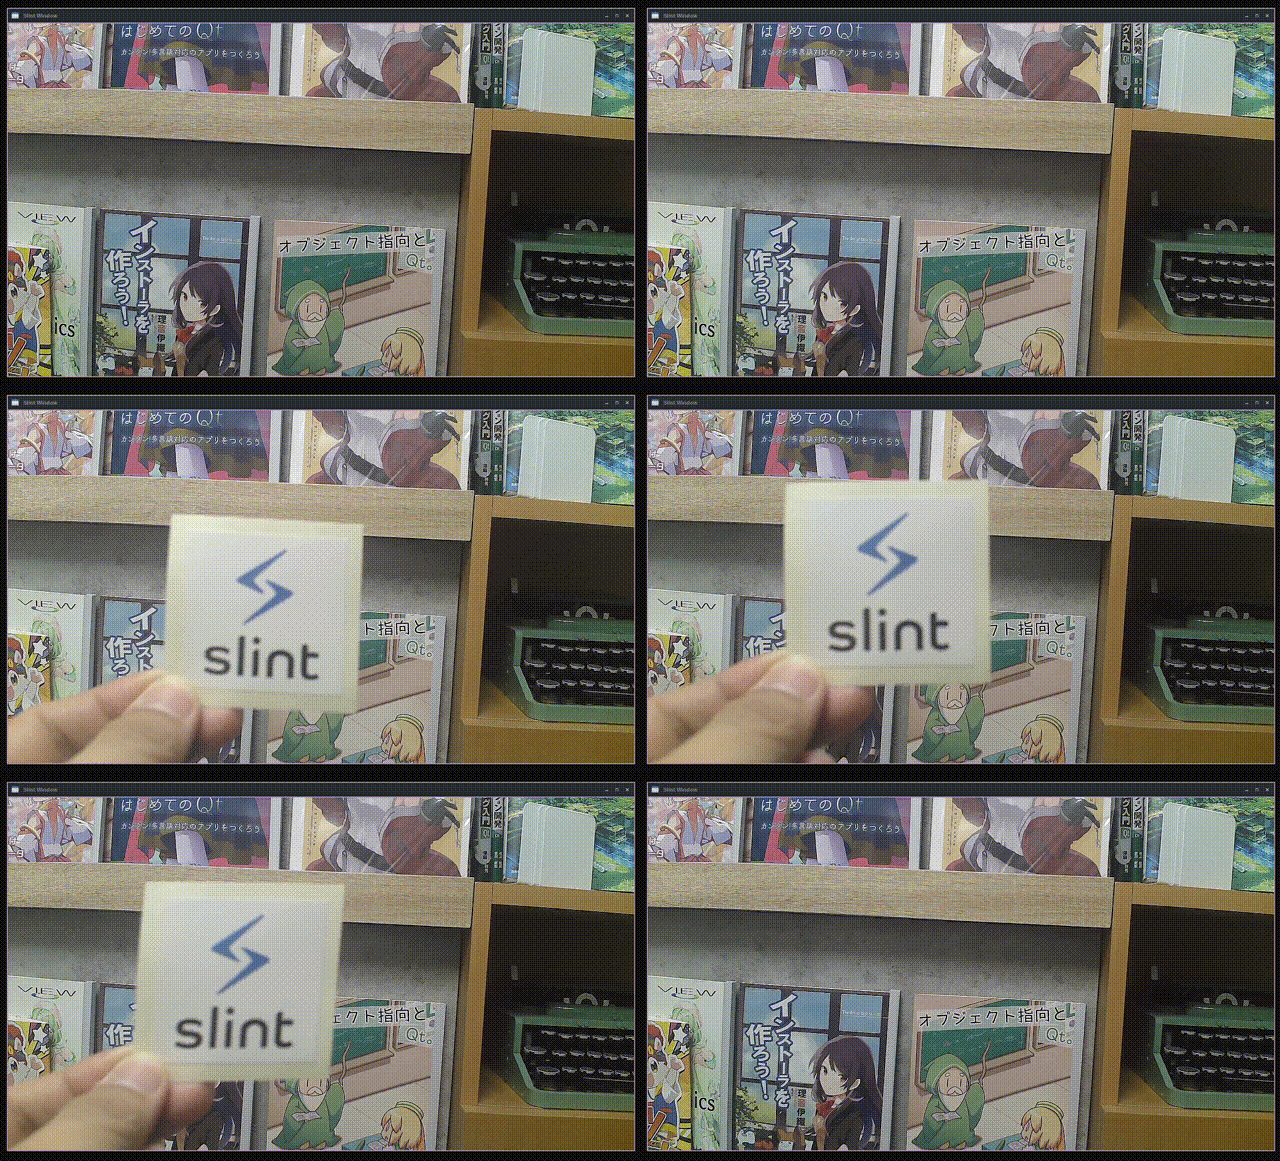
今日は、Slint の UI 上にウェブカメラの映像を表示する方法です。
Slint のマルチメディア対応
Slint の現時点での最新版の 1.8.0 の examples を見ると、マルチメディア関連のサンプルアプリが2つあります。
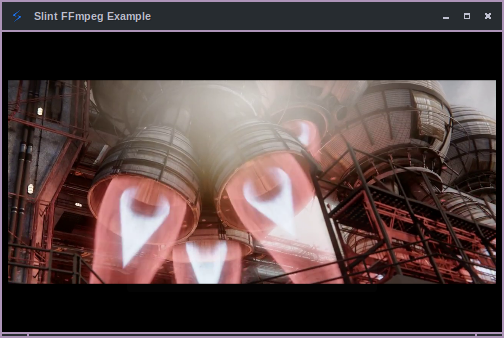
FFmpeg Example
FFmpeg を利用した動画の再生アプリで、2023年6月 に追加されました。
Rust の ffmpeg-next crate を利用しています。
とても見た目がかっこいいですね。
実は昔は背景の色が指定されておらず、白っぽいウィンドウに動画が乗っかっていてとてもダサかったんですが、ffmpeg example: Change background color to black という修正で一気にクールな見た目になりました。
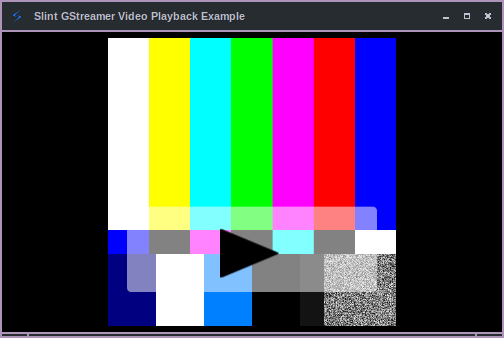
GStreamer Example
gstreamer を利用したサンプル映像を再生するアプリで、2024年2月 に追加されました。
こちらは gstreamer-rs crate を利用しています。
カメラの映像を表示したい
モチベーション
弊社が EdgeTech+ 2024 での出展に向けて Raspberry Pi 5 で色々 Slint を動かしていた 時期に、カメラの映像を扱いたくなって試してみました。
GStreamer Example の調査
まずは上記で紹介した、Slint の GStreamer のサンプルを見てみましょう。
サンプルコードの中では、パイプラインは以下のように生成しています。
gst::init().unwrap();

let source = gst::ElementFactory::make("videotestsrc")
    .name("source")
    .property_from_str("pattern", "smpte")
    .build()
    .expect("Could not create source element.");

let width: u32 = 1024;
let height: u32 = 1024;

let appsink = gst_app::AppSink::builder()
    .caps(
        &gst_video::VideoCapsBuilder::new()
            .format(gst_video::VideoFormat::Rgb)
            .width(width as i32)
            .height(height as i32)
            .build(),
    )
    .build();

let pipeline = gst::Pipeline::with_name("test-pipeline");

pipeline.add_many([&source, &appsink.upcast_ref()]).unwrap();
source.link(&appsink).expect("Elements could not be linked.");
ここを変更してカメラの映像を表示するパイプラインを指定すれば、動きそうな気がしますね。
映像のフレームデータの取得
appsink.set_callbacks(
   gst_app::AppSinkCallbacks::builder()
       .new_sample(move |appsink| {
           let sample = appsink.pull_sample().map_err(|_| gst::FlowError::Eos)?;
           let buffer = sample.buffer_owned().unwrap(); // Probably copies!
           let video_info =
               gst_video::VideoInfo::builder(gst_video::VideoFormat::Rgb, width, height)
                   .build()
                   .expect("couldn't build video info!");
           let video_frame =
               gst_video::VideoFrame::from_buffer_readable(buffer, &video_info).unwrap();
           let slint_frame = try_gstreamer_video_frame_to_pixel_buffer(&video_frame)
               .expect("Unable to convert the video frame to a slint video frame!");

           app_weak
               .upgrade_in_event_loop(|app| {
                   app.set_video_frame(slint::Image::from_rgb8(slint_frame))
               })
               .unwrap();

           Ok(gst::FlowSuccess::Ok)
       })
       .build(),
);
パイプライン構築時に生成した appsink に対して new_sample のコールバックを登録してデータを取得しています。
コールバック関数の中では、appsink から pull_sample() でデータを取得しています。
そこから生成した gstreamer_video::video_frame::VideoFrame を try_gstreamer_video_frame_to_pixel_buffer() 関数を通して Slint の画像データに変換したものをさらに slint::Image::from_rgb8() を通して、.slint の Image の source プロパティに設定しています。
export component App inherits Window {
    in property <image> video-frame <=> image.source;
    ...
    VerticalBox {
        image := Image {}
    }
    ...
}
変換は以下のようになっています。
fn try_gstreamer_video_frame_to_pixel_buffer(
    frame: &gst_video::VideoFrame<gst_video::video_frame::Readable>,
) -> Result<slint::SharedPixelBuffer<slint::Rgb8Pixel>> {
    match frame.format() {
        gst_video::VideoFormat::Rgb => {
            let mut slint_pixel_buffer =
                slint::SharedPixelBuffer::<slint::Rgb8Pixel>::new(frame.width(), frame.height());
            frame
                .buffer()
                .copy_to_slice(0, slint_pixel_buffer.make_mut_bytes())
                .expect("Unable to copy to slice!"); // Copies!
            Ok(slint_pixel_buffer)
        }
        _ => {
            bail!(
                "Cannot convert frame to a slint RGB frame because it is format {}",
                frame.format().to_str()
            )
        }
    }
}
カメラ表示の対応
Raspberry Pi 上では、以下のパイプラインで USB 接続のウェブカメラの映像を直接 kms に表示することができました。
$ gst-launch-1.0 v4l2src device=/dev/video0 ! videoconvert ! video/x-raw,format=RGB,width=1280,height=720 ! kmssink
というわけで、このパイプラインを参考に GStreamer のパイプラインの生成ロジックを以下のようにしてみました。
gst::init().unwrap();

let source = gst::ElementFactory::make("v4l2src")
    .name("source")
    .build()
    .expect("Could not create source element.");
source.set_property("device", &"/dev/video0");

let videoconvert = gst::ElementFactory::make("videoconvert")
    .name("convert")
    .build()
    .expect("Failed to create videoconvert element");

let caps = gst::Caps::builder("video/x-raw")
    .field("format", &"RGB")
    .field("width", width)
    .field("height", height)
    .build();

let capsfilter = gst::ElementFactory::make("capsfilter")
    .name("filter")
    .build()
    .expect("Failed to create capsfilter element");
capsfilter.set_property("caps", &caps);

let appsink = gst_app::AppSink::builder()
    .caps(
        &gst_video::VideoCapsBuilder::new()
            .format(gst_video::VideoFormat::Rgb)
            .width(width)
            .height(height)
            .build(),
    )
    .build();

let pipeline = gst::Pipeline::with_name("camera-pipeline");

pipeline.add_many([&source, &videoconvert, &capsfilter, &appsink.upcast_ref()]).unwrap();
gst::Element::link_many([&source, &videoconvert, &capsfilter, &appsink.upcast_ref()]).unwrap();
パイプラインの構成要素は増えてはいますが、各エレメントの生成は元々のやり方を多少変えたくらいで、難しくはありませんね(?)
無事動きました。
おわりに
今回は、Slint の GStreamer Example を改造して、カメラの映像を表示することができました。
Linux 上で v4l2src を使って試したのですが、それ以外のプラットフォームでも同じような変更でカメラの映像が表示できるかもしれません。是非お試しください。
また、ffmpeg-next でカメラを扱うのは難しそうですが、ffmpeg-sys というクレートはカメラが扱えそうな感じなので、それを試してみるのもおもしろそうですね。
今回試したソースコードは以下になります。気になる方は自分でも動かしてみてください。
最終的には以下のようなデモにしあがりました。その話はまた別途記事を書こうと思います。
明日は @hermit4 さんによる RustでUI - Slint開発環境構築 です。お楽しみに!


