Nginxでクライアント証明書による認証を行う
作成するファイルたち
- ca.crt → nginx側の設定で利用
- ca.key
- user.crt
- user.csr
- user.key
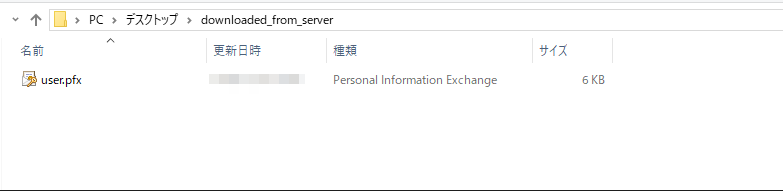
- user.pfx → クライアント(今回はブラウザ)にインポート
0. 作業ディレクトリの作成
- root ユーザで作業します
- nginxのディレクトリへ移動
cd /etc/nginx/
mkdir client_certificates
- こんな感じになります
[root@ip-xx.xx.xx.xx nginx]# ls
client_certificates     conf.d     fastcgi.conf          fastcgi_params          koi-utf  mime.types          nginx.conf           nginx.conf.default  scgi_params.default  uwsgi_params.default
default.d  fastcgi.conf.default  fastcgi_params.default  koi-win  mime.types.default  scgi_params         uwsgi_params         win-utf
1. CA側
1-1. CAの鍵を作成
openssl genrsa -des3 -out ca.key 4096
- password設定が求められるので、任意のパスワードを設定
[root@ip-xx.xx.xx.xx client_certificates]# pwd
/etc/nginx/client_certificates

[root@ip-xx.xx.xx.xx client_certificates]# openssl genrsa -des3 -out ca.key 4096
Generating RSA private key, 4096 bit long modulus
................++
....................................................................................................++
e is 65537 (0x10001)
Enter pass phrase for ca.key:
Verifying - Enter pass phrase for ca.key:

[root@ip-xx.xx.xx.xx client_certificates]# ls -1
ca.crt # Created!
ca.key
1-2. CA 証明書を作成
openssl req -new -x509 -days 365 -key ca.key -out ca.crt
-
質問は以下のように設定
- Country Name : JP
- State : Tokyo
- Locality Name : Osaki
- Organization Name : AAAA
- Organization Unit Name : aaaa
- Common Name : 空
- Email Address : 空
-
注意
- Common Nameは空にする
- 他はEmail Address以外は設定したほうがよさそう。
[root@ip-xx.xx.xx.xx client_certificates]# pwd
/etc/nginx/client_certificates

[root@ip-xx.xx.xx.xx client_certificates]# openssl req -new -x509 -days 365 -key ca.key -out ca.crt
Enter pass phrase for ca.key:
You are about to be asked to enter information that will be incorporated
into your certificate request.
What you are about to enter is what is called a Distinguished Name or a DN.
There are quite a few fields but you can leave some blank
For some fields there will be a default value,
If you enter '.', the field will be left blank.
-----
Country Name (2 letter code) [XX]:JP
State or Province Name (full name) []:Tokyo
Locality Name (eg, city) [Default City]:Osaki
Organization Name (eg, company) [Default Company Ltd]:AAAA
Organizational Unit Name (eg, section) []:aaaa
Common Name (eg, your name or your server's hostname) []:
Email Address []:

[root@ip-xx.xx.xx.xx client_certificates]# ls -1
ca.crt # Created!
ca.key
2 クライアント証明書の作成
2-1. クライアント証明書用の鍵
openssl genrsa -des3 -out user.key 4096
- password設定が求められるので、任意のパスワードを設定
[root@ip-xx.xx.xx.xx client_certificates]# pwd
/etc/nginx/client_certificates

[root@ip-xx.xx.xx.xx client_certificates]# openssl genrsa -des3 -out user.key 4096
Generating RSA private key, 4096 bit long modulus
......................................................................................................................................++
.............................++
e is 65537 (0x10001)
Enter pass phrase for user.key:
Verifying - Enter pass phrase for user.key:

[root@ip-xx.xx.xx.xx client_certificates]# ls -1
ca.crt
ca.key
user.key # Created!
2-2. 署名
openssl req -new -key user.key -out user.csr
-
質問は以下のように設定
- Country Name : JP
- State : Tokyo
- Locality Name : Osaki
- Organization Name : BBBB
- Organization Unit Name : bbbb
- Common Name : 空
- Email Address : 空
-
注意
- ★Organization Name は 1-2 手順で設定した、AAAAとは異なるものにする
- Common Nameは空にする
- 他はEmail Address以外は設定したほうがよさそう。
[root@ip-xx.xx.xx.xx client_certificates]# pwd
/etc/nginx/client_certificates

[root@ip-xx.xx.xx.xx client_certificates]# openssl req -new -key user.key -out user.csr
Enter pass phrase for user.key:
You are about to be asked to enter information that will be incorporated
into your certificate request.
What you are about to enter is what is called a Distinguished Name or a DN.
There are quite a few fields but you can leave some blank
For some fields there will be a default value,
If you enter '.', the field will be left blank.
-----
Country Name (2 letter code) [XX]:JP
State or Province Name (full name) []:Tokyo
Locality Name (eg, city) [Default City]:Osaki
Organization Name (eg, company) [Default Company Ltd]:BBBB
Organizational Unit Name (eg, section) []:bbbb
Common Name (eg, your name or your server's hostname) []:
Email Address []:

Please enter the following 'extra' attributes
to be sent with your certificate request
A challenge password []:
An optional company name []:

[root@ip-xx.xx.xx.xx client_certificates]# ls -1
ca.crt
ca.key
user.csr # Created!
user.key
2-2. CSRを署名
openssl x509 -req -days 365 -in user.csr -CA ca.crt -CAkey ca.key -set_serial 01 -out user.crt
[root@ip-xx.xx.xx.xx client_certificates]# pwd
/etc/nginx/client_certificates

[root@ip-xx.xx.xx.xx client_certificates]# openssl x509 -req -days 365 -in user.csr -CA ca.crt -CAkey ca.key -set_serial 01 -out user.crt
Signature ok
subject=/C=JP/ST=Tokyo/L=Osaki/O=BBBB/OU=bbbb
Getting CA Private Key
Enter pass phrase for ca.key:
140346189137744:error:28069065:lib(40):UI_set_result:result too small:ui_lib.c:831:You must type in 4 to 1023 characters
Enter pass phrase for ca.key:

[root@ip-xx.xx.xx.xx client_certificates]# ls -1
ca.crt # Created!
ca.key
user.crt
user.csr
user.key
2-3. PKCS #12 (PFX)の作成
openssl pkcs12 -export -out user.pfx -inkey user.key -in user.crt -certfile ca.crt
- クライアント側でインポートする際に必要なパスワードを指定 (空でもOK)
[root@ip-xx.xx.xx.xx client_certificates]# pwd
/etc/nginx/client_certificates

[root@ip-xx.xx.xx.xx client_certificates]# openssl pkcs12 -export -out user.pfx -inkey user.key -in user.crt -certfile ca.crt
Enter pass phrase for user.key:
Enter Export Password:
Verifying - Enter Export Password:
[root@ip-xx.xx.xx.xx client_certificates]# ls -1
ca.crt
ca.key
user.crt
user.csr
user.key
user.pfx # Created!
3. Nginx側の設定
[root@ip-xx.xx.xx.xx nginx]# pwd
/etc/nginx
[root@ip-xx.xx.xx.xx nginx]# vim nginx.conf
- conf (server sectionを抜粋)
- 以下の項目は こちら を参照
ssl_certificate "/etc/nginx/server_certificates/server.crt";ssl_certificate_key "/etc/nginx/server_certificates/server.key";
- 以下でクライアント証明書の認証を有効化しています
ssl_client_certificate "/etc/nginx/client_certificates/ca.crt";ssl_verify_client on;
- 以下の項目は こちら を参照
   # Settings for a TLS enabled server.

   server {
       listen       443 ssl http2 default_server;
       listen       [::]:443 ssl http2 default_server;
       server_name  13.230.193.30;
       root         /usr/share/nginx/html;

       ssl_certificate "/etc/nginx/server_certificates/server.crt";
       ssl_certificate_key "/etc/nginx/server_certificates/server.key";
       # It is *strongly* recommended to generate unique DH parameters
       # Generate them with: openssl dhparam -out /etc/pki/nginx/dhparams.pem 2048
       #ssl_dhparam "/etc/pki/nginx/dhparams.pem";
       ssl_session_cache shared:SSL:1m;
       ssl_session_timeout  10m;
       ssl_protocols TLSv1 TLSv1.1 TLSv1.2;
       ssl_ciphers HIGH:SEED:!aNULL:!eNULL:!EXPORT:!DES:!RC4:!MD5:!PSK:!RSAPSK:!aDH:!aECDH:!EDH-DSS-DES-CBC3-SHA:!KRB5-DES-CBC3-SHA:!SRP;
       ssl_prefer_server_ciphers on;

       ssl_client_certificate "/etc/nginx/client_certificates/ca.crt";
       ssl_verify_client on;

       # Load configuration files for the default server block.
       include /etc/nginx/default.d/*.conf;

       location / {
       }

       error_page 404 /404.html;
           location = /40x.html {
       }

       error_page 500 502 503 504 /50x.html;
           location = /50x.html {
       }
   }
- server restart
[root@ip-xx.xx.xx.xx client_certificates]# service nginx restart
Stopping nginx:                                            [  OK  ]
Starting nginx:                                            [  OK  ]
4. クライアント側の設定
-
WindowsのChromeで試します
-
ファイルをサーバからダウンロード
-
Chrome > 設定 > 証明書
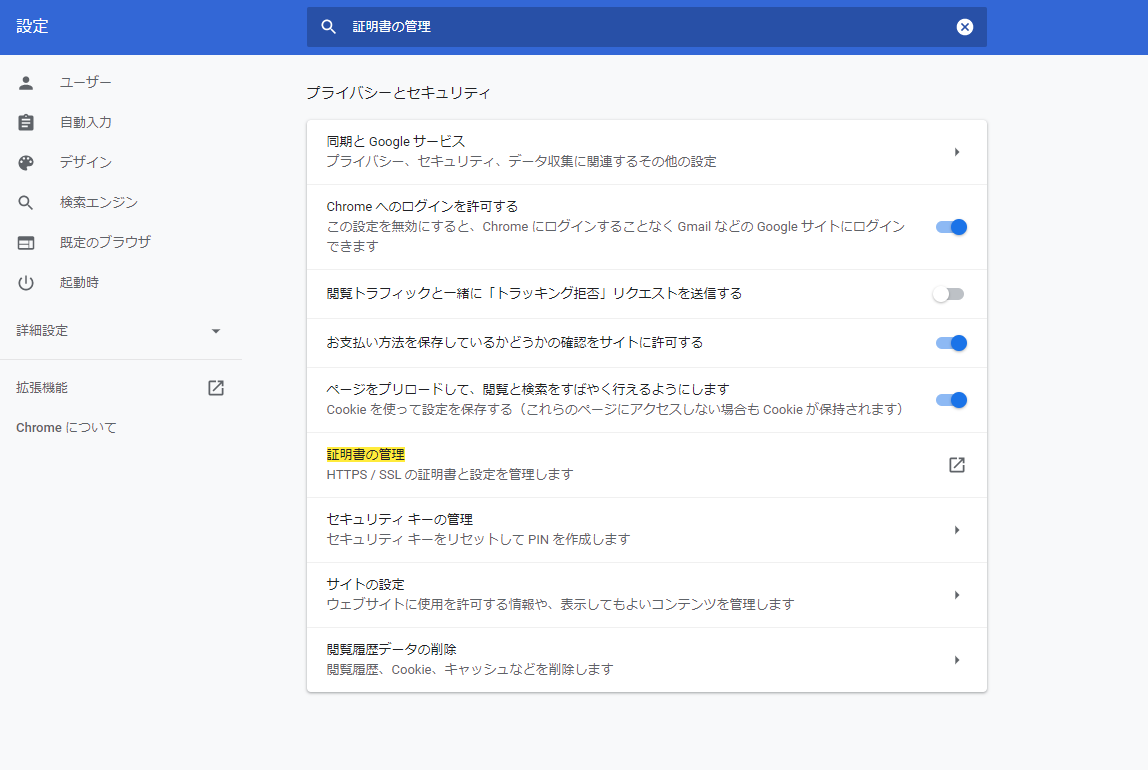
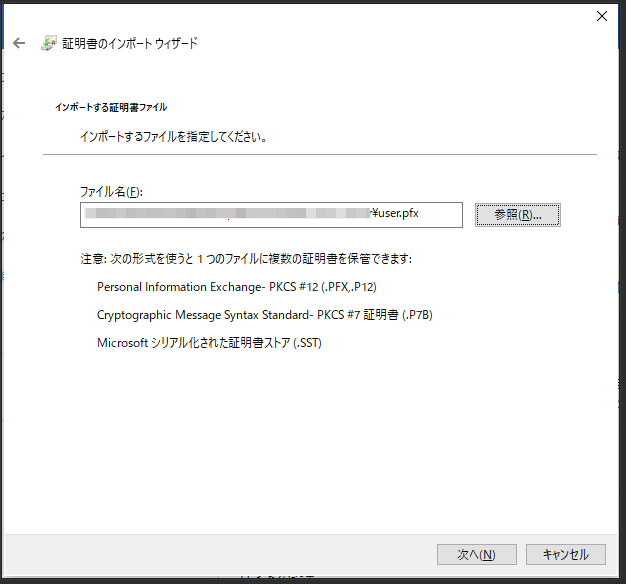
- インポート
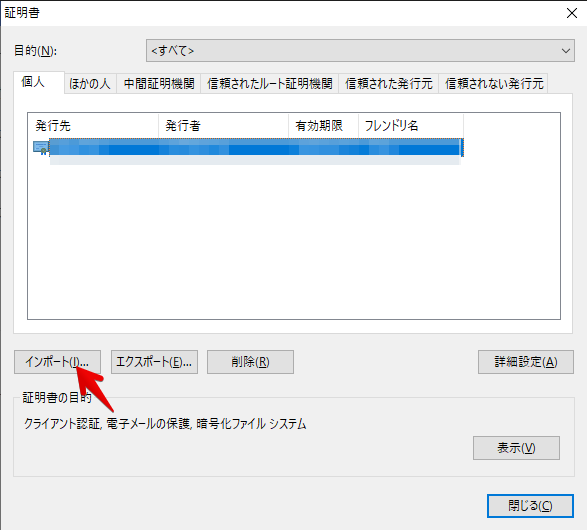
- ダウンロードしたファイルを選択
- 拡張子: すべてのファイル で探してください
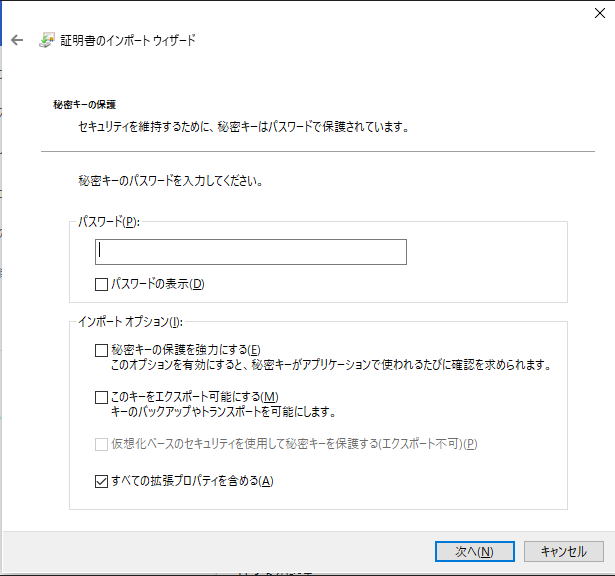
- パスワード入力
- 2-3で指定したパスワードを入力
- 今回は設定していないので、空です
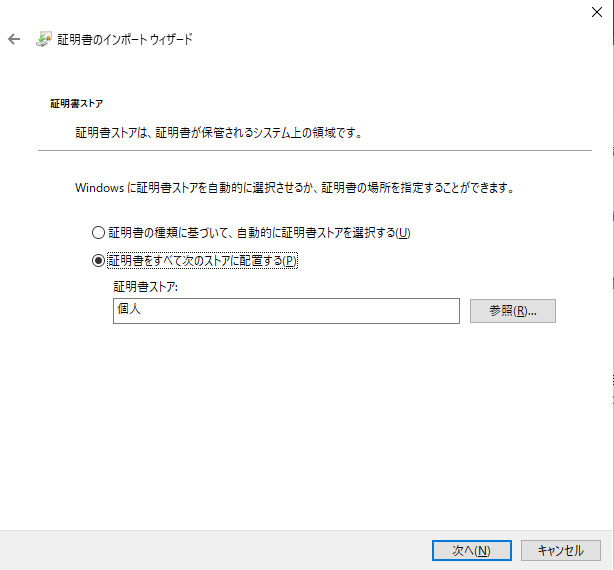
- ストアの場所を選択
- "個人" を選択
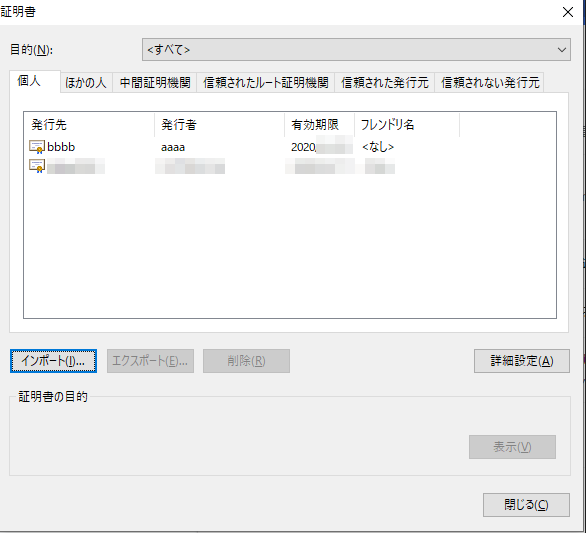
- インポート完了
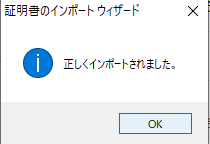
- 確認
5. アクセス試す
- ブラウザ、一回閉じたほうがよいかもしれないです
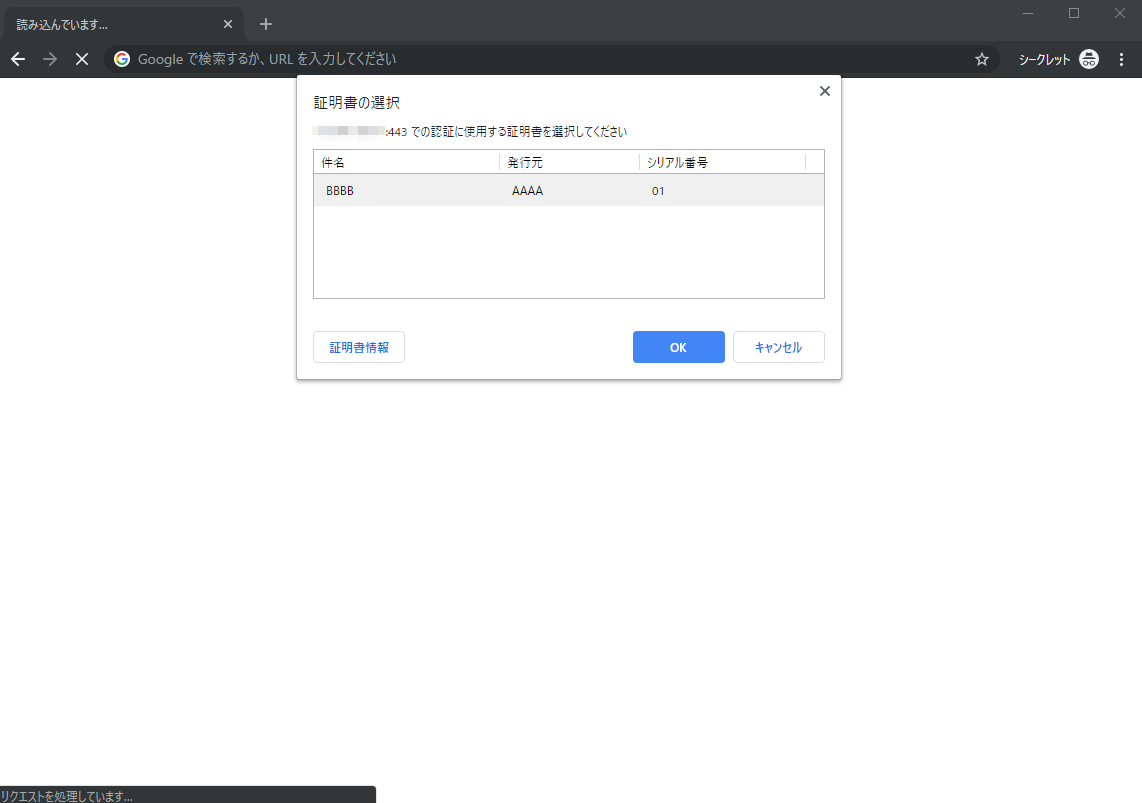
- 証明書出てくるので選択
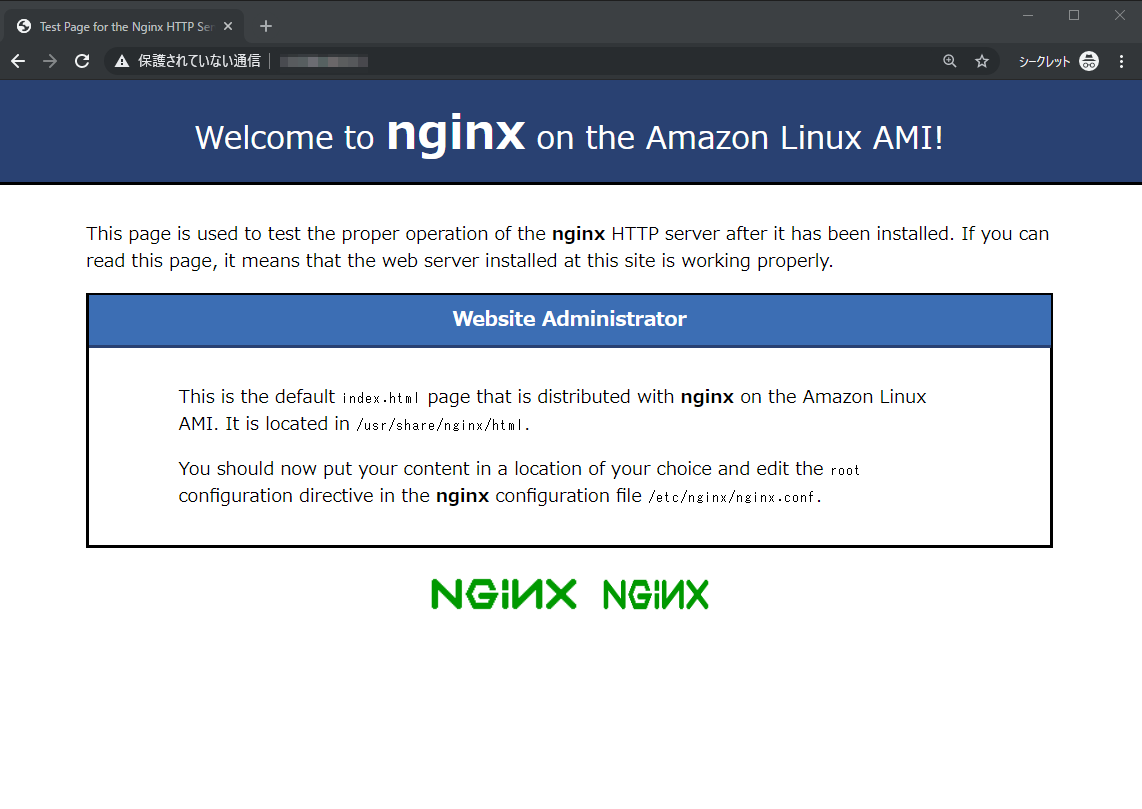
- クライアント認証できました!

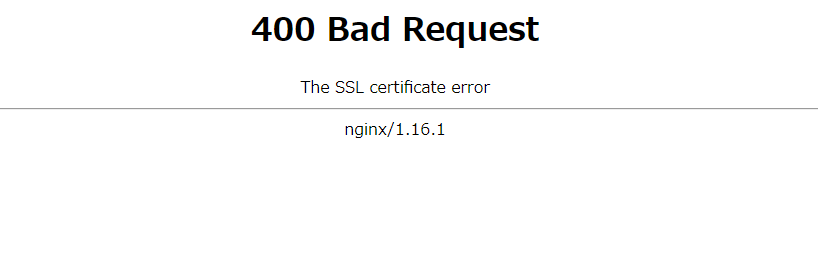
証明書削除した場合
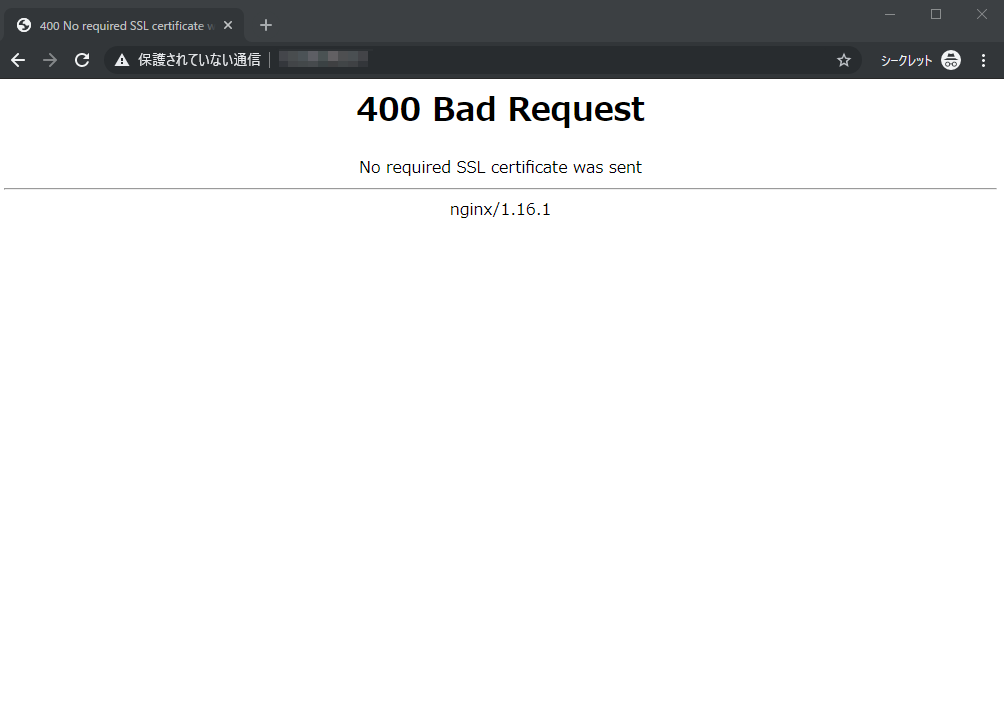
証明書が誤っていると