4
3

Delete article

Deleted articles cannot be recovered.

Draft of this article would be also deleted.

Are you sure you want to delete this article?

More than 3 years have passed since last update.

Macで論文からベクター画像を切り出す方法

Last updated at Posted at 2020-02-04

はじめに

PDFの図表等を切り出してVector画像として保存する方法を覚えたので、ここに紹介する.
ベクター形式(pdf,eps等)で画像を保存をしておくと、スライドなどに載せて拡大してもボケずに表示させられるので便利

方法

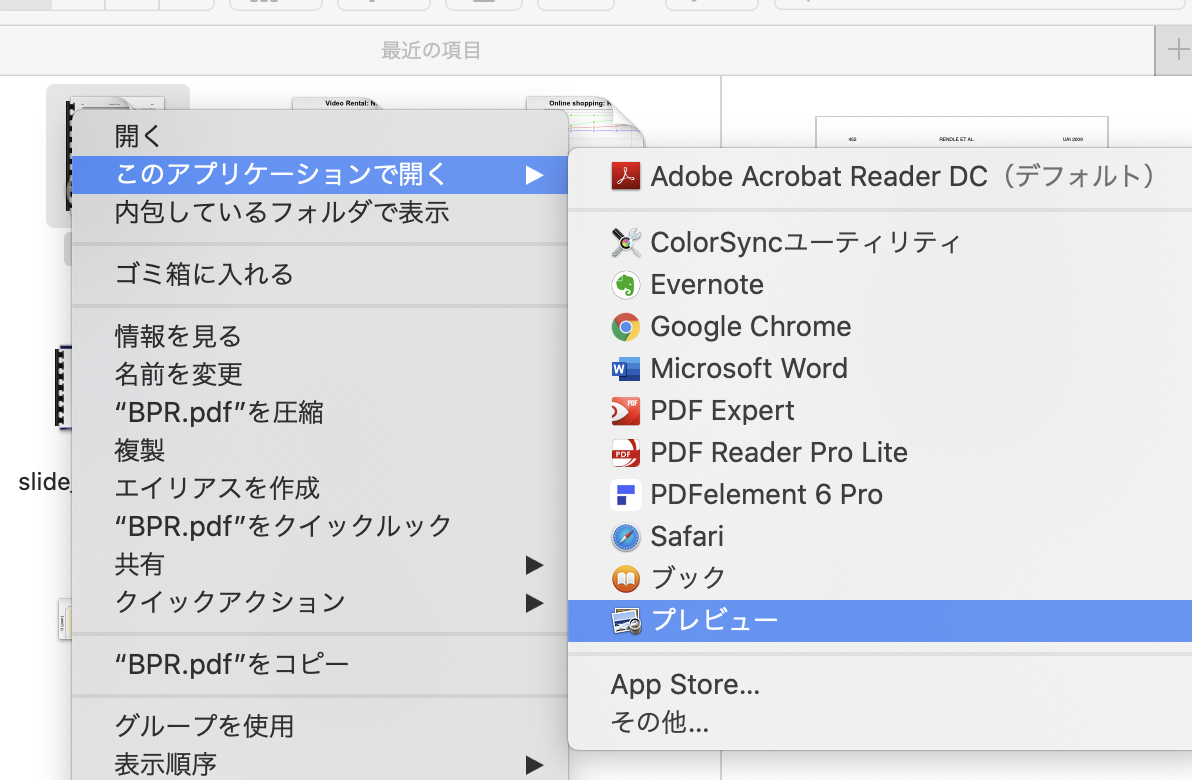
Macに標準搭載されているプレビューを用いる.

  1. PDFファイルをプレビューで開く
スクリーンショット 2020-02-04 22.10.20.png
  1. プレビュー右上の「マークアップツールバーを表示」を選択
スクリーンショット 2020-02-04 22.19.23.png
  1. ツールが出てくるので左から2番目の「長方形で選択」を選択し、目的の図表を枠線で囲む
スクリーンショット 2020-02-04 22.21.22.png
  1. 目的の図表等を囲んだ後、ツールバーの右端に出てきた「切り取り」を選択
スクリーンショット 2020-02-04 22.25.56.png
  1. サムネールからドラッグ&ドロップして好きな場所に保存
    (ここではデスクトップにそのまま置いてます)
スクリーンショット 2020-02-04 22.30.26.png
  1. 切り出した画像は余白が残っているので次のコマンドを実行して詳細にトリミングしましょう
$ pdfcrop (ファイル名).pdf

実行するとcropという文字列が追加されたファイルができますが、出力ファイル名を指定したいときには,以下のようにコマンドラインの最後にファイル名を加えます.
`$ pdfcrop (ファイル名).pdf (新しいファイル名).pdf`

# おわりに
切り取りした後、そのままプレビューを終了すると元のページが復元できないので、切り取りが終わったら `command + Z` でページを元に戻すかバックアップをしておきましょう

# 参考文献
[pdfcropのコマンド](https://texwiki.texjp.org/?pdfcrop)
4
3
0

Register as a new user and use Qiita more conveniently

  1. You get articles that match your needs
  2. You can efficiently read back useful information
  3. You can use dark theme
What you can do with signing up
4
3

Delete article

Deleted articles cannot be recovered.

Draft of this article would be also deleted.

Are you sure you want to delete this article?