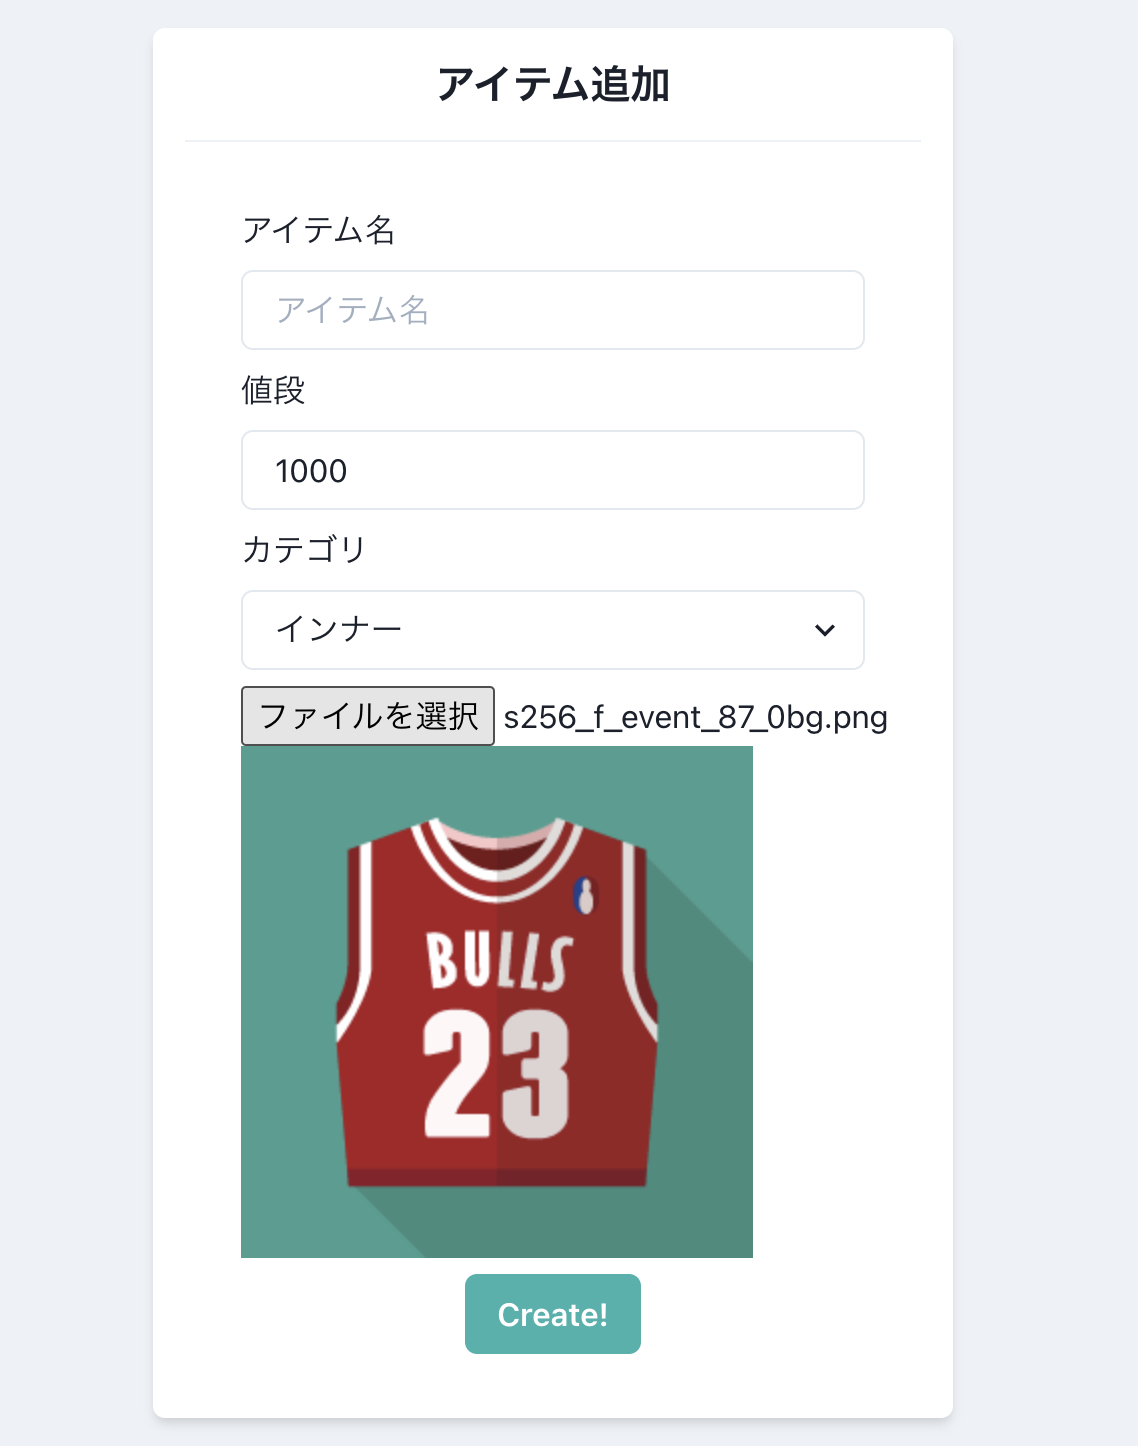
最初に
最近Reactもさわることが増えたので、学習用に
- React + Rails + GraphQL
でSPAの個人アプリを作成しています!
そこで、今回は画像投稿機能をつくってみようとおもいます!
使うものについてさらっと説明
- Ruby on Rails (バックエンド)
- React(フロントエンド)
- TypeScript
- GraphQL
- Apollo
実装
バックエンド
画像アップロードのため以下のGemを入れる
# Gemfile
gem 'carrierwave'
gem 'carrierwave-base64'
- モデルファイルにアップローダーを指定する記述を追加
- 以下の記述だけでbase64で渡ってきたデータを画像として保存してくれる...!
# Item.rb
class Item < ApplicationRecord
  mount_base64_uploader :image, ItemImageUploader <- これを追加
end
(もしcarrierwaveがわからない方は、調べていただけますと![]() )
)
Resolverにて引数で値を受け取って保存
# app/graphql/mutations/create_item.rb
module Mutations
  class CreateItem < Mutations::BaseMutation
    argument :params, InputTypes::Item, required: true <- 引数用のTypeファイル

    field :item, ObjectTypes::Item, null: false

    def resolve(params:)
      item = Item.create!(params.to_h)

      {item: item}

    rescue => e
      GraphQL::ExecutionError.new(e.message)
    end
  end
end
# app/graphql/input_types/item.rb(引数用Typeファイル)
module InputTypes
  class Item < Types::BaseInputObject
    graphql_name 'ItemAttributes'

    argument :image, String, required: false <- 追加
  end
end
フロントエンド
画像選択用のフォームを作る
- inputタグ追加(type="file"でファイル選択フォームに)
<input
  name="file"
  type="file"
  accept="image/png"
/>
useStateを使って、選択画像を管理するstateを追加
  import { useState } from "react";
  const [image, setImage] = useState<string | undefined>(undefined)
画像選択時に、↑のimage stateに画像データをセットする関数を追加
readAsDataURLで、画像をbase64(画像を文字列に変換)にしています!
※ GraphQLはJSONでデータを受け渡すためバイナリデータを扱うことができないので、文字列に!
  const onChangeFile = (e: React.ChangeEvent<HTMLInputElement>) => {
    const files = e.target.files
    if (files && files[0]) {
      const reader = new FileReader()
      reader.readAsDataURL(files[0])
      reader.onload = function() {
        var image: any
        image = reader.result;
        setImage(image); <- image stateに画像をセット
      }
    }
  }
- inputタグで、画像セット時に↑の関数を呼び出して、選択画像をimage stateにセットする
<input
  name="file"
  type="file"
  accept="image/png"
  onChange={onChangeFile} <- 追加
/>
- 以下のように、image stateを、imgタグのsrcにセットすると選択中の画像が確認できるかとおもいます!
<img src={image} />
あとはimageのデータを、Mutationの引数に渡すだけ
const [createItem] = useCreateItemMutation();
createItem({ variables: { params: { image: image } } });
以上が実装の一例となります!
記事を見てくださりありがとございました!!

