はじめに
RxSwiftとTableViewの連携がわりとスマートだったのでまとめておこうと思います。
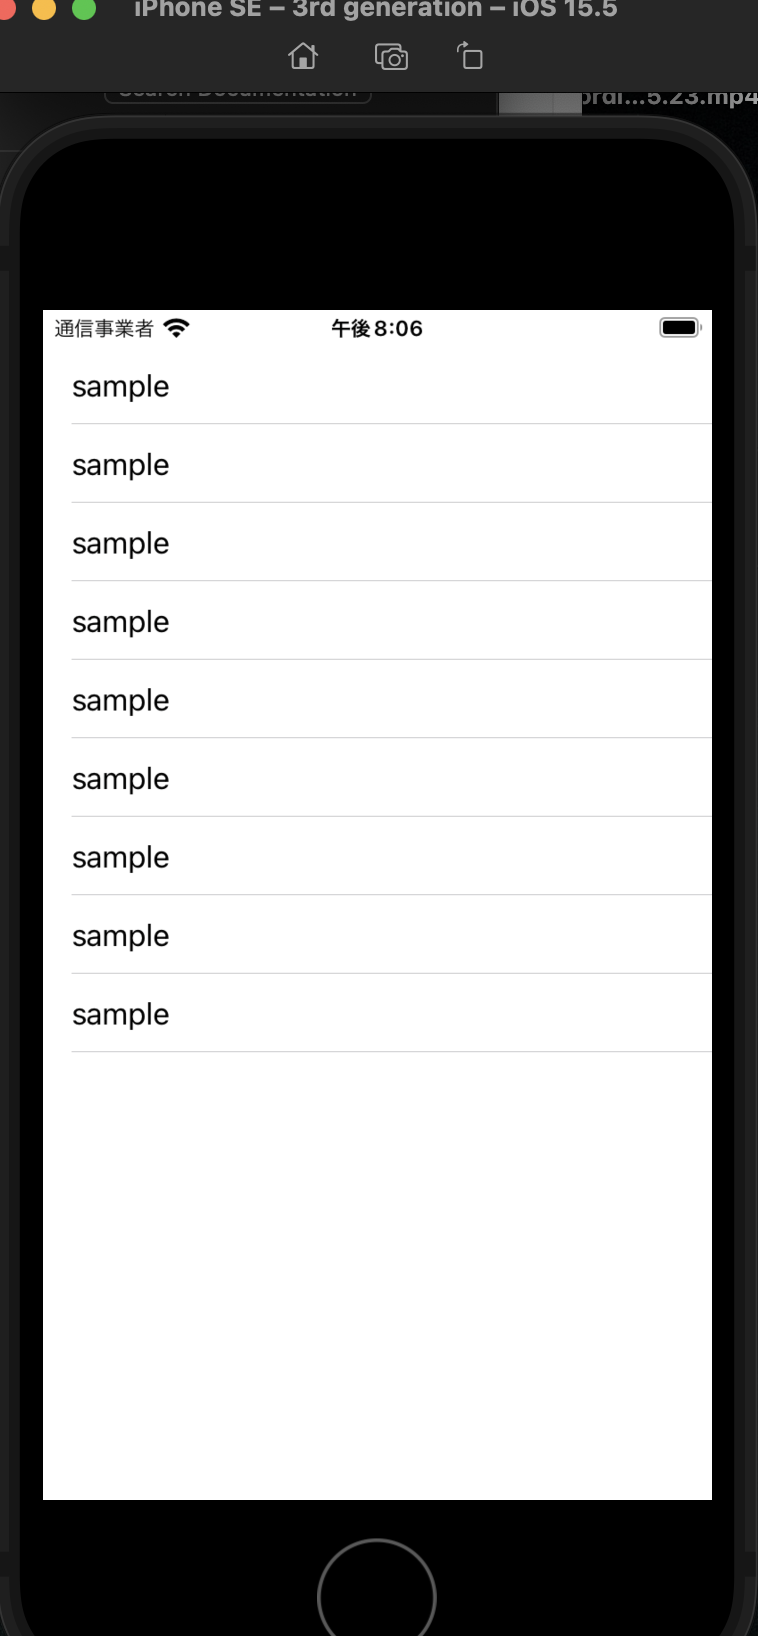
Cellにラベルを出す超簡単な仕様で作成しました。
※カスタムCellを使用したパターンです
※RxSwiftを導入してる前提です
ソースコード
モデルは下記のように作りました。
createModel()で配列を生成しています。
SampleModel
SampleModel.swift
import Foundation

struct SampleModel {
    var name:String?

    static func createModel() -> [SampleModel] {
        return [
            SampleModel(name: "sample"),
            SampleModel(name: "sample"),
            SampleModel(name: "sample"),
            SampleModel(name: "sample"),
            SampleModel(name: "sample"),
            SampleModel(name: "sample"),
            SampleModel(name: "sample"),
            SampleModel(name: "sample"),
            SampleModel(name: "sample")
        ]
    }
}
ViewModel
初期化時にacceptでイベントを流しています。
SampleViewModel.swift
import Foundation
import RxSwift
import RxRelay

final class SampleViewModel {

    private var sampleModel = SampleModel.createModel()
    var rxModel = BehaviorRelay<[SampleModel]>(value: [])

    init() {
        rxModel.accept(sampleModel)
    }
}
TableViewCell
configure()メソッドで値をモデルに渡しています。
TableViewCell.swift
import UIKit

final class TableViewCell: UITableViewCell {

    @IBOutlet weak var nameLabel: UILabel!

    func configure(model: SampleModel) {
        nameLabel.text = model.name
    }
}
ViewController
viewDidLoadでTableViewをセットアップしています。
通常の場合だと、DataSourceやdelegateを定義しないといけなかったり
記述が多くなりますがRxだとわりとスマートに書けますね
ViewController.swift
import UIKit
import RxSwift
import RxCocoa

final class ViewController: UIViewController {

    private var tableViewCell = "TableViewCell"
    private var viewModel = SampleViewModel()
    private var disposeBag = DisposeBag()

    @IBOutlet weak var rxTableView: UITableView! {
        didSet {
            rxTableView.register(UINib(nibName: tableViewCell, bundle: nil), forCellReuseIdentifier: tableViewCell)
        }
    }

    override func viewDidLoad() {
        super.viewDidLoad()
        bind()
    }

    private func bind() {
        viewModel.rxModel.bind(to: rxTableView.rx.items(cellIdentifier: tableViewCell, cellType: TableViewCell.self)) { row, element, cell in
            cell.configure(model: element)
        }.disposed(by: disposeBag)
    }
}
ただ、既存のtableView(_:canEditRowAt:)などを使いたい!って時はUITableViewDataSource自作でデータソースを作る必要があります。
下記クラスをまず実装します
MyDataSource
#//自作データソースを使用する場合
final class MyDataSource: NSObject, UITableViewDataSource, RxTableViewDataSourceType {
    typealias Element = [SampleModel]
    var _itemModels: [SampleModel] = []

    func numberOfSections(in tableView: UITableView) -> Int {
        return 1
    }

    func tableView(_ tableView: UITableView, numberOfRowsInSection section: Int) -> Int {
        return _itemModels.count
    }

    func tableView(_ tableView: UITableView, cellForRowAt indexPath: IndexPath) -> UITableViewCell {
        let cell = tableView.dequeueReusableCell(withIdentifier: "Cell", for: indexPath)
        let element = _itemModels[indexPath.row]
        cell.textLabel?.text = element.name
        return cell
    }

    func tableView(_ tableView: UITableView, observedEvent: Event<Element>) {
        Binder(self) { dataSource, element in
            dataSource._itemModels = element
                        #//ここでテーブルを更新している
            tableView.reloadData()
        }
        .on(observedEvent)
    }
}
そして下記のように生成します。
var dataSource = MyDataSource()

    private func bind() {
        viewModel.rxModel.bind(to: rxTableView.rx.items(dataSource: dataSource)).disposed(by: disposeBag)
}
こうすることで通常時のように使うことができるかつRxに対応させることができました!
どういう風に表示してるのか?というのが気になる方は下記が参考になったので是非↓
https://qiita.com/masa7351/items/a9f534fd4d3d1d76d979
ソースコードはGitHubにまとめています。
https://github.com/taro-ken/RxTableView-Sample