VOICEVOXという無料で使える中品質なテキスト読み上げソフトウェアをさくらのクラウドで動かしてみます。
GPU対応しているので、GPUサーバ上でトライします。
1.GPUサーバの作成
さくらのクラウドのコントロールパネルから、石狩第1ゾーンを選択し、サーバ追加画面を開きます。
サーバプランは GPUプラン を選択、ディスクのアーカイブは Ubuntu 22.04.1 LTS を選択します。
ディスクサイズは 100GB を選択します。

2.GPUドライバのインストール
GPUサーバが完成したら、SSHでログインします。
NVIDIAのドキュメント通りにインストールを行う。
https://docs.nvidia.com/datacenter/tesla/tesla-installation-notes/index.html
$ sudo apt-get install linux-headers-$(uname -r)
$ distribution=$(. /etc/os-release;echo $ID$VERSION_ID | sed -e 's/\.//g')
$ wget https://developer.download.nvidia.com/compute/cuda/repos/$distribution/x86_64/cuda-keyring_1.0-1_all.deb
$ sudo dpkg -i cuda-keyring_1.0-1_all.deb
$ sudo apt-get update
$ sudo apt-get -y install cuda-drivers
インストールが終わったら再起動を行う。
3.ディスクトップ環境、XRDPのインストール
Ubuntuのディスクトップ環境上で動作したいため、必要なパッケージをインストールします。
また、リモートディスクトップ接続でディスクトップ環境するためにXRDPをインストールします。
sudo apt update
sudo apt -y install ubuntu-desktop task-gnome-desktop xrdp p7zip
sudo apt -y install
sudo systemctl enable xrdp
4.リモートディスクトップ接続をする
リモートディスクトップ接続クライアントからサーバに接続します。
筆者は、Microsoft Remote Desktopを利用します。
ログイン情報は、ssh接続と同じユーザ名、パスワードでログインできます。
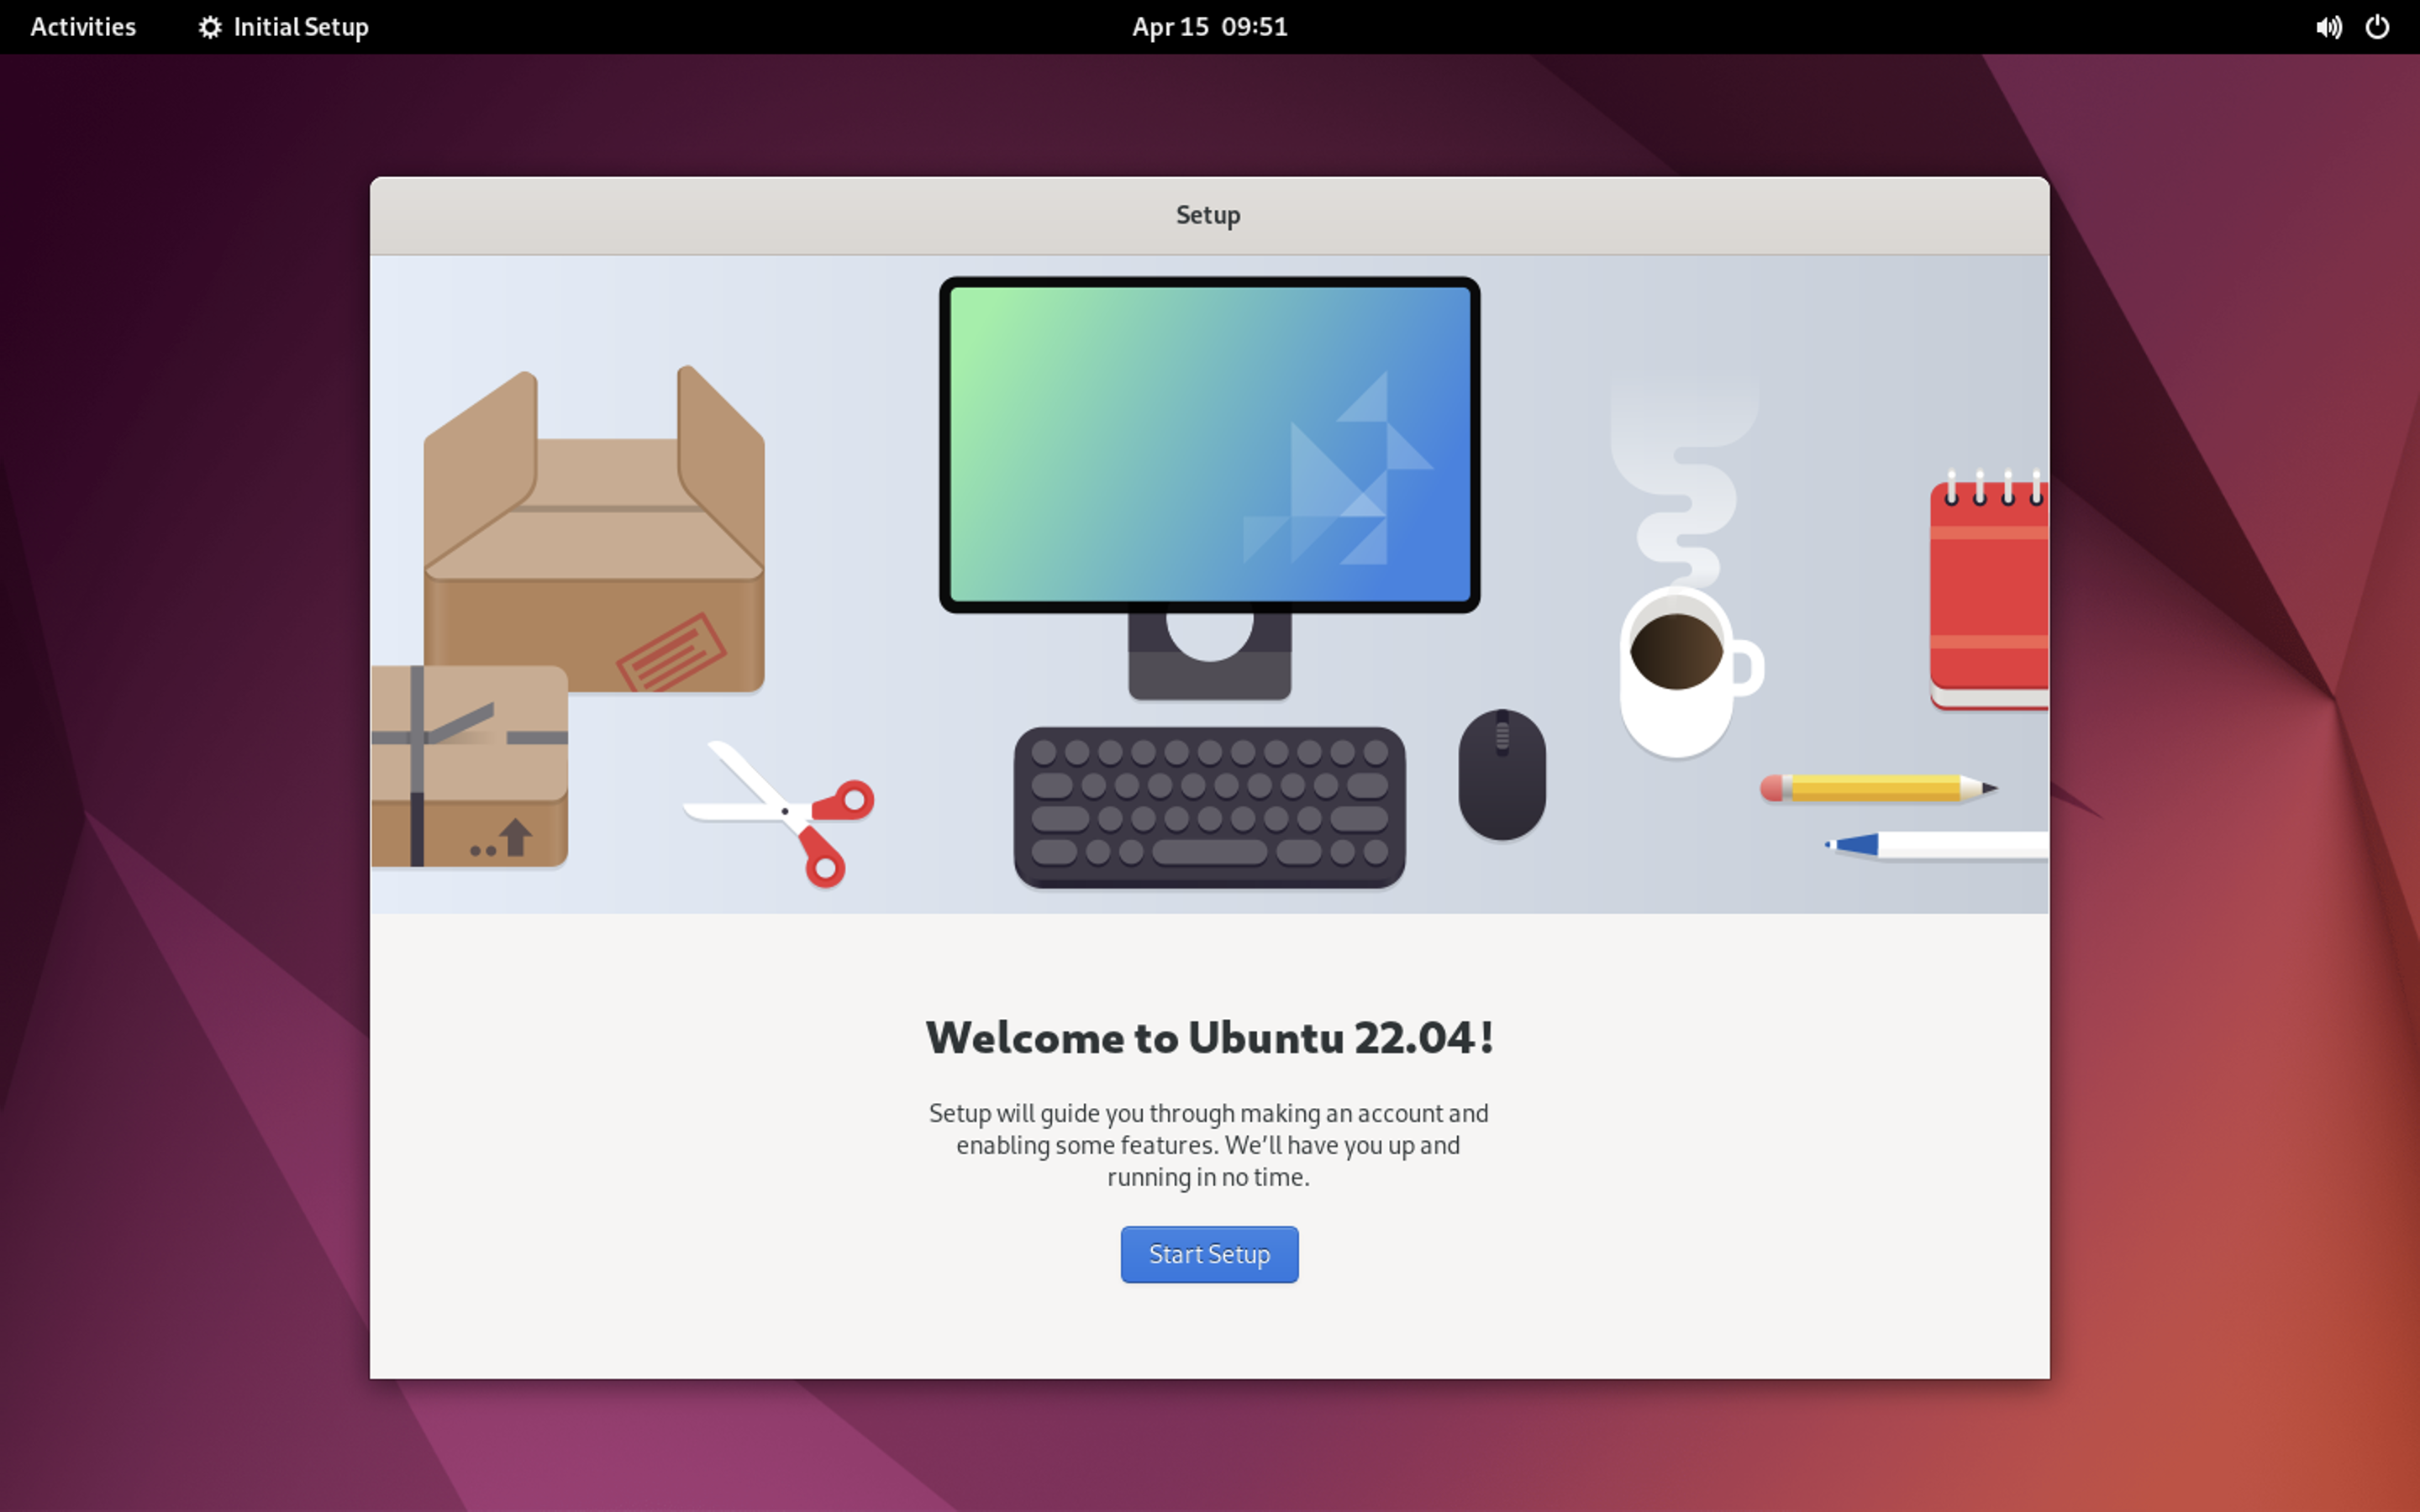
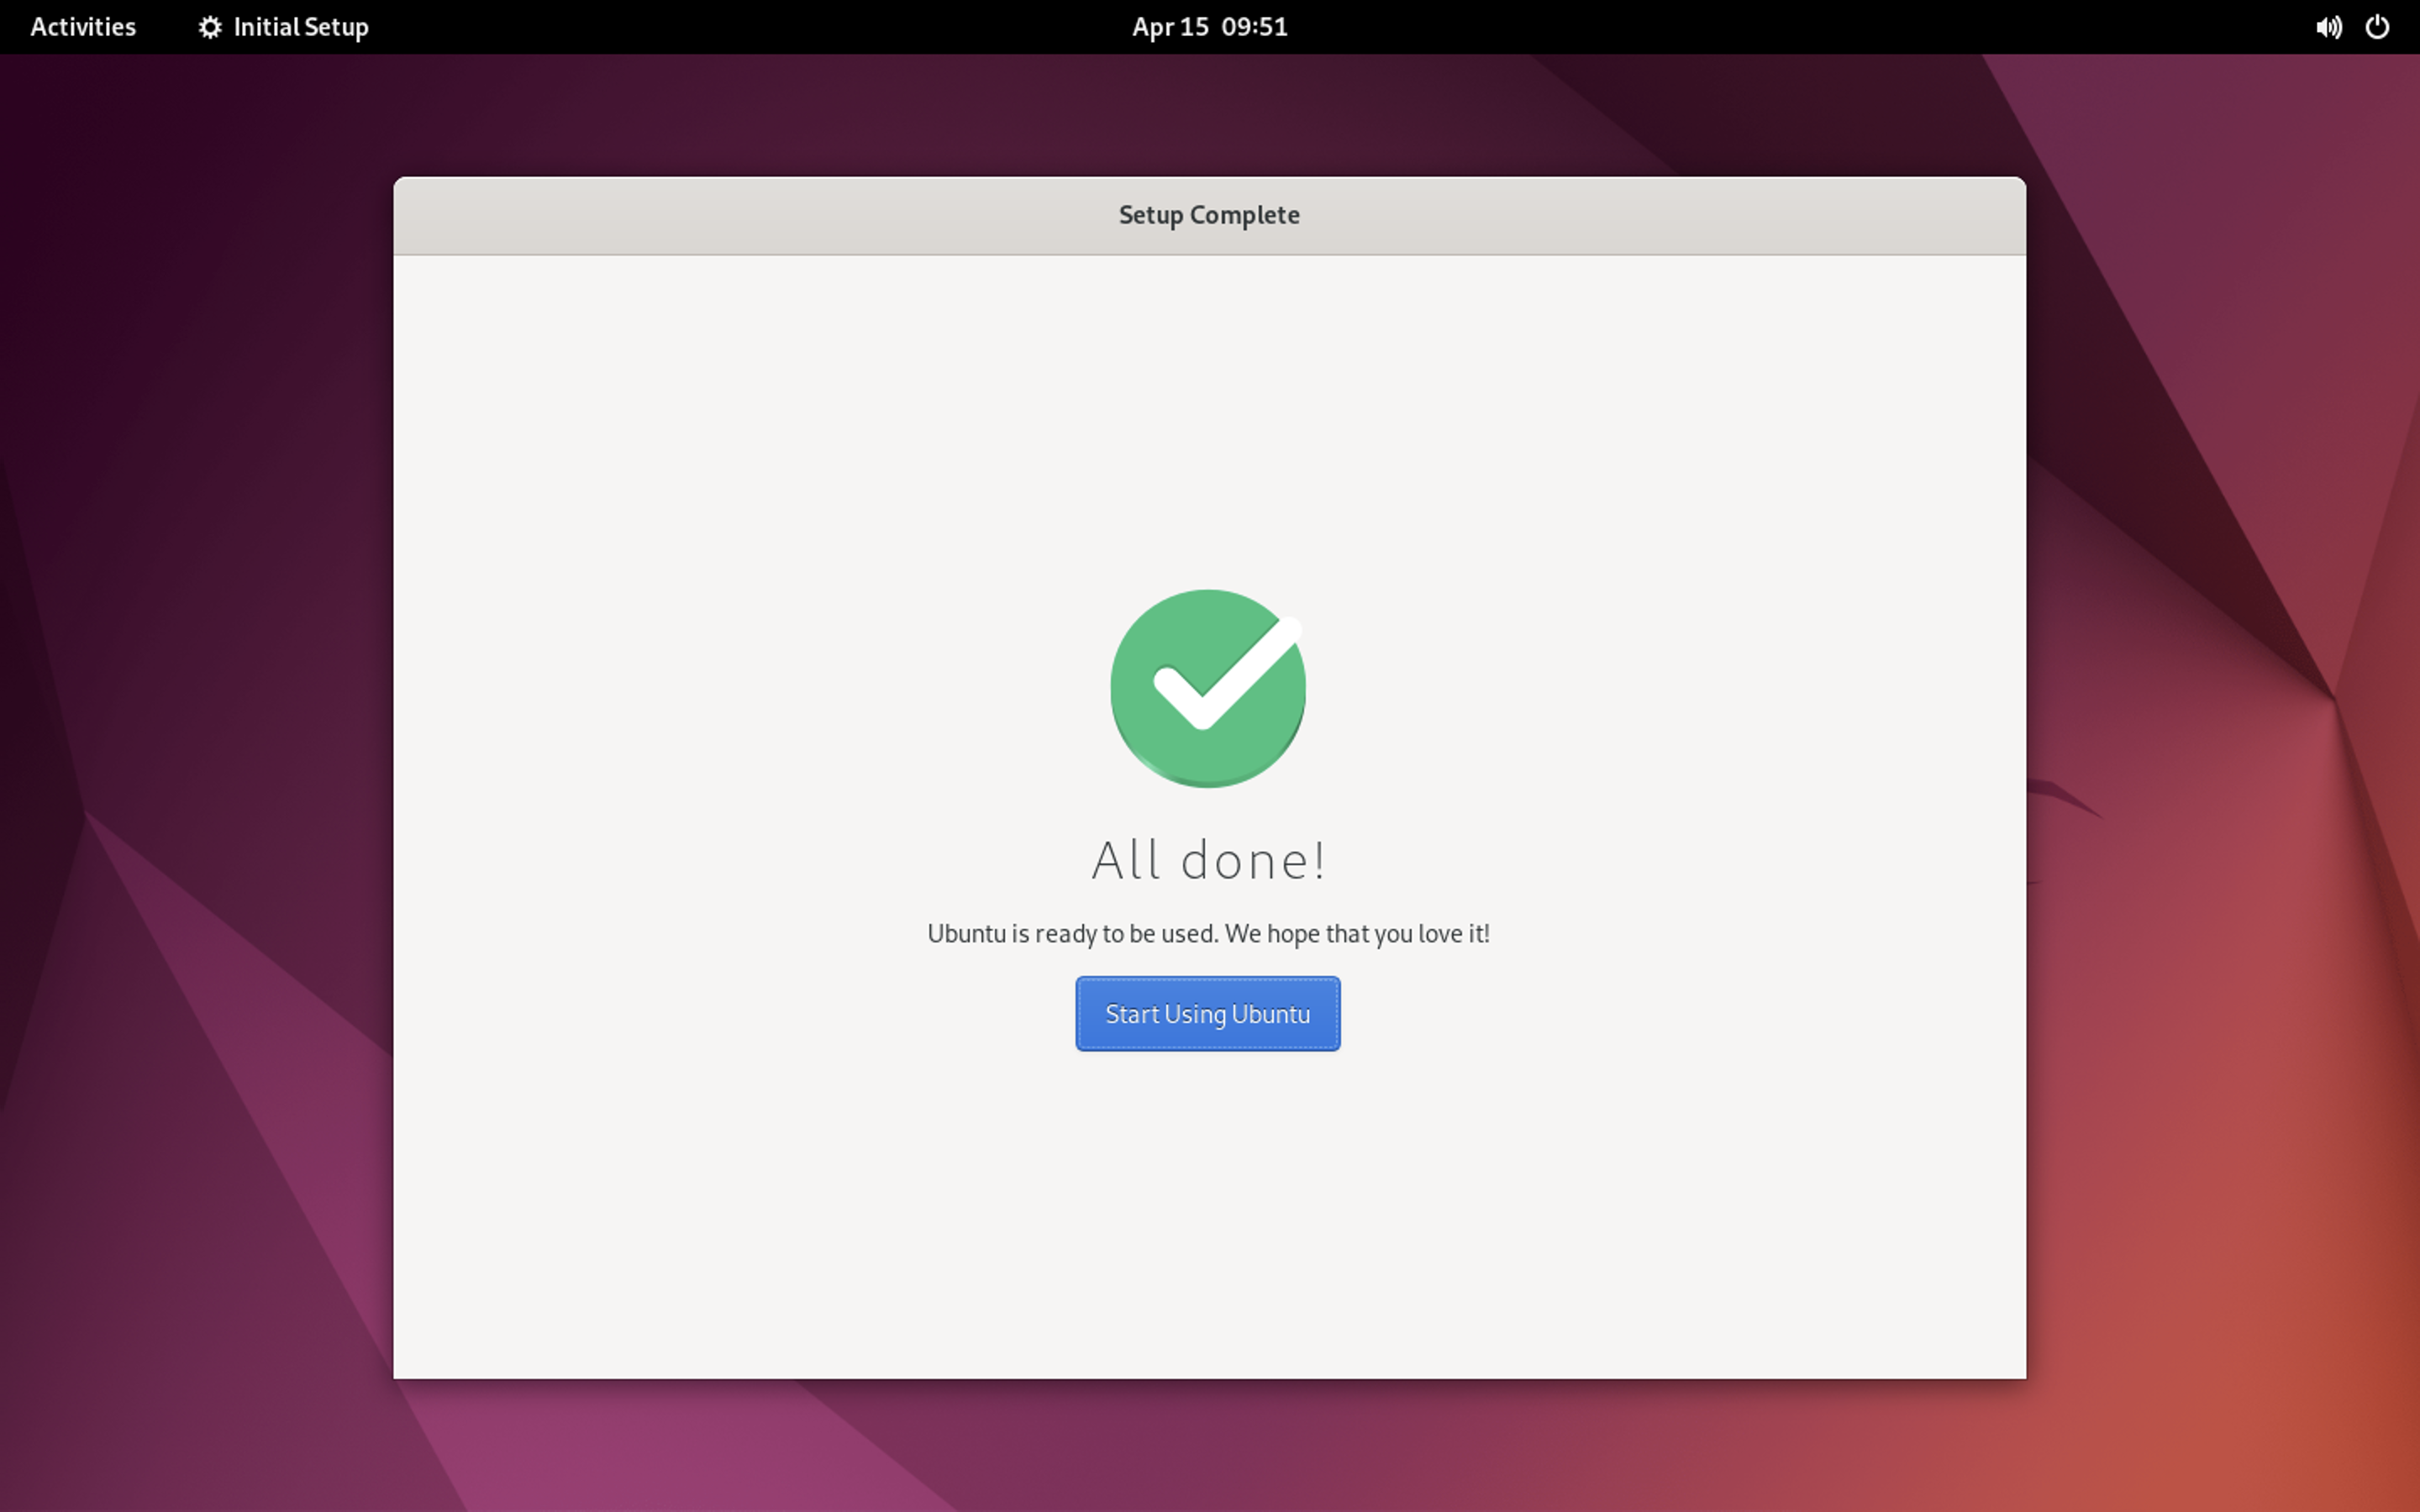
ログイン後初期設定画面が表示されます、 Start Setupをクリックします。
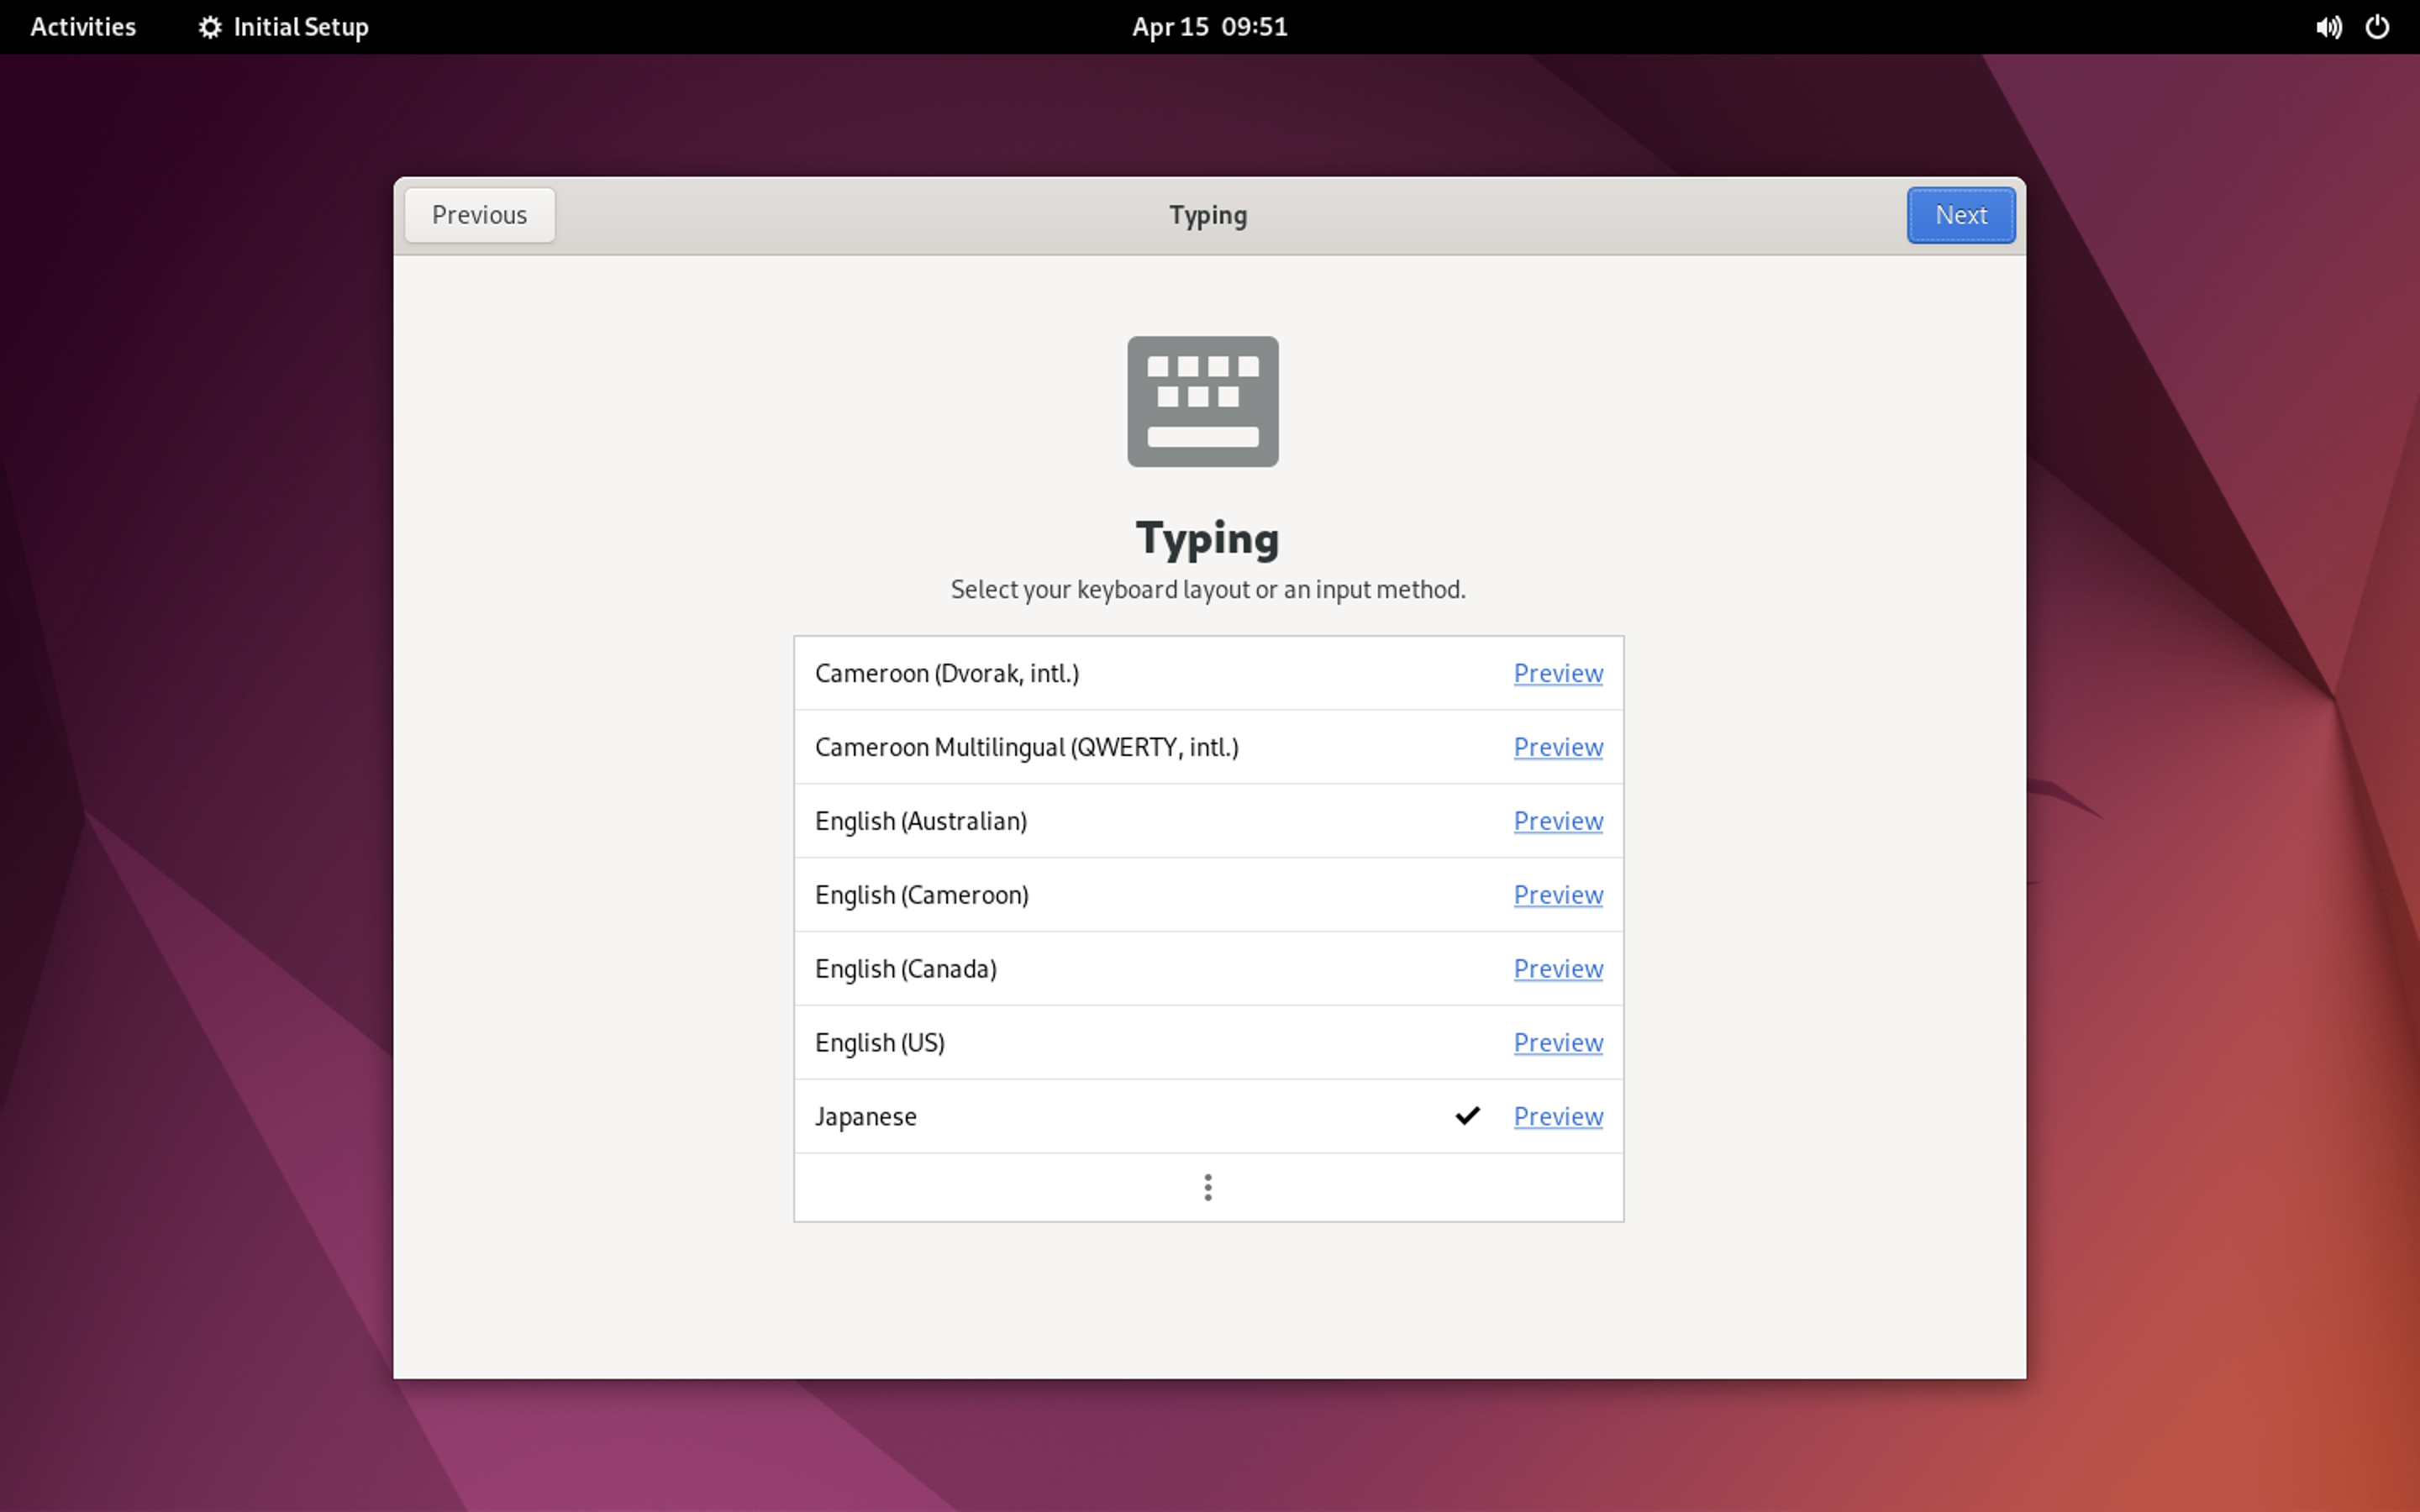
キーボードの設定画面です、 Japaneseを選択しNextクリックします。
Nextクリックします。
Start Using Ubuntuクリックします、以上で初期設定は完了です。
5.VOICEVOXのインストール
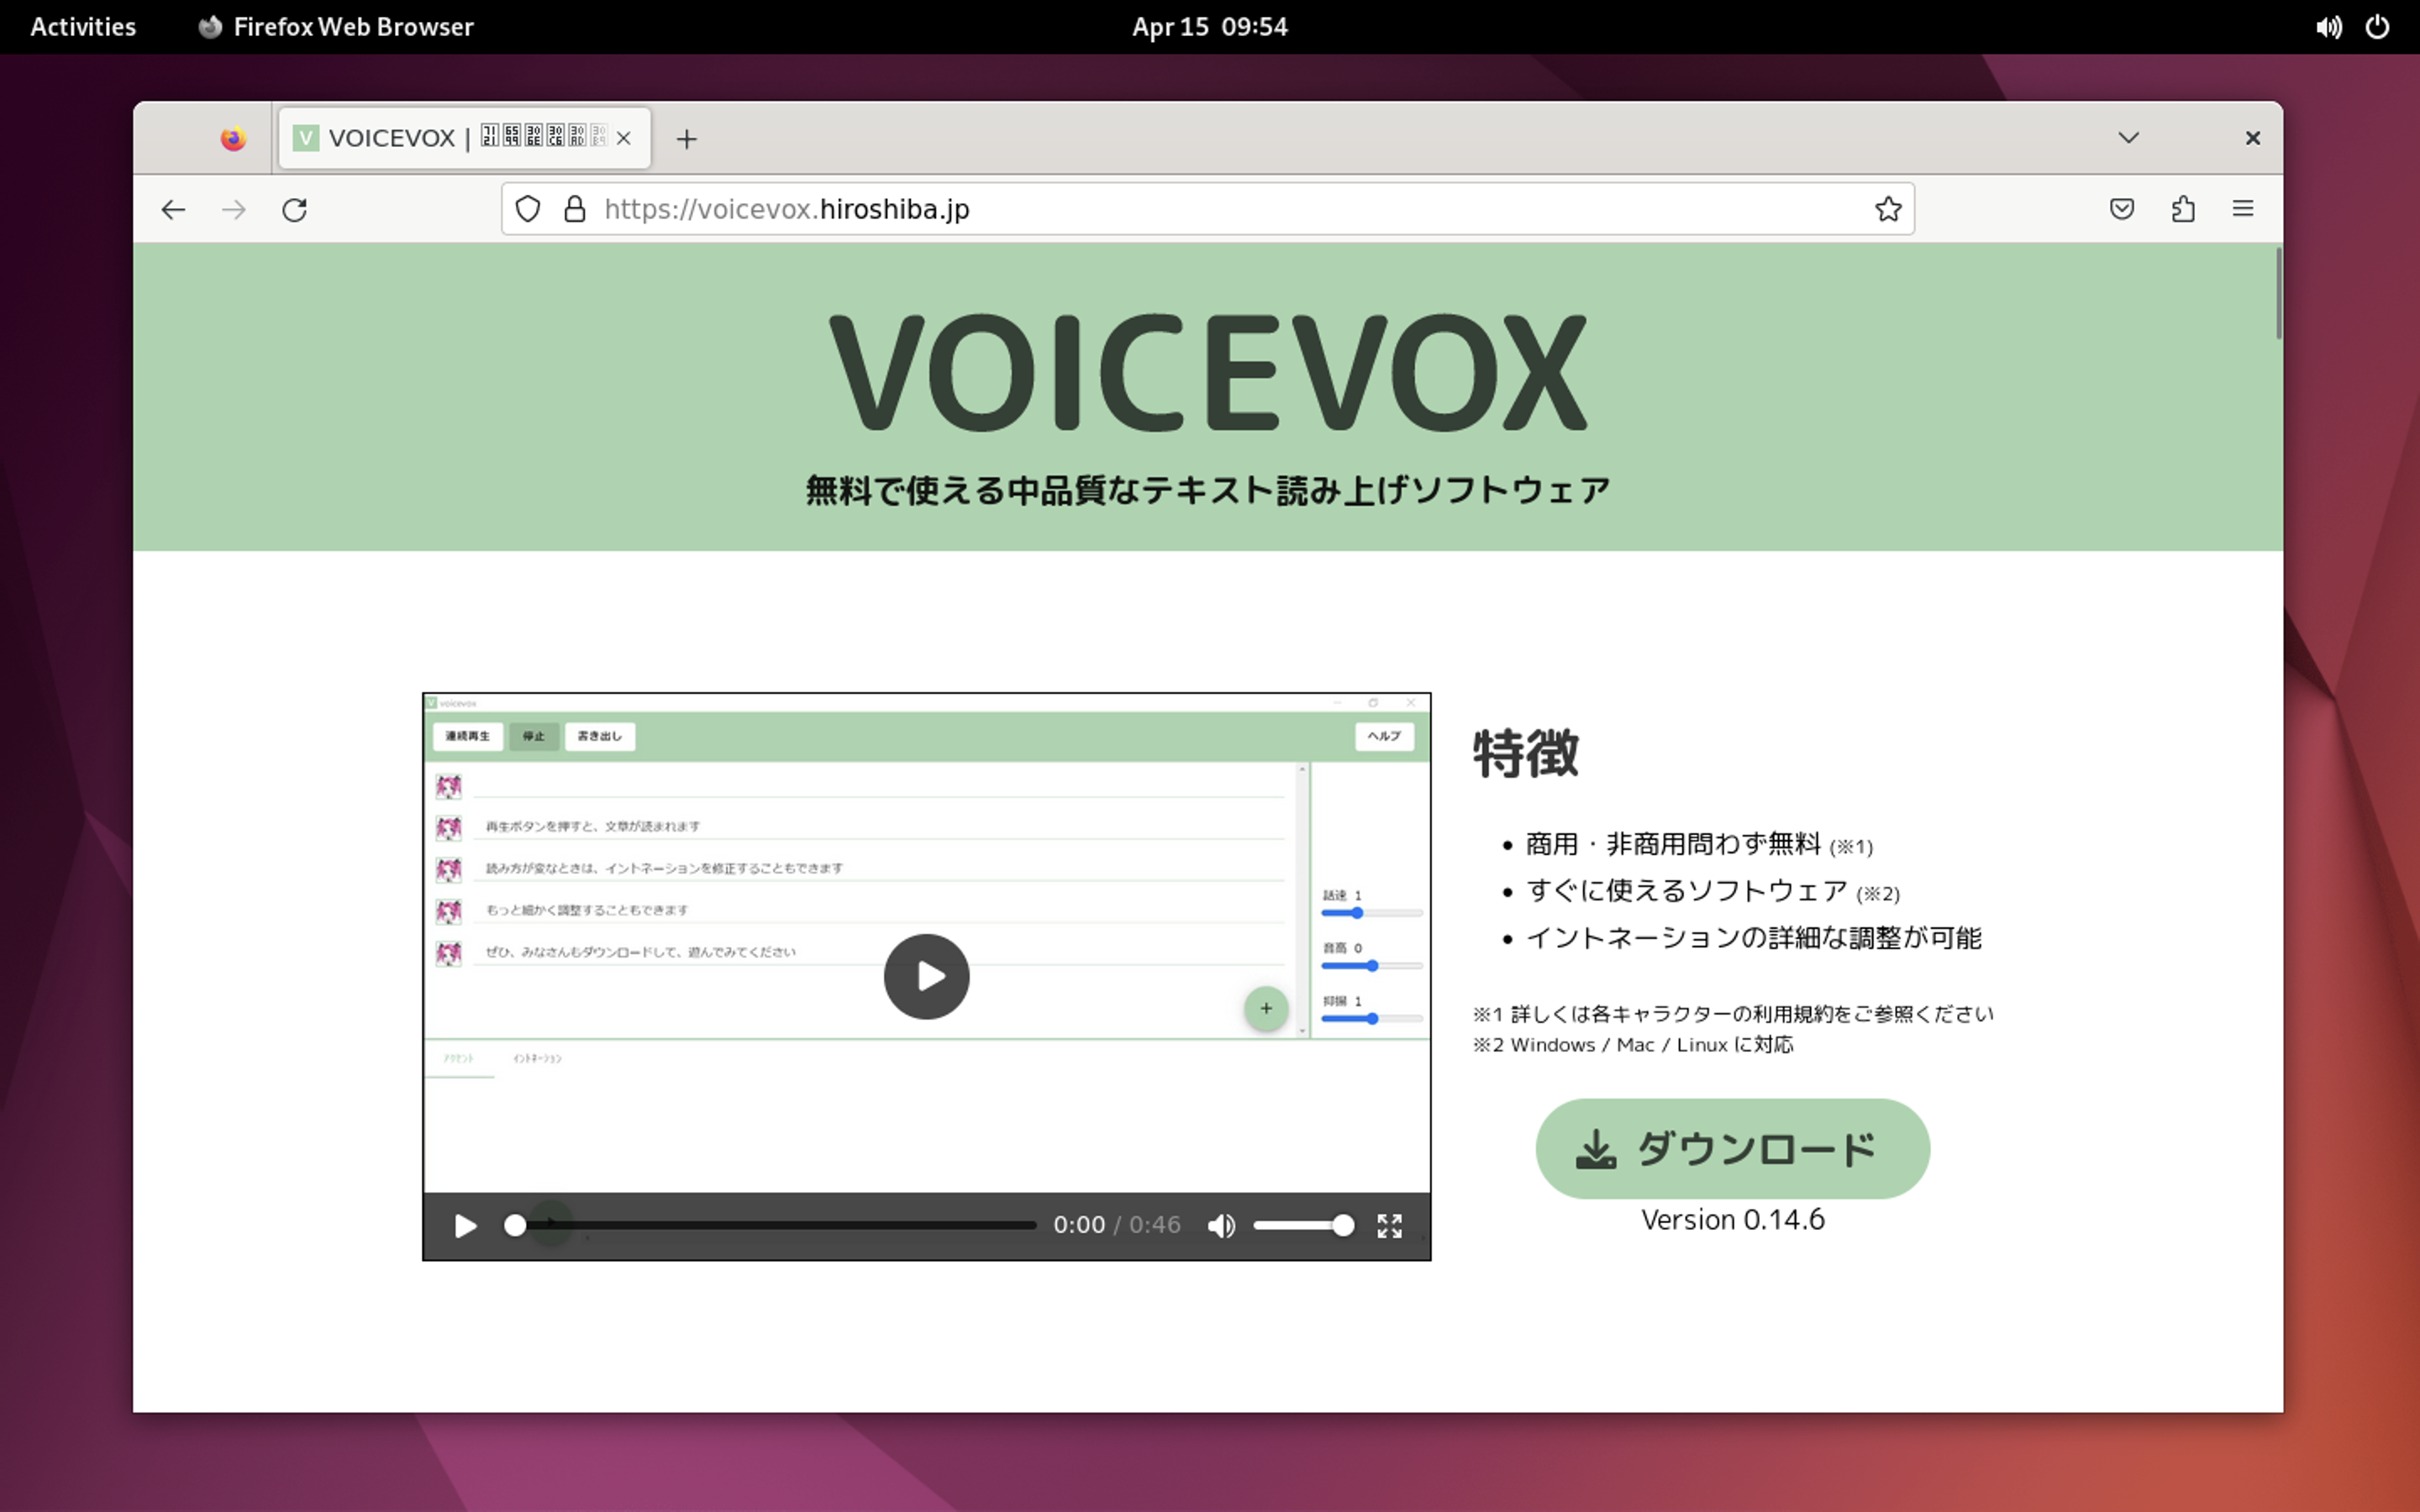
インストールされているFireFoxからVOICEVOXのサイトにアクセスします。ダウンロードをクリックします。
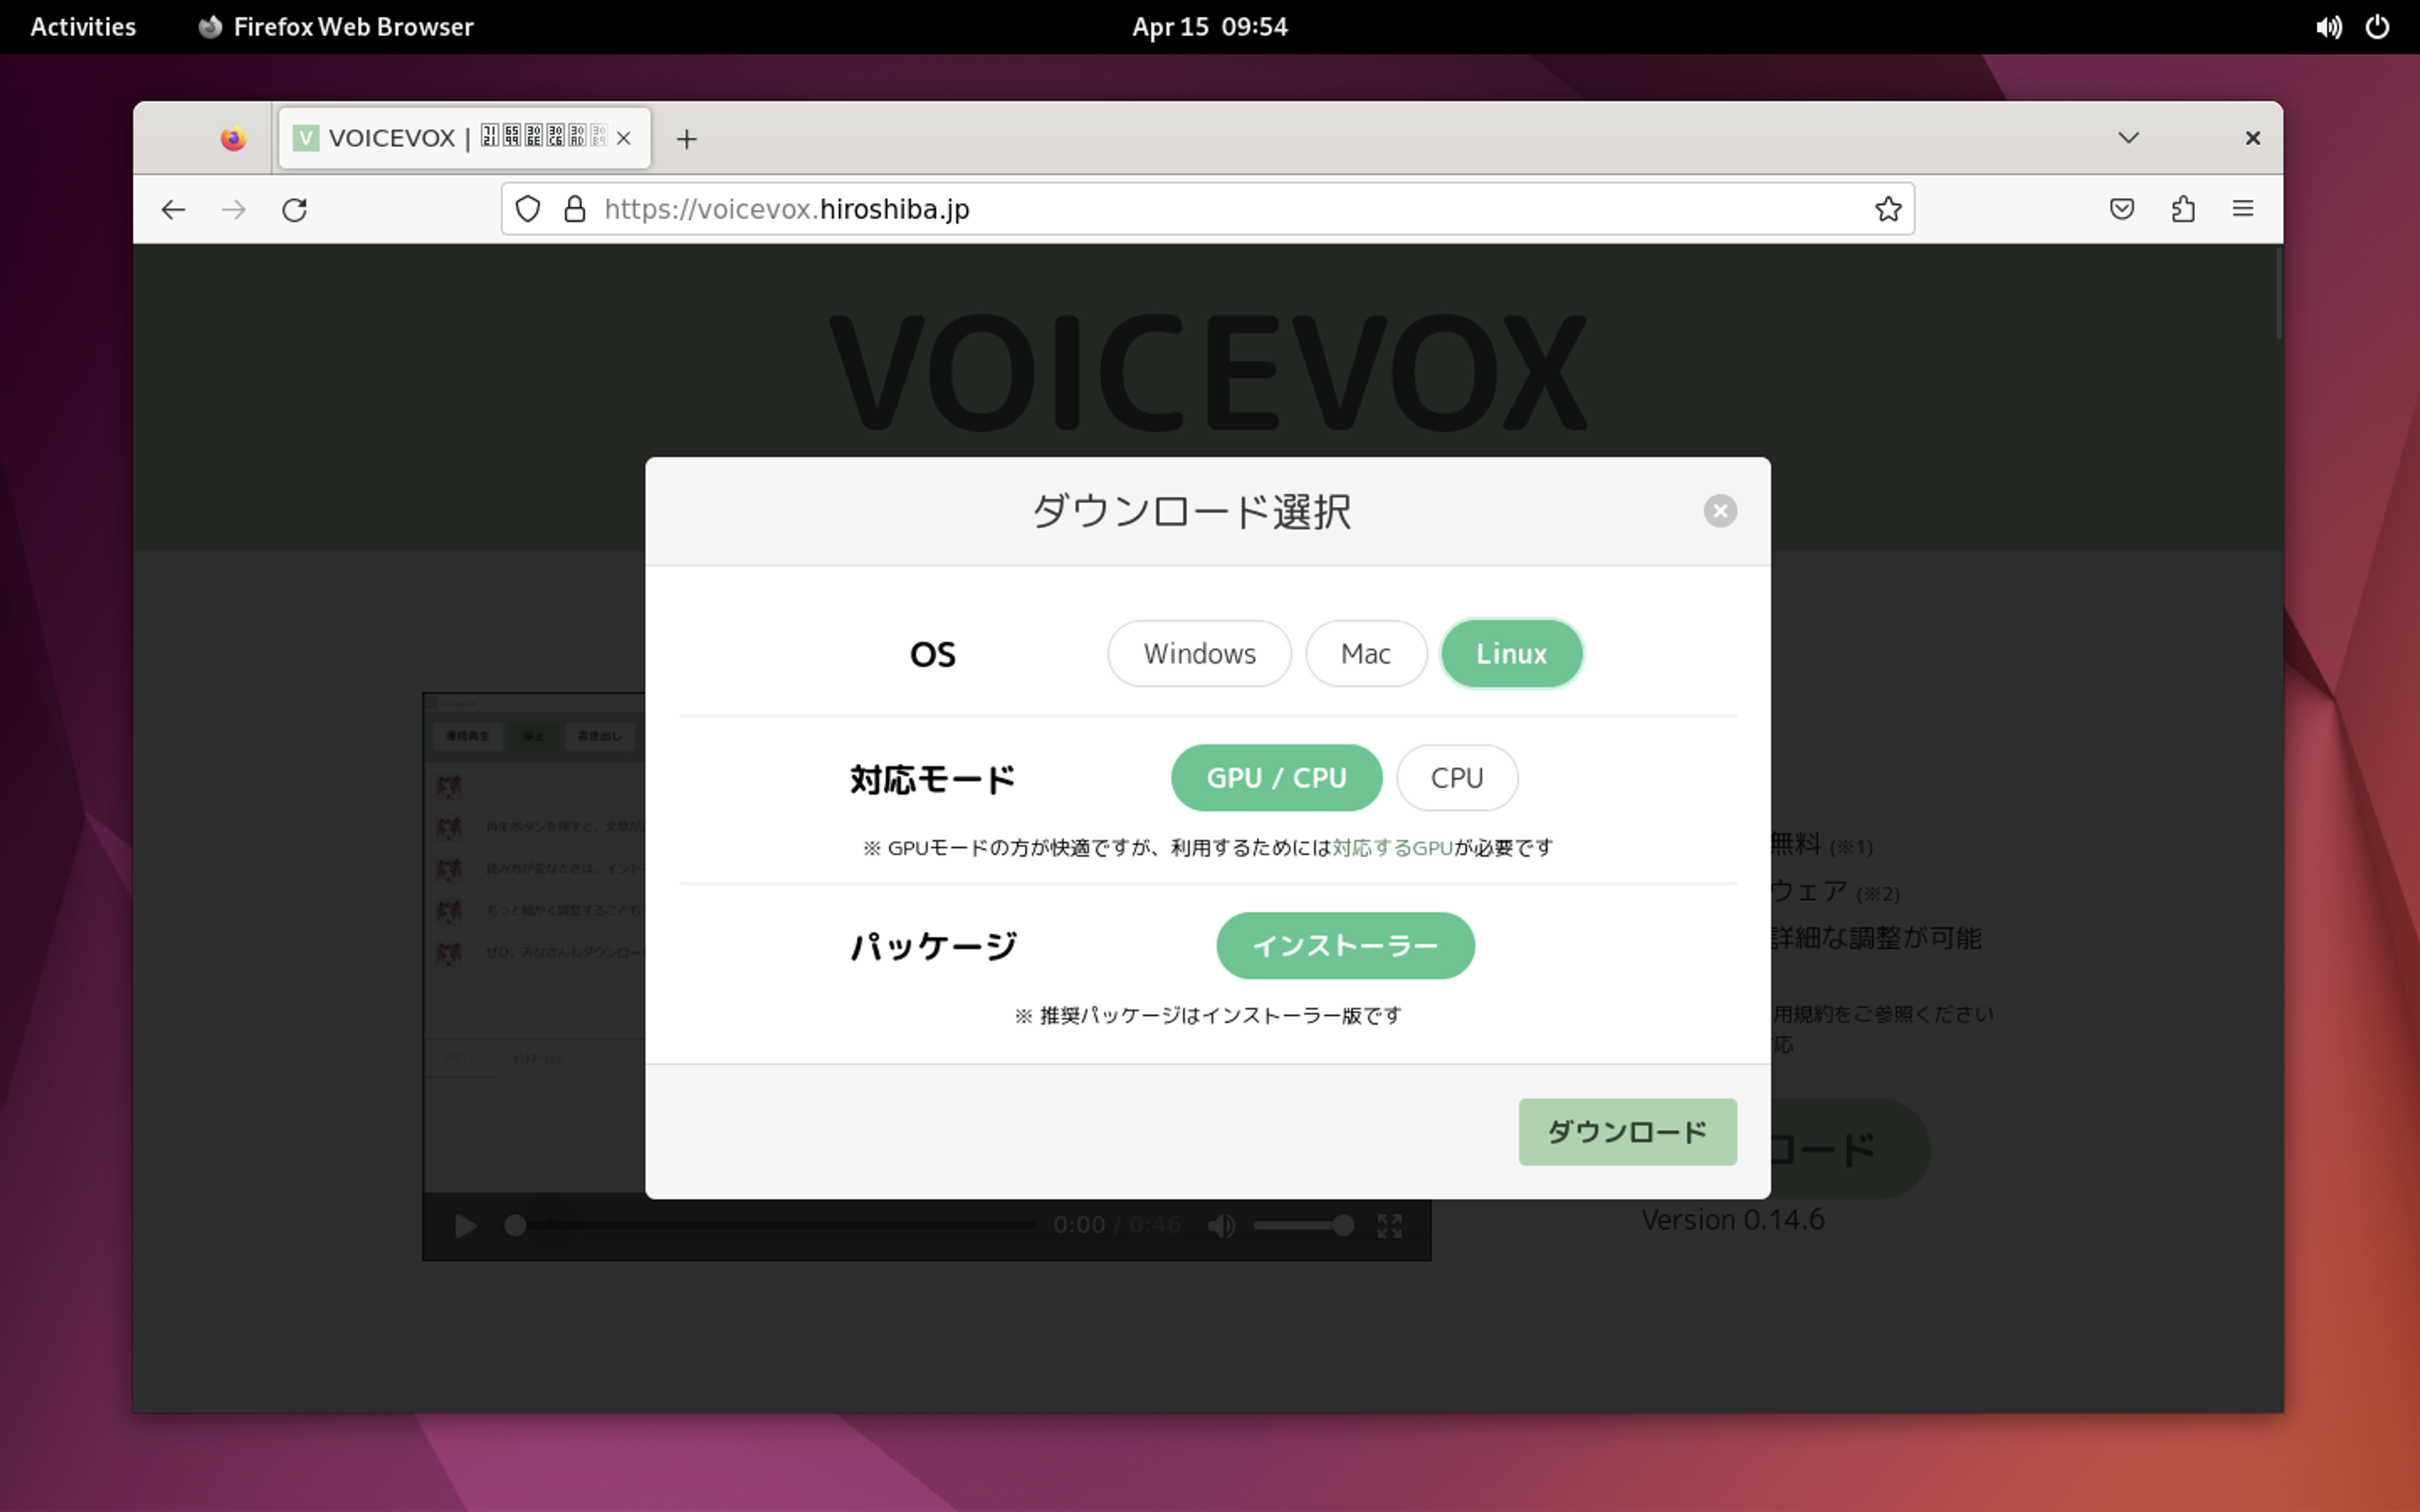
OSはLinux、対応モードはGPU/CPUを選択しダウンロードをクリックします。
Downloadsフォルダにダウンロードされます。
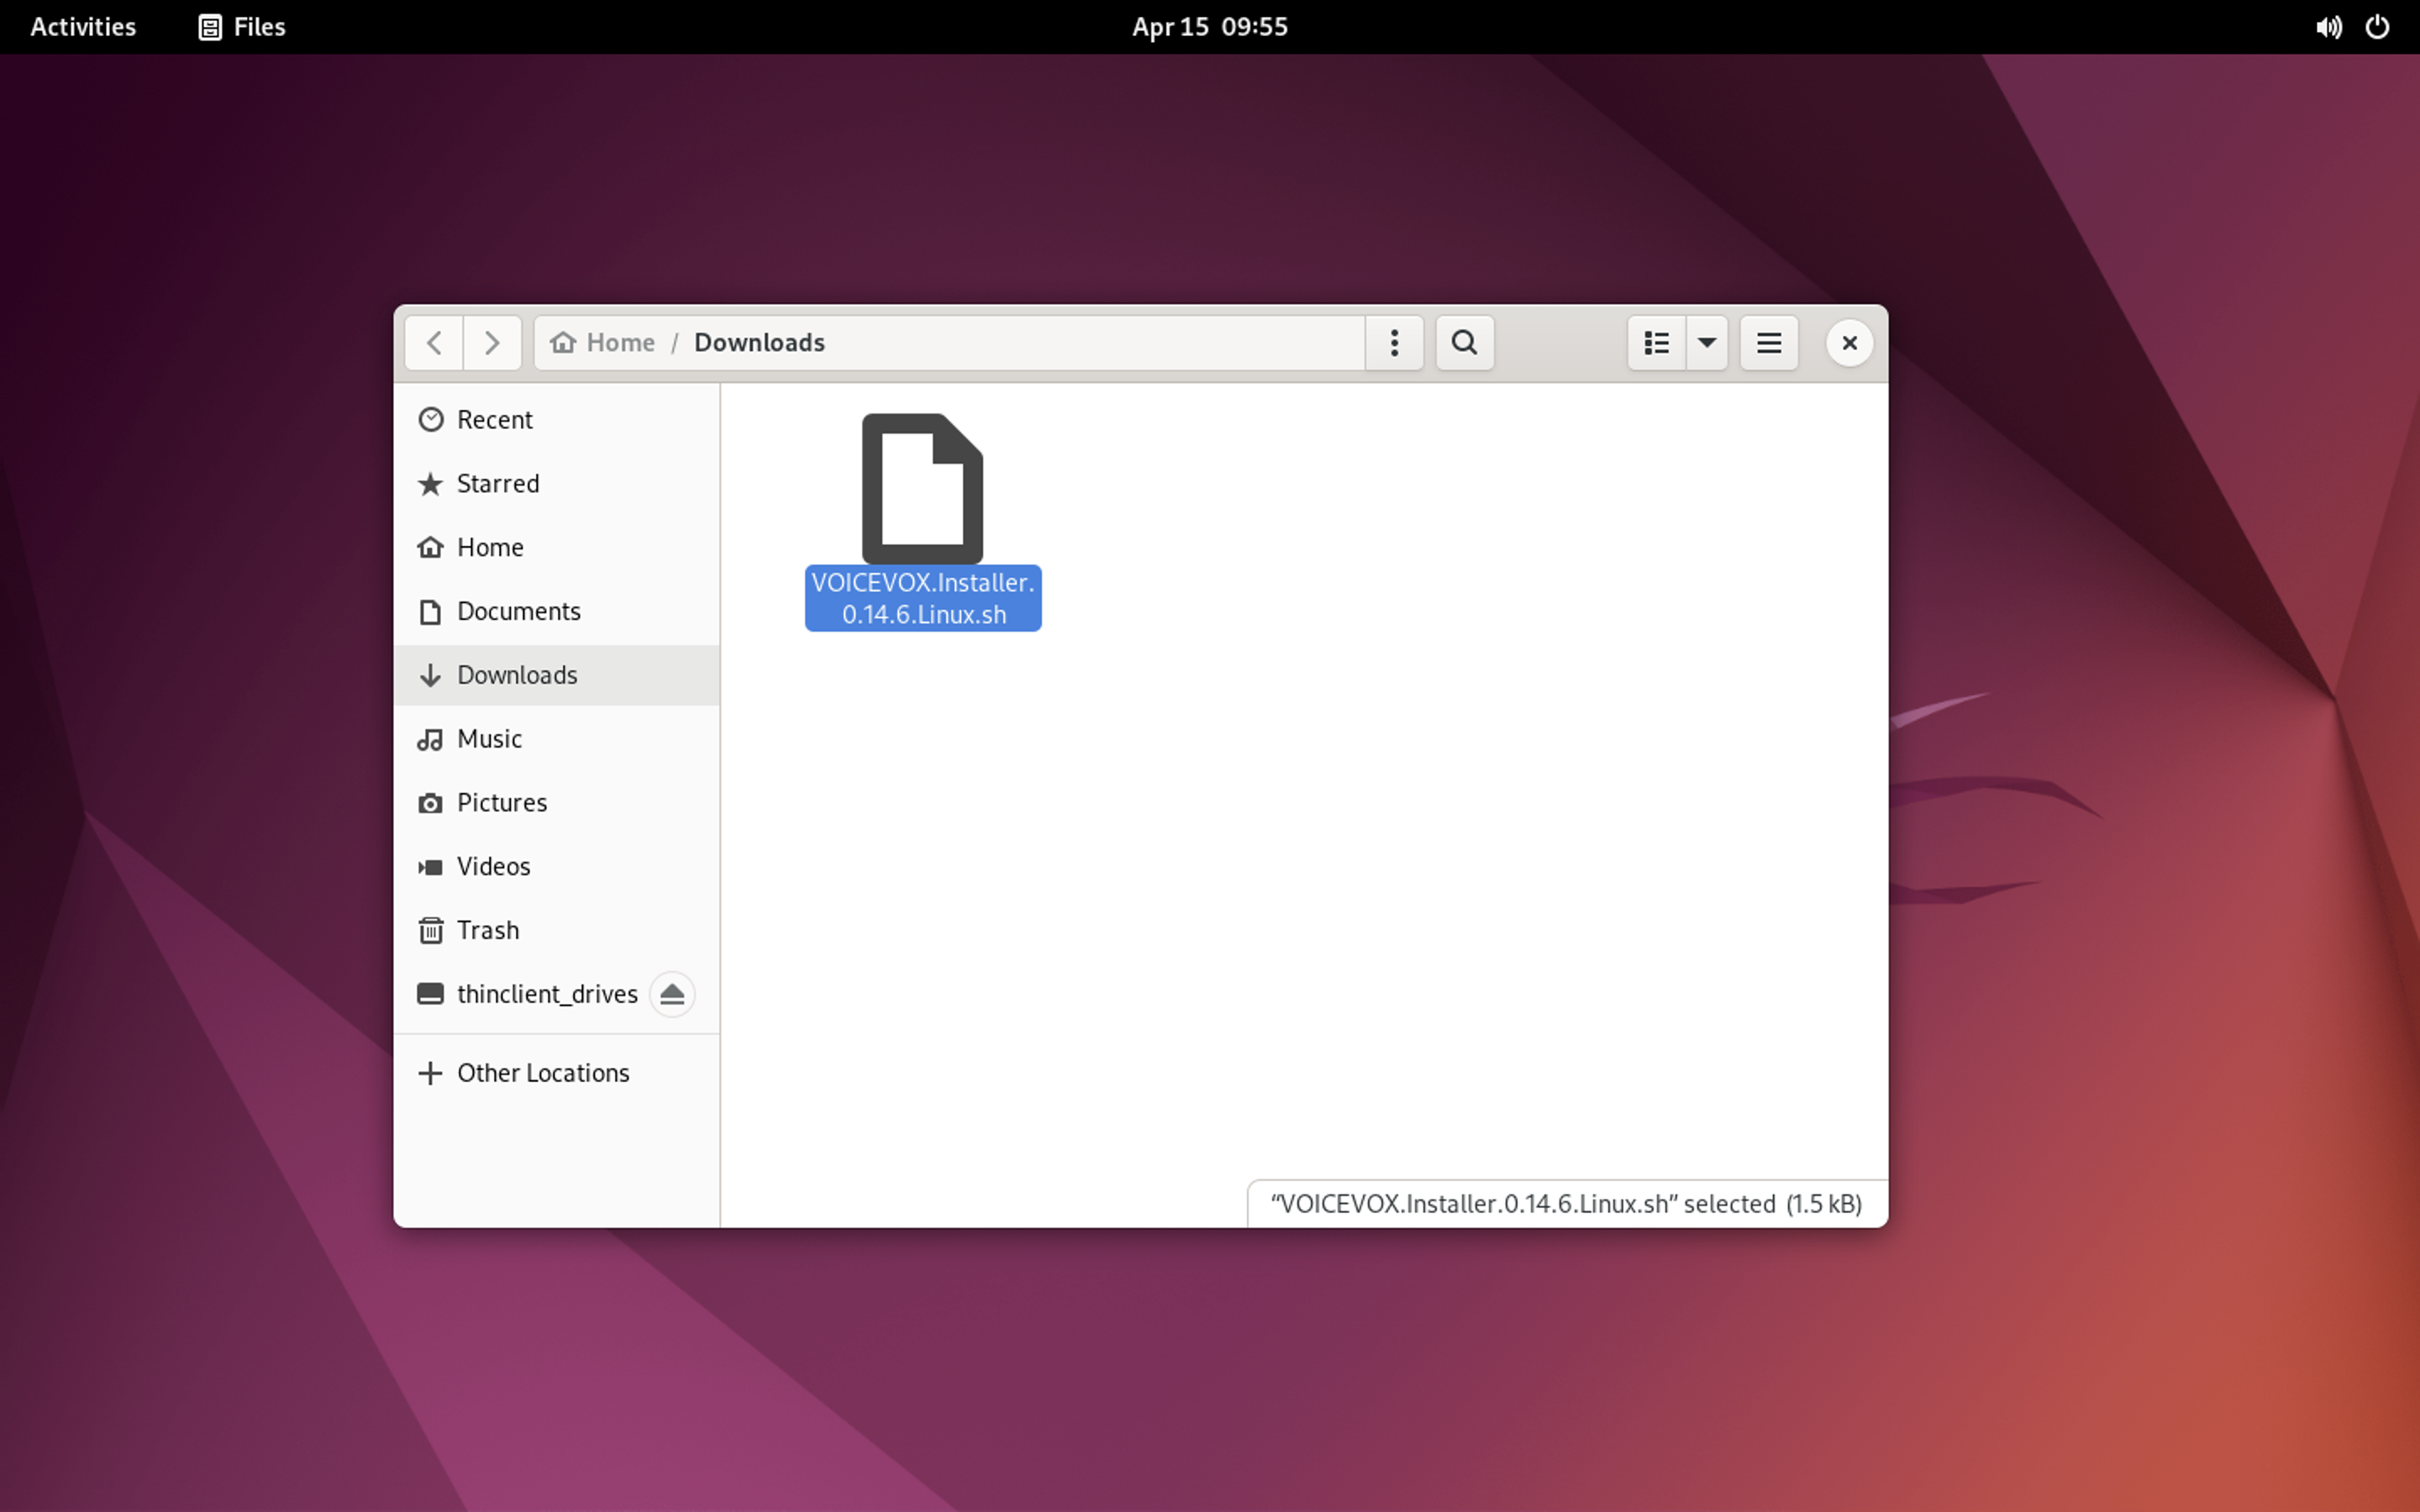
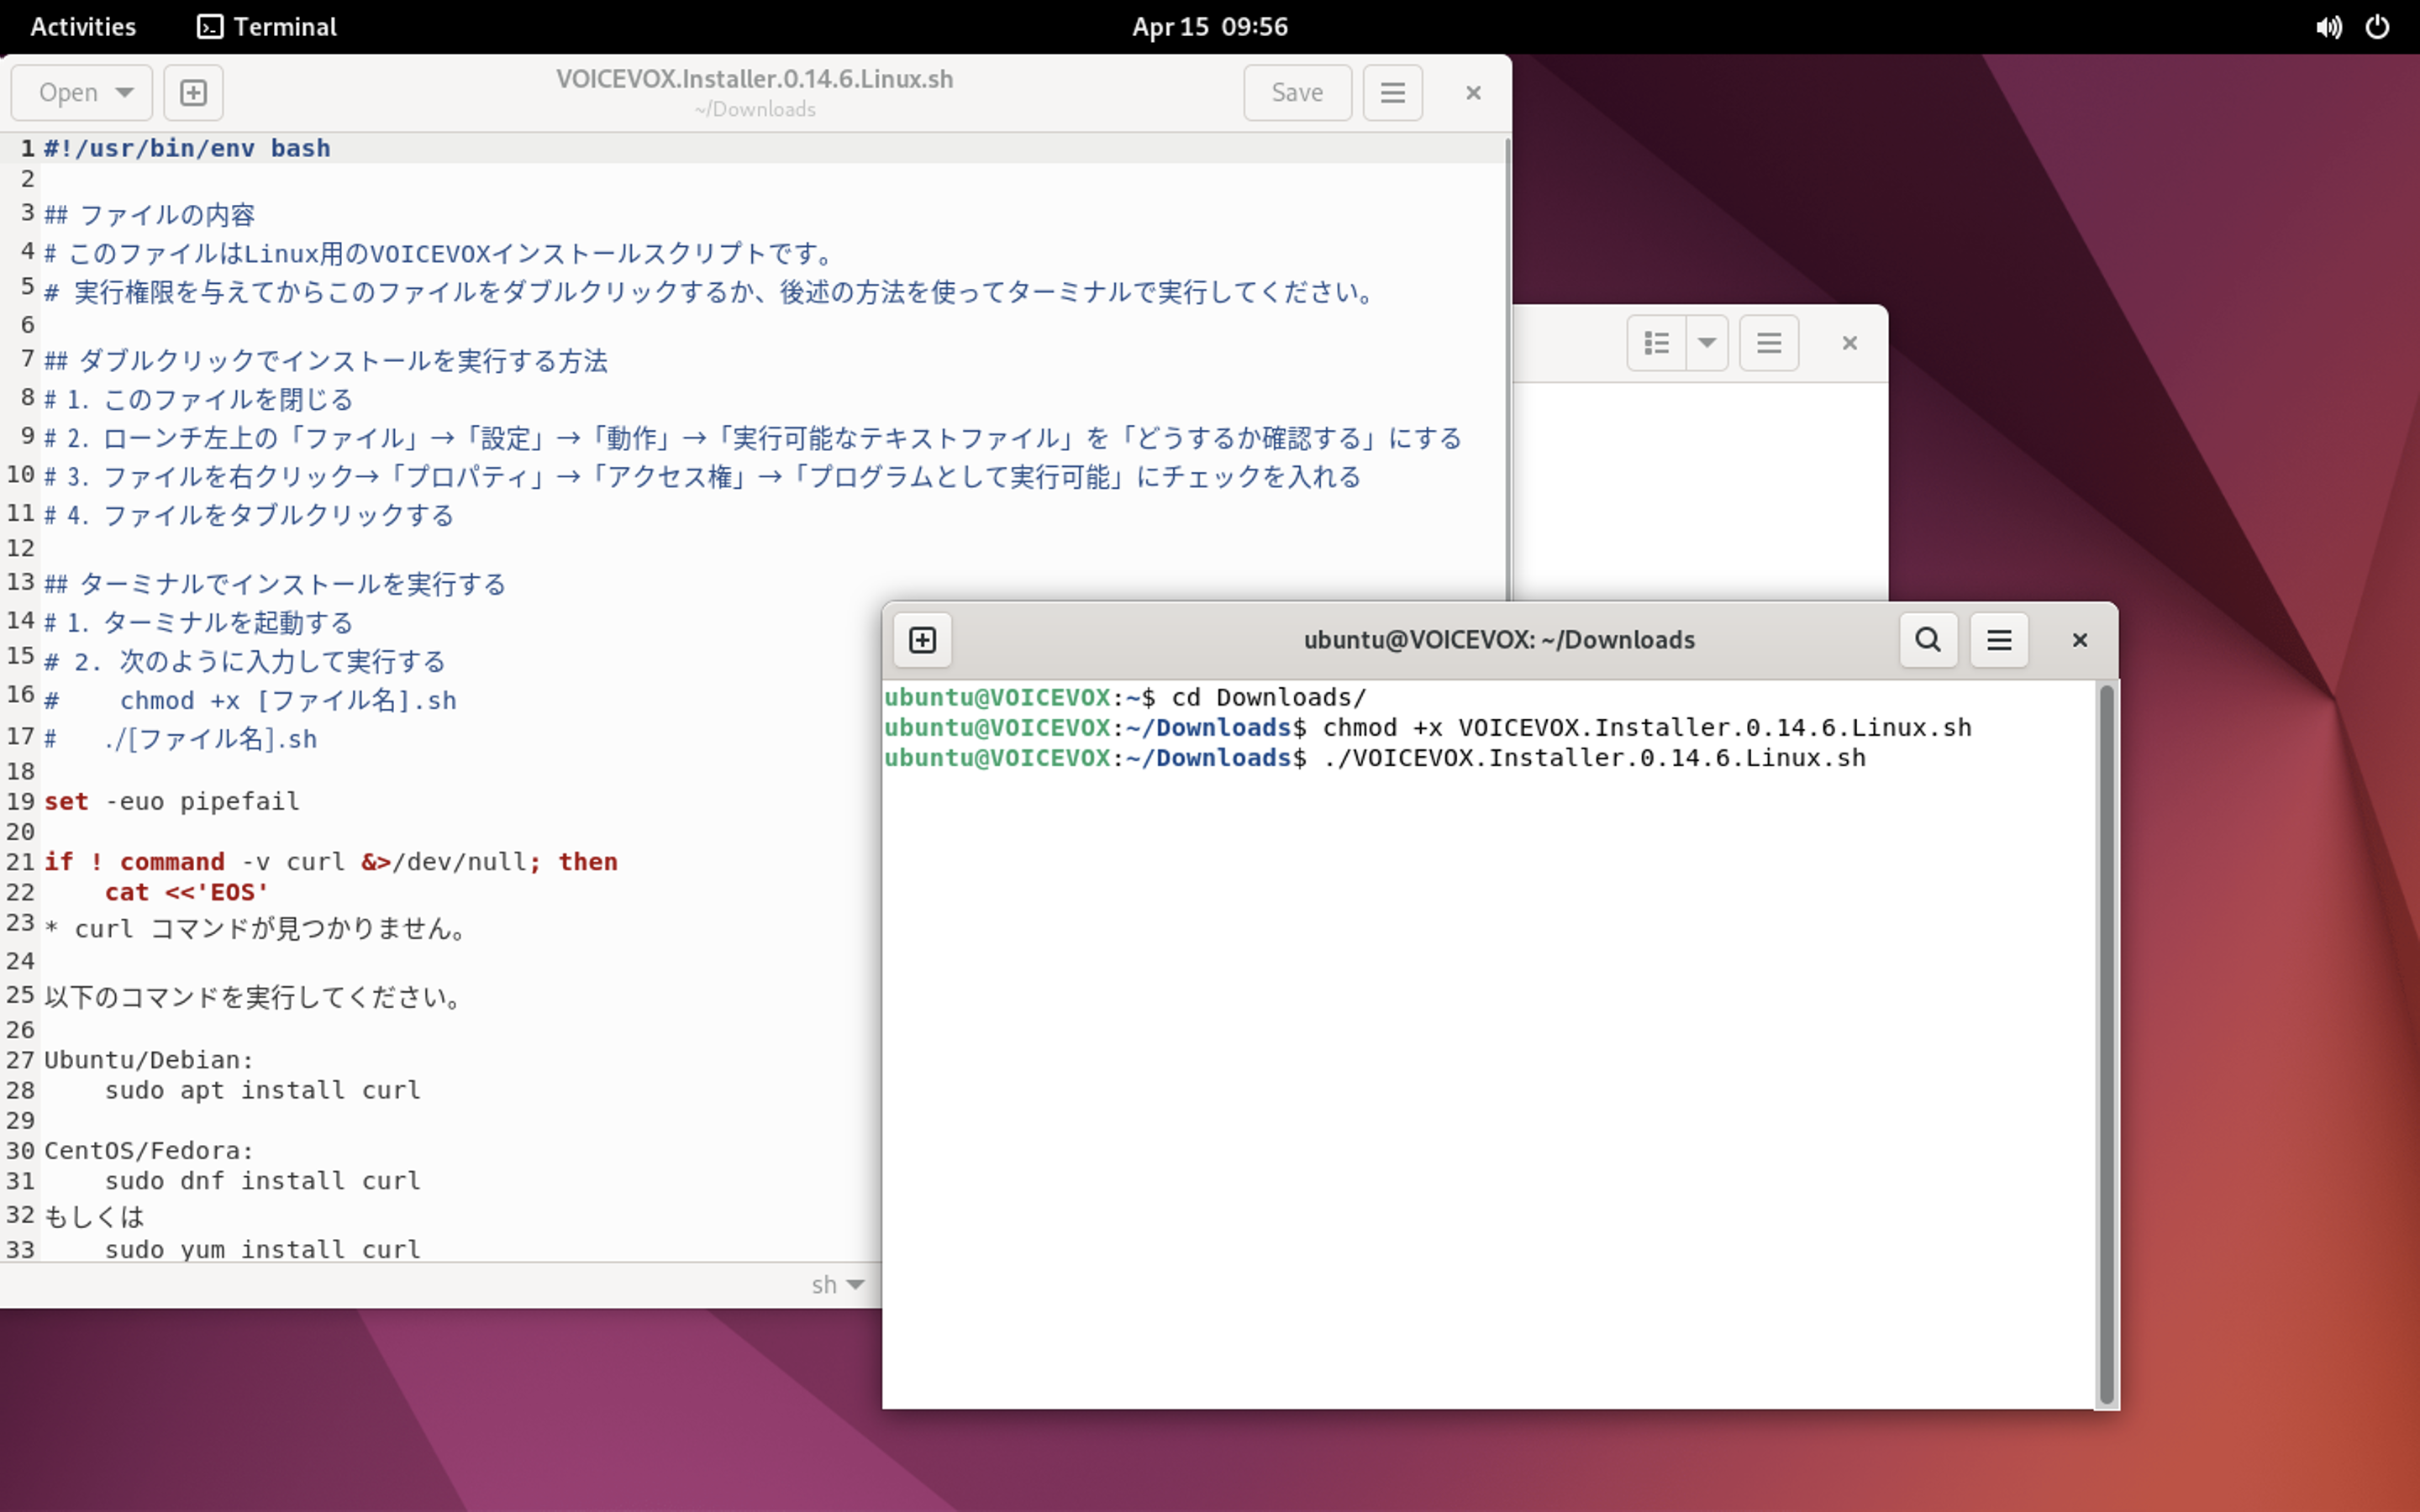
ダウンロードされたファイルを用いてインストールを実行します、Terminalを開き以下のコマンドを実行します。
$ cd Downloads/
$ chmod +x VOICEVOX.Installer.0.14.6.Linux.sh
$ ./VOICEVOX.Installer.0.14.6.Linux.sh
ファイルを開くとセットアップ手順が記載されています。
6.リモートディスクトップ接続経由で音声出力を行うための設定
こちらのサイトに沿って設定します。
$ sudo apt -y install build-essential dpkg-dev libpulse-dev git autoconf libtool
$ cd ~
$ git clone https://github.com/neutrinolabs/pulseaudio-module-xrdp.git
$ cd ~/pulseaudio-module-xrdp
$ scripts/install_pulseaudio_sources_apt_wrapper.sh
$ scripts/install_pulseaudio_sources_apt_wrapper.sh 実行時に出力されるPULSE_DIR=****をコピーしておきます。
- Creating schroot config file /etc/schroot/chroot.d/pa-build-ubuntu.conf
- Copying /etc/apt/sources.list to the root
- Creating the build directory /build
- Copying the wrapped script to the build directory
- Building PA sources. Log file in /var/tmp/pa-build-ubuntu-schroot.log
- Copying sources out of the build root
- Removing schroot config file and build root
- All done. Configure PA xrdp module with PULSE_DIR=/home/ubuntu/pulseaudio.src
コピーしておいたPULSE_DIR=****を貼り付け以下のコマンドを実行します。
$ ./bootstrap && ./configure PULSE_DIR=/home/ubuntu/pulseaudio.src
$ make
$ sudo make install
モジュールがインストールされたことを確認します。
$ ls $(pkg-config --variable=modlibexecdir libpulse) | grep xrdp
module-xrdp-sink.la
module-xrdp-sink.so
module-xrdp-source.la
module-xrdp-source.so
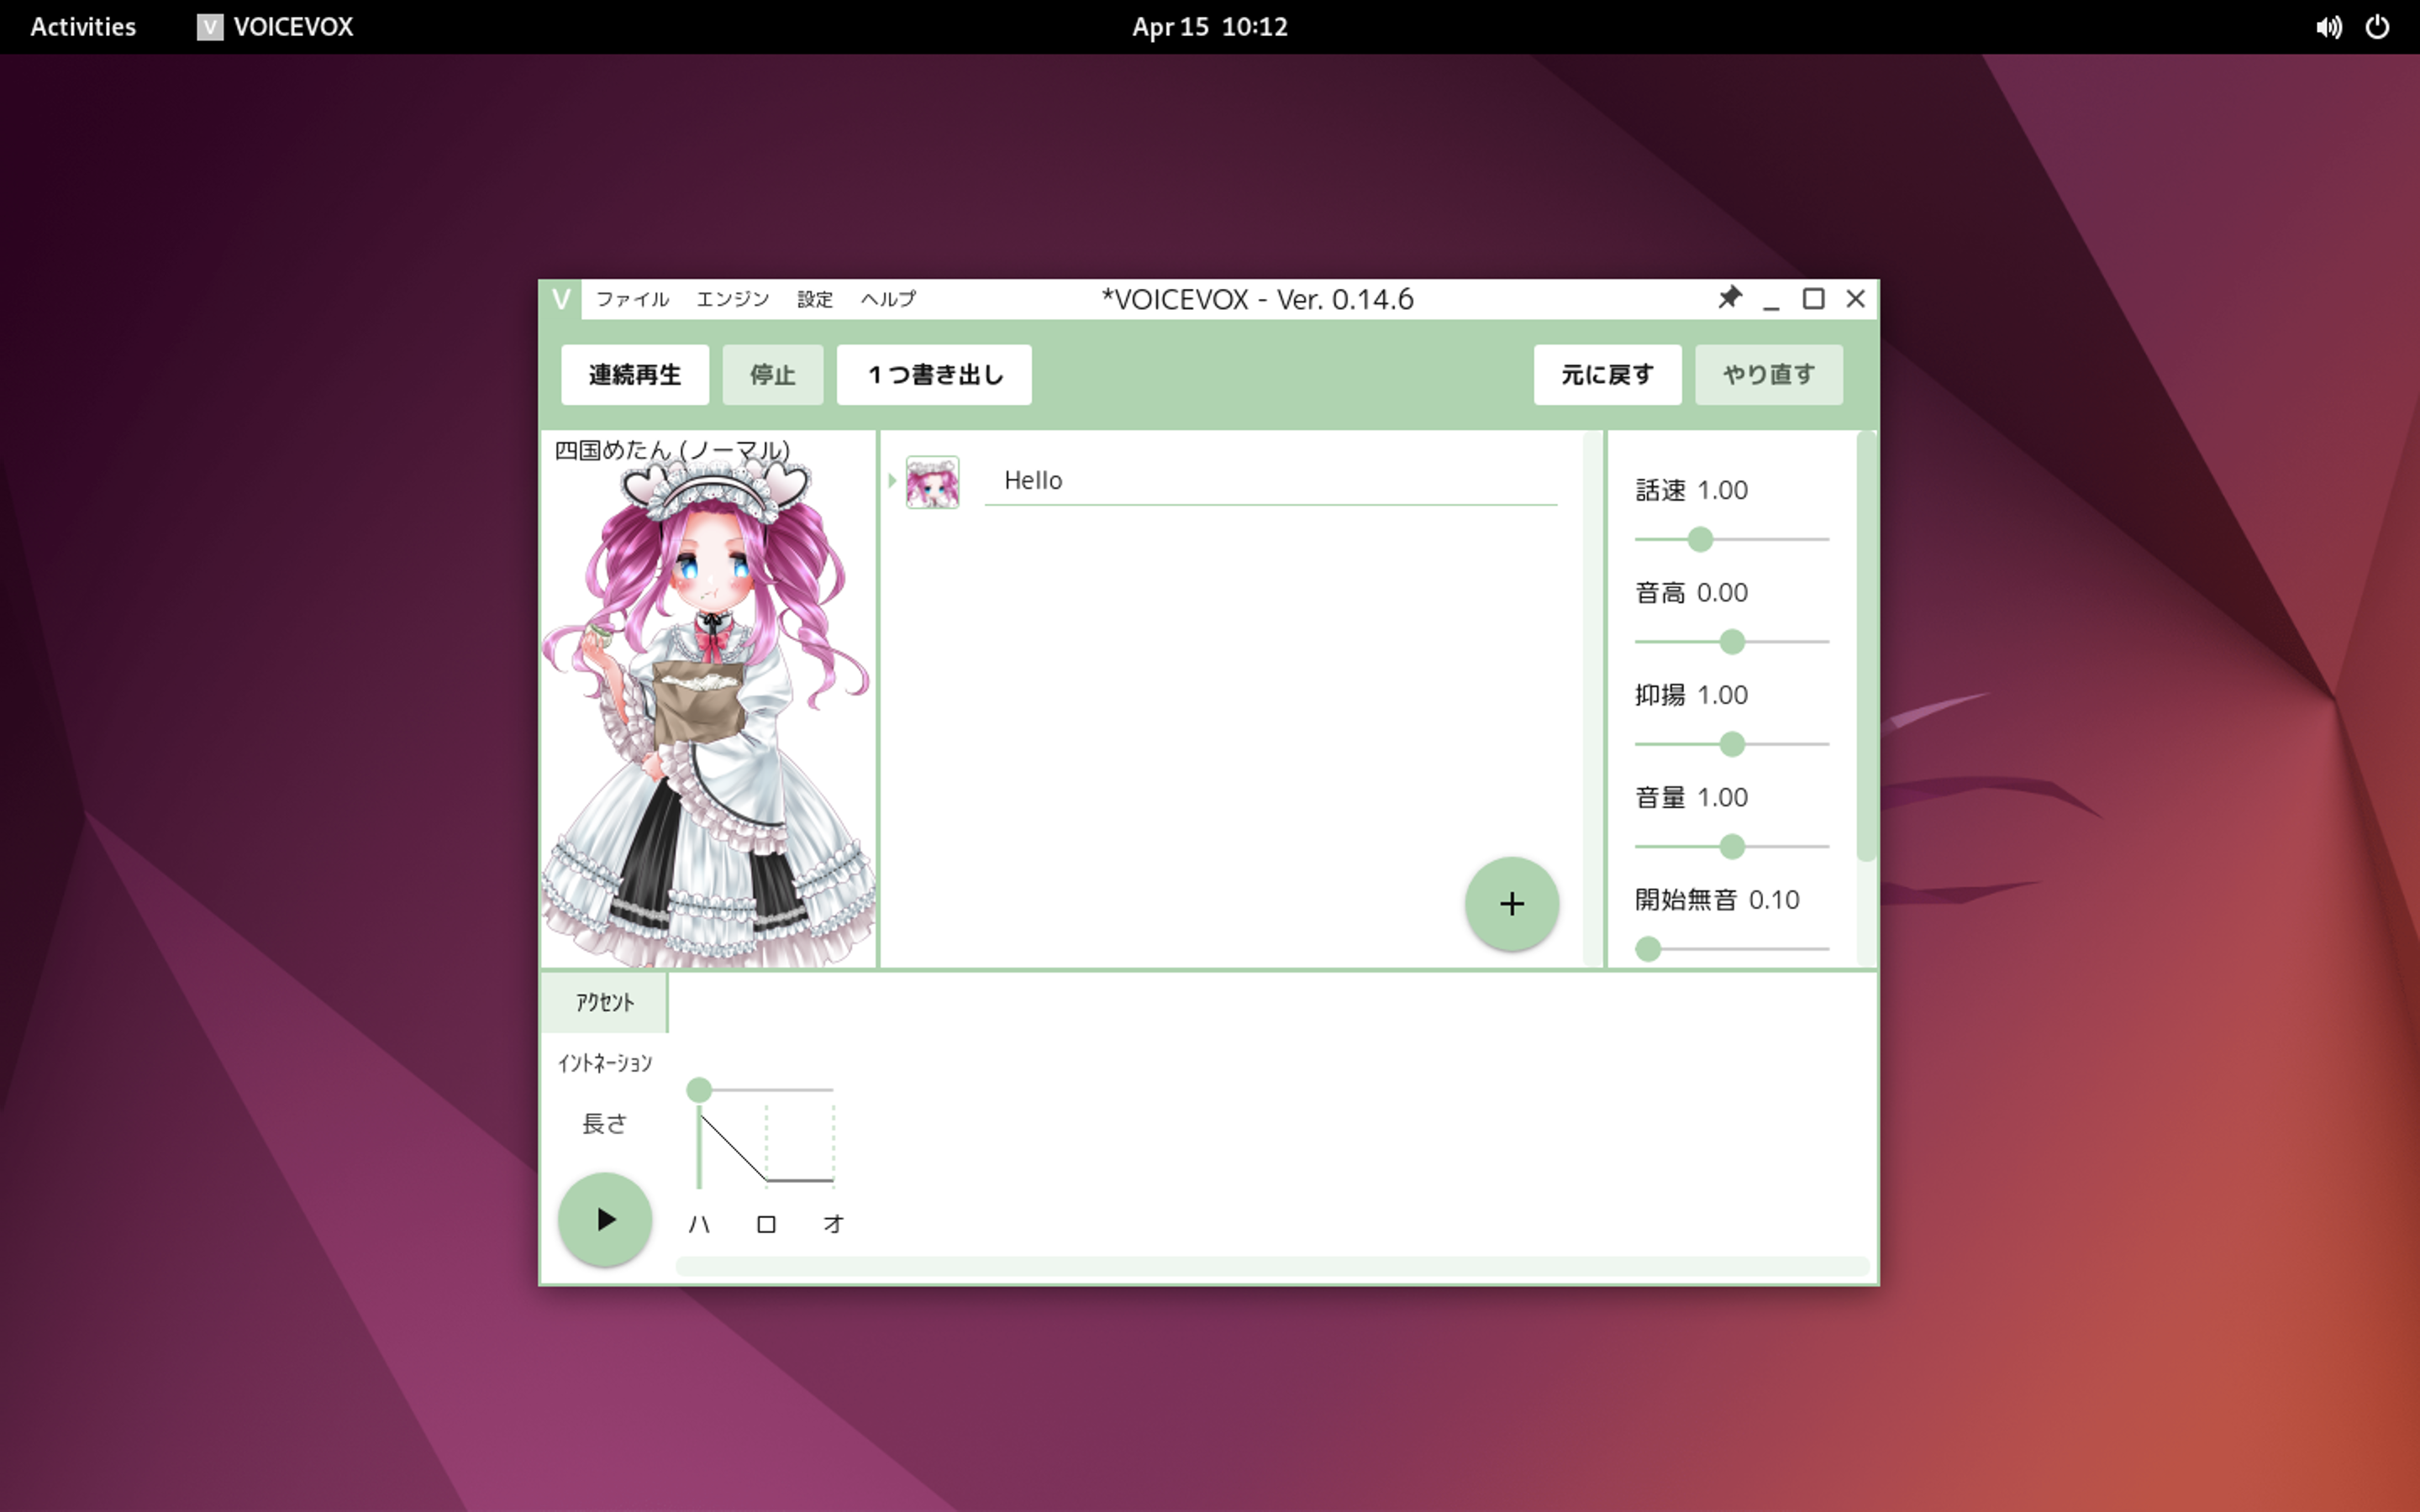
7.VOICEVOXの実行
以上でリモートディスクトップ経由でVOICEVOXを実行することができます。
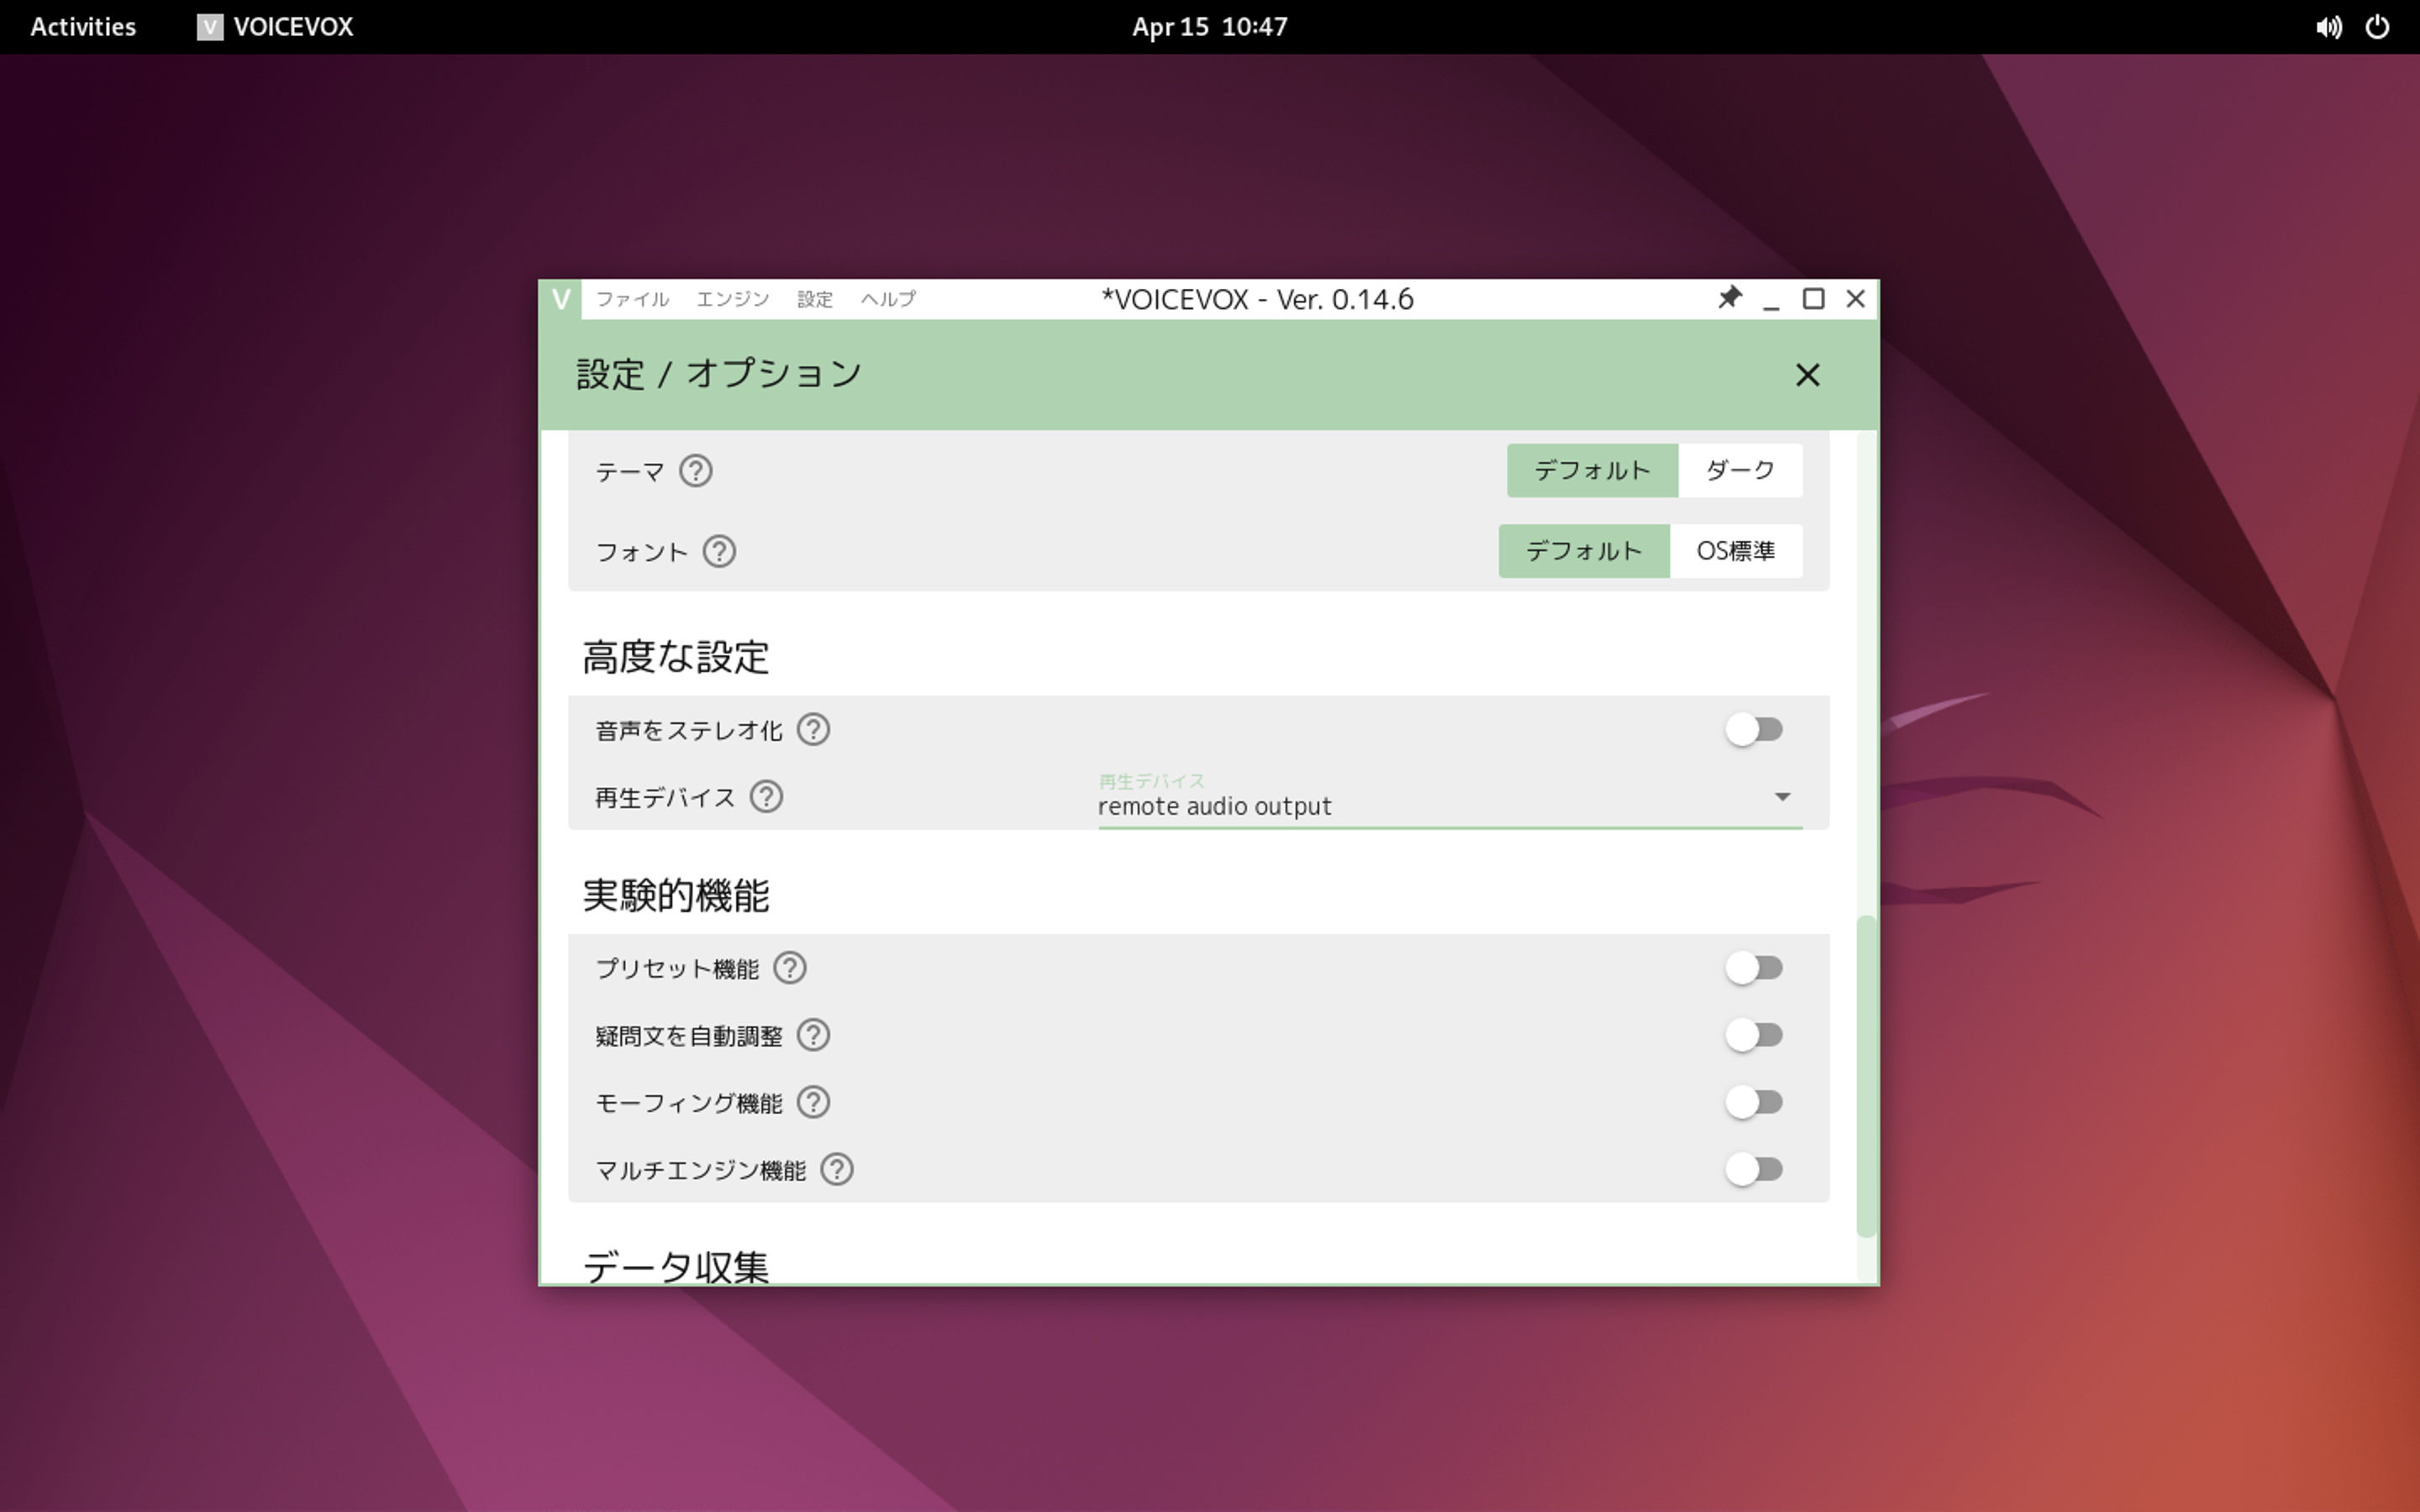
最後にリモートディスクトップ経由で音声を再生するための設定を行います。
設定→高度な設定→再生デバイスでremote audio outputを選択します。
具体的な利用方法は公式の使い方に書いてあります。
CPUとGPUを切り替えて使うと、GPUの方が若干早い感じがします。
GPU負荷ですが、メモリを2GBほど利用しており、プロセッサーの方は常に負荷がかかるような状況はありませんでした。(Tesla V100は流石にオーバスペックなのかなと思います、コンシューマ向けGPUで足りそうです。)
すごく滑らかな音声生成ができすごいソフトウェアだなと思いました。