インテルのNUCでCentOS7をディスプレーなしで運用するために、VNCサーバを構築した時のメモです。
VNCサーバのインストール
yumで tigervnc-server をインストールします。
$ yum install tigervnc-server
VNCサーバのパスワード設定
vncpasswdコマンドでVNCサーバのパスワードを設定します。
$ vncpasswd
Password:
Verify:
VNCサーバのサービス設定
CentOS7からはsystemctlでサービスの設定を行う必要があります。
まず、/etc/systemd/system 配下に、VNCサーバのユニットファイルをコピーするか(ユーザが複数の場合)、または、シンボリックリンクを作成します(ユーザが1人の場合)。
$ cd /etc/systemd/system
ln -s /lib/systemd/system/vncserver@.service vncserver@:1.service
次に、ユニットファイルを編集します。
$ vi vncserver@:1.service
ユニットファイル内で <USER> と記述されている個所をVNCサーバのログインユーザ名に書き換えます。
[Service]
Type=forking
# Clean any existing files in /tmp/.X11-unix environment
ExecStartPre=/bin/sh -c '/usr/bin/vncserver -kill %i > /dev/null 2>&1 || :'
ExecStart=/sbin/runuser -l <USER> -c "/usr/bin/vncserver %i"
PIDFile=/home/<USER>/.vnc/%H%i.pid
ExecStop=/bin/sh -c '/usr/bin/vncserver -kill %i > /dev/null 2>&1 || :'
VNCサーバのサービスの有効化
systemctlコマンドで、サービスの自動起動を有効化と再起動を行います。
$ systemctl daemon-reload
$ systemctl enable vncserver@:1
$ systemctl restart vncserver@:1
ファイアーウォールの設定
firewall-cmdでVNCサーバとクライアントの通信を許可する設定を行います。
$ firewall-cmd --permanent --zone=public --add-service=vnc-server
$ firewall-cmd --reload
$ firewall-cmd --list-all
VNCクライアントからの接続確認
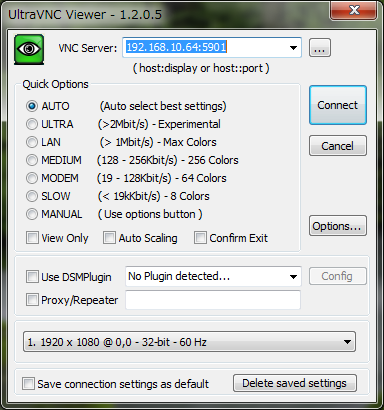
UltraVNC ViewerなどのVNCクライアントから、ポート番号 5901 を指定して、VNCサーバに接続できることを確認します。
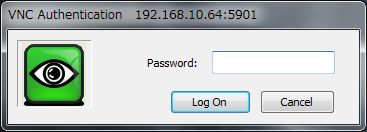
認証ダイアログが表示されたら、vncpasswdコマンドで設定したパスワードを入力してログインします。

