キャッチアップできてなかったStorybookのPlay functionについて調べます。
Storybookの理解を深めるための一助になると幸いです。
「Play function」とは?
Play関数は、コンポーネントを操作したり、ユーザーの介入を必要とするシナリオをテストしたりできるようになります。
設定する
今回は既存環境に導入する想定で進めていきます!
まずはaddon-interactionsをインストールします。
pnpm add -D @storybook/addon-interactions
次にStorybookの設定を更新します。
addons: [
  '@storybook/addon-interactions', // 追加する
],
formを用意します。
import { FC } from 'react';

export const Form: FC = () => {
  return (
    <form
      className="bg-white shadow-md rounded px-8 pt-6 pb-8 mb-4"
    >
      <div className="mb-4">
        <label
          className="block text-gray-700 text-sm font-bold mb-2"
          htmlFor="email"
        >
          メールアドレス
        </label>
        <input
          className="shadow appearance-none border rounded w-full py-2 px-3 text-gray-700 leading-tight focus:outline-none focus:shadow-outline"
          id="email"
          type="email"
          placeholder="メールアドレス"
          data-testid="email"
        />
      </div>
      <div className="mb-6">
        <label
          className="block text-gray-700 text-sm font-bold mb-2"
          htmlFor="password"
        >
          パスワード
        </label>
        <input
          className="shadow appearance-none border rounded w-full py-2 px-3 text-gray-700 mb-3 leading-tight focus:outline-none focus:shadow-outline"
          id="password"
          type="password"
          placeholder="パスワード"
          data-testid="password"
        />
      </div>
      <div className="flex items-center justify-between">
        <button
          className="bg-blue-500 hover:bg-blue-700 text-white font-bold py-2 px-4 rounded focus:outline-none focus:shadow-outline"
          type="submit"
        >
          サブミット
        </button>
      </div>
    </form>
  );
};
次にStoryファイルを用意します。
import type { Meta, StoryObj } from '@storybook/react';
import { userEvent, within } from '@storybook/test';
import { Form } from './Form';

const meta = {
  title: 'Components/Form',
  component: Form,
  parameters: {
    layout: 'centered',
  },
  tags: ['autodocs'],
} satisfies Meta<typeof Form>;

export default meta;
type Story = StoryObj<typeof meta>;

export const Default: Story = {
  play: async ({ canvasElement }) => {
    const canvas = within(canvasElement);
    await userEvent.type(canvas.getByTestId('email'), 'email@provider.com');
    await userEvent.type(canvas.getByTestId('password'), 'a-random-password');
  },
};
play関数を実行するためにはファイル上部で下記の記述を追加します!
import { userEvent, within } from '@storybook/test';
ここまで書くとStorybookで下記のように動作することが確認できます!

めっちゃすごいですよね!?
結構手軽にかけてしまったので驚きました…。
サブミットボタンもクリックさせてみます!
下記を追加します。
await userEvent.click(canvas.getByRole('button'));
するとこんなのが出ました…
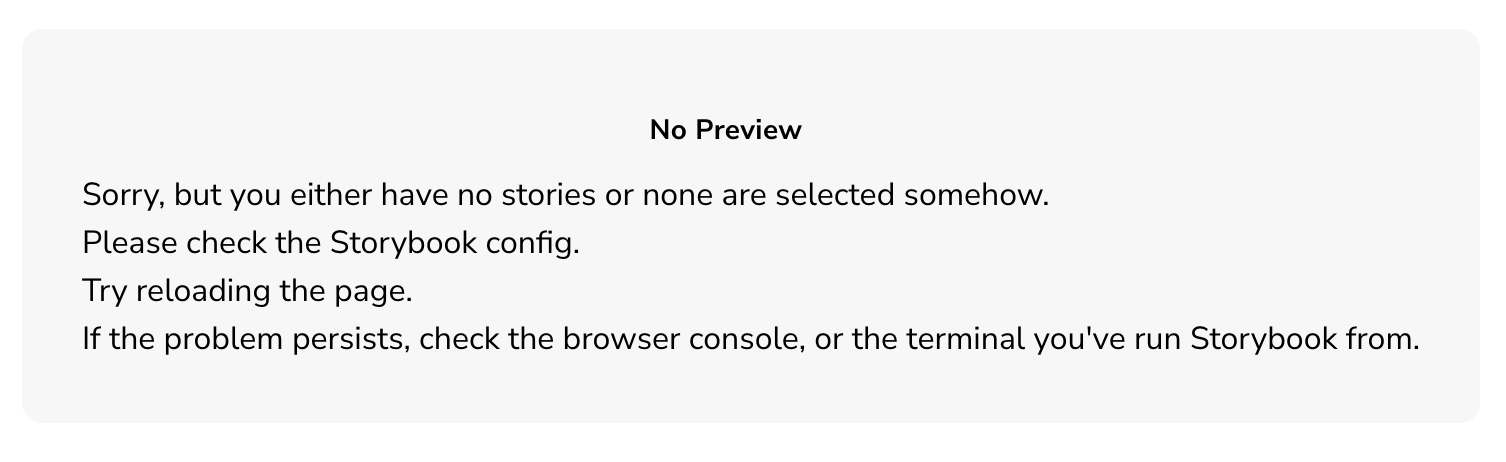
ストーリーがないか、ストーリーが選択できてないと怒られました…。
formタグにactionを設定するのを忘れておりました…
action属性を追加します。
<form action="/">
するとStorybookの一番上にあるコンポーネントのDocsが表示されるようになりました。
ただ、どうせならFormコンポーネントのDocsが表示されてほしいですね…
試してみましたが、解決できなかったのでわかったら追記しておきます…。
step を追加する
play関数の部分を下記のように変えてみました。
play: async ({ canvasElement, step }) => {
    const canvas = within(canvasElement);
    await step('Enter credentials', async () => {
      await userEvent.type(canvas.getByTestId('email'), 'hi@example.com');
      await userEvent.type(canvas.getByTestId('password'), 'supersecret');
    });

    await step('Submit form', async () => {
      await userEvent.click(canvas.getByRole('button'));
    });
  },
stepでグルーピングすることで画像のようなネスト構造になって見やすくなります!

まとめ
コンポーネントがレンダリングされる前にコードを実行するmountメソッド内の関数を使用することで、レンダリング前にコードを実行できます。
mountを利用してモックデータの作成することも可能です!
公式ドキュメントに記載があるイベントは一部だけなようなので詳細はこちらのサイトから確認できます!
まだわからない部分は多いですが、簡単なテストであればStorybookで実施できてしまうのは良いですね!
さらに深くキャッチアップしていきたいと思います!
参考