Azure AI translatorを使って文章翻訳を実践してみました。なかなかおもしろかったので、
手順を皆さんに共有いたします。感想:AI君の翻訳力は半端じゃないです。
Steps:
1.Azure Portal からAI translator を作成
2.AI translatorのIDを有効かして、Storage Accountへのアクセスロールを付与。
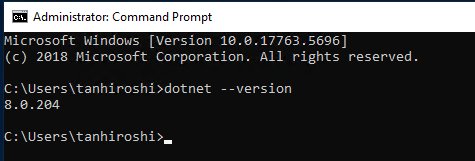
3.Azure VM上でdotnetをinstall
4.dotnetコマンドでプログラムを実装して、文章翻訳を検証
■1.Azure Portal からAI translator を作成
参考文章:
https://learn.microsoft.com/en-us/azure/ai-services/translator/create-translator-resource
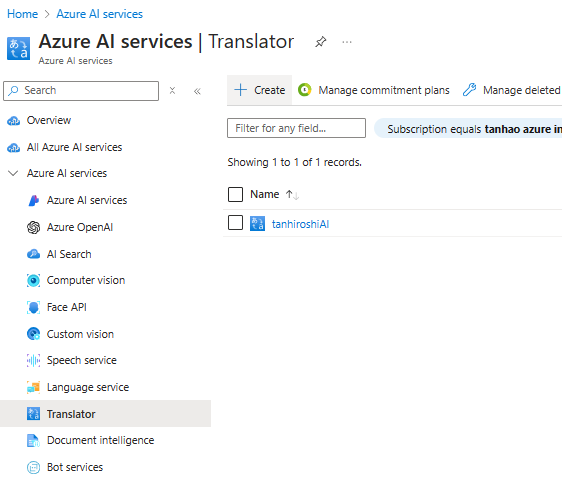
1.Azure AI serviceで検索します。

2.Translatorにてcreateをクリック
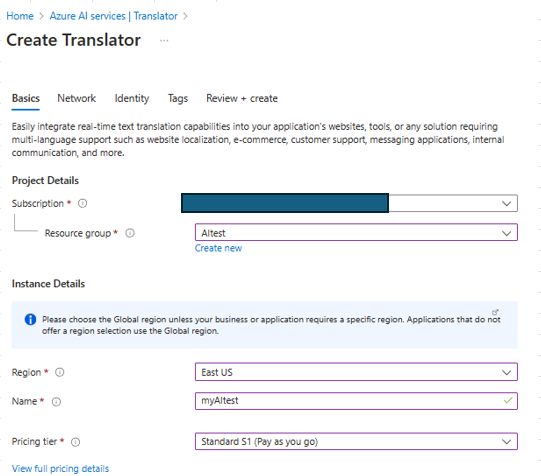
3.全部既定のままに完了します。
■2.AI translatorのIDを有効かして、Storage Accountへのアクセスロールを付与。
参考文章:
https://learn.microsoft.com/en-us/azure/ai-services/translator/document-translation/how-to-guides/create-use-managed-identities
1.AI translatorのIdentiy にてStatusを[On]にします。Permissionsの「Azure role assignments」をクリック
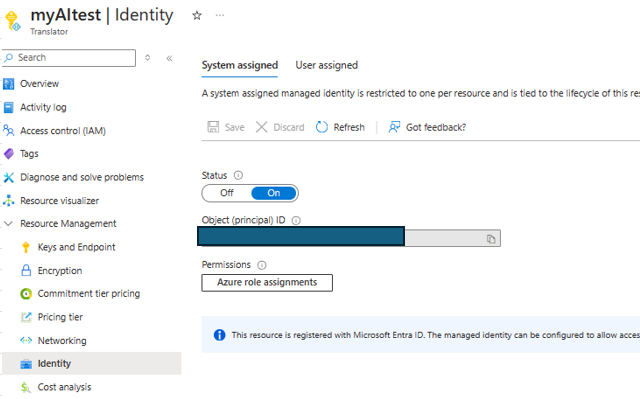
2.Storage accountに対して、Storage Blob Data Contributorのロールを付与します。

■3.Azure VM上でdotnetをinstall
1.net SDKをdownloadします。以下のリンクです。
https://dotnet.microsoft.com/en-us/download/dotnet/thank-you/sdk-8.0.204-windows-x64-installer
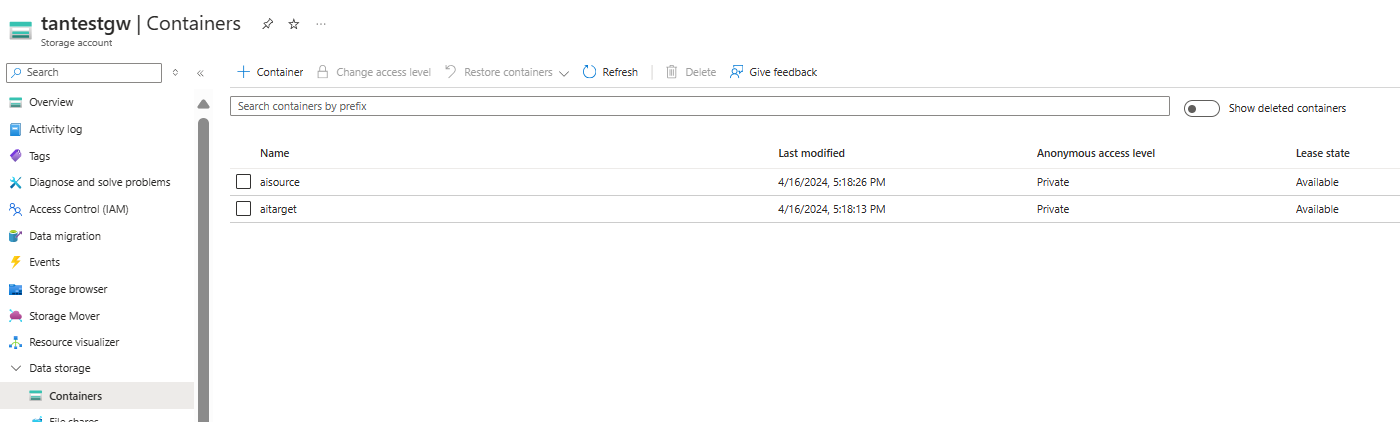
2.Storage accountにSource と target containerを作成します。
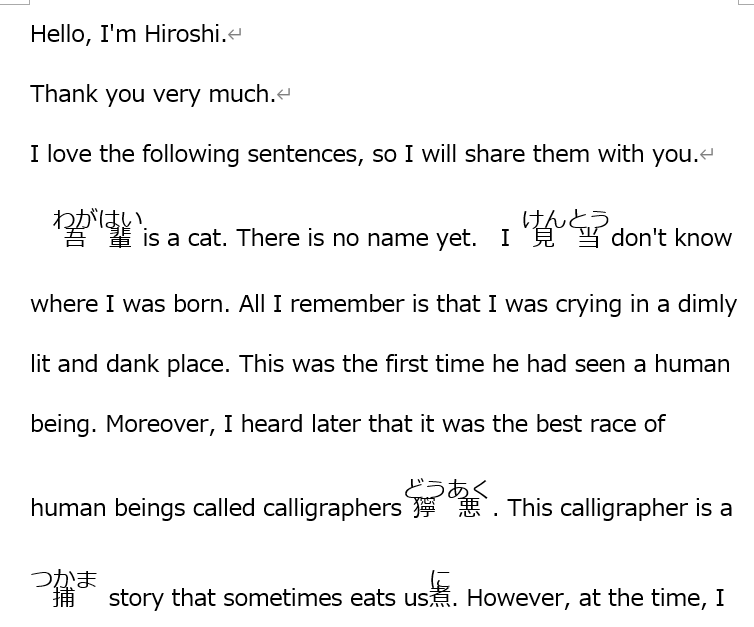
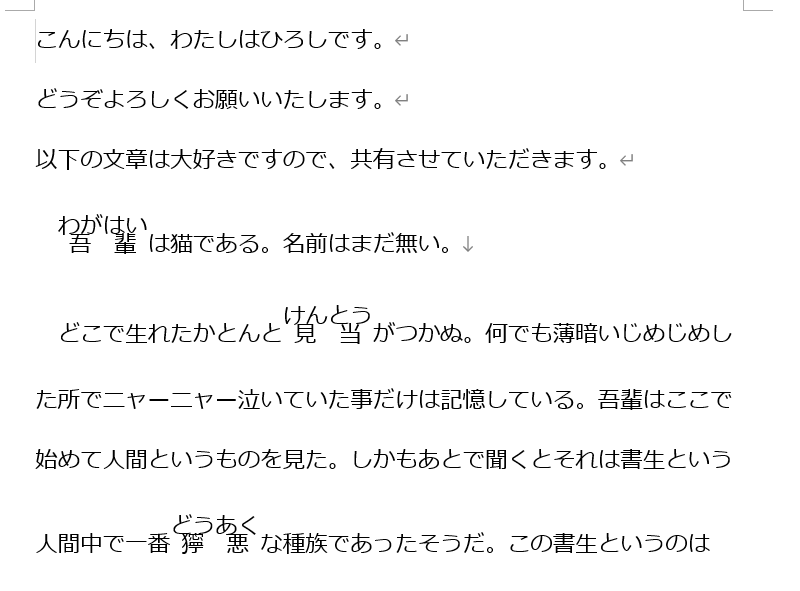
Source containerに翻訳したいtest.docファイルを配置します。
test.docの中身:
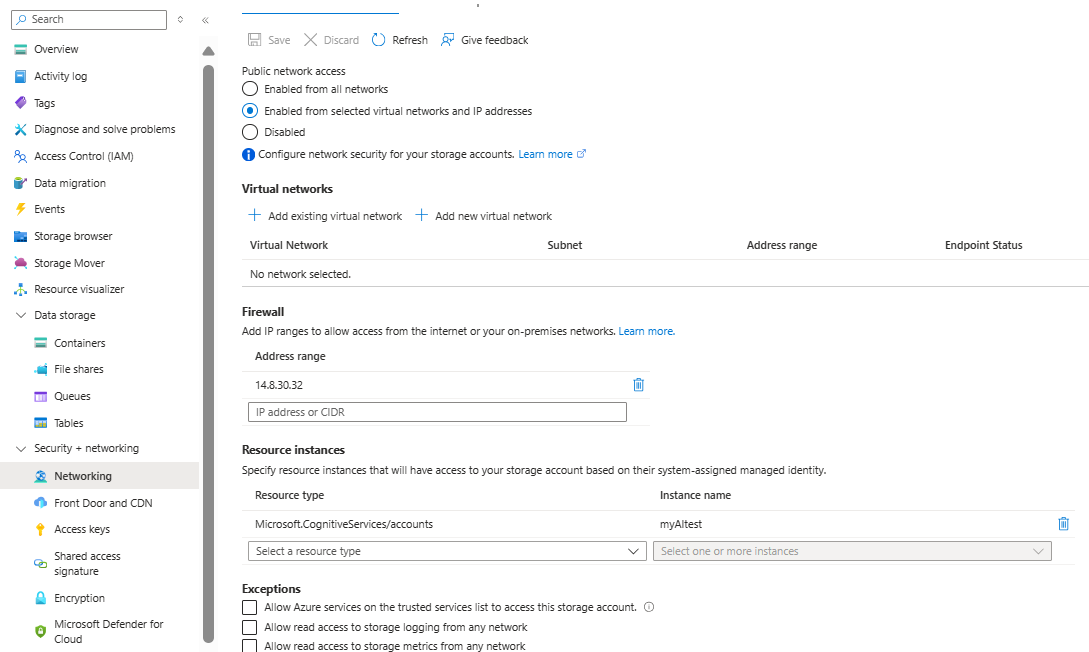
3.Storage account のNetwork設定の部分で[resource instance]でMyAItestのアクセスを許可します。
■4.dotnetコマンドでプログラムを実装して、文章翻訳を検証します。
参考文章:
https://learn.microsoft.com/ja-jp/azure/ai-services/translator/document-translation/quickstarts/asynchronous-sdk?tabs=dotnet&pivots=programming-language-csharp
1.AzureVMのcmdを起動して以下のコマンドを実施:
dotnet new console -n batch-document-translation
cd C:\Users\tanhiroshi\batch-document-translation\ (例)
dotnet build
dotnet add package Azure.AI.Translation.Document --version 1.0.0
2.C:\Users\tanhiroshi\batch-document-translation\の配下のProgrma.csを開き、
公開文章のscriptを丸ごと貼り付けます。
以下の部分を修正します。
===================
private static readonly string endpoint = "<your-document-translation-endpoint>";
private static readonly string key = "<your-key>";
Uri sourceUri = new Uri("<sourceUrl>");
Uri targetUri = new Uri("<targetUrl>");
string targetLanguage = "<targetLanguageCode>"
===================
<your-document-translation-endpoint>と<your-key>はAzure portal 上でAI translatorの[Key and endpoint]からcopyできます。
<sourceUrl>と<targetUrl>はstorage accountから確認できます。
<targetLanguageCode>は以下のリンクで好きな翻訳言語を決めていいです。
https://learn.microsoft.com/en-us/azure/ai-services/translator/language-support
注意:string targetLanguage = ""の後ろに「;」が必要です。公開文書には漏れていますので、実施するとエラーがでます。
3.dotnet run を実施して、成功の結果がでました
C:\Users\tanhiroshi\batch-document-translation>dotnet run
Status: Succeeded
Created on: 4/17/2024 6:09:21 AM +00:00
Last modified: 4/17/2024 6:09:35 AM +00:00
Total documents: 1
Succeeded: 1
Failed: 0
4.Storage accountのtarget containerに翻訳できた文書は生成されたことを確認します。
それをdownloadして中身を確認しましょう。確かに英語文になりましたね。
(明治時代の日本語はAIにとって難しかった。ごめん、AI君、意地悪かった。)