環境
OS : windows10 pro
Unity 2020.3.27f1 LTS
OculusIntegration v37
注意点
adb shell setprop debug.oculus.experimentalEnabled 1
を、毎回やる必要がある。
QUESTの動画を撮る
Developer hubでできる。
保存場所:C:\Users\xxxx\AppData\Roaming\odh\captures
手順
1.プロジェクト作成
2.[PlayerSetting]-[XR Plugin Management ]
Install XR Plugin Management、AndroidタブからOculusにチェックを入れる。


3.[PlayerSetting]-[Player]-[OtherSetting]
[Rendering]-[ColorSpace]をLinearに変更する
[Rendering]-[Graphcis APIs]からVulkanを削除する

[Identification]-[Minimum API Level]をAndroid6.0以降にする
[Configuration]-[ScriptingBackend]-[IL2CPP]に変更する
[TargetArchitectures]をARM64のみにする


この設定をして、switch platformする
4.Oculus Integrationをimportする(重いです)
AvatorとlipSyncはチェック外すと軽くなります。

このあと、PluginUpgradeなどのダイアログがでる。全部YES更新する。


Unityを再起動をする。
- サンプルシーンを開く
Assets/Oculus/SampleFramework/Usage/AugmentedObjectsを開く
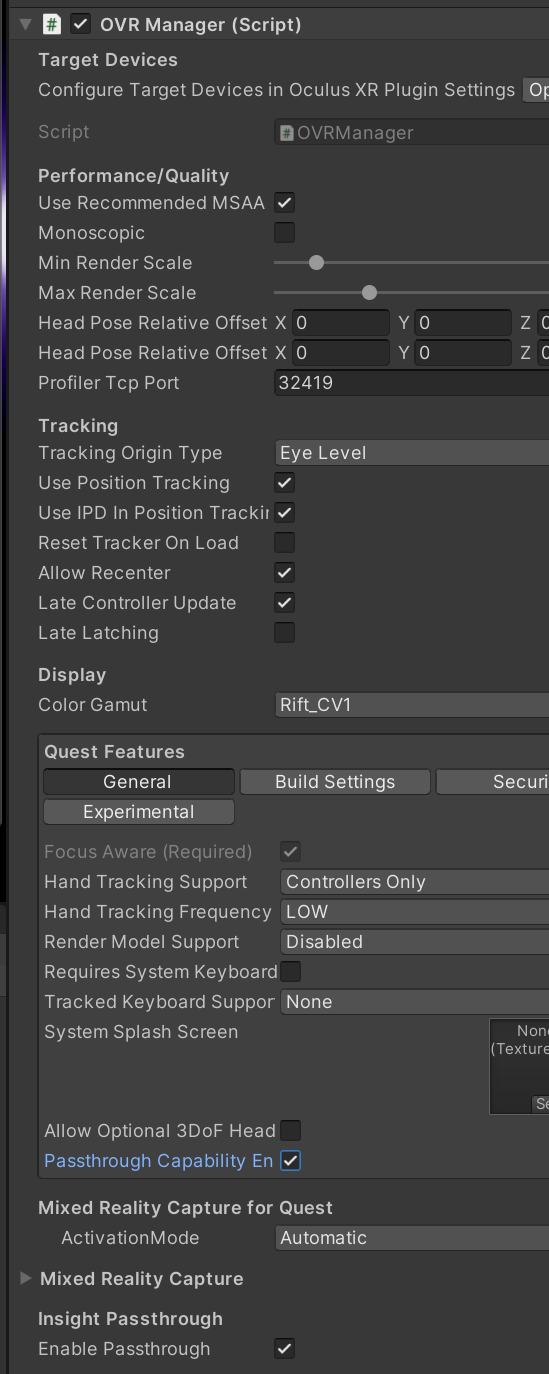
OVRCameraRigを選択して、OVRManagerでQuest Features > Generalの"Passthrough Capability Enabled"をオンにする
 さらにExperimentalの"Experimental Feature Enabled"をオンにして、“Spatial Anchors Support"をEnabledにする

さらにExperimentalの"Experimental Feature Enabled"をオンにして、“Spatial Anchors Support"をEnabledにする

6.QUESTを接続、adbで次のコマンドを打つ。
adb shell setprop debug.oculus.experimentalEnabled 1