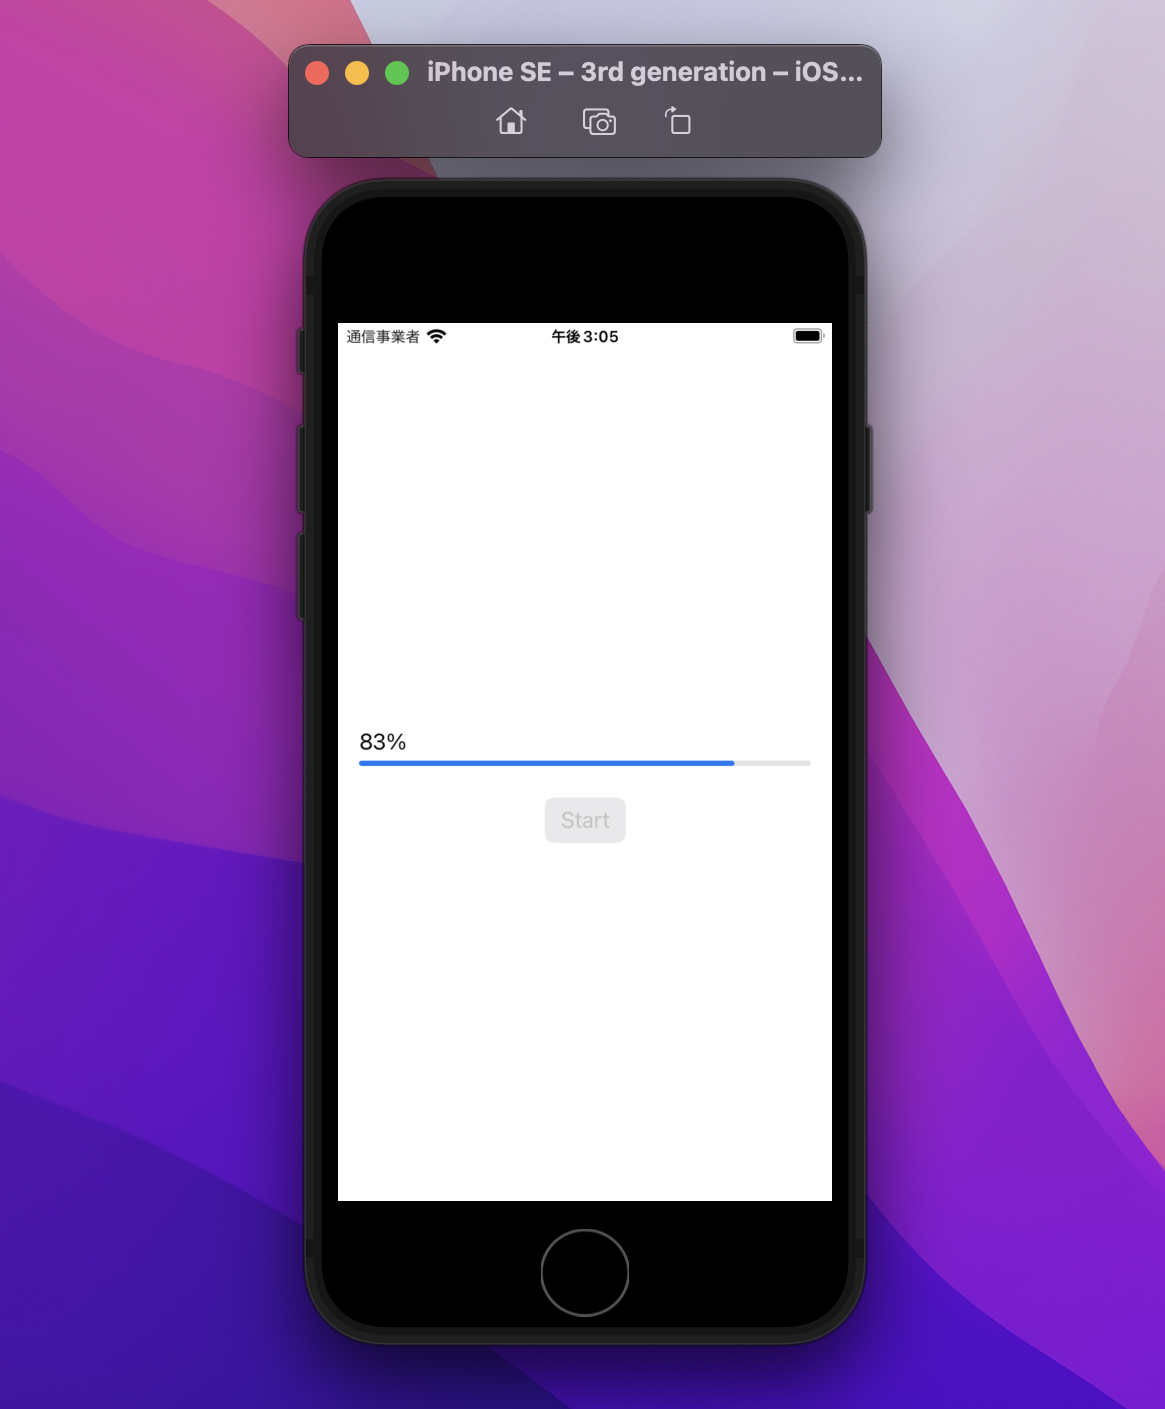
この記事の内容
・処理の進捗に応じて ProgressView を更新
※ SwiftUI の ProgressView を利用

開発環境
ハードウエア
| 項目 | 内容 |
|---|---|
| PC | MacBook Air(M1,2020) メモリ:16GB ストレージ:1TB |
ソフトウエア
| 項目 | 内容 |
|---|---|
| 言語 | Swift 5.6 |
| IDE | Xcode Ver 13.3 |
| バージョン管理 | GitHub |
実際のコードは下記リンクからご確認いただけます
この処理のイメージ(動画)
シーケンス図
ポイント
・メインスレッドとは別のスレッドで時間がかかる処理を実行
・上記処理の進捗をクロージャで取得
・処理の途中に Start ボタンを押せないようにする
コード
DownloadManager クラス
・時間のかかる処理を実装している(※今回はダミーの処理を実装した)
・進捗をクロージャに渡す
注意
時間のかかる処理は、メインスレッドではなく別のスレッドで行うこと
[理由] アプリがクラッシュするため
DownloadManager.swift
import Foundation

class DownloadManager {
    static func startDownload(completion: @escaping (Int) -> Void){
        print("start Download")
        var progress = 0

        // 時間がかかる処理
        DispatchQueue.global().asyncAfter(deadline: .now()){
            while(progress <= 100){
                print(progress)
                completion(progress) // 進捗をクロージャに渡す
                progress += progress < 90 ? Int.random(in: 1...10) : 1
                sleep(1)
            }
        }
    }
}
処理の途中に Start ボタンを押せないようにする
注意
今回のコードで時間のかかる処理でエラーが発生した場合(例:途中で処理が中断した等)を考慮していない。
ContentView.swift
import SwiftUI

struct ContentView: View {
    @State private var progress:Int = 0
    @State private var canButtonTap:Bool = true

    var body: some View {
        VStack {
            Spacer()
            ProgressView("\(progress)%",value: Float(progress),total: Float(100))
                .progressViewStyle(.linear)
                .padding()
            Button(action: tapButton,label: {
                Text("Start")
            })
            .disabled(!canButtonTap) // ここでボタンの活性⇄非活性を切り替える
            .buttonStyle(.borderedProminent)
            Spacer()
        }
    }

    private func tapButton(){
        self.canButtonTap = false // ボタンをタップしたら、ボタンを非活性にする ∵ 処理中のボタン2度押しを禁止するため
        DownloadManager.startDownload { progress in
            self.progress = progress // グロージャで渡らせれた進捗状況をビューに表示
            self.toggleButton()
        }
    }

    private func toggleButton(){
        if progress == 100 {
            canButtonTap = true // 進捗が 100 であればボタンを押せるようにする
        }
    }
}

struct ContentView_Previews: PreviewProvider {
    static var previews: some View {
        ContentView()
    }
}
感想
・クロージャの使い方が、やっと腑に落ちた
今後
・今回の処理とファイルのダウンロード処理と連携したい
※URLSessionDownloadDelegate を利用すれば、ダウンロード処理の開始、終了及び進捗状況の更新ができそう