概要
UIToolkitでは、各表示要素をスタイルシートによって装飾できます
その中でも、角丸と枠線はuGUIの頃と比べて格段に楽になっています
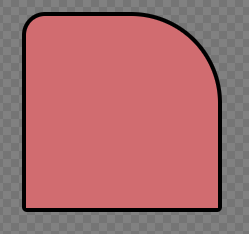
この記事では、以下のような形を作るまでの手順をまとめます
作る
Projectパネルで、適当な場所にEditorWindowのテンプレートを作成します
右クリックからCreate > UI Toolkit > Editor Windowで作成できます
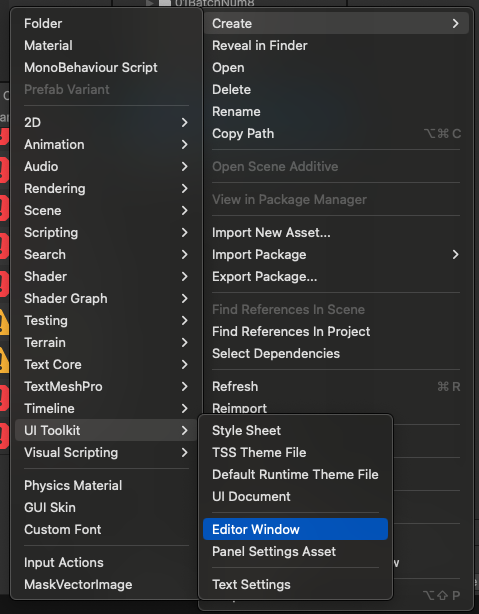
Editor Windowを押下すると、↓画像のようなウィンドウが開きます
適当な名前でいいのですが、ここではBorderHandsOnとしましょう

すると3つのファイルが生成されます
</>マークのファイルをダブルクリックしてUI Builderパネルを表示しましょう

UI Builderでは、UIの見た目を調整することができます
すでにテンプレートで用意されている、表示確認ようのLabelが配置されているので削除してしまいましょう

削除後、ContainersリストからVisualElementを↓画像のように配置しましょう

子の要素を選択し、画面右のInspectorからパラメータを変更します
画像の通り変更してみてください
Flex: Grow: 0
Size: Width: 100, Height: 100
Background: Color: 自分の好きな色(Alphaを1以上にするのを忘れないこと)

ここまでできると、矩形のUIが表示されているはずです
これに枠線と角丸をつけていきます

InspectorのBorderから変更できます
まず枠線からつけてみましょう
画像のようにWidthを4pxにします
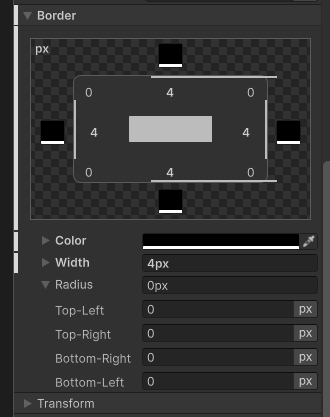
すると画像のように黒い枠線がつきます
(付かない場合はColorのAlphaを1以上にしてみてください)

次に角丸をつけます
Radiusをそれぞれ設定します

すると矩形に角丸がつきました

以上です
今回作成したuxmlは以下になります
<engine:UXML xmlns:xsi="http://www.w3.org/2001/XMLSchema-instance" xmlns:engine="UnityEngine.UIElements" xmlns:editor="UnityEditor.UIElements" noNamespaceSchemaLocation="../../../UIElementsSchema/UIElements.xsd" editor-extension-mode="False">
<Style src="project://database/Assets/UI/HandsOnBorder/BorderHandsOn.uss?fileID=7433441132597879392&guid=66240669b5f434d3cb7df6b7e65c3e9b&type=3#BorderHandsOn" />
<engine:VisualElement style="flex-grow: 1;">
<engine:VisualElement style="flex-grow: 0; flex-shrink: 0; width: 100px; height: 100px; background-color: rgb(212, 129, 129); border-top-width: 4px; border-right-width: 4px; border-bottom-width: 4px; border-left-width: 4px; border-left-color: rgb(0, 0, 0); border-right-color: rgb(0, 0, 0); border-top-color: rgb(0, 0, 0); border-bottom-color: rgb(0, 0, 0); border-top-left-radius: 15px; border-top-right-radius: 67px; border-bottom-left-radius: 5px; border-bottom-right-radius: 5px;" />
</engine:VisualElement>
</engine:UXML>