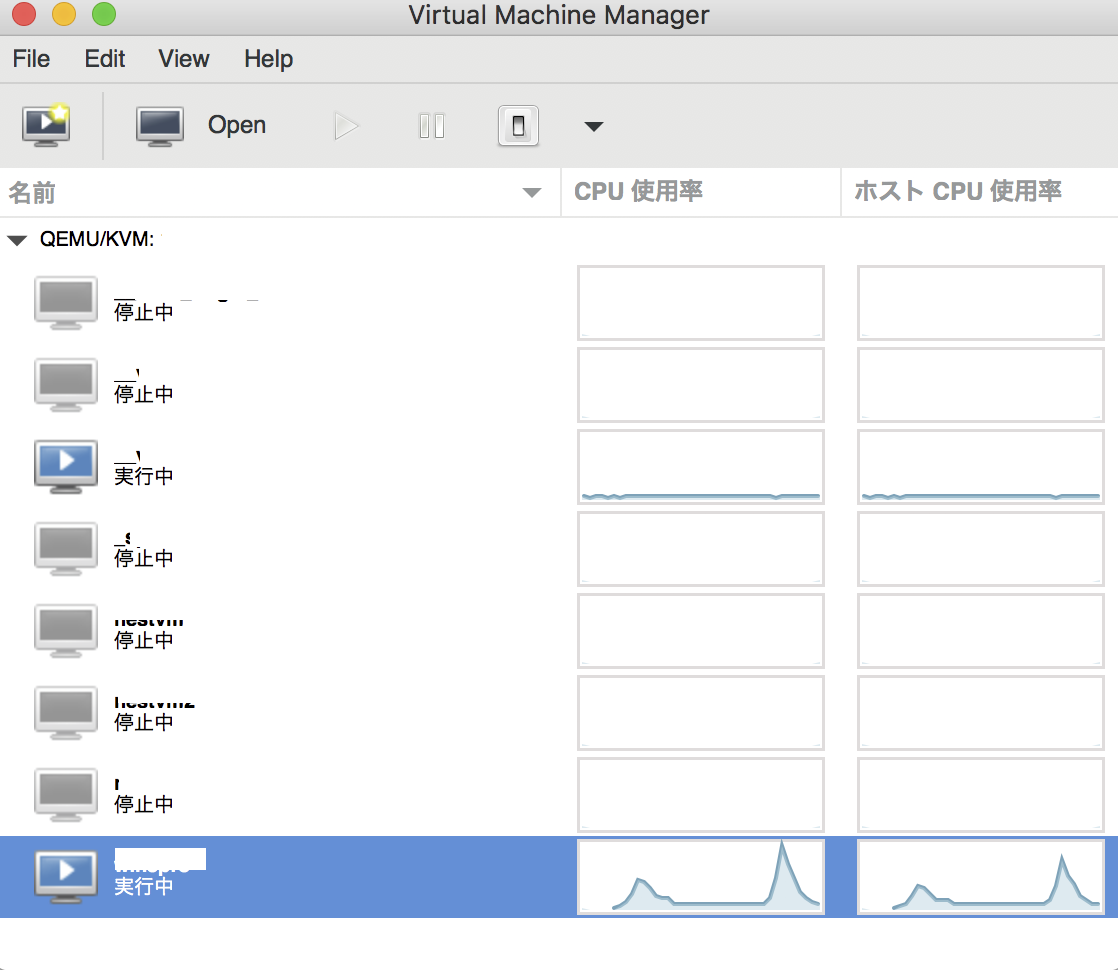
1.はじめに
Linuxではvirt-manakgerをパッケージマネージャからインストール出来ますが、MacではHomebrewにてインストールする場合には公式以外のリポジトリを利用する必要があります。
KVMホストにsshでログインしvirshコマンドにて仮想マシンを制御していましたが、virt-managerでも操作したいためMacBookにvirt-managerをインストールします。
2.virt-managerのインストール
virt-managerはHomebrew公式のリポジトリにないので、公式以外のリポジトリからインストールします。jeffreywildman/homebrew-virt-managerがGitHubにて公開されているのでそちらを利用します。
brew tap
brew tap jeffreywildman/homebrew-virt-manager
brew search virt-manager

brew install virt-manager virt-viewer
# ビルドするので時間がかかります。完了するまで待ちます。
brew tapは公式以外のリポジトリを追加するHomebrewのコマンド。
username/repositoryの形式でbrew tapを実行するとGitHubリポジトリを参照できるようになります。
3.virt-managerの起動とKVMホストへの接続
KVMにはqemu+sshで接続します。公開鍵をホストに登録してしておきます。
(鍵ペアを作成していない場合、ssh-keygen -t rsa で作成.)
ssh-copy-id username@libvirthost
ターミナルから以下のコマンドを実行し、virt-managerを起動し、KVMホストに接続します。
# 初回接続時は以下のコマンドの方がトラブルなく接続できます
virt-manager -c 'qemu+ssh://user@libvirthost/system?socket=/var/run/libvirt/libvirt-sock'

# 2回目以降は以下のコマンドを起動すると過去の接続情報が残っているので選択して再接続します
virt-manager --no-fork
4.参考
リモートからKVMに接続するには以下の設定が必要ですが、qemu+ssh方式での接続の場合には不要とおもわれます。(一応メモ)
listen_tls=0
listen_tcp=1
tcp_port=16509
listen_addr="*"
mdns_adv=0
auth_tcp="none"
# -lを追加
exec /usr/sbin/libvirtd -l $libvirtd_opts
# コメントアウトを外す
LIBVIRTD_ARGS="--listen"
sudo service libvirtd restart
