今回はsemantic segmentationをAWS cli内のSageMakerAPIに実装されたということで、
公式チュートリアルを実践、簡易的な日本語解説をしていきます。
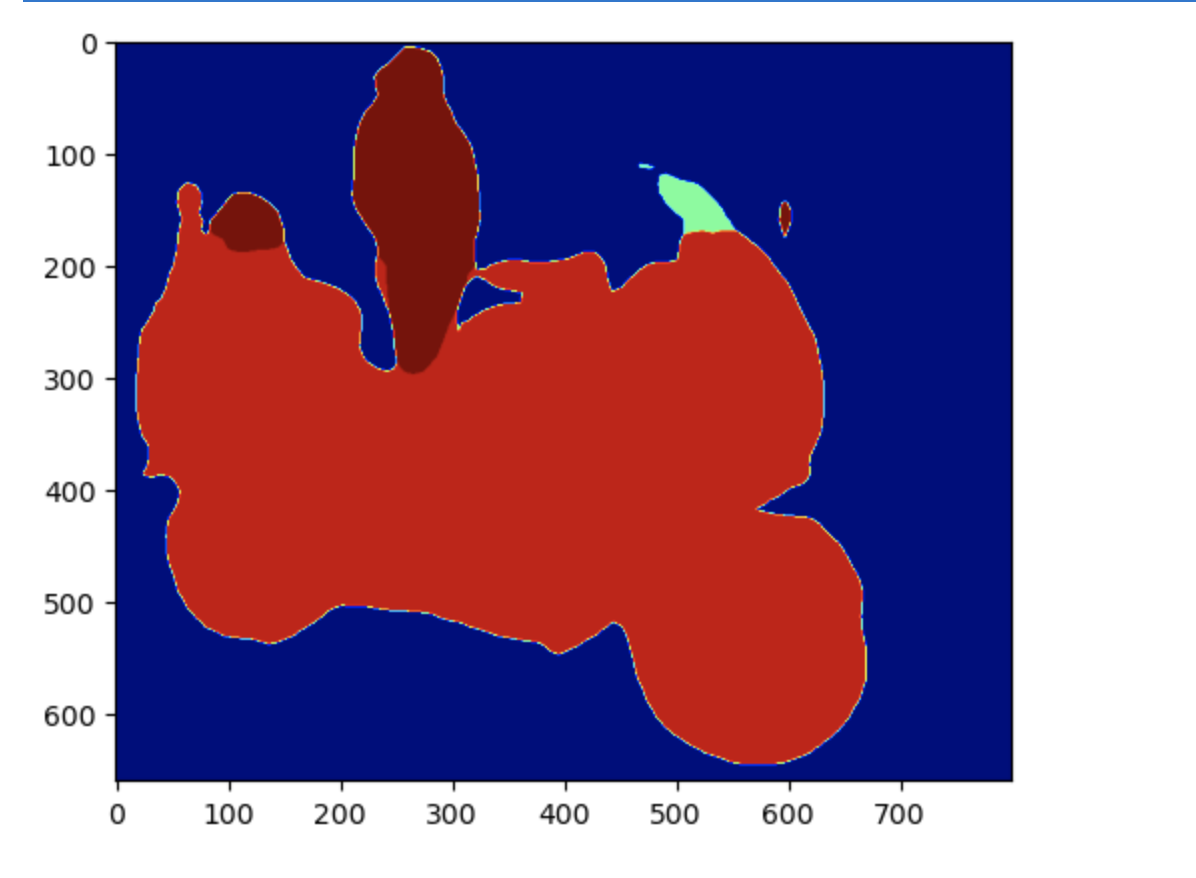
記事の成果物
以下のようなマスクイメージの取得
目的
AWS cliに実装されたsemantic segmentationの検証と、SageMakerAPIの検証、チュートリアル記事
対象者
SageMakerの機能およびAPIの使用感を知ってみたい方
この記事を読み終わるまでの時間
パッと見で5m
その後、参考記事をじっくり見に行くことを推奨
参考記事
以下順に手順および簡易的な日本語解説
sagemakerのライブラリのアップデート
!pip install 'sagemaker>=2,<3'
タスク実施のためのIAMロールの取得
%%time
import sagemaker
from sagemaker import get_execution_role

role = get_execution_role()
print(role)
sess = sagemaker.Session()
バケットの設定
bucket = "your-bucket-name"
prefix = "aws-sagemaker-test"
print(bucket)
awsによるSemantic Segmentaionアルゴリズムが内包されたdocker imageの取得
training_image = sagemaker.image_uris.retrieve("semantic-segmentation", sess.boto_region_name)
print(training_image)
トレーニング用のpascalVOCデータの取得
%%time

print("Downloading the dataset...")
!wget -P /tmp https://fast-ai-imagelocal.s3.amazonaws.com/pascal-voc.tgz
# S3 cp may be even faster on environments where it's available:
# !aws s3 cp s3://fast-ai-imagelocal/pascal-voc.tgz /tmp/pascal-voc.tgz

print("Extracting VOC2012...")
!tar -xf /tmp/pascal-voc.tgz --wildcards pascal-voc/VOC2012*

print("Deleting /tmp files...")
!rm /tmp/pascal-voc.tgz

# Alternatively could consider using the Oxford Uni source:
#!wget -P /tmp http://host.robots.ox.ac.uk/pascal/VOC/voc2012/VOCtrainval_11-May-2012.tar
#!tar -xf /tmp/VOCtrainval_11-May-2012.tar -C pascal-voc/VOC2012
#!rm /tmp/VOCtrainval_11-May-2012.tar

print("Done!")
取得したデータを適切なディレクトリへ移動(後のs3コピーのため)
import os
import shutil

# Create directory structure mimicing the s3 bucket where data is to be dumped.
VOC2012 = "pascal-voc/VOC2012"
os.makedirs("data/train", exist_ok=True)
os.makedirs("data/validation", exist_ok=True)
os.makedirs("data/train_annotation", exist_ok=True)
os.makedirs("data/validation_annotation", exist_ok=True)

# Create a list of all training images.
with open(VOC2012 + "/ImageSets/Segmentation/train.txt") as f:
    train_list = f.read().splitlines()

# Create a list of all validation images.
with open(VOC2012 + "/ImageSets/Segmentation/val.txt") as f:
    val_list = f.read().splitlines()

# Move the jpg images in training list to train directory and png images to train_annotation directory.
for i in train_list:
    shutil.copy2(VOC2012 + "/JPEGImages/" + i + ".jpg", "data/train/")
    shutil.copy2(VOC2012 + "/SegmentationClass/" + i + ".png", "data/train_annotation/")

# Move the jpg images in validation list to validation directory and png images to validation_annotation directory.
for i in val_list:
    shutil.copy2(VOC2012 + "/JPEGImages/" + i + ".jpg", "data/validation/")
    shutil.copy2(VOC2012 + "/SegmentationClass/" + i + ".png", "data/validation_annotation/")
訓練時のためにトレーニングに使用するstringのリストをglobによって変数へ格納
import glob

num_training_samples = len(glob.glob1("data/train", "*.jpg"))
num_validation_samples = len(glob.glob1("data/validation", "*.jpg"))

print("Num Train Images = " + str(num_training_samples))
assert num_training_samples == len(glob.glob1("data/train_annotation", "*.png"))

print("Num Validation Images = " + str(num_validation_samples))
assert num_validation_samples == len(glob.glob1("data/validation_annotation", "*.png"))
labelmapファイルの生成
import json

label_map = {"scale": 1}
with open("data/train_label_map.json", "w") as lmfile:
    json.dump(label_map, lmfile)
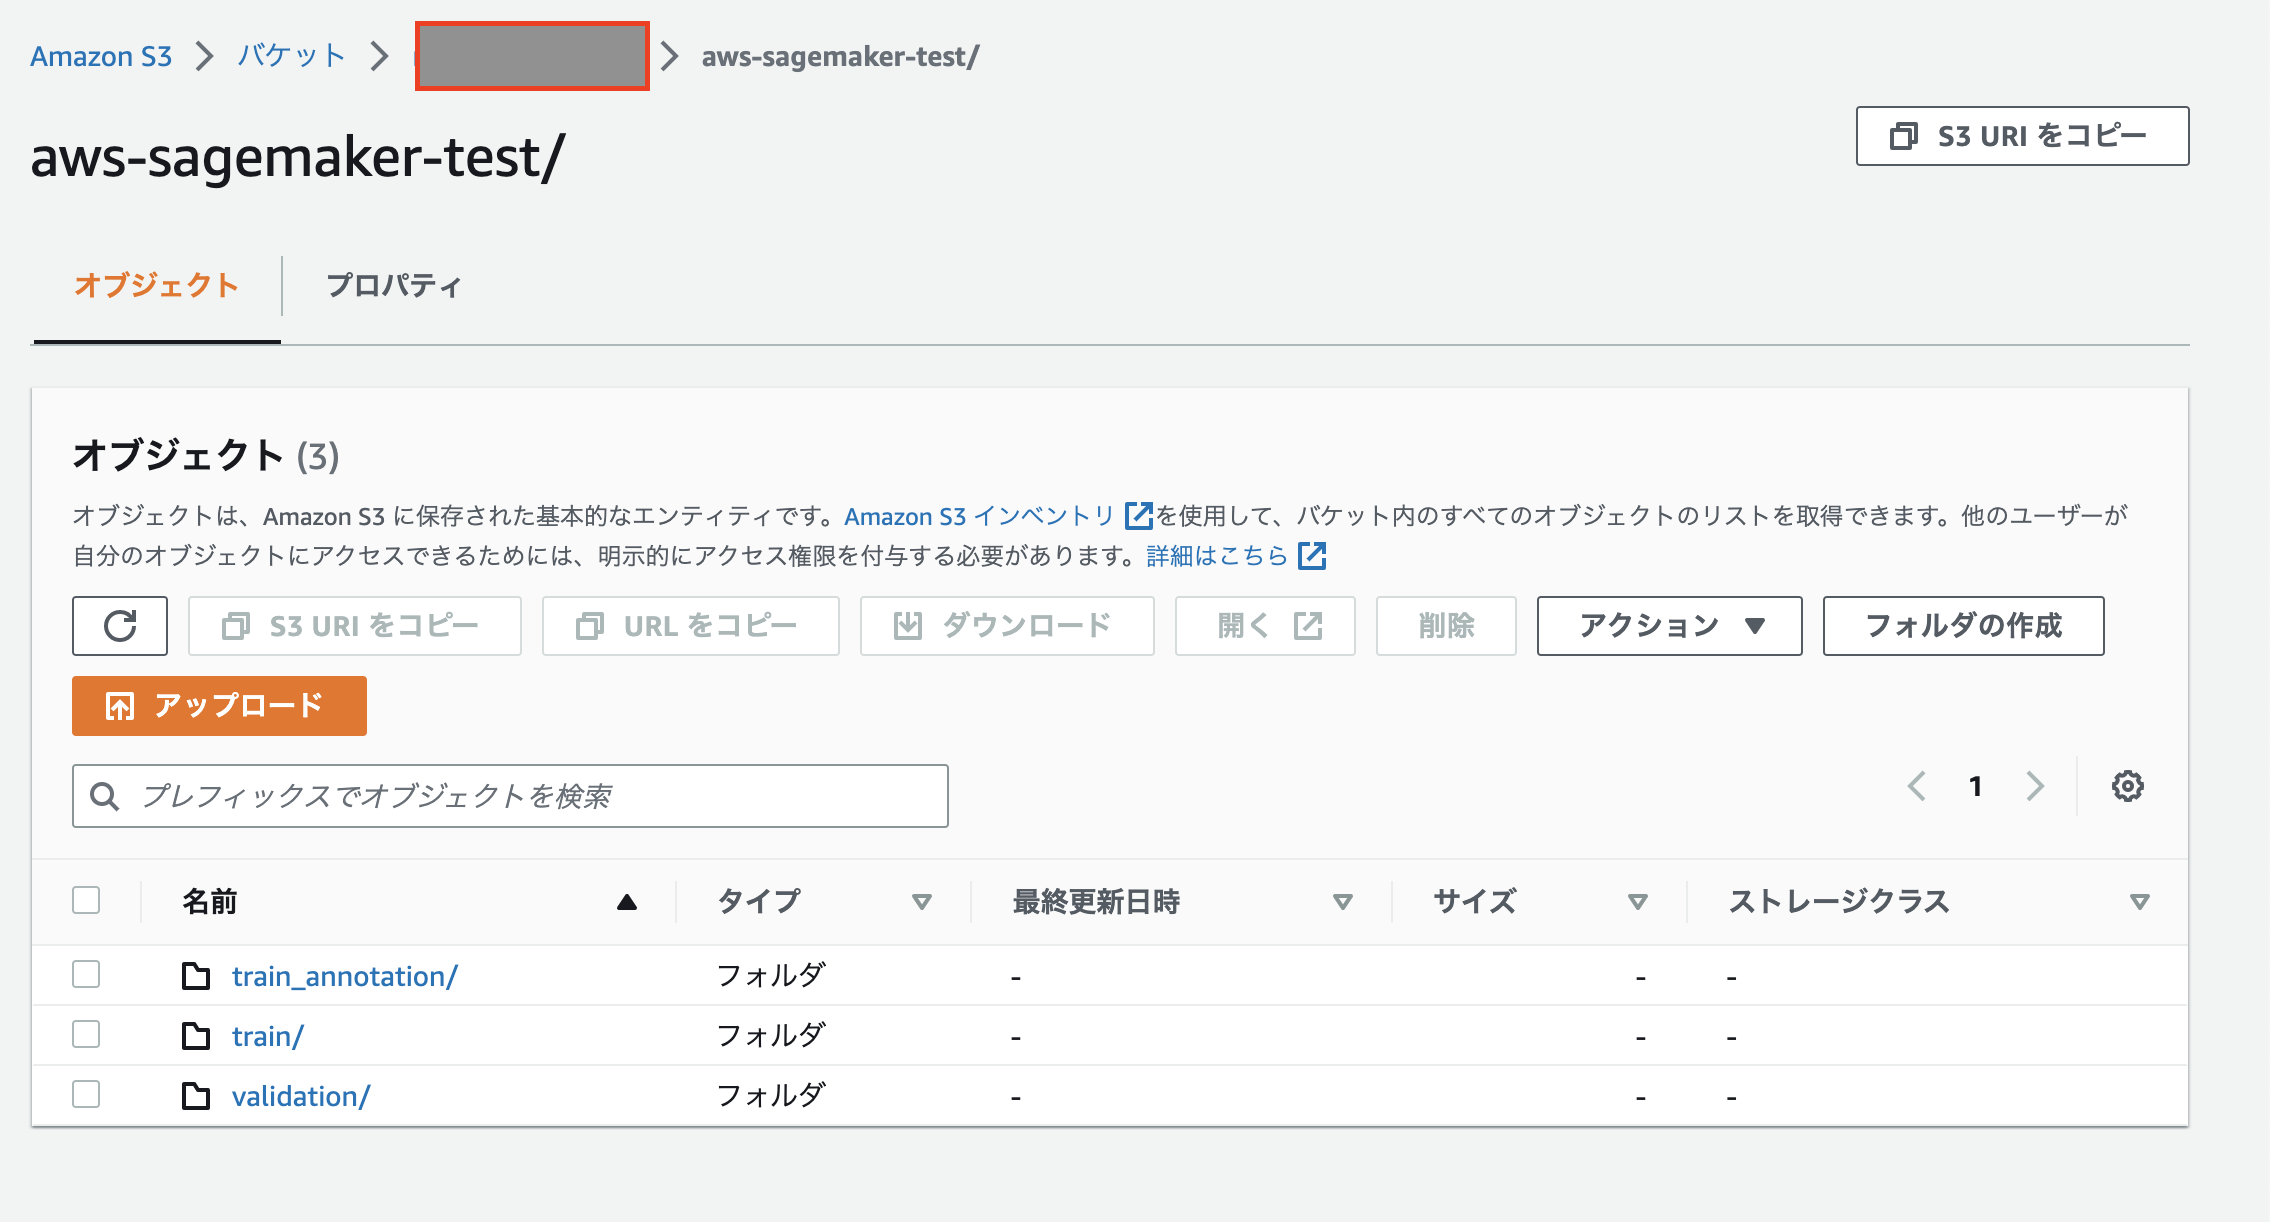
s3へのアップロード
%%time
train_channel = sess.upload_data(path="data/train", bucket=bucket, key_prefix=prefix + "/train")
print(train_channel)
train_annotation_channel = sess.upload_data(
    path="data/train_annotation",
    bucket=bucket,
    key_prefix=prefix + "/train_annotation",
)
print(train_annotation_channel)
validation_channel = sess.upload_data(
    path="data/validation", bucket=bucket, key_prefix=prefix + "/validation"
)
print(validation_channel)
validation_annotation_channel = sess.upload_data(
    path="data/validation_annotation",
    bucket=bucket,
    key_prefix=prefix + "/validation_annotation",
)
print(validation_annotation_channel)
# label_map_channel = sess.upload_data(
#     path='data/train_label_map.json',
#     bucket=bucket,
#     key_prefix=prefix+'/label_map'
# )
# print(label_map_channel)
モデルのアーティファクトなど、s3のアウトプットパスの指定
s3_output_location = "s3://{}/{}/output".format(bucket, prefix)
print(s3_output_location)
トレーニングのためのモデルの設定①
ss_estimator = sagemaker.estimator.Estimator(
    training_image,  # Container image URI
    role,  # Training job execution role with permissions to access our S3 bucket
    instance_count=1,
    instance_type="ml.p3.2xlarge",
    volume_size=50,  # in GB
    max_run=360000,  # in seconds
    output_path=s3_output_location,
    base_job_name="ss-notebook-demo",
    sagemaker_session=sess,
)
トレーニングのためのモデルの設定②
# Setup hyperparameters
ss_estimator.set_hyperparameters(
    backbone="resnet-50",  # This is the encoder. Other option is resnet-101
    algorithm="fcn",  # This is the decoder. Other options are 'psp' and 'deeplab'
    use_pretrained_model="True",  # Use the pre-trained model.
    crop_size=240,  # Size of image random crop.
    num_classes=21,  # Pascal has 21 classes. This is a mandatory parameter.
    epochs=30,  # Number of epochs to run.
    learning_rate=0.0001,
    optimizer="rmsprop",  # Other options include 'adam', 'rmsprop', 'nag', 'adagrad'.
    lr_scheduler="poly",  # Other options include 'cosine' and 'step'.
    mini_batch_size=16,  # Setup some mini batch size.
    validation_mini_batch_size=16,
    early_stopping=True,  # Turn on early stopping. If OFF, other early stopping parameters are ignored.
    early_stopping_patience=2,  # Tolerate these many epochs if the mIoU doens't increase.
    early_stopping_min_epochs=10,  # No matter what, run these many number of epochs.
    num_training_samples=num_training_samples,  # This is a mandatory parameter, 1464 in this case.
)
トレーニングに使用するデータのパス設定
distribution = "FullyReplicated"

data_channels = {
    "train": sagemaker.inputs.TrainingInput(train_channel, distribution=distribution),
    "validation": sagemaker.inputs.TrainingInput(validation_channel, distribution=distribution),
    "train_annotation": sagemaker.inputs.TrainingInput(
        train_annotation_channel, distribution=distribution
    ),
    "validation_annotation": sagemaker.inputs.TrainingInput(
        validation_annotation_channel, distribution=distribution
    ),
    # 'label_map': label_map_channel
}
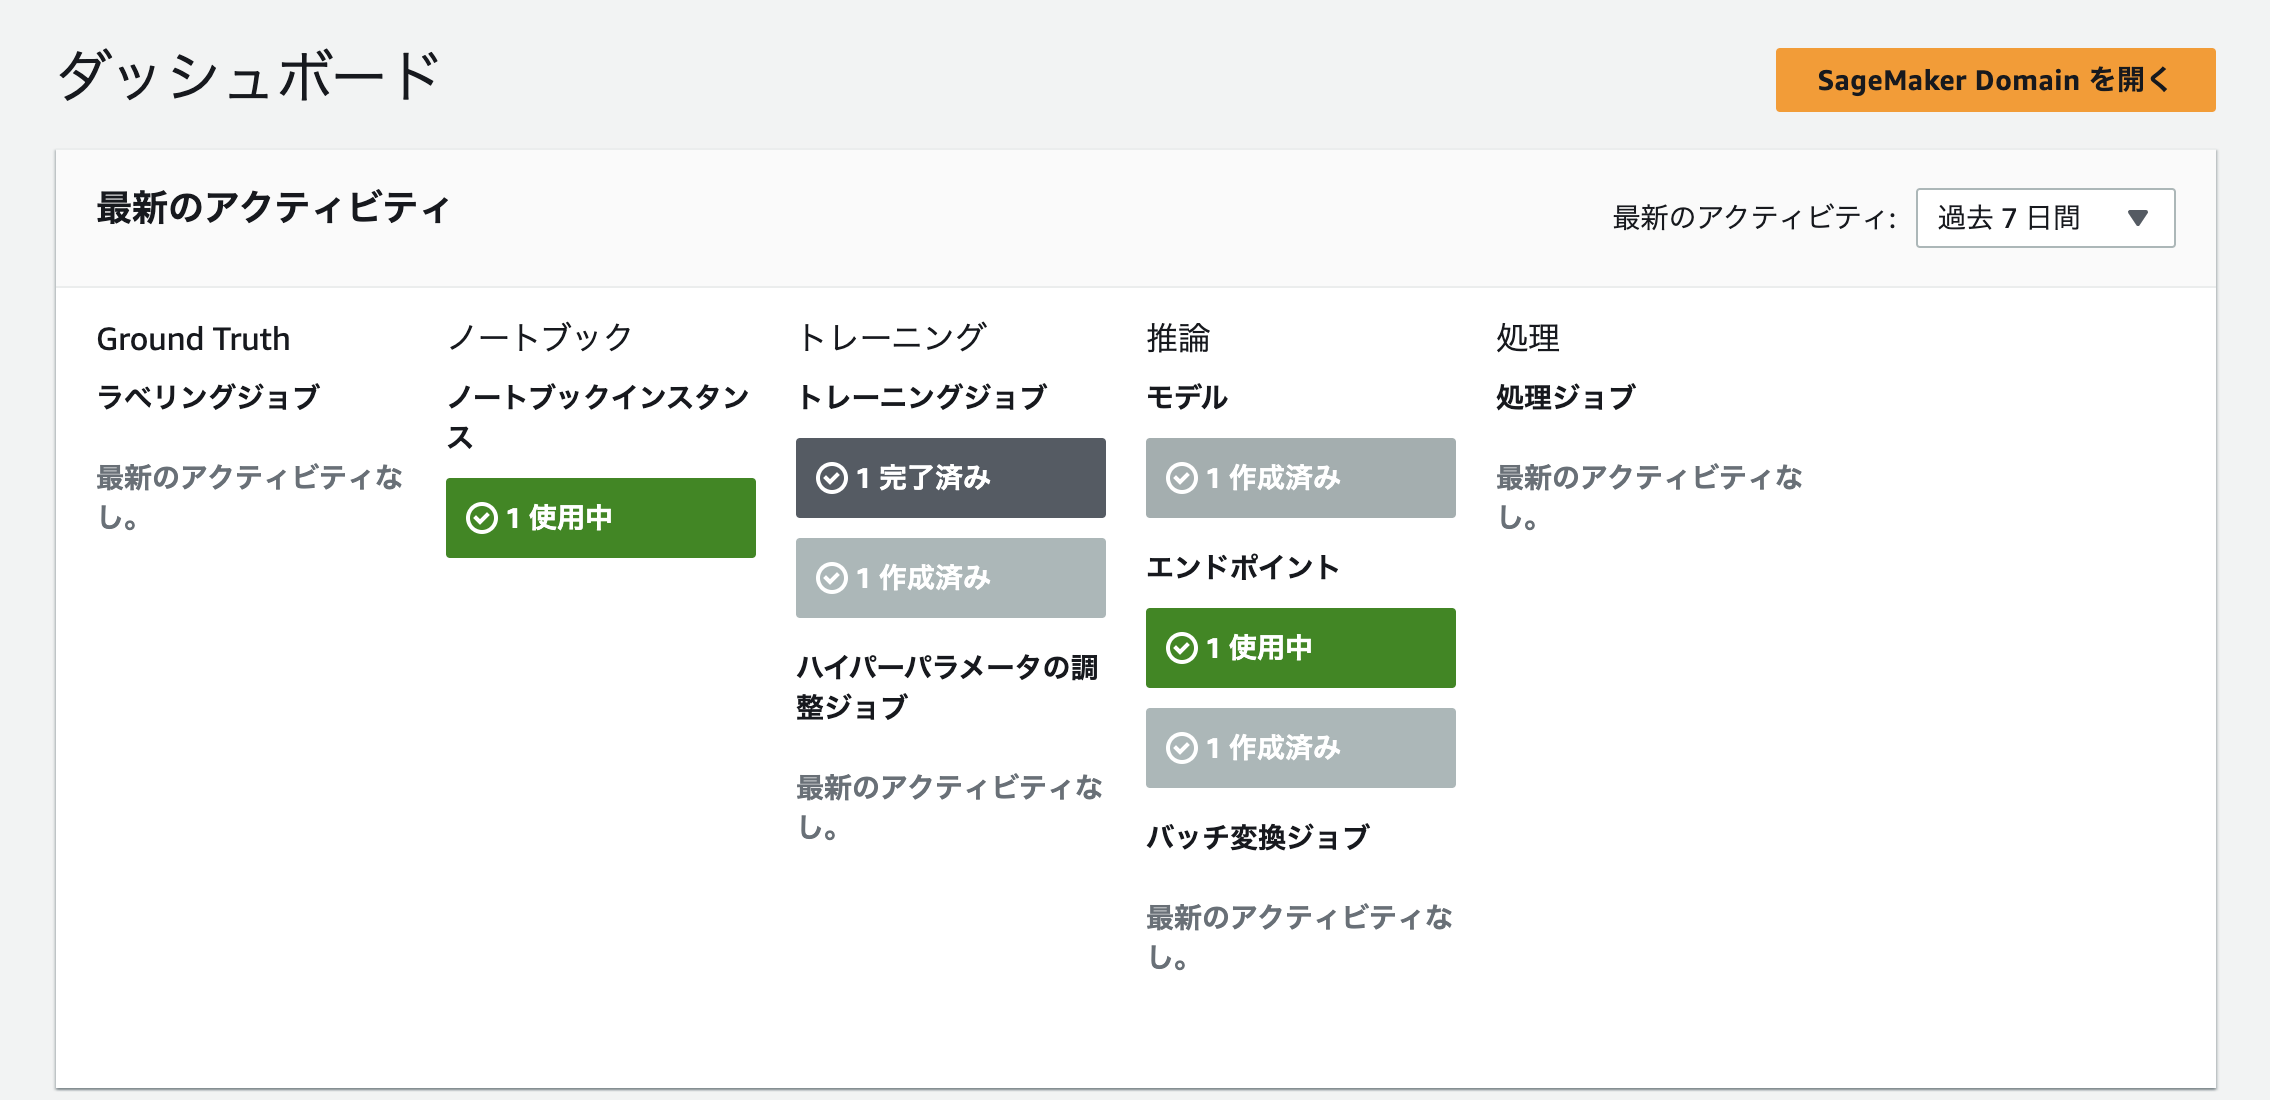
トレーニング実行
ss_estimator.fit(data_channels, logs=True)
しばらく待って…
トレーニングモデルのデプロイ(簡単!)
ss_predictor = ss_estimator.deploy(initial_instance_count=1, instance_type="ml.c5.xlarge")
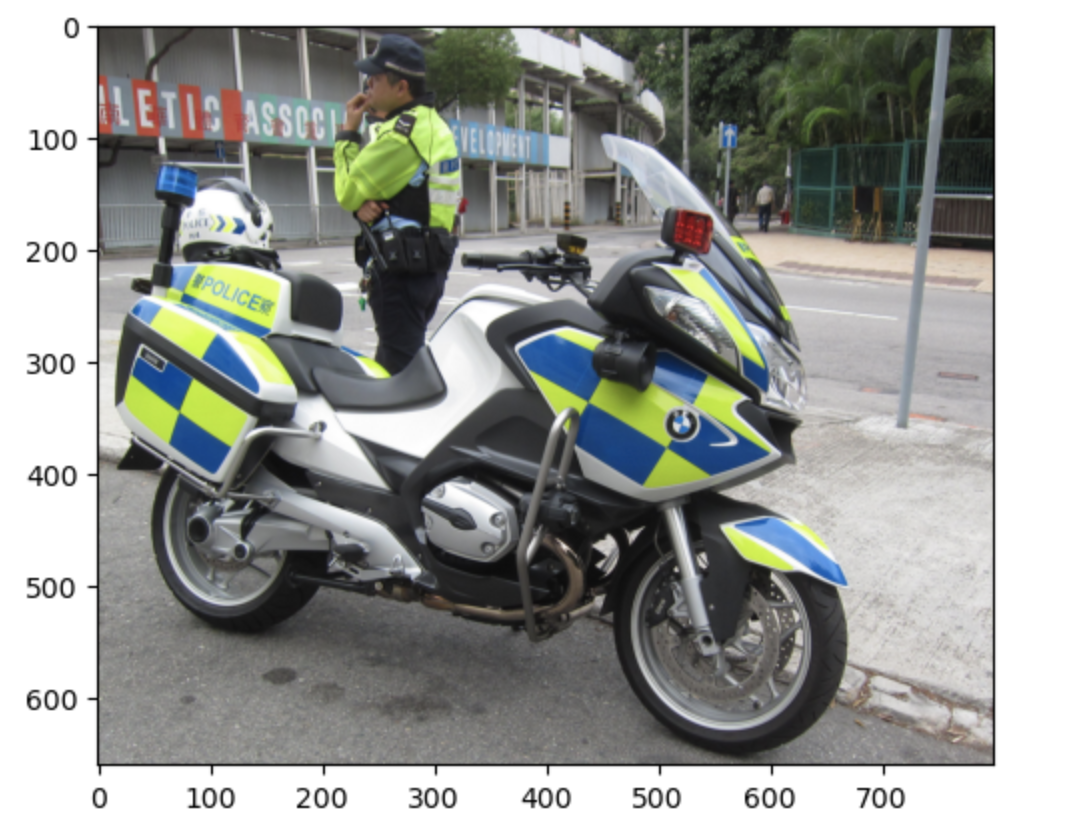
結果の確認(テスト推論)のためのデータ取得
filename_raw = "data/test.jpg"

!wget -O $filename_raw https://upload.wikimedia.org/wikipedia/commons/b/b4/R1200RT_in_Hongkong.jpg
テストデータの表示テスト
from matplotlib import pyplot as plt
import PIL

%matplotlib inline

filename = "data/test_resized.jpg"
width = 800

im = PIL.Image.open(filename_raw)

aspect = im.size[0] / im.size[1]

im.thumbnail([width, int(width / aspect)], PIL.Image.ANTIALIAS)
im.save(filename, "JPEG")

plt.imshow(im)
plt.show()
以下が表示
モデルに接続するシリアライザー、デシリアライザーの設定
(今回はPILストリーム形式からnumpy pixel arrayへの変換をデシリアライズ時に実行してくれるようにカスタマイズ)
from PIL import Image
import numpy as np

class ImageDeserializer(sagemaker.deserializers.BaseDeserializer):
    """Deserialize a PIL-compatible stream of Image bytes into a numpy pixel array"""

    def __init__(self, accept="image/png"):
        self.accept = accept

    @property
    def ACCEPT(self):
        return (self.accept,)

    def deserialize(self, stream, content_type):
        """Read a stream of bytes returned from an inference endpoint.
        Args:
            stream (botocore.response.StreamingBody): A stream of bytes.
            content_type (str): The MIME type of the data.
        Returns:
            mask: The numpy array of class labels per pixel
        """
        try:
            return np.array(Image.open(stream))
        finally:
            stream.close()

ss_predictor.deserializer = ImageDeserializer(accept="image/png")
シリアライザーもimage/jpeg用のものを設定
ss_predictor.serializer = sagemaker.serializers.IdentitySerializer("image/jpeg")

with open(filename, "rb") as imfile:
    imbytes = imfile.read()

# Extension exercise: Could you write a custom serializer which takes a filename as input instead?
結果の確認のため、レスポンスの形式確認
%%time

cls_mask = ss_predictor.predict(imbytes)

print(type(cls_mask))
print(cls_mask.shape)
print(cls_mask)
返却されたマスクイメージの表示(上記画像に対応)
plt.imshow(cls_mask, cmap="jet")
plt.show()
終わりに & appendix
上記で簡易的にですが、要点の説明つきでSageMakerAPI付属のsemantic segmentationの検証を行うことができました。
SageMakerでの訓練やデプロイが、インフラの意識をそこまで要求せず簡単に実施できることが理解できたのではないでしょうか?
Estimaterへ訓練データのパスを渡す形など、少し流儀を理解する必要がありますが、
機械学習モデルの選択肢として充分に有用であるかと思います!
aws 機械学習サービスまとめ:
https://pages.awscloud.com/rs/112-TZM-766/images/AWSの機械学習サービスとAmazon SageMaker の基礎.pdf
上記で使用したdockerイメージ内のsemantic segmentationのアルゴリズム詳細:
https://docs.aws.amazon.com/sagemaker/latest/dg/semantic-segmentation.html