はじめに
この記事では、BTP ABAP(トライアル)環境でabapGitを使うための手順について説明します。
前提
- EclipseにADTがインストールされていること
- BTP ABAP環境とEclipseが接続されていること
- abapGitに格納したい開発オブジェクトがあること
手順
- abapGitプラグインのインストール
- Gitリポジトリの作成
- Gitリポジトリとリンク
- Gitリポジトリへプッシュ
1. abapGitプラグインのインストール
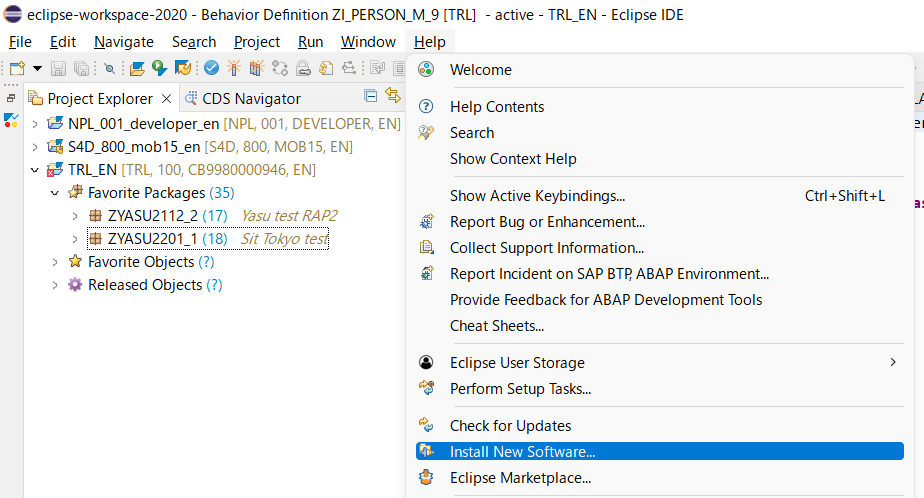
Help>Install New Softwareをクリックします。
URLにhttps://eclipse.abapgit.org/updatesite/と入力します。abapGit for ABAP Development Tools (ADT)にチェックを入れ、"Next"をクリックします。

ウィザードに従ってインストールします。インストール完了後、Eclipseを再起動します。
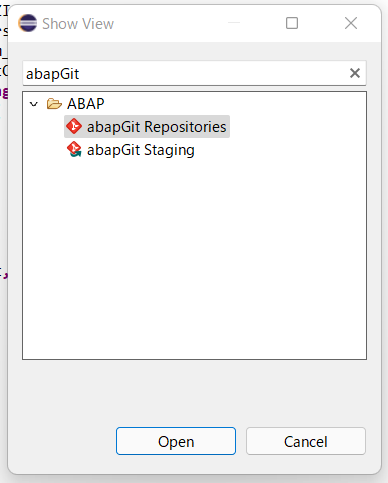
Window>Show View>Otherをクリックします。

abapGit Repositoriesを選択します。
以下の画面が開きます。

2. Gitリポジトリの作成
GitHubで、"Add a README file"にチェックをつけてリポジトリを作成します。

3. Gitリポジトリとリンク
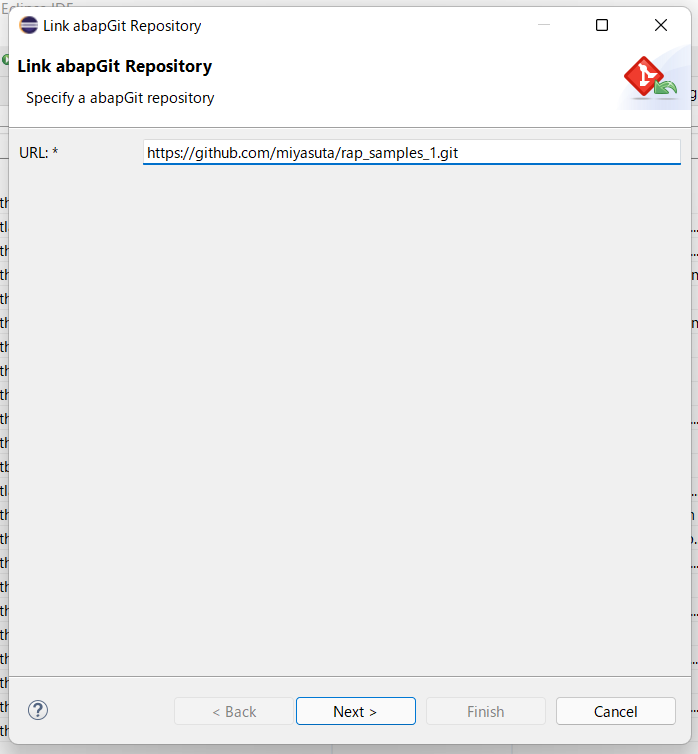
abapGit Repositoriesの右上にある+アイコンをクリックします。

2.で作成したGitリポジトリのURLを入力します。
PackageにGitリポジトリとひもづけるパッケージを入力します。
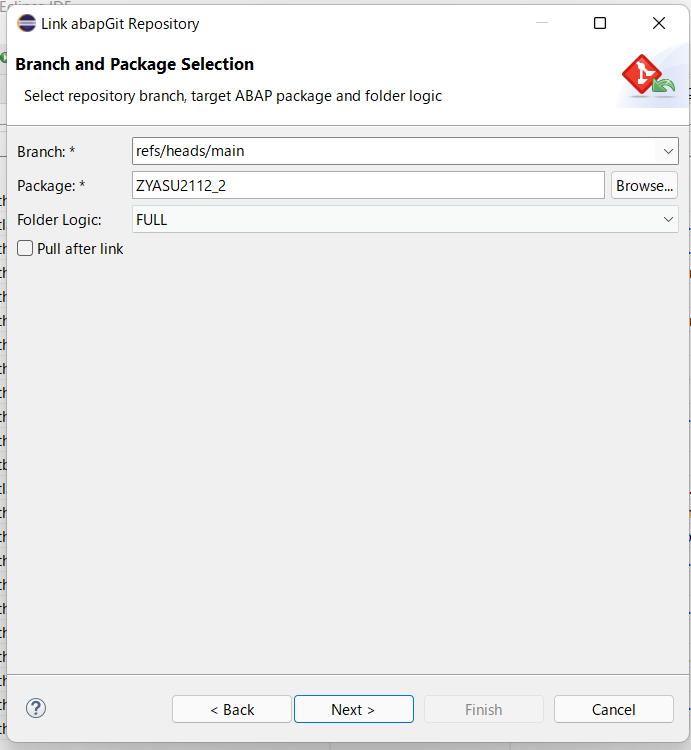
選択したパッケージが一覧に追加されます。

4. Gitリポジトリへプッシュ
パッケージを右クリックし、"Stage and Push"をクリックします。

以下のウインドウが開きます。

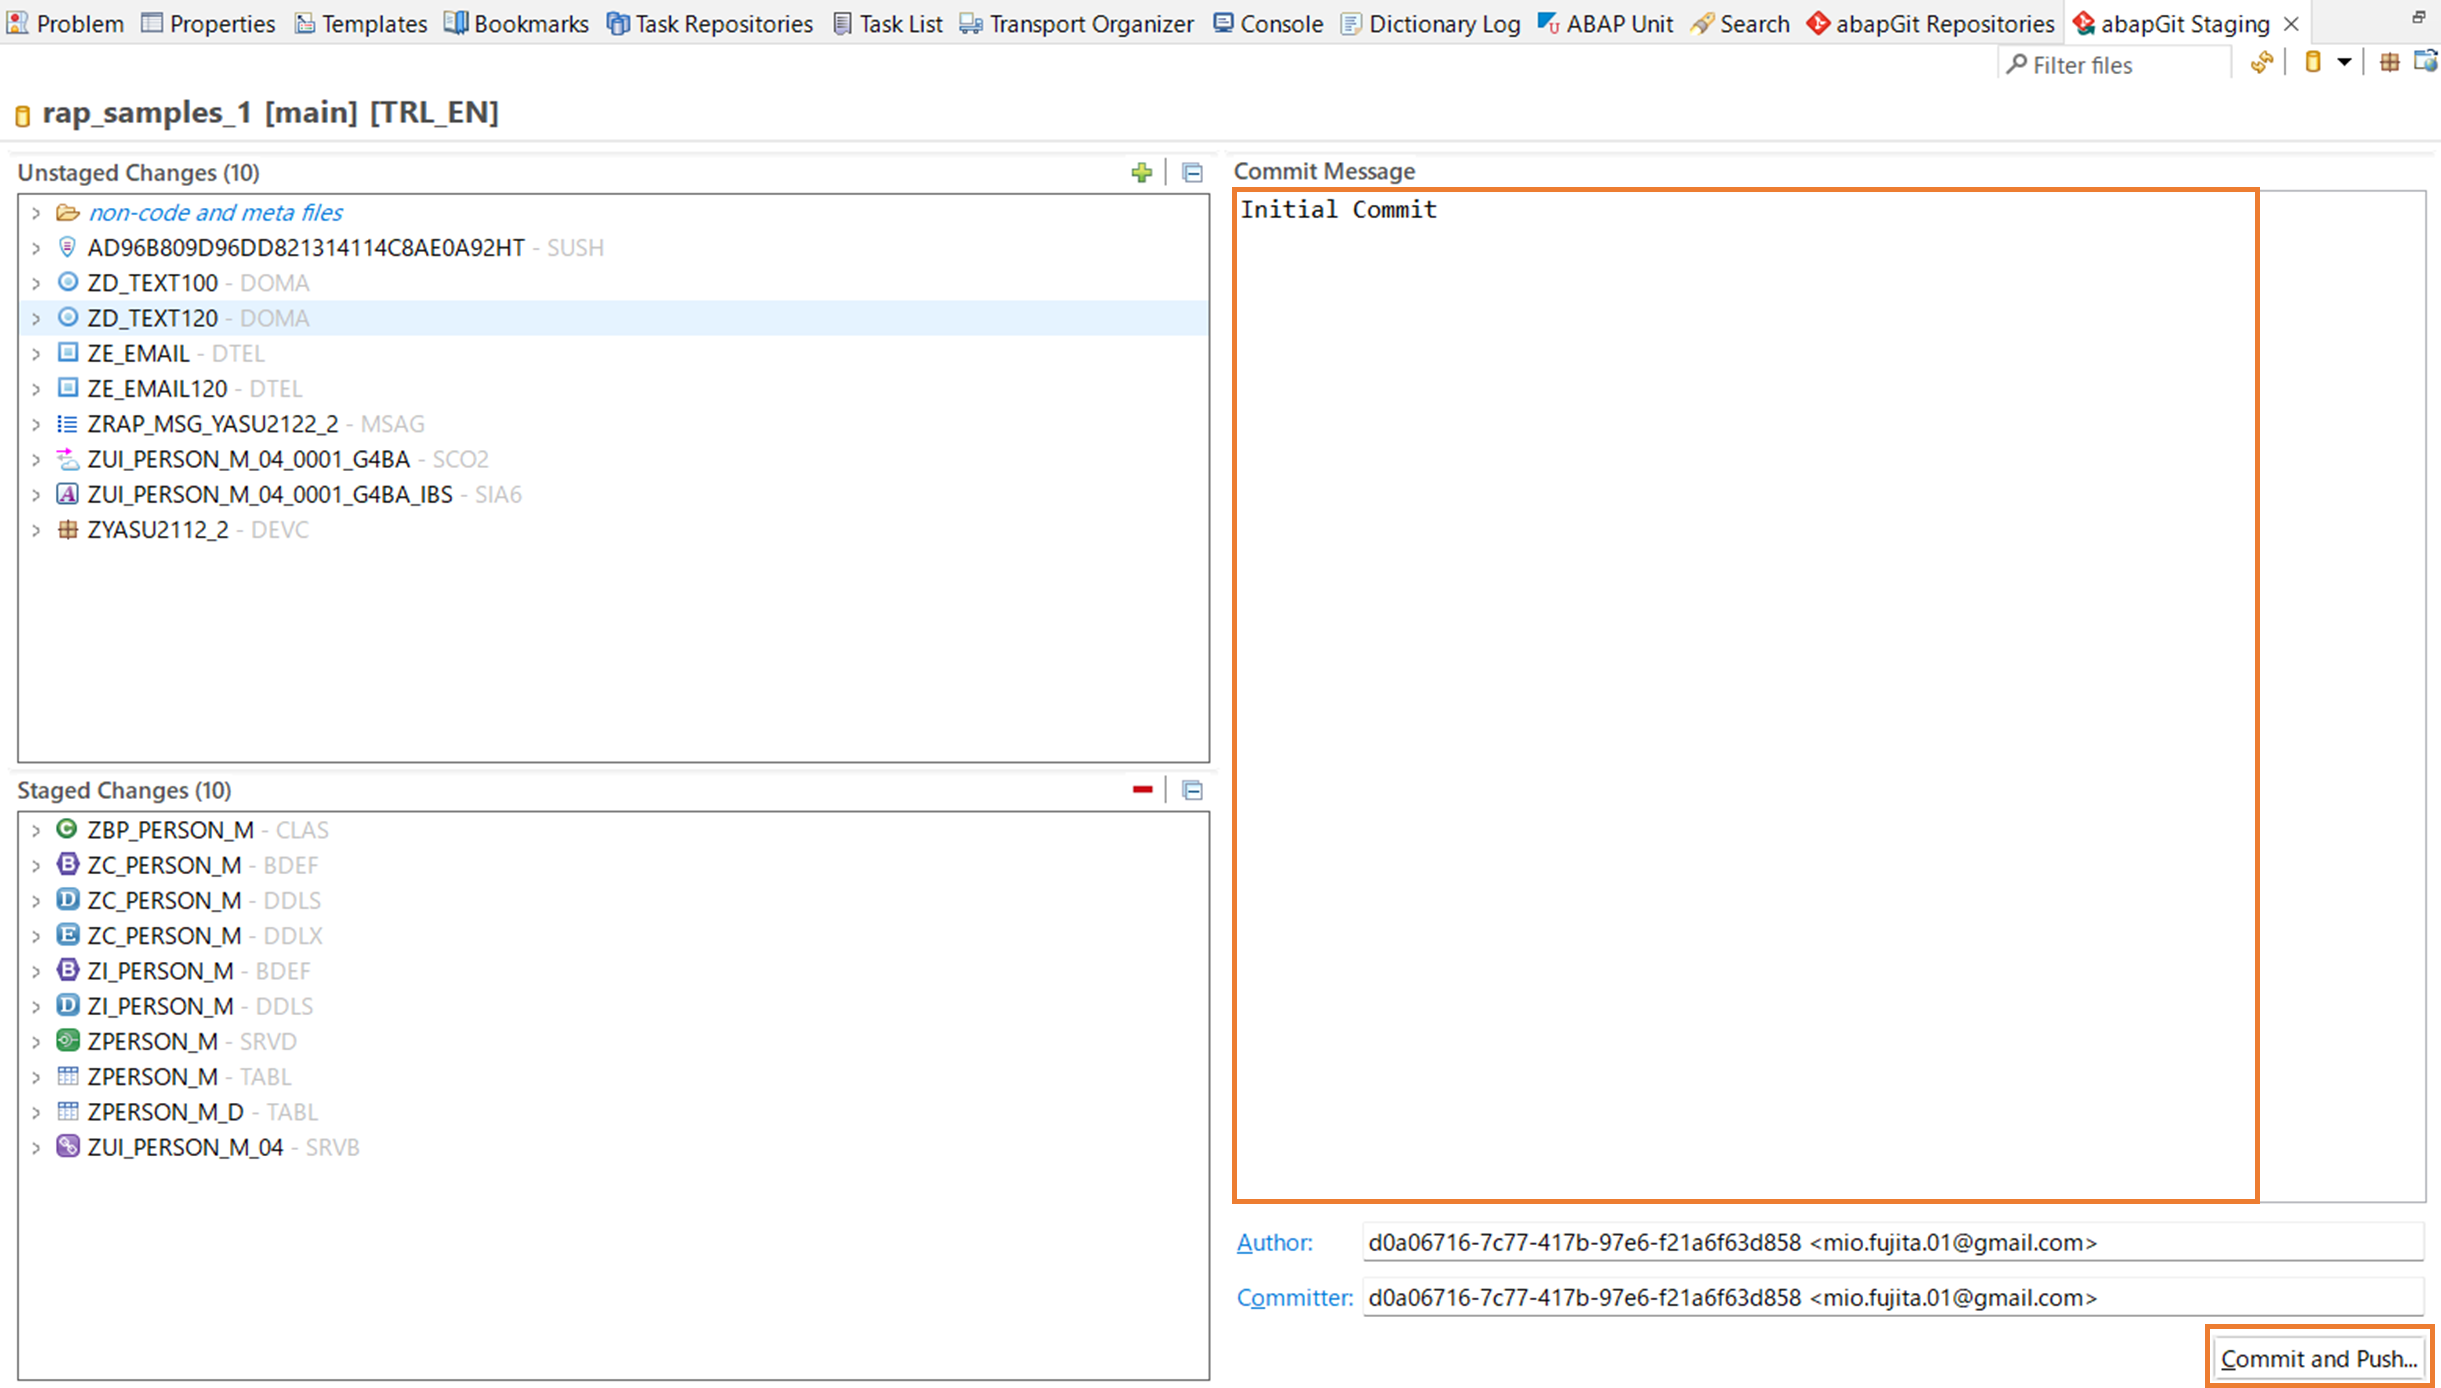
コミットしたいオブジェクトをドラッグ&ドロップでStaged Changesエリアに持っていきます。
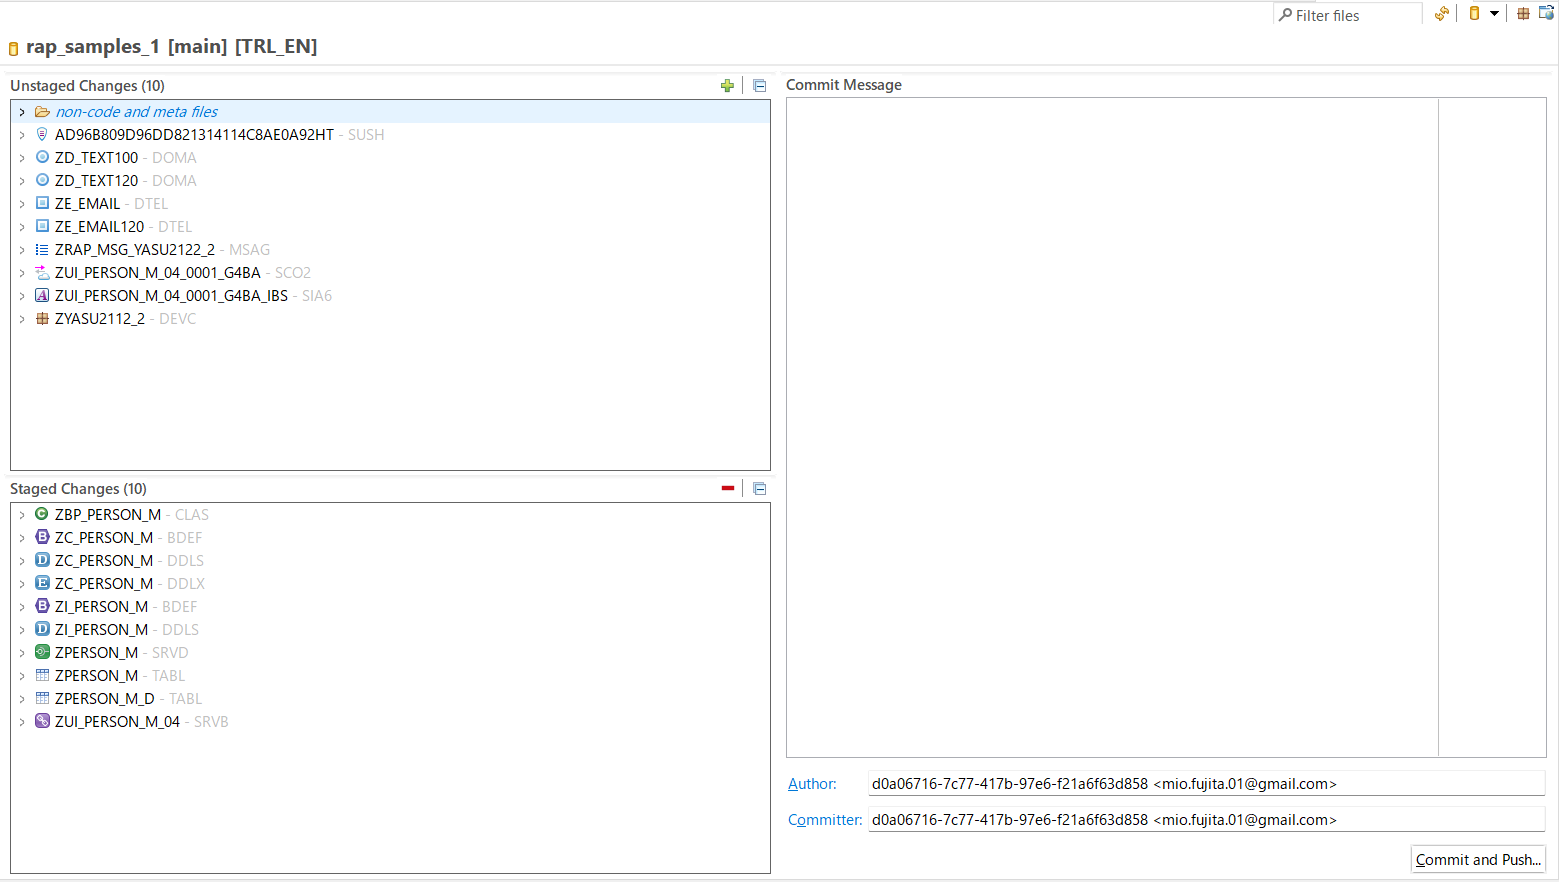
Commit Messageを入力し、"Commit and Push"ボタンをクリックします。
Gitの認証情報を聞かれるので、入力します。

ポップアップが出たらOKをクリックします。

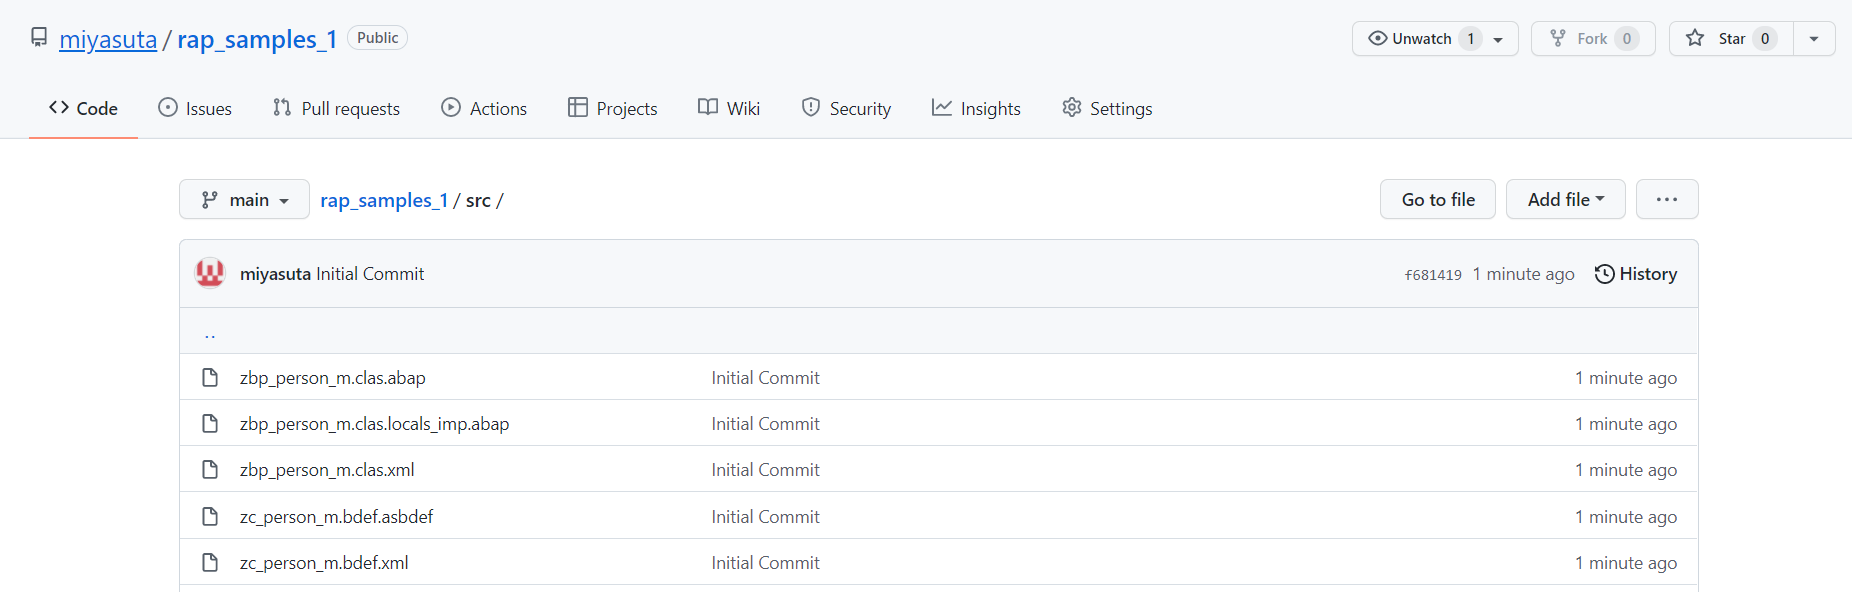
Gitリポジトリで結果を確認します。