はじめに
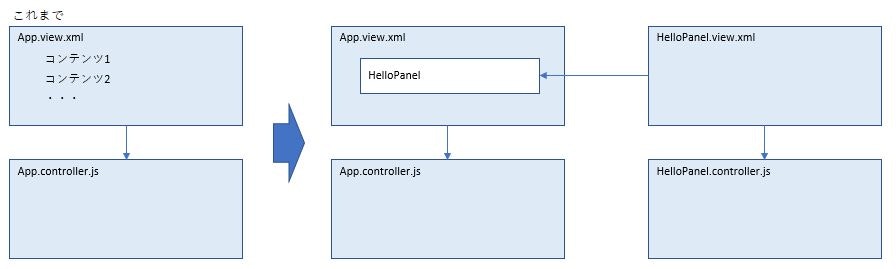
これまでは、ひとつのビュー(App.view.xml)にすべてのコンテンツを記述していました。
コンテンツが増えて複雑になってくると、コンテンツごとに別々のビューにしたほうがすっきりします。
今回は、以下のようにApp.view.xmlのコンテンツの一部を別のビューに切り出し、そのビューをApp.view.xmlに埋め込むことをやってみます。
ビューごとにコントローラーが必要なのでコントローラーも新設します。
ステップ
- 埋め込み用のビューを作成
- コントローラーを作成
- App.controller.jsを変更
- App.view.xmlにビューを埋め込み
1. 埋め込み用のビューを作成
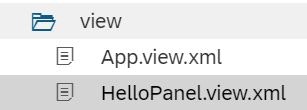
viewフォルダの配下に"HelloPanel.view.xml"というファイルを新規作成します。
以下のコードを入力します。App.view.xmlから一つ目のPanelをそのままコピーし、コントローラーの名称だけ変えています。
<mvc:View
	controllerName="test.helloworld.controller.HelloPanel"
	xmlns="sap.m"
	xmlns:l="sap.ui.layout"
	xmlns:mvc="sap.ui.core.mvc">
	<Panel headerText="{i18n>panel1Header}">
		<content>
			<l:VerticalLayout class="sapUiContentPadding">
				<Button text="{i18n>helloButton}" press="onShowHello"/>
				<Text text="{mPrice>/product/name}"/>
				<Text binding="{mPrice>/product}" text="{mPrice>price}"/>
				<Text text="{
					path: '/date',
					type: 'sap.ui.model.type.Date',
					formatOptions: {
						style: 'short'
					}
				}"/>
			</l:VerticalLayout>
		</content>
	</Panel>
</mvc:View>
2. コントローラーを作成
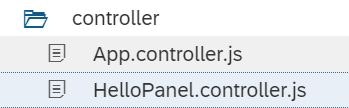
controllerフォルダの配下に"HelloPanel.controller.js"というファイルを新規作成します。
以下のコードを入力します。
sap.ui.define([
	"sap/ui/core/mvc/Controller",
	"sap/ui/model/json/JSONModel",
	"sap/m/MessageToast",
	"test/helloworld/model/formatter"
], function (Controller, JSONModel, MessageToast, formatter) {
   "use strict";
   return Controller.extend("test.helloworld.controller.HelloPanel", {
		_data : {
			"date" : new Date()
		},

		onInit : function (oEvent) {
			var oModel = new JSONModel(this._data);
			this.getView().setModel(oModel);
		},

		onShowHello : function () {
			// read msg from i18n model
			var oBundle = this.getView().getModel("i18n").getResourceBundle();
			var sProduct = this.getView().getModel("mPrice").getProperty("/product/name");
			var sMsg = oBundle.getText("helloMessage", [sProduct]);

        	// show a native JavaScript alert
        	MessageToast.show(sMsg);
    	},
   });
3. App.controller.jsを変更
App.controller.jsから、新しいコントローラーに切り出した部分をコメントアウトします。(コメントアウトの部分は削除しても問題ありません)
sap.ui.define([
	"sap/ui/core/mvc/Controller",
	//"sap/ui/model/json/JSONModel",
	"sap/ui/model/Filter",
	"sap/ui/model/FilterOperator",
	//"sap/m/MessageToast",
	"test/helloworld/model/formatter"
], function (Controller, Filter, FilterOperator, formatter) {
   "use strict";
   return Controller.extend("test.helloworld.controller.App", {

   		formatter: formatter,
   		/*
		_data : {
			"date" : new Date()
		}

		onInit : function (oEvent) {
			var oModel = new JSONModel(this._data);
			this.getView().setModel(oModel);
		},

		onShowHello : function () {
			// read msg from i18n model
			var oBundle = this.getView().getModel("i18n").getResourceBundle();
			var sProduct = this.getView().getModel("mPrice").getProperty("/product/name");
			var sMsg = oBundle.getText("helloMessage", [sProduct]);

        	// show a native JavaScript alert
        	MessageToast.show(sMsg);
    	},
    	*/

		onFilterProducts : function (oEvent) {

			// build filter array
			var aFilter = [];
			var sQuery = oEvent.getParameter("query");
			if (sQuery) {
				aFilter.push(new Filter("name", FilterOperator.Contains, sQuery));
			}

			// filter binding
			var oList = this.byId("productList");
			var oBinding = oList.getBinding("items");
			oBinding.filter(aFilter);
		},
   });
});
4. App.view.xmlにビューを埋め込み
まず、App.view.xmlからPanel1の部分を削除します。コントロール"sap.ui.layout"も不要なので削除します。
<mvc:View
	controllerName="test.helloworld.controller.App"
	xmlns="sap.m"
	xmlns:mvc="sap.ui.core.mvc">
	<App>
		<pages>
			<Page title="{i18n>pageTitle}">
				<content>
					<ここにビューを埋め込み>
					<Panel headerText="{i18n>panel2Header}">

・・・
この時点で実行すると、Panel1がなくなっています。
Panel1があったところに以下のコードを追加します。
<mvc:XMLView viewName="test.helloworld.view.HelloPanel"/>
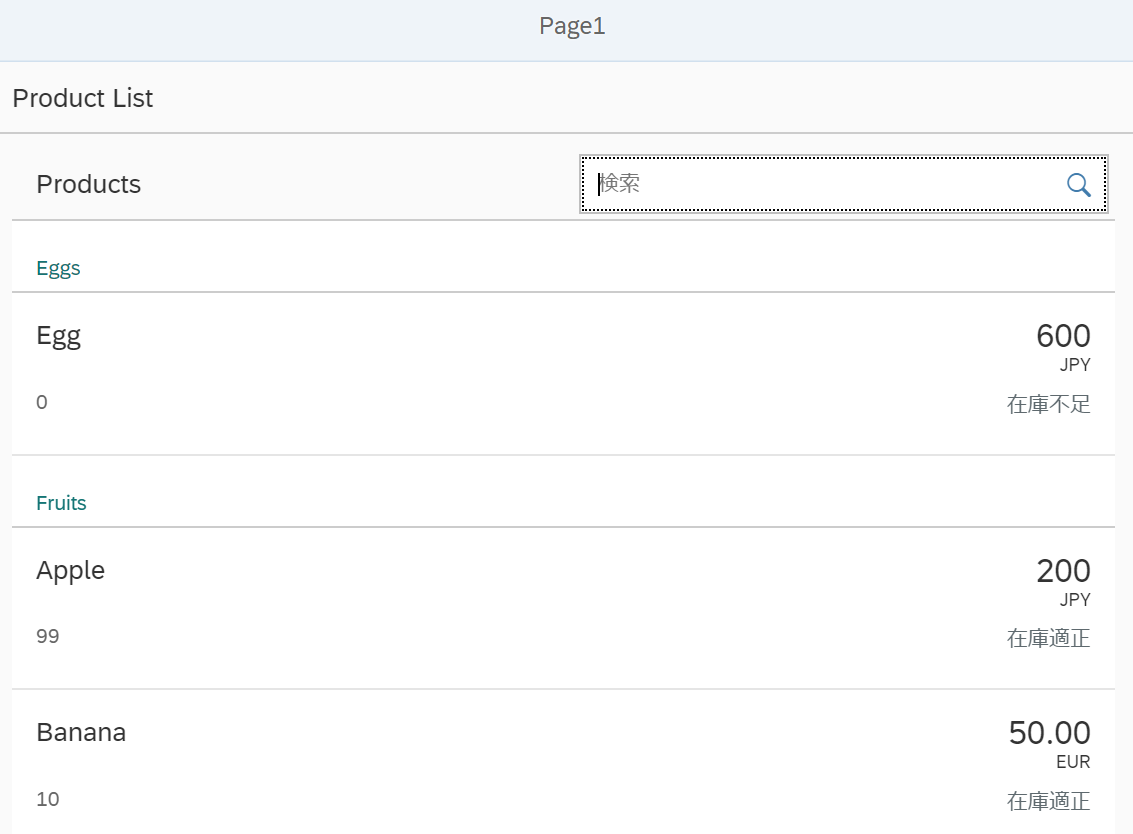
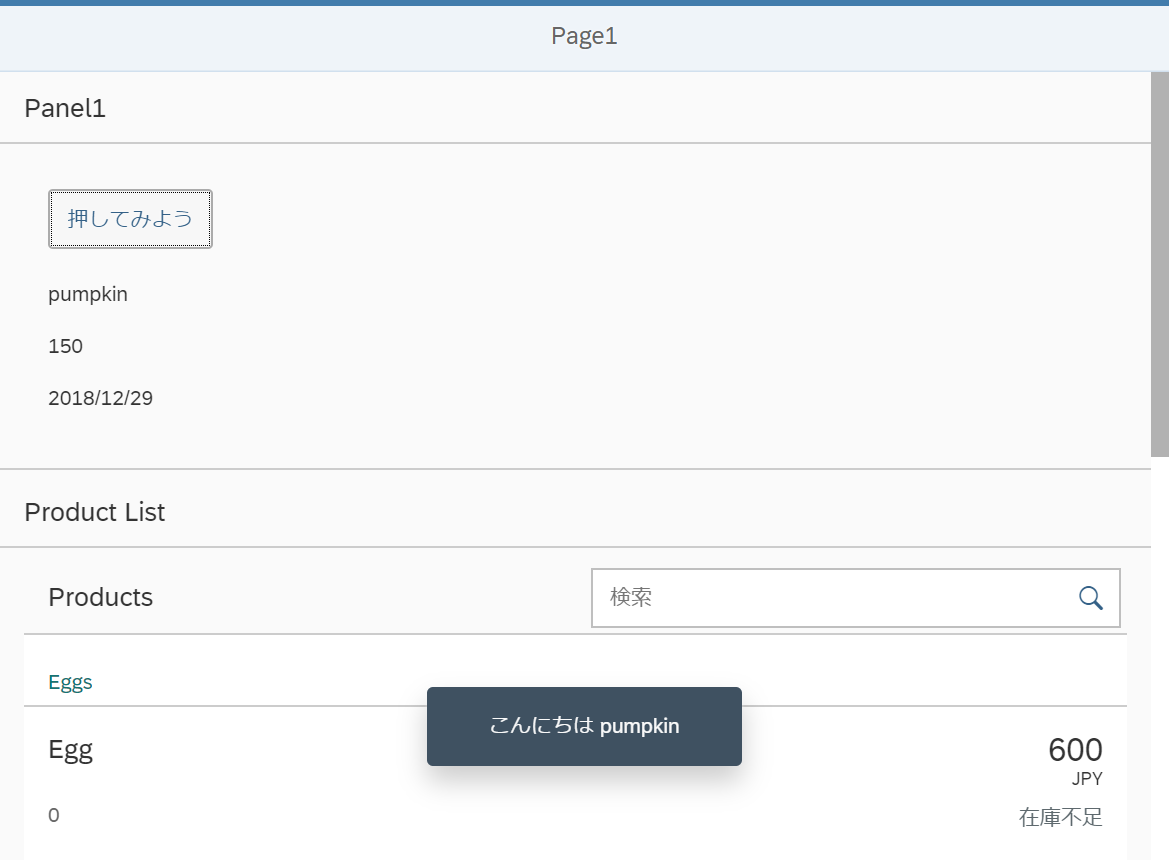
実行結果
実行結果は以下のようになります。
まとめ
- ビューの中に別のビューを埋め込むことができる
- ビューごとにコントローラーが必要
参考にしたページ
Get Started: Setup and Tutorials-Walkthrough-Step 15: Nested Views