はじめに
3/27にSAP Build Codeがリリースされました。SAP Build Codeは、生成AI (Joule) がアプリケーションの作成をサポートしてくれるBusiness Application Studioの機能です。CAP, Fiori elementsおよびフリースタイルのSAPUI5開発がサポートされています。
SAP Build Codeをまずは触ってみたいという人のために"Test Drive"のチュートリアルが用意されています。
この記事ではTest Driveのチュートリアルのあと、機能やテストを追加してみたことについて書きます。チュートリアルでは英語のプロンプトでしたが、日本語で試してみました。結果、日本語でも問題なく動きました。
やってみたこと
- ロジック追加とアノテーション
- ユニットテスト
ロジック追加とアノテーション
Test Driveで作ったPurchases(発注)のエンティティにはCustomer, Product, Product Value, Reward Pointsという項目があります。このうち、Reward Pointsには自動計算するロジックが設定されています。

このエンティティに以下のロジックと項目制御を追加します。項目制御はアノテーションで実現する想定です。
- Purchase ValueはProductの価格を設定する
- Customer, Productは必須にする
- Purchase Value, Reward Pointsは読み込み専用にする
ロジック追加
まずは、アプリケーションロジックを追加します。

Create処理の前に価格を設定したいので、Beforeハンドラとして登録します。

以下のプロンプトを入力しました。
purchase valueにProductのpriceを設定してください
以下が提案されたコードです。修正点として、selectedProduct.IDではなくselectedProduct_IDとする必要がありました。
/**
 *
 * @Before(event = { "CREATE" }, entity = "loyaltyProgramSrv.Purchases")
 * @param {Object} request - User information, tenant-specific CDS model, headers and query parameters
*/
module.exports = async function(request) {
  const { data } = request;

  if (!data.selectedProduct || !data.selectedProduct.ID) {
    return;
  }

  const product = await SELECT.one(['price'])
    .from('loyaltyProgramSrv.Products')
    .where({ ID: data.selectedProduct.ID });

  if (product) {
    data.purchaseValue = product.price;
  }
}
アノテーション
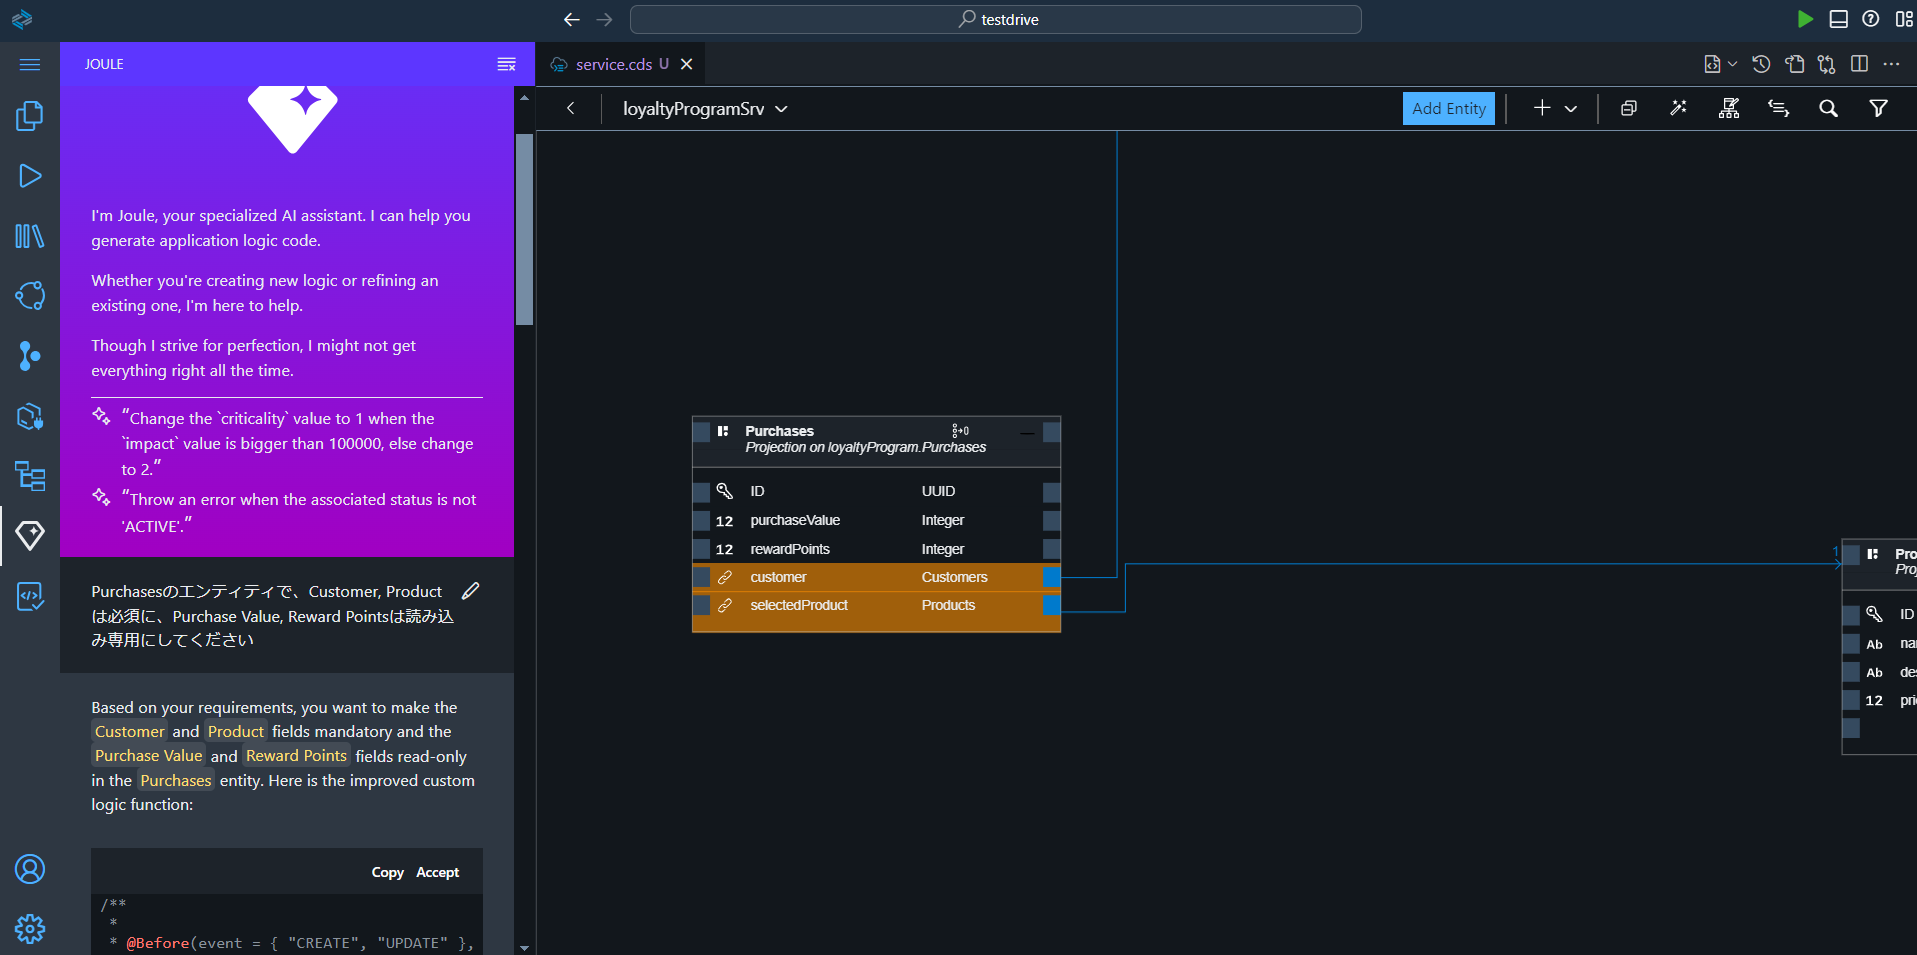
services.cdsをCDS Graphical Modelerで開いた状態で、以下のプロンプトを入力しました。
Purchasesのエンティティで、Customer, Productは必須に、
Purchase Value, Reward Pointsは読み込み専用にしてください
カスタムロジックでチェックすることが提案されました。
Based on your requirements, you want to make the Customer and Product fields mandatory and the Purchase Value and Reward Points fields read-only in the Purchases entity.
Here is the improved custom logic function:

<カスタムロジック>
アノテーションで実現できないか聞いてみると、アノテーションを提案してくれました。
ロジックではなく、アノテーションで実現できますか
entity Purchases {
  key ID: UUID;
  @readonly
  purchaseValue: Integer;
  @readonly
  rewardPoints: Integer;
  @assert.mandatory: true
  customer: Association to Customers;
  @assert.mandatory: true
  selectedProduct: Association to Products;
}
実行すると、Readonlyにはなりましたが必須マークはつかず、必須チェックもされませんでした。

ドキュメントを見てアノテーションを@mandatoryに修正し、想定通りの動作になりました。

ユニットテスト
Open Guide > Create Unit Test > Open CDS Graphical Modelerをクリックします。

テスト対象のソース(ここではpurchases-logic-before)を選択し、Open Code Editor > Unit Testを選択します。

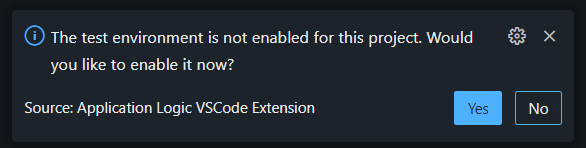
テスト環境を有効化するか聞かれたので、"Yes"を選択しました。
プロンプトはデフォルトで設定されているので、そのまま実行します。

以下のコードが提案されました。
/**
 * Given a running CAP service, the unit test should be able to get passed.
 *
 * @param {Function} GET - The `axios` function to send a GET request
 * @param {Function} POST - The `axios` function to send a POST request
 * @param {Function} PATCH - The `axios` function to send a PATCH request
 * @param {Function} DELETE - The `axios` function to send a DELETE request
 * @param {Function} expect - The `chai` function to assert the response
 */
module.exports = async function(GET, POST, PATCH, DELETE, expect) {
  // Your code here
  // Step 1: Create a new draft for Purchases
  let response = await POST('/service/loyaltyProgram/Purchases', {
    customer_ID: 'customer-id',
    selectedProduct_ID: 'product-id'
  });
  expect(response.status).to.be.oneOf([200, 201]);
  const draftID = response.data.ID;

  // Step 2: Activate the draft for Purchases
  response = await POST(`/service/loyaltyProgram/Purchases(ID=${draftID},IsActiveEntity=false)/loyaltyProgramSrv.draftActivate`);
  expect(response.status).to.be.oneOf([200, 201]);

  // Step 3: Get the activated Purchase
  response = await GET(`/service/loyaltyProgram/Purchases(ID=${draftID},IsActiveEntity=true)`);
  expect(response.status).to.be.oneOf([200, 201]);
  expect(response.data.purchaseValue).to.exist;

  // Step 4: Update the Purchase to draft editing mode
  response = await POST(`/service/loyaltyProgram/Purchases(ID=${draftID},IsActiveEntity=true)/loyaltyProgramSrv.draftEdit`, {
    PreserveChanges: true
  });
  expect(response.status).to.be.oneOf([200, 201]);

  // Step 5: Modify the draft Purchase
  response = await PATCH(`/service/loyaltyProgram/Purchases(ID=${draftID},IsActiveEntity=false)`, {
    purchaseValue: 200
  });
  expect(response.status).to.be.oneOf([200, 204]);

  // Step 6: Activate the draft Purchase
  response = await POST(`/service/loyaltyProgram/Purchases(ID=${draftID},IsActiveEntity=false)/loyaltyProgramSrv.draftActivate`);
  expect(response.status).to.be.oneOf([200, 201]);
};
ステップ5でpurchaseValueを更新しようとしていますが、purchaseValuleは更新不可としているため、テストから除外してもらいます。マニュアルで削除してもよいですが、プロンプトで依頼してみました。
purchaseValueは読み込み専用なので、Modifyのケースは削除してください
※Thinkingタイムが結構長かったので、マニュアルで削除したほうが早かったです。
最終的なテストコードは以下です。customer_IDとselectedProduct_IDは自分で設定しました。また、指定したProductの価格が取得できていることを確認するように変更しました。
/**
 * Given a running CAP service, the unit test should be able to get passed.
 *
 * @param {Function} GET - The `axios` function to send a GET request
 * @param {Function} POST - The `axios` function to send a POST request
 * @param {Function} PATCH - The `axios` function to send a PATCH request
 * @param {Function} DELETE - The `axios` function to send a DELETE request
 * @param {Function} expect - The `chai` function to assert the response
 */
module.exports = async function(GET, POST, PATCH, DELETE, expect) {
  // Your code here
  // Step 1: Create a new draft for Purchases
  let response = await POST('/service/loyaltyProgram/Purchases', {
    customer_ID: '1dbc8e56-d86c-4b8b-a46c-ebb645ea4199',
    selectedProduct_ID: '074276dd-50cf-4024-829e-5e8be1de1382' //price: 1000
  });
  expect(response.status).to.be.oneOf([200, 201]);
  const draftID = response.data.ID;

  // Step 2: Activate the draft for Purchases
  response = await POST(`/service/loyaltyProgram/Purchases(ID=${draftID},IsActiveEntity=false)/loyaltyProgramSrv.draftActivate`);
  expect(response.status).to.be.oneOf([200, 201]);

  // Step 3: Get the activated Purchase
  response = await GET(`/service/loyaltyProgram/Purchases(ID=${draftID},IsActiveEntity=true)`);
  expect(response.status).to.be.oneOf([200, 201]);
  expect(response.data.purchaseValue).to.equal(1000);
};
ガイドからテストを実行します。

テストが成功しました。

SAP Build Codeを使ってみた感想
まずは良かった点です。
イベントハンドラは必ず呼ばれる
イベントハンドラを自分で作成した場合、エンティティ名のミスなどで、イベントハンドラが呼ばれないことがあります。そのようなつまづきがないのはうれしいです。
※これはSAP Build Codeというよりも、BASの"Full-Stack Application Using Productivity Tools"スペースの特徴です
ユニットテストを書くハードルが下がる
私の場合、ユニットテストを書こうとするとまずは書き方を調べるところから始まります。SAP Build Codeでは簡単にテストコードを生成できるため、それを参考に自分でテストを追加していくことができます。
次に、困った点です。
さっき見ていたJouleの画面がどこにいったかわからない
Jouleが持っているコンテキストは、BASの右側で開いている画面によって異なります。このため、さっき見てきたJouleの画面をもう一度開きたいときには、適切なオブジェクトを選択する必要があります。一か所で全部できればいいのにと思いました。
サービス
ソース
DBスキーマのようにJouleをクリックしても出てこない画面もあります

SAP Build Codeをどう使っていくか
SAP Build Codeはプロジェクトの立ち上げ時に、素早くドメインモデルやサービスを生成するのに便利だと思います。一方で、Thinking Timeが結構長いのでちょっとした手直しなら自分でやったほうが早いです。
SAP Build Codeが役立つケースとしては、以下のような場面がありそうです。
- 新規のオブジェクト(ドメインモデル、サービス、イベントハンドラ等)を一から生成する
- 書き方がよくわからないもの(例:ユニットテスト)を実装する手助けしてもらう
- 書き方はわかるが面倒なものを生成してもらう(例:サンプルデータ、翻訳)
以下のブログには、SAPUI5の開発でSAP Build Codeをどのように使うかのアイディアが紹介されています。こういったTipsをもっと知りたいし、使っていく中でも発見できたらいいと思います。
Now AI Helps You Developing SAPUI5 Applications
- コンテンツ入りの新規ビューを作成してルーティングも設定
- サンプルデータが入った新しいモデルを作成してテーブルで表示
- ビュー内のテキストを翻訳可能にして翻訳も生成