はじめに
最近、ノートPCを買い替えました。BTPのための開発環境を一から作るのは手間なので、Dockerイメージ的なものが使えないかと考えていました。
2022年のSAP Advent Calendarの記事「SAP BTP 開発環境を Lima と WSL2 で作ってみる」で、btp-setup-automatorに開発で必要なツール等がインストールされていることを知ったので、これを使ってVS Codeで開発するための環境を作ってみることにしました。
環境
- Windows 11 Home
- VS Code
必要な設定
- WSLを有効化
- Docker Desktopをインストール
- VS CodeにDev Conteinersをインストール
- btp-setup-automatorで開発環境を作成
1. WSLを有効化
PowerShell、またはコマンドプロンプトで以下のコマンドを入力します。
wsl --install
再起動後、以下の画面が表示されるのでUNIXのユーザ、パスワードを設定します。

参考:https://learn.microsoft.com/en-us/windows/wsl/setup/environment
2. Docker Desktopをインストール
以下のURLからDocker Desktopのインストーラをダウンロードします。
https://www.docker.com/products/docker-desktop/
インストーラを実行し、ウィザードに沿ってインストールを進めます。インストールが完了するとショートカットからDocker Desktopを起動できます。

Resouces > WSL integrationで"Enable integration with my default WSL distro"にチェックが入っていることを確認します。

参考:https://docs.docker.com/desktop/install/windows-install/
3. VS CodeにDev Conteinersをインストール
コンテナの中で開発を行うため、VS CodeにDev Containersをインストールします。

Dev Containersの仕組み
Dev Containerでは、devcontainer.jsonという設定ファイルをもとに実行環境となるコンテナを作成します。devcontainer.jsonには使用するイメージやVS Codeの拡張などを指定します。事前に定義されそのまま使える設定もありますが、自分で設定ファイルを作ることもできます。
Quick start
以下のチュートリアルを実施すると、Dev Containersを使用する流れがわかります。
https://code.visualstudio.com/docs/devcontainers/containers#_quick-start-open-an-existing-folder-in-a-container
4. btp-setup-automatorで開発環境を作成
ここでは、以下のことをゴールとします。
- btp-setup-automatorで開発環境を作成する
- 作成した環境でCAPのプロジェクトとFioriアプリを作成する
4.1. devcontainer.jsonを入手
以下のリポジトリに、btp-setup-automatorを設定するためのdevcontainer.jsonファイルがあります。
https://github.com/SAP-samples/btp-setup-automator/blob/main/.devcontainer/stable/devcontainer.json
4.2. VS Codeで新規の開発環境を作成
開発で使用するためのディレクトリをローカル側(Dockerコンテナの外側)に作成します。
C:\Users\mio-f\projects\cap
作成したディレクトリをVS Codeで開き、.devcontainer/devcontainer.jsonファイルを追加します。

- で入手したdevcontainer.jsonの中身を貼り付けます。
    // For format details, see https://aka.ms/devcontainer.json.
{
    "name": "BTP Setup Automator (Stable)",
    "image": "ghcr.io/sap-samples/btp-setup-automator:latest",
    "customizations": {
        "vscode": {
            "settings": {
                "python.defaultInterpreterPath": "/usr/local/bin/python3",
                "python.linting.enabled": true,
                "python.formatting.provider": "black",
                "python.linting.flake8Enabled": true,
                "python.linting.flake8Args": [
                    "--ignore=E501,F405,W504"
                ],
                "python.linting.pylintEnabled": false
            },
            "extensions": [
                "ms-python.python",
                "ms-python.vscode-pylance"
            ]
        },
        "codespaces": {
            "openFiles": [
                "parameters.json"
            ]
        }
    },
    "remoteUser": "user",
    "postCreateCommand": "cd /workspaces && echo 'export PATH=\"$HOME/.local/bin:$PATH\"' >> ~/.profile && pip install flake8 black && source ~/.profile",
    "workspaceFolder": "/workspaces",
    "hostRequirements": {
        "cpus": 2,
        "memory": "4gb",
        "storage": "32gb"
    }
}
ポイント
コピーしたファイルから以下の点だけ変更しています。もとは起動後に/home/userディレクトリが開く設定になっているのですが、現在開いているワークスペースを開くようにしたいため、最初に開くディレクトリを"/workspaces"に変更しています。
    "postCreateCommand": "cd /workspaces && echo 'export PATH=\"$HOME/.local/bin:$PATH\"' >> ~/.profile && pip install flake8 black && source ~/.profile",
    "workspaceFolder": "/workspaces",
4.3. コンテナを起動
左下の"><"マークをクリックしてコマンドのリストを表示させます。

リストからReopen in Containerを選択します。

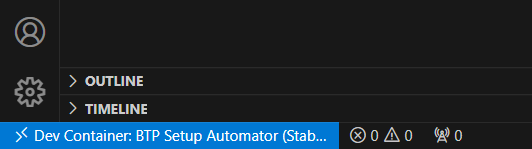
コンテナが起動します。左下に接続先のコンテナが表示されます。
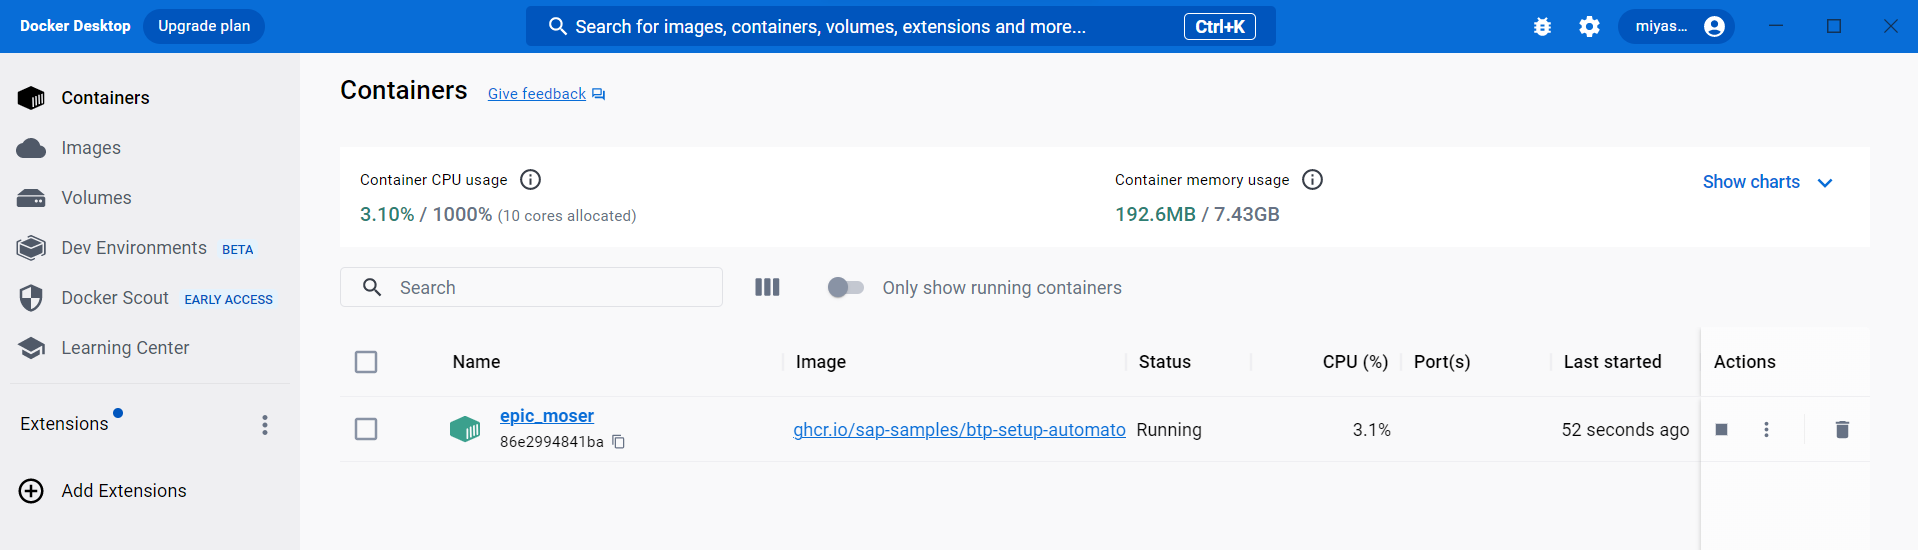
Docker Desktopで見てみると、新しいコンテナが立ち上がっています。
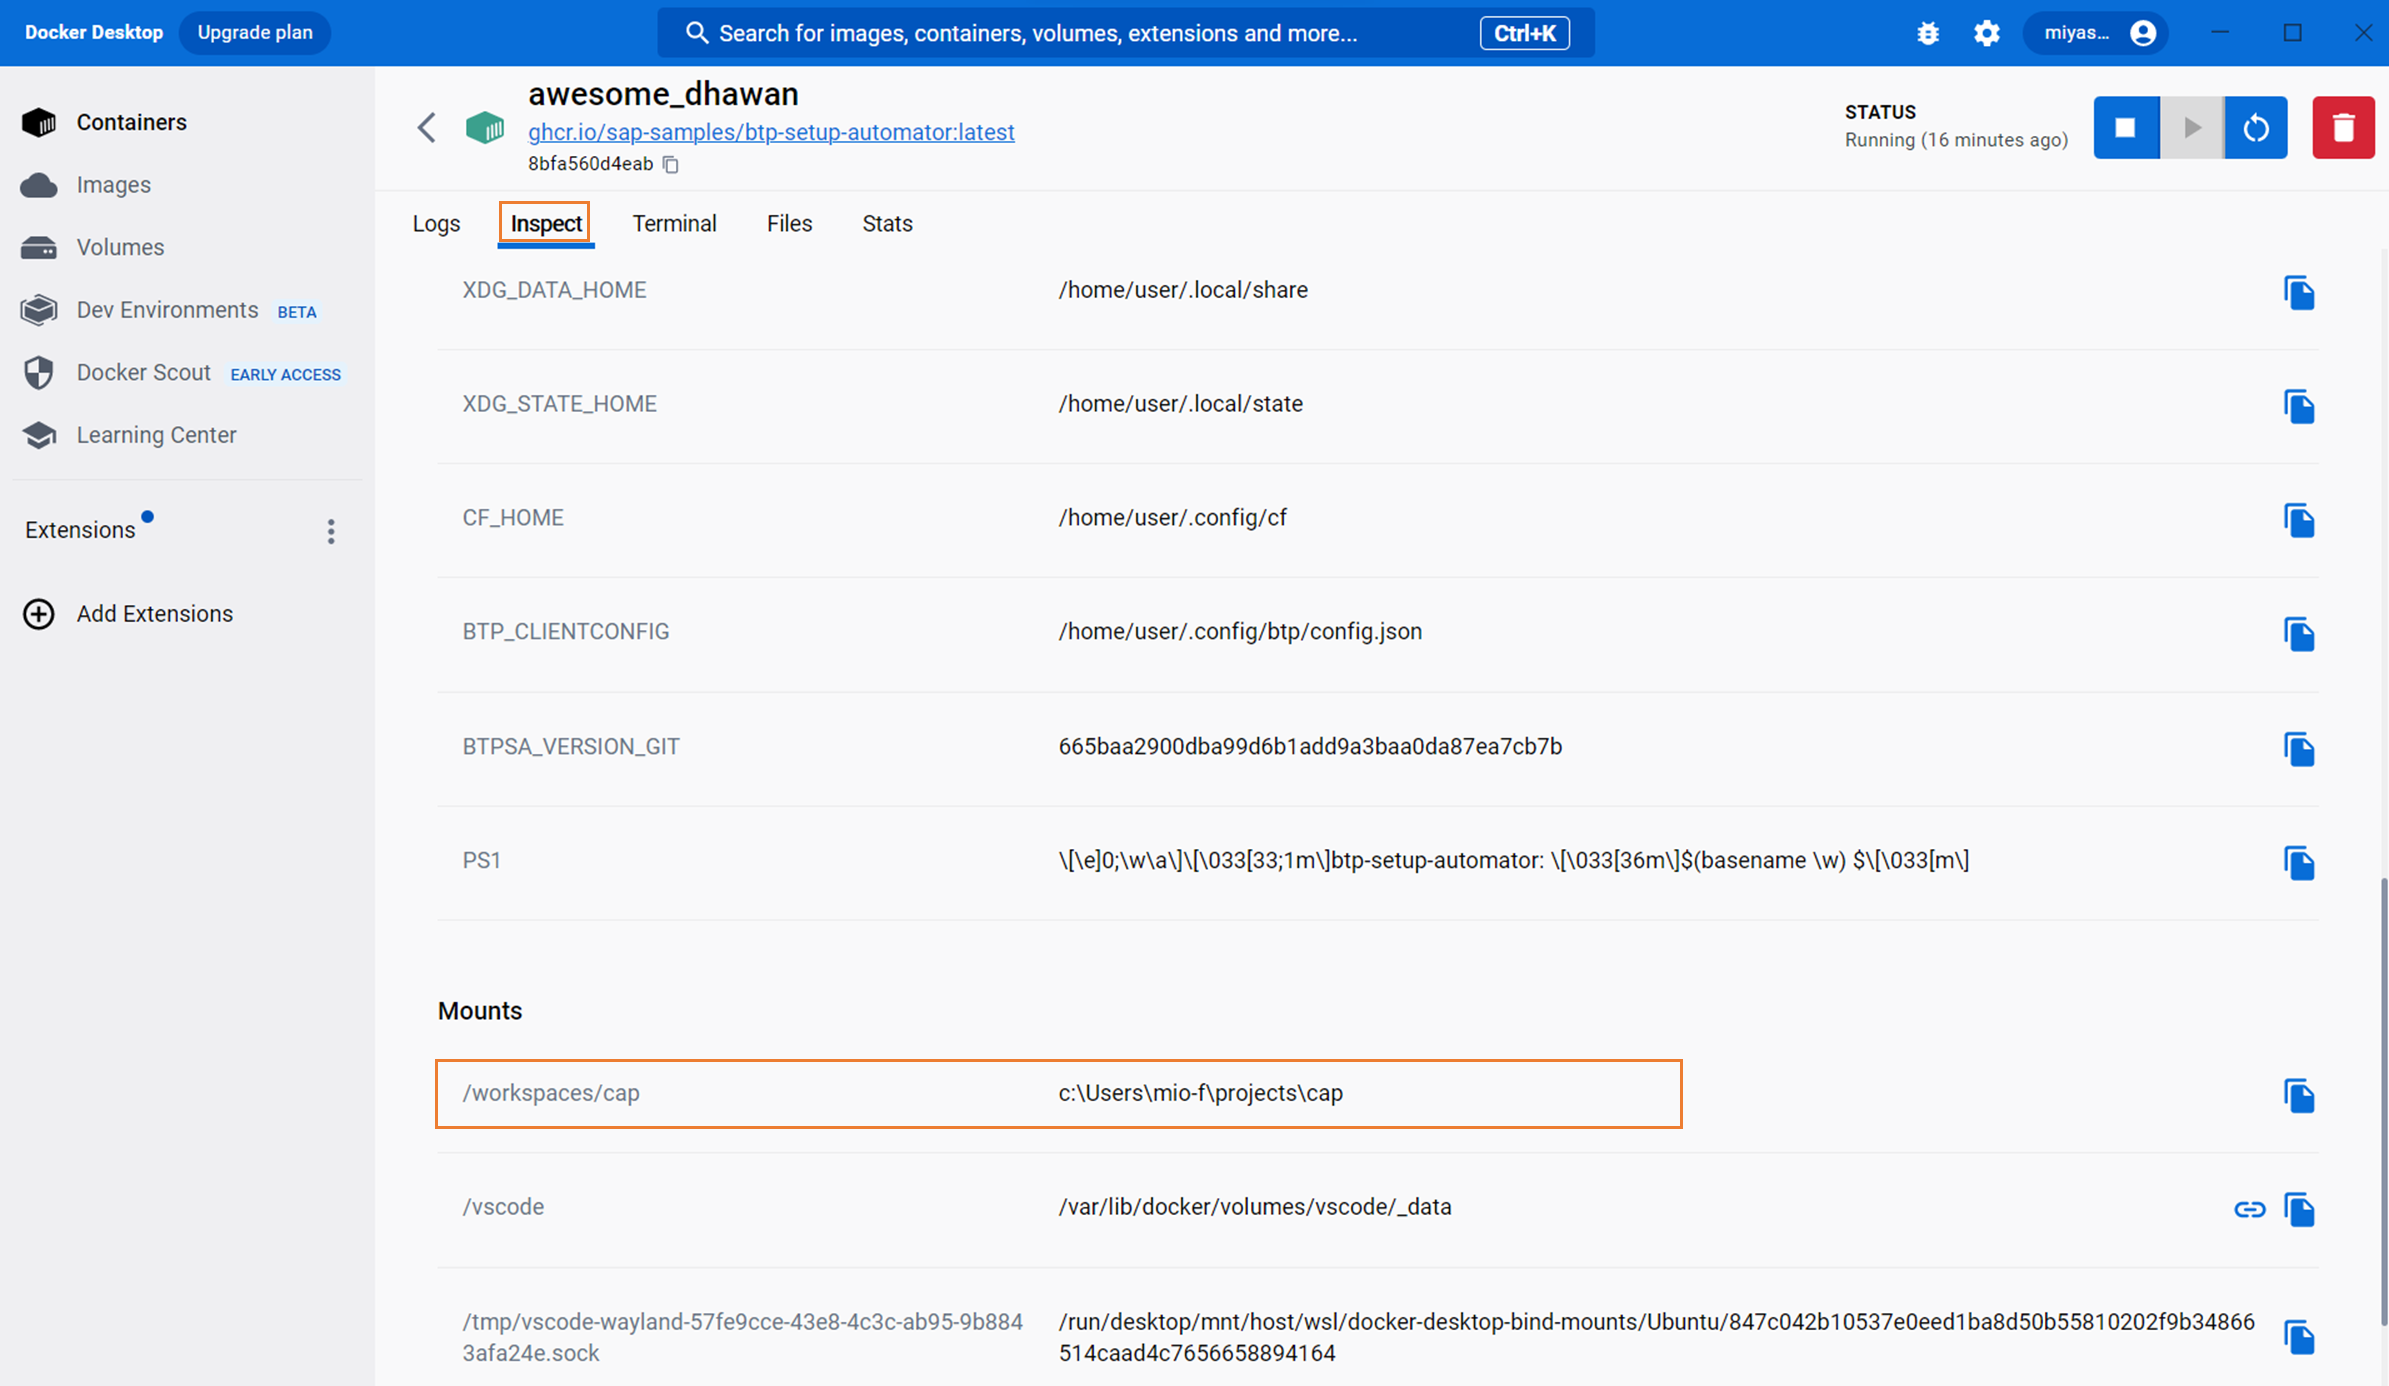
"Inspect"タブで見ると、自分のローカルフォルダが"/workspace/cap"にマウントされていることがわかります。
4.4. CAPプロジェクトを登録
以下のコマンドでCAPのプロジェクトを登録します。
cd cap
cds init cap-sample
cd cap-sample
cds add sample-tiny //サンプルデータモデルを追加
プロジェクトが登録されました。

cds watchで実行すると、いつものようにブラウザからhttp://localhost:4004/でアクセスできます。

4.5. Fiori toolsの追加
CAPだけでなくFioriの開発もしたいので、Fiori toolsの拡張を追加します。
            "extensions": [
                "ms-python.python",
                "ms-python.vscode-pylance",
                "sapse.sap-ux-fiori-tools-extension-pack" //追加
            ]
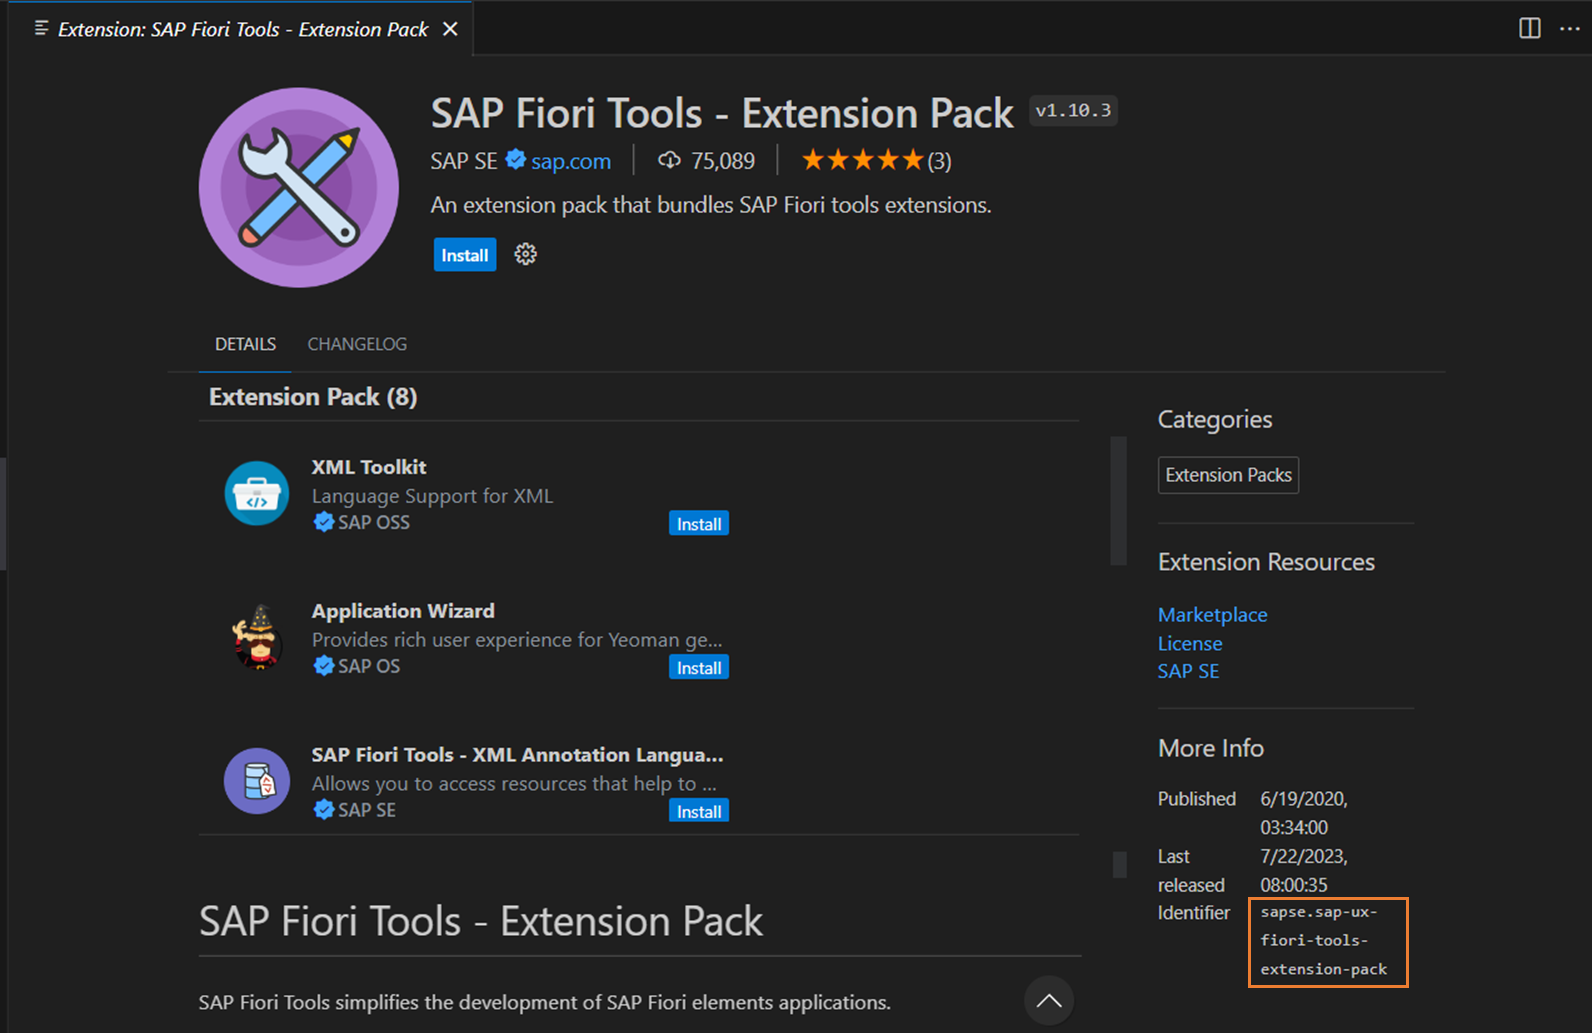
拡張を追加するときは、そのIdentifier(以下の赤枠部分)を指定します。
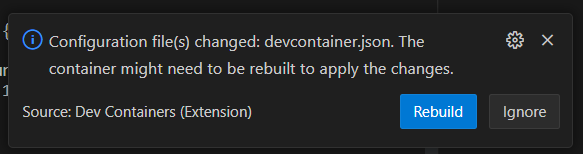
devcontainer.jsonを変更するとコンテナをリビルドするか聞かれるので、"Rebuild"を選択します。
リビルド後、Fiori toolsのコマンドが使えるようになりました。

Application GeneratorでFioriアプリを作成しようとした際、以下のポップアップが出ました。デフォルトで選択されているオプション"Change owner /usr/local/lib to current user"を選択しても何も起こらなかったため、もう一つのオプション"Set generators install location to /home.user/.application_wizard/generators"を選択しました。

このあとはApplication Generatorを起動して普段通りFioriアプリを生成します。

Fioriアプリを実行することができました。

2023/7/28更新
Pythonは使わないため、CAPとFioriの開発のために必要なツールのみ入れた状態が以下になります。
{
    "name": "BTP Setup Automator (Stable)",
    "image": "ghcr.io/sap-samples/btp-setup-automator:latest",
    "customizations": {
        "vscode": {
            "settings": {
            },
            "extensions": [
				"sapse.sap-ux-fiori-tools-extension-pack",
				"humao.rest-client",
				"SAPSE.vscode-cds"
			]
        }
    },
    "remoteUser": "user",
    "postCreateCommand": "cd /workspaces && sudo npm install -g yo generator-easy-ui5",
    "workspaceFolder": "/workspaces"
}
コンテナを使った開発の運用を検討してみる
コンテナを使った開発を今後どうしていくのがよいか、少し考えてみました(用途を個人開発に限定します)。考えられる方法は次の3つです。
①1つの設定で全てのBTP関連プロジェクトを管理
今回作成したルートフォルダにプロジェクトを追加していく方法です。
ルートフォルダ
├── .devcontainer
│   └── devcontainer.json
├── プロジェクト1
├── プロジェクト2
└── プロジェクトN
メリット:devcontainerの設定が1つでよい
デメリット:VS Codeのワークスペースにすべてのプロジェクトが表示され、見づらい
②同時に使用するプロジェクトごとにコンテナを立てる
同時に使用するプロジェクトごとにコンテナを立てる方法です。
プロジェクト1のルートフォルダ
├── .devcontainer
│   └── devcontainer.json
├── プロジェクト1.1
└── プロジェクト1.2

プロジェクト2のルートフォルダ
├── .devcontainer
│   └── devcontainer.json
├── プロジェクト2.1
└── プロジェクト2.2
メリット:ワークスペースが見やすい
デメリット:devcontainerの設定がプロジェクト(群)ごとに必要
③1つの設定で管理し、作業するプロジェクトだけ都度持ってくる
使用しないプロジェクトは「プロジェクトのプール」フォルダに置いておき、作業するプロジェクトだけをルートフォルダに持ってくる方法です。
ルートフォルダ
├── .devcontainer
│   └── devcontainer.json
└── プロジェクト1

プロジェクトのプール(コンテナの外)
├── プロジェクト2
└── プロジェクトN
メリット:devcontainerの設定が1つでよい、ワークスペースが見やすい
デメリット:プロジェクトを移動する手間がかかる
今後運用する中で変わる可能性はありますが、今のところ③の方法がよさそうな気がしています。