こんにちは、初めてのクソアプリアドベントカレンダーに挑戦です。
今回はSwiftUIのアニメーションの勉強がてらクソアプリっぽいネタとして
二次創作などでたまに見かける怪しい「催眠術」アプリっぽいアニメーションを作ってみようと思います。
1. 波紋のアニメーション
私が一番最初に思い浮かんだのは波紋のアニメーション
ChatCPTに相談しつつ作ってみました、まずシンプルに円が広がるイメージです
広がる円のアニメーションを作る
イニシャライザでビュー取りそのビューのスケールアニメーションを行うScalingAnimationViewを作ってみました。
struct ScalingAnimationView<Content: View>: View {
    let content: Content
    @State private var isAnimating = false


    init(@ViewBuilder content: () -> Content) {
        self.content = content()
    }

    var body: some View {
        content
            .scaleEffect(isAnimating ? 10.0 : 1.0)
            .opacity(isAnimating ? 0 : 1)
            .animation(
                Animation.easeOut(duration: 5.0),
                value: isAnimating
            )
            .onAppear {
                isAnimating = true
            }
    }
}

#Preview {
    ScalingAnimationView {
        Circle()
            .stroke(Color.white, lineWidth: 2.0)
            .fill(Color.pink)
            .frame(width: 200, height: 160)
    }
}
ビューの表示時(onAppear)に合わせてisAnimationgの値をtrueにすることで拡大の効果を行うscaleEffectと不透明度を制御するopacityの値を切り替えるだけで簡単に実現できます。
円で波紋のようなアニメーションさせよう
1つだけの円では波紋っぽくないのでこれを複数時間差で表示できるようにします。
イニシャライザで任意のビューをとるRippleAnimationViewを作りました。
このビューはイニシャライザでもらったビューを複数時間差で追加します。
struct RippleAnimationView<Content: View>: View {
    let content: Content
    @State private var isAnimating = false
    @State private var ripples: [UUID] = []

    init(@ViewBuilder content: () -> Content) {
        self.content = content()
    }

    var body: some View {
        ZStack {
            ForEach(ripples, id: \.self) { ripple in
                ScalingAnimationView {
                    content
                }
            }
        }
        .onAppear {
            isAnimating = true
            Timer.scheduledTimer(withTimeInterval: 0.3, repeats: true) { _ in
                ripples.append(UUID())
                DispatchQueue.main.asyncAfter(deadline: .now() + 5.0) {
                    if ripples.count > 0 {
                        ripples.removeFirst()
                    }
                }
            }
        }
    }
}

#Preview {
    RippleAnimationView {
        Circle()
            .stroke(Color.white, lineWidth: 2.0)
            .fill(Color.pink)
            .frame(width: 200, height: 160)
    }
}
当初頭に浮かんだぽわわ〜んとした効果と近いものが作れたと思います。
円を別の図形にしてみよう
円以外の図形についても対応しているので変えてみます。
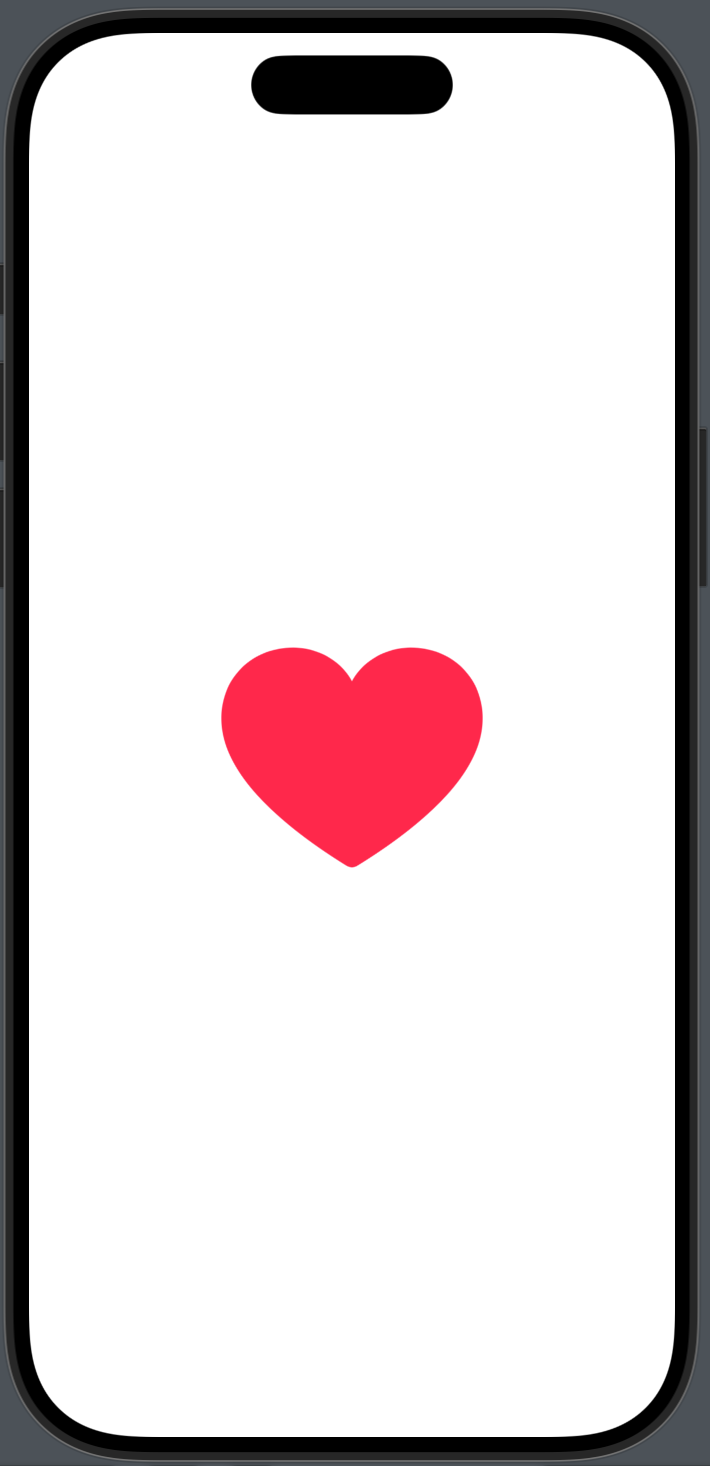
SwiftUIでは矩形としてRectangleなども用意されていますがカスタムの図形で試してみたいのでハートを描くことにします。
SwiftUIでカスタムの図形を描く場合はShapeプロトコルに準拠する型を用意しpathメソッドを実装します。

import SwiftUI

struct Heart: Shape {
    func path(in rect: CGRect) -> Path {
        var path = Path()
        let width = rect.size.width
        let height = rect.size.height
        path.move(to: CGPoint(x: 0.49978*width, y: 0.07254*height))
        path.addCurve(to: CGPoint(x: 0.51669*width, y: 0.07909*height), control1: CGPoint(x: 0.50542*width, y: 0.07254*height), control2: CGPoint(x: 0.51192*width, y: 0.07557*height))
        path.addCurve(to: CGPoint(x: 0.90637*width, y: 0.65139*height), control1: CGPoint(x: 0.74209*width, y: 0.2539*height), control2: CGPoint(x: 0.90637*width, y: 0.45038*height))
        path.addCurve(to: CGPoint(x: 0.68184*width, y: 0.92746*height), control1: CGPoint(x: 0.90637*width, y: 0.81209*height), control2: CGPoint(x: 0.81058*width, y: 0.92746*height))
        path.addCurve(to: CGPoint(x: 0.49978*width, y: 0.79597*height), control1: CGPoint(x: 0.60728*width, y: 0.92746*height), control2: CGPoint(x: 0.53316*width, y: 0.87607*height))
        path.addCurve(to: CGPoint(x: 0.31816*width, y: 0.92746*height), control1: CGPoint(x: 0.46684*width, y: 0.87607*height), control2: CGPoint(x: 0.39272*width, y: 0.92746*height))
        path.addCurve(to: CGPoint(x: 0.09363*width, y: 0.65139*height), control1: CGPoint(x: 0.18942*width, y: 0.92746*height), control2: CGPoint(x: 0.09363*width, y: 0.81209*height))
        path.addCurve(to: CGPoint(x: 0.48288*width, y: 0.07909*height), control1: CGPoint(x: 0.09363*width, y: 0.45038*height), control2: CGPoint(x: 0.25791*width, y: 0.2539*height))
        path.addCurve(to: CGPoint(x: 0.49978*width, y: 0.07254*height), control1: CGPoint(x: 0.48808*width, y: 0.07557*height), control2: CGPoint(x: 0.49458*width, y: 0.07254*height))
        path.closeSubpath()

        // 垂直方向の反転変換を適用
        let flip = CGAffineTransform(scaleX: 1, y: -1).translatedBy(x: 0, y: -height)
        path = path.applying(flip)

        return path
    }
}

#Preview {
    Heart()
        .stroke(Color.white, lineWidth: 10.0)
        .fill(Color.pink)
        .frame(width: 200, height: 160)
}
波紋のアニメーションをさせてみましょう。
#Preview {
    RippleAnimationView {
        Heart()
            .stroke(Color.white, lineWidth: 2.0)
            .fill(Color.pink)
            .frame(width: 200, height: 160)
    }
}
だいぶ胡散臭い感じになってきて良いですね。
2. 振り子
催眠術といえば振り子も定番の表現ではないでしょうか、こちらも作っていきましょう
糸に吊るした五円玉のイメージでビューを作成しました。
struct PendulumView: View {
    @State private var angle: Double = -15 // 初期角度(左に傾ける)

    var body: some View {
        ZStack {
            // 振り子全体
            VStack(spacing: 0) {
                // 糸(直線)
                Rectangle()
                    .fill(Color.white)
                    .frame(width: 4, height: 500) // 糸の長さと幅
                    .border(Color.black, width: 1)
                // コイン
                Coin()
                Spacer()
            }
            .rotationEffect(Angle(degrees: angle), anchor: .top) // 回転させる
        }
        .onAppear {
            // アニメーションを開始
            withAnimation(.easeInOut(duration: 1.5)
                .repeatForever(autoreverses: true)) {
                angle = 15 // 右に傾ける角度
            }
        }
    }

    @ViewBuilder
    private func Coin() -> some View {
        ZStack {
            Circle()
                .fill(.yellow)
                .frame(width: 150, height: 150)
            Circle()
                .stroke(.black, lineWidth: 3)
                .frame(width: 140, height: 140)
            Circle()
                .stroke(.black, lineWidth: 1)
                .frame(width: 50, height: 50)
            Circle()
                .fill(.black)
                .frame(width: 40, height: 40)
        }
    }
}

#Preview {
    PendulumView()
}
今回のアニメーションのポイントとしてはrotationEffectとwithAnimationで指定しているrepeatForever(autoreverses: true)で振り子のように繰り返す回転運動を続けるように設定しています
3. らせんのアニメーション
最後にこちらも定番の表現であるらせん🌀を作ってみましょう。
らせんを作る
ハートと同様にカスタムの図形として螺旋を作ります。

struct Spiral: Shape {
    func path(in rect: CGRect) -> Path {

        var path = Path()

        let center = CGPoint(x: rect.midX, y: rect.midY)
        // 渦巻きの形状を計算
        let maxTheta = 15.0 * 2.0 * .pi
        let steps = 1000

        for i in 0..<steps {
            let subProgress = CGFloat(i) / CGFloat(steps - 1)
            let theta = maxTheta * subProgress
            let radius = 450 * subProgress

            let x = center.x + radius * cos(theta)
            let y = center.y + radius * sin(theta)

            if i == 0 {
                path.move(to: CGPoint(x: x, y: y))
            } else {
                path.addLine(to: CGPoint(x: x, y: y))
            }
        }

        return path
    }
}

#Preview {
    Spiral()
        .stroke(Color.pink, lineWidth: 20 * progress)
        .frame(width: 600, height: 600)
}
一応らせんを描くことはできました。しかしこの図形は一度にらせんが描画されるので徐々に広がるらせんを描くことができていません。
らせんのアニメーション
前述したSpiralにうずが描かれるアニメーションを表示されるようにしてみます。
struct Spiral: Shape {

    var progress: CGFloat

    // アニメーションの更新を可能にするためのプロパティ
    var animatableData: CGFloat {
        get { progress }
        set { progress = newValue }
    }

    func path(in rect: CGRect) -> Path {
        var path = Path()

        guard progress > 0 else {
            return path
        }

        let center = CGPoint(x: rect.midX, y: rect.midY)
        // 渦巻きの形状を計算
        let maxTheta = 15.0 * 2.0 * .pi
        let steps = Int(1000 * progress)

        for i in 0..<steps {
            let subProgress = CGFloat(i) / CGFloat(steps - 1) * progress
            let theta = maxTheta * subProgress
            let radius = 450 * subProgress

            let x = center.x + radius * cos(theta)
            let y = center.y + radius * sin(theta)

            if i == 0 {
                path.move(to: CGPoint(x: x, y: y))
            } else {
                path.addLine(to: CGPoint(x: x, y: y))
            }
        }

        return path
    }
}
ポイントとしてはanimatableDataプロパティを追加し、progressに応じて描画を変化させるようにしています。
これだけではまだアニメーションさせるのには足りないので以下のようにprogressを与えるビューを作りました。
// 渦巻きの描画をprogressに従いでアニメーションさせる
struct SpiralDrawingAnimationView: View {
    @State private var progress: CGFloat = 0.0

    var body: some View {
        ZStack {
            Spiral(progress: progress)
                .stroke(Color.white, lineWidth: 20 * progress)
                .frame(width: 600, height: 600)
                .animation(.linear(duration: 5).repeatForever(autoreverses: true), value: progress)
                .onAppear {
                    progress = 1.0
                }
        }
    }
}

#Preview {
    ZStack {
        Color.black.ignoresSafeArea(.all)
        SpiralDrawingAnimationView()
    }
}
4. らせんの軌跡で動くテキストアニメーション
らせんのアニメーションを作った段階で「ぐるぐる動く文字欲しいな?🤔」となってきたのでこれも作ってみることにしました
struct SpiralMotionView<Content: View>: View {
    struct AnimationValue {
        var position: CGPoint = .init(x: 150, y: 150)
    }
    let content: Content
    @State var angle: CGFloat = 0.0
    @Binding var isPresented: Bool

    init(
        isPresented: Binding<Bool>,
        @ViewBuilder content: () -> Content
    ) {
        self.content = content()
        self._isPresented = isPresented
    }

    var body: some View {
        GeometryReader { geometry in
            content
                .keyframeAnimator(
                    initialValue: AnimationValue(position: .init(x: geometry.size.width/2, y: geometry.size.height/2))
                ) { content, value in
                    // 初期値の設定
                    content.position(value.position)
                } keyframes: { value in
                    KeyframeTrack(\.position) {
                        for point in Self.makePoints(rect: .init(origin: .zero, size: geometry.size)) {
                            CubicKeyframe(
                                point.0,
                                duration: point.1
                            )
                        }
                    }
                }
        }
    }

    private static func makePoints(rect: CGRect) -> [(CGPoint, CGFloat)] {
        var points: [(CGPoint, CGFloat)] = []
        for value in stride(from: 0.0, to: 1.1, by: 0.01) {
            let point = position(rect: rect, progress: value)
            points.append((point, value))
        }
        return points
    }

    private static func position(rect: CGRect, progress: CGFloat) -> CGPoint {
        let center = CGPoint(x: rect.midX, y: rect.midY)
        // 渦巻きの形状を計算
        let turns = 15.0 * progress
        let theta = turns * 2.0 * .pi
        let radius = rect.width * progress

        let x = center.x + radius * cos(theta)
        let y = center.y + radius * sin(theta)

        let point = CGPoint(x: x, y: y)
        return point
    }

}

#Preview {
    @Previewable @State var isPresented: Bool = true
    SpiralMotionView(isPresented: $isPresented) {
        Text("Sample")
    }
}
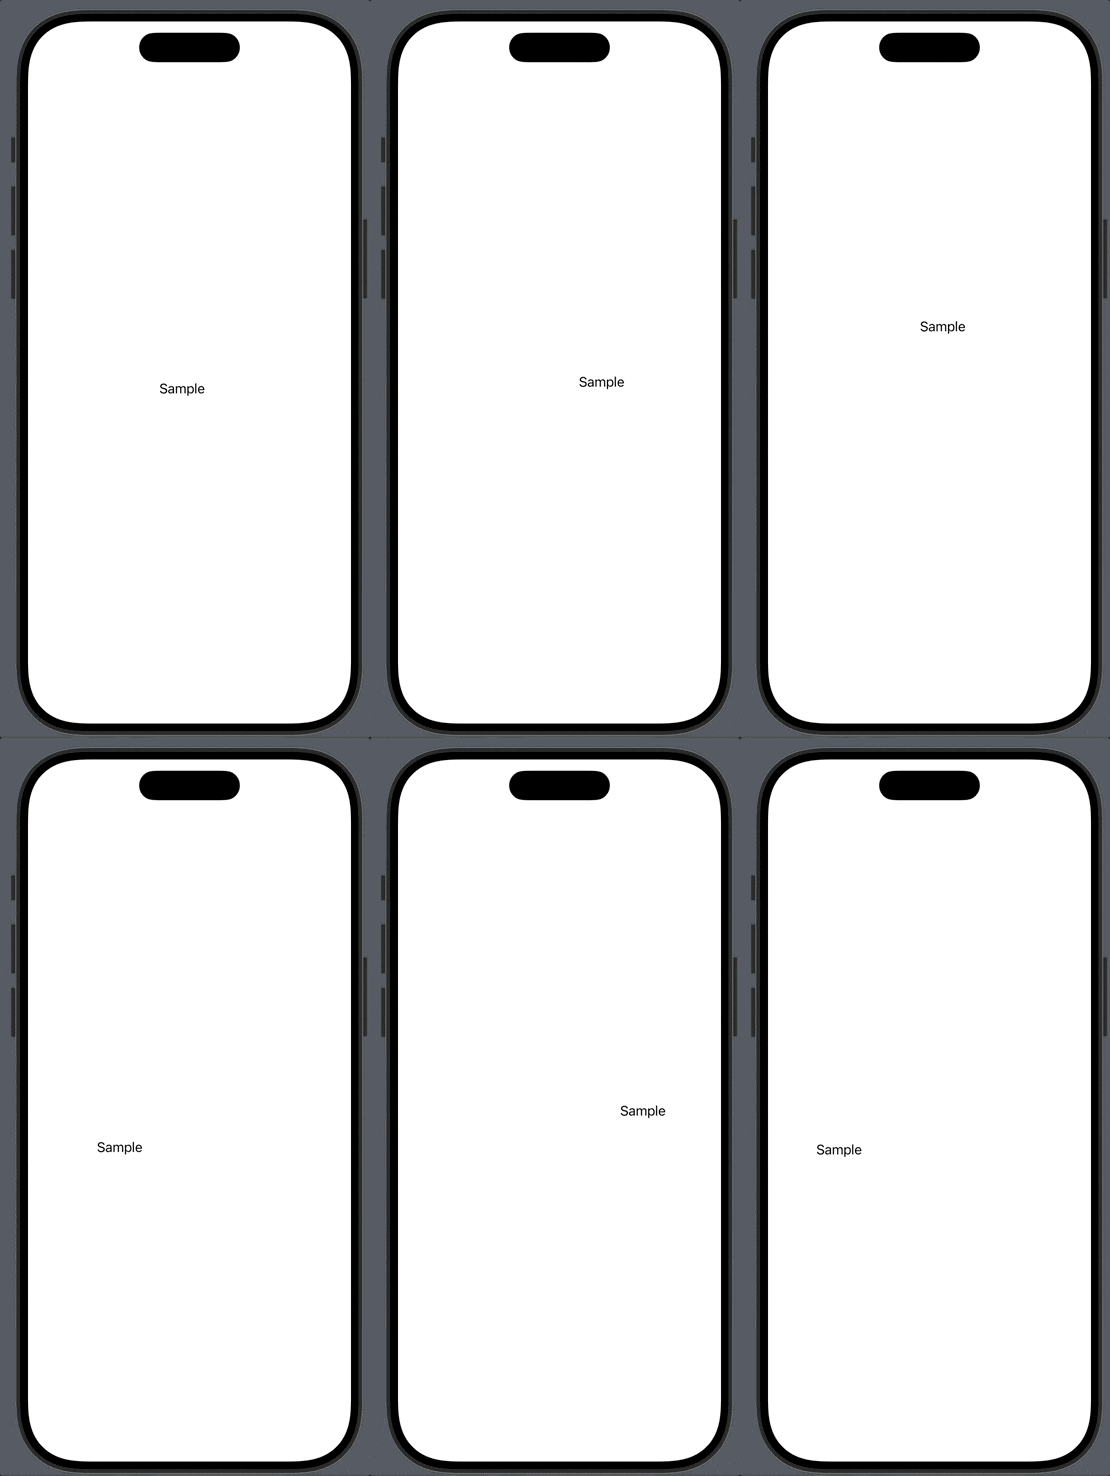
positionメソッドの中身は前述したSpiralのものを流用しつつ、この例ではらせんの軌道上のテキストの位置を算出した上でKeyframeAnimatorを使ってアニメーションさせるようにしています。KeyframeAnimatorはiOS17から使えるようになった比較的新しいAPIのためかChatGPTの吐くコードは参考にならなかったのでApple公式のドキュメントやサンプルを参考に手元で色々試してみる必要がありました😅
作ったビューを組み合わせる(デモ)
ここまでに作ったビューでそれっぽいものが作れそう!
あとはこれらまとめてボタンタップによって時間差で表示したり非表示にしたりしてたものがこちらです。
悪くない、だいぶ胡散臭さがあって当初の目的は概ね達成できた気がします。
終わりに
ChatGPTの力を借りつつSwiftUIのアニメーションについて色々な機能を試してみることができました、実際にこれらのアニメーションを使ったアプリを申請に出すかどうかは検討中です。もっとアニメーションの種類やパラメタを調整してもう少し幅を持たせて楽しめるようにしたいですね。
おまけ
アプリを出すにしてもジョークアプリなのでどんなアプリであるかをApp Storeの審査時に説明する必要があるので悩ましいところです。催眠術できるものにはなり得ないので瞑想(メディテーション)アプリかなー?とか話してたらこんなアイディアをもらいました。
ウェルビーイングにするといいよ
お前それなんでもありじゃん。


