この記事は React Native Advent Calendar 2021 の21日目の記事です。
少し前に Twitter で Liquid Swipe の映像を見て興味を持ったのですが、 React Native での実装を YouTube で紹介してくださっている方がいらっしゃいました。
この動画を見ながら実装すれば、 Liquid Swipe を実現できるのですが、仕組みがあまりわかリませんでした。
この記事では Liquid Swipe の実装に使用されている技術について、紹介しようと思います。
ちなみに動画を見ながら実装したものがこちらになります

採用されている技術
React Native SVG
この Liquid Swipe では、 SVG の Paths が使用されています。
SVG の Paths を使えば、直線、曲線などを表現し、図形を作成することができます。
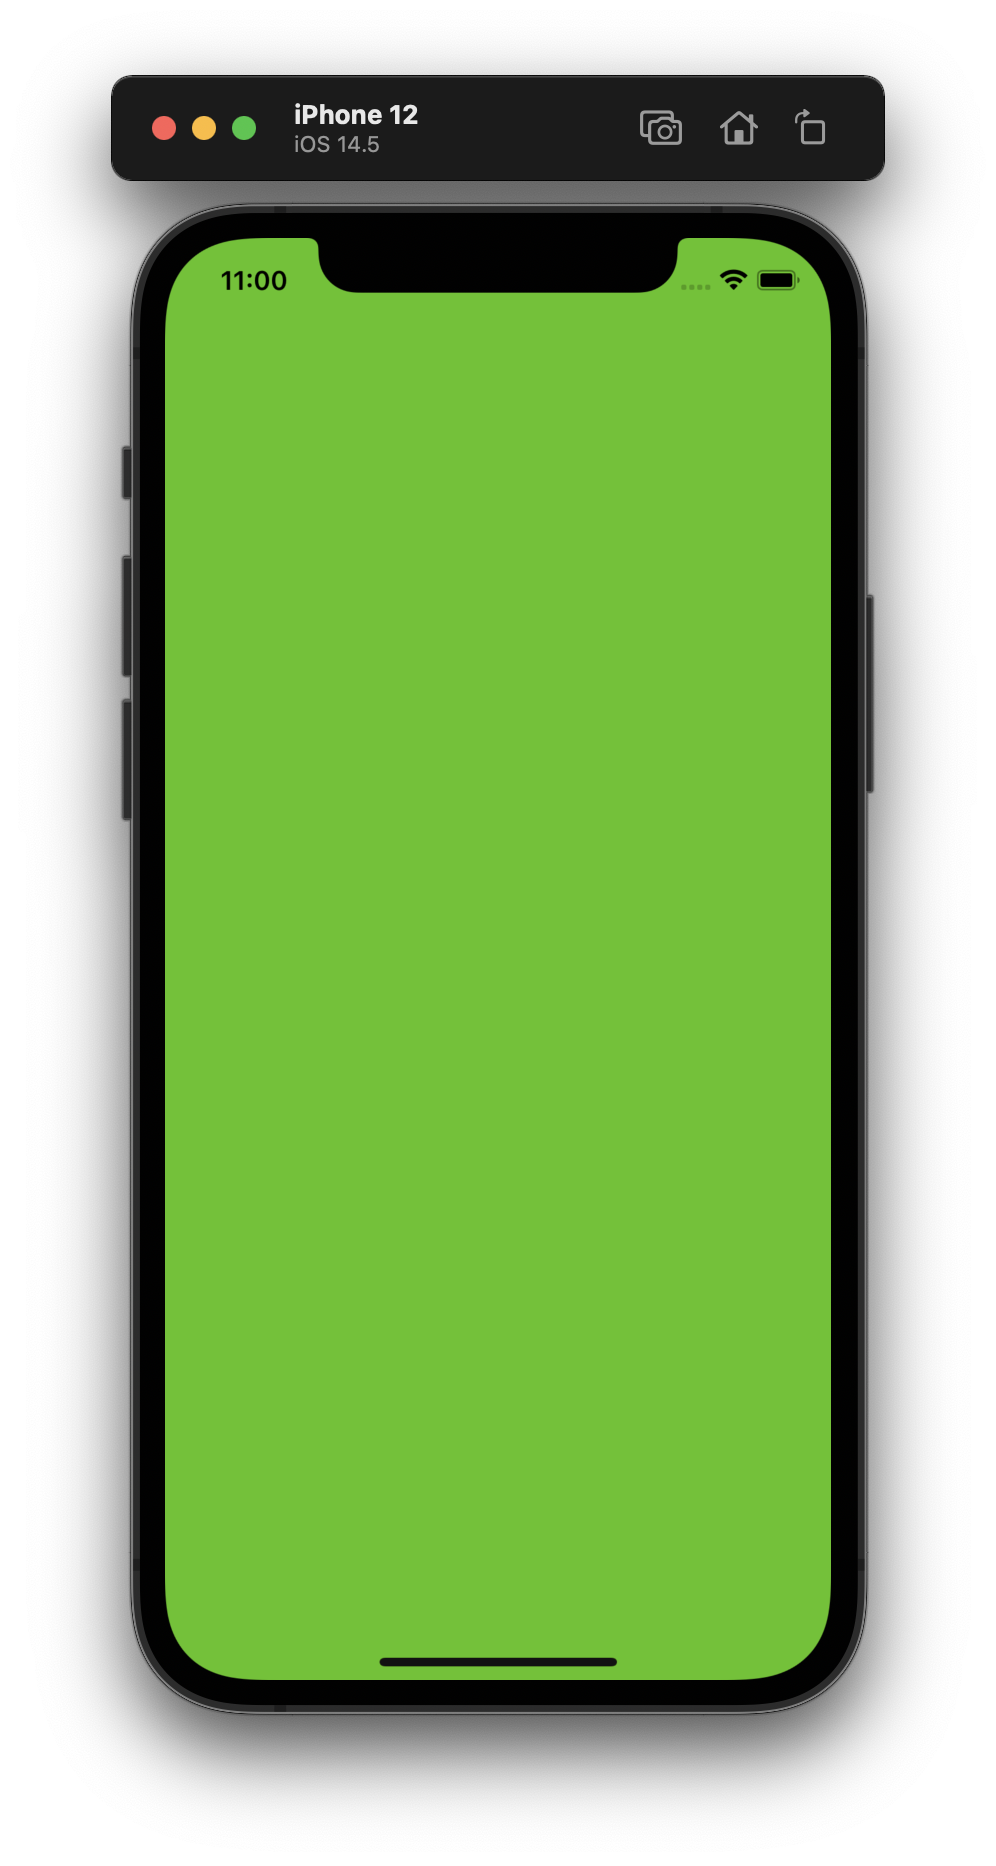
以下のコードで、画面上に正方形を表示することができます。
import Svg, {Path} from 'react-native-svg';
import {StyleSheet} from 'react-native';

const Example = () => {
  return (
    <Svg style={StyleSheet.absoluteFill}>
      <Path d="M 0 0 H 200 V 200 H 0 L 0 0" fill="#55C500" />
    </Svg>
  );
};

Dimensions を使用すれば、図形を画面いっぱいに表示することができます。
import Svg, {Path} from 'react-native-svg';
import {Dimensions, StyleSheet} from 'react-native';

const Example = () => {
  const {width, height} = Dimensions.get('screen');

  return (
    <Svg style={StyleSheet.absoluteFill}>
      <Path d={`M 0 0 H ${width} V ${height} H 0 L 0 0`} fill="#55C500" />
    </Svg>
  );
};
Liquid Swipe ではベジェ曲線を使用しています。
MDN web docs にベジェ曲線の使い方など詳しく書かれているので、ご参考ください。
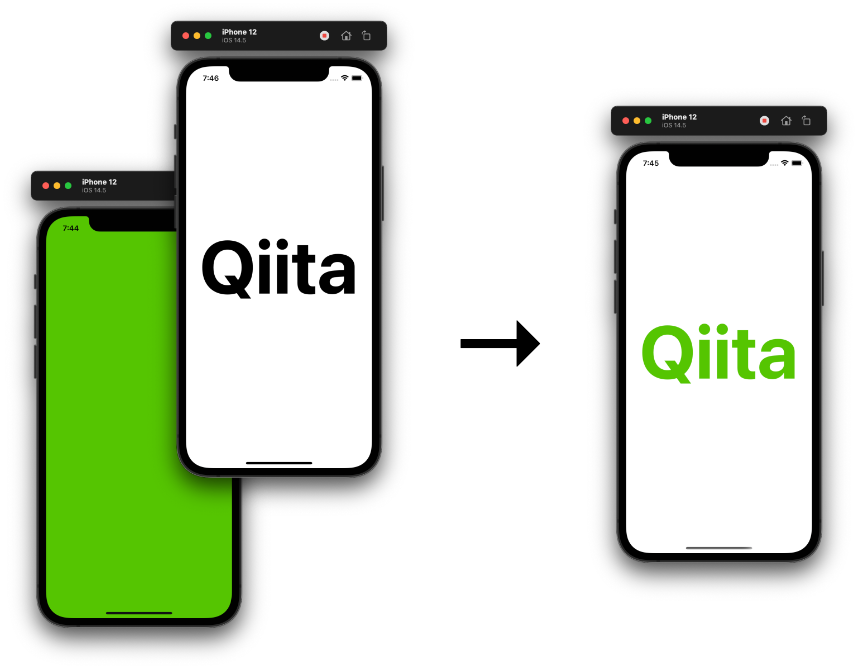
React Native MaskedView
この Liquid Swipe では、 SVG を使用してマスクする実装がなされています。
README のサンプルコードにもありますが、背景色が設定されている画面を、文字列が書かれた画面でマスクすることで、背景に設定した色で文字列が浮かび上がります。
import {StyleSheet, Text, View} from 'react-native';
import MaskedView from '@react-native-masked-view/masked-view';

const Example = () => {
  const maskElement = (
    <View
      style={
        (StyleSheet.absoluteFill,
        {flex: 1, alignItems: 'center', justifyContent: 'center'})
      }>
      <Text style={{fontSize: 156, fontWeight: 'bold'}}>Qiita</Text>
    </View>
  );

  return (
    <MaskedView style={StyleSheet.absoluteFill} maskElement={maskElement}>
      <View style={[StyleSheet.absoluteFill, {backgroundColor: '#55C500'}]} />
    </MaskedView>
  );
};
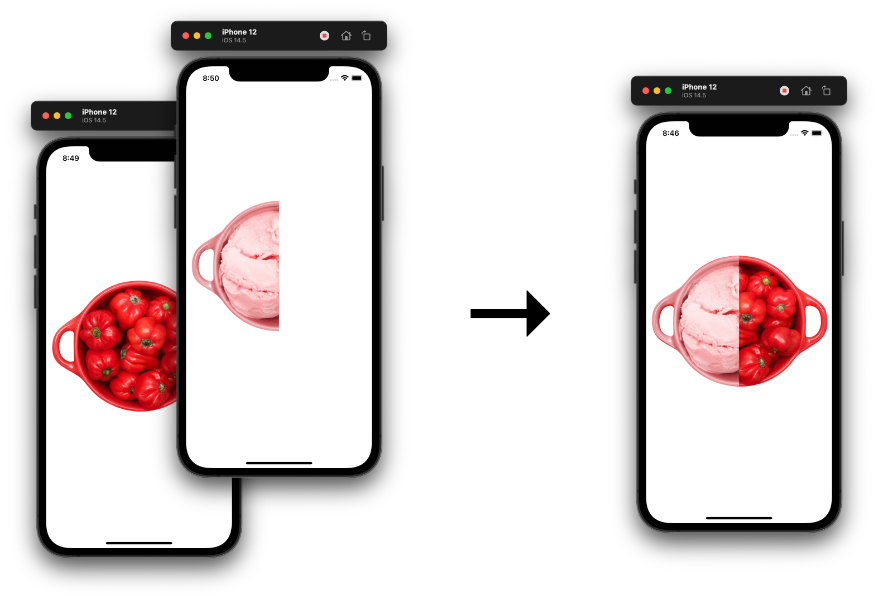
maskElement には SVG で作成した図形も設定することができます。
以下のコードで、下にある画像を半分だけマスクして、別の画像を表示させることができます。
import Svg, {Path} from 'react-native-svg';
import {Dimensions, Image, StyleSheet} from 'react-native';
import MaskedView from '@react-native-masked-view/masked-view';

const Example = () => {
  const {width, height} = Dimensions.get('screen');

  const maskElement = (
    <Svg style={StyleSheet.absoluteFill}>
      <Path d={`M 0 0 H ${width / 2} V ${height} H 0 L 0 0`} fill="black" />
    </Svg>
  );

  return (
    <>
      <Image
        style={{width: '100%'}}
        source={require('../assets/2.png')}
        resizeMode="contain"
      />
      <MaskedView style={StyleSheet.absoluteFill} maskElement={maskElement}>
        <Image
          style={{width: '100%'}}
          source={require('../assets/1.png')}
          resizeMode="contain"
        />
      </MaskedView>
    </>
  );
};
React Native Reanimated
この Liquid Swipe では、 SVG の Path に Reanimated が使用されていて、マスク範囲を動的に変更しています。
以下のコードで、 Button を押すたびに Path の横幅を動的に変更できます。
import Svg, {Path} from 'react-native-svg';
import {Button, Dimensions, Image, StyleSheet, View} from 'react-native';
import MaskedView from '@react-native-masked-view/masked-view';
import Animated, {
  useAnimatedProps,
  useSharedValue,
} from 'react-native-reanimated';

const Example = () => {
  const {width, height} = Dimensions.get('screen');
  const randomWidth = useSharedValue(100);
  const AnimatedPath = Animated.createAnimatedComponent(Path);
  const animatedProps = useAnimatedProps(() => {
    return {
      d: `M 0 0 H ${randomWidth.value} V ${height} H 0 L 0 0`,
    };
  });
  const maskElement = (
    <Svg style={StyleSheet.absoluteFill}>
      <AnimatedPath fill="black" animatedProps={animatedProps} />
    </Svg>
  );

  return (
    <>
      <Image
        resizeMode="contain"
        source={require('../assets/2.png')}
        style={{width: '100%'}}
      />
      <MaskedView style={StyleSheet.absoluteFill} maskElement={maskElement}>
        <Image
          resizeMode="contain"
          source={require('../assets/1.png')}
          style={{width: '100%'}}
        />
      </MaskedView>
      <View
        style={{
          position: 'absolute',
          top: 600,
          right: 0,
          bottom: 0,
          left: 0,
          justifyContent: 'center',
          alignItems: 'center',
        }}>
        <View style={{backgroundColor: '#55C500', borderRadius: 4, width: 200}}>
          <Button
            color="white"
            onPress={() => {
              randomWidth.value = Math.random() * width;
            }}
            title="Button"
          />
        </View>
      </View>
    </>
  );
};

React Native Gesture Handler
この Liquid Swipe では、 Gesture Handler をフックして、 Reanimated でラップした Path を動的に変更しています。
以下のコードで、スクロールした分だけマスク範囲を広げたり、狭めたりすることができます。
import Svg, {Path} from 'react-native-svg';
import {Dimensions, Image, StyleSheet} from 'react-native';
import MaskedView from '@react-native-masked-view/masked-view';
import Animated, {
  useAnimatedGestureHandler,
  useAnimatedProps,
  useSharedValue,
} from 'react-native-reanimated';
import {PanGestureHandler} from 'react-native-gesture-handler';

const Example = () => {
  const {height} = Dimensions.get('screen');
  const maskedWidth = useSharedValue(10);

  const AnimatedPath = Animated.createAnimatedComponent(Path);
  const animatedProps = useAnimatedProps(() => {
    return {
      d: `M 0 0 H ${maskedWidth.value} V ${height} H 0 L 0 0`,
    };
  });

  const onGestureEvent = useAnimatedGestureHandler({
    onStart: ({x}) => {
      maskedWidth.value = x;
    },
    onActive: ({x}) => {
      maskedWidth.value = x;
    },
    onEnd: ({x}) => {
      maskedWidth.value = x;
    },
  });

  const maskElement = (
    <Svg style={StyleSheet.absoluteFill}>
      <AnimatedPath fill="black" animatedProps={animatedProps} />
    </Svg>
  );

  return (
    <PanGestureHandler onGestureEvent={onGestureEvent}>
      <Animated.View style={StyleSheet.absoluteFill}>
        <Image
          resizeMode="contain"
          source={require('../assets/2.png')}
          style={{width: '100%'}}
        />
        <MaskedView style={StyleSheet.absoluteFill} maskElement={maskElement}>
          <Image
            resizeMode="contain"
            source={require('../assets/1.png')}
            style={{width: '100%'}}
          />
        </MaskedView>
      </Animated.View>
    </PanGestureHandler>
  );
};
最後に
基本的には以上4つの技術を使用して、 Liquid Swipe が実装されます。
アニメーションの効果を調整したり、 SVG の Path を曲線で表現したりすることで、 Liquid Swipe が実現します。
自分は上記の4つの技術を理解して、もう一度実装したことで理解が深まりました。
React Native で Liquid Swipe を実装するときに、ぜひ4つの技術について見てみてください。