ThinkPad X1 Carbon で Red Hat Enterprise Linux のインストーラーを起動する方法をメモっとく。Fedora Media Writer を使用して Red Hat Enterprise Linux のインストール USB を作成するの続き。
今回は ThinkPad X1 Carbon(2017モデル)のカスタマイズモデルを対象とする。なお ThinkPad X1 Carbon 20HRCTO1WW Core i7・8GBメモリー・256GB SSD搭載 価格.com限定 ハイエンドパッケージをベースモデルとしてカスタマイズしている。
ThinkPad X1 Carbon 詳細仕様
今回 Red Hat Enterprise Linux をインストールする端末は下記のような ThinkPad X1 Carbon(2017モデル)のカスタマイズモデルである。
- Machine Type: 20HR
- Processor: Intel Core i7-7500U
- Display: 14.0" WQHD (2560 x 1440) IPS anti-glare non-touch
- Graphics: Intel HD Graphics 620
- Camera: HD 720p
- Memory: 16 GB LPDDR3 1866 MHz
- Storage: 256GB SSD PCIe-NVMe OPAL2
- Keyboard: US layout
Red Hat Enterprise Linux のインストーラーを起動する
- Red Hat Enterprise Linux のインストール USB を接続する
- ThinkPad X1 Carbon を起動する
- ロゴ画面で F12 キーを押下する
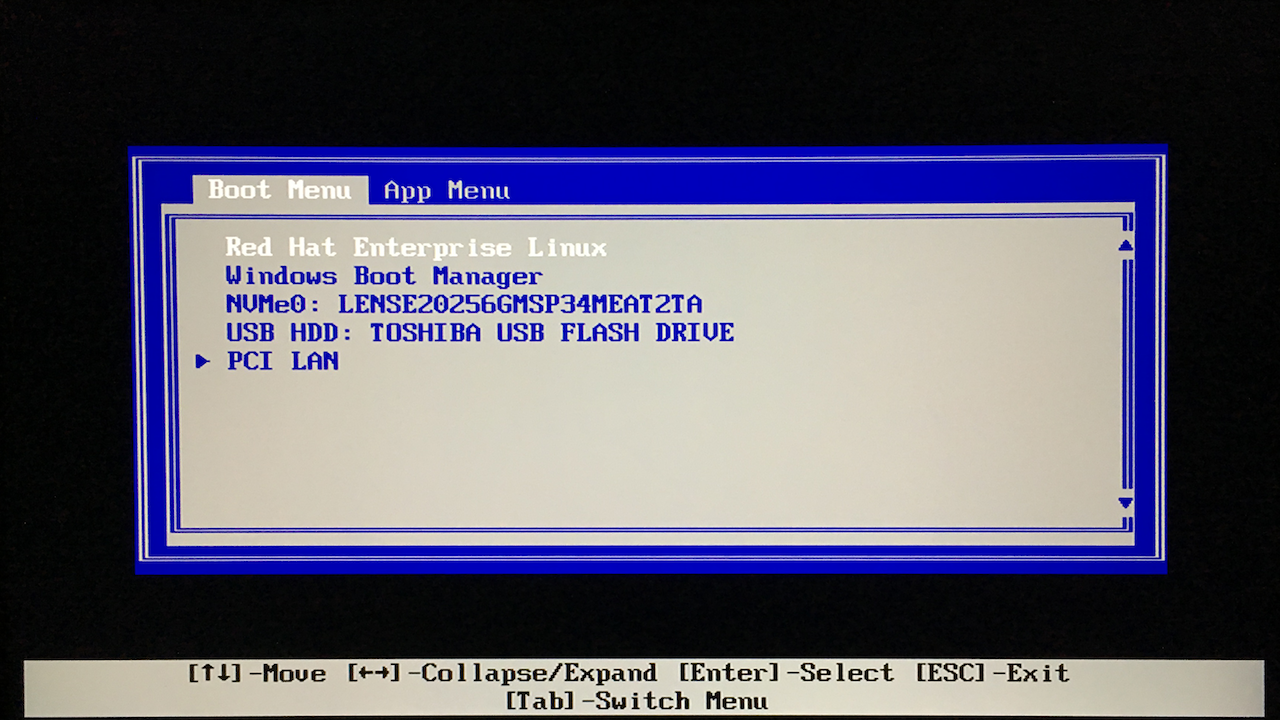
- Boot Menu が起動したら、カーソルキーで USB HDD を選択して Enter を押下する
これで Red Hat Enterprise Linux のインストーラーが起動する。
今回は Red Hat Enterprise Linux のインストーラーを起動するところまで説明した。次回は Red Hat Enterprise Linux をインストールする方法を説明する。
参考文献
http://kakaku.com/item/K0000956105/
https://support.lenovo.com/jp/en/solutions/x1-carbon-help
https://download.lenovo.com/pccbbs/mobiles_pdf/x1_carbon_5th_ug_ja.pdf
