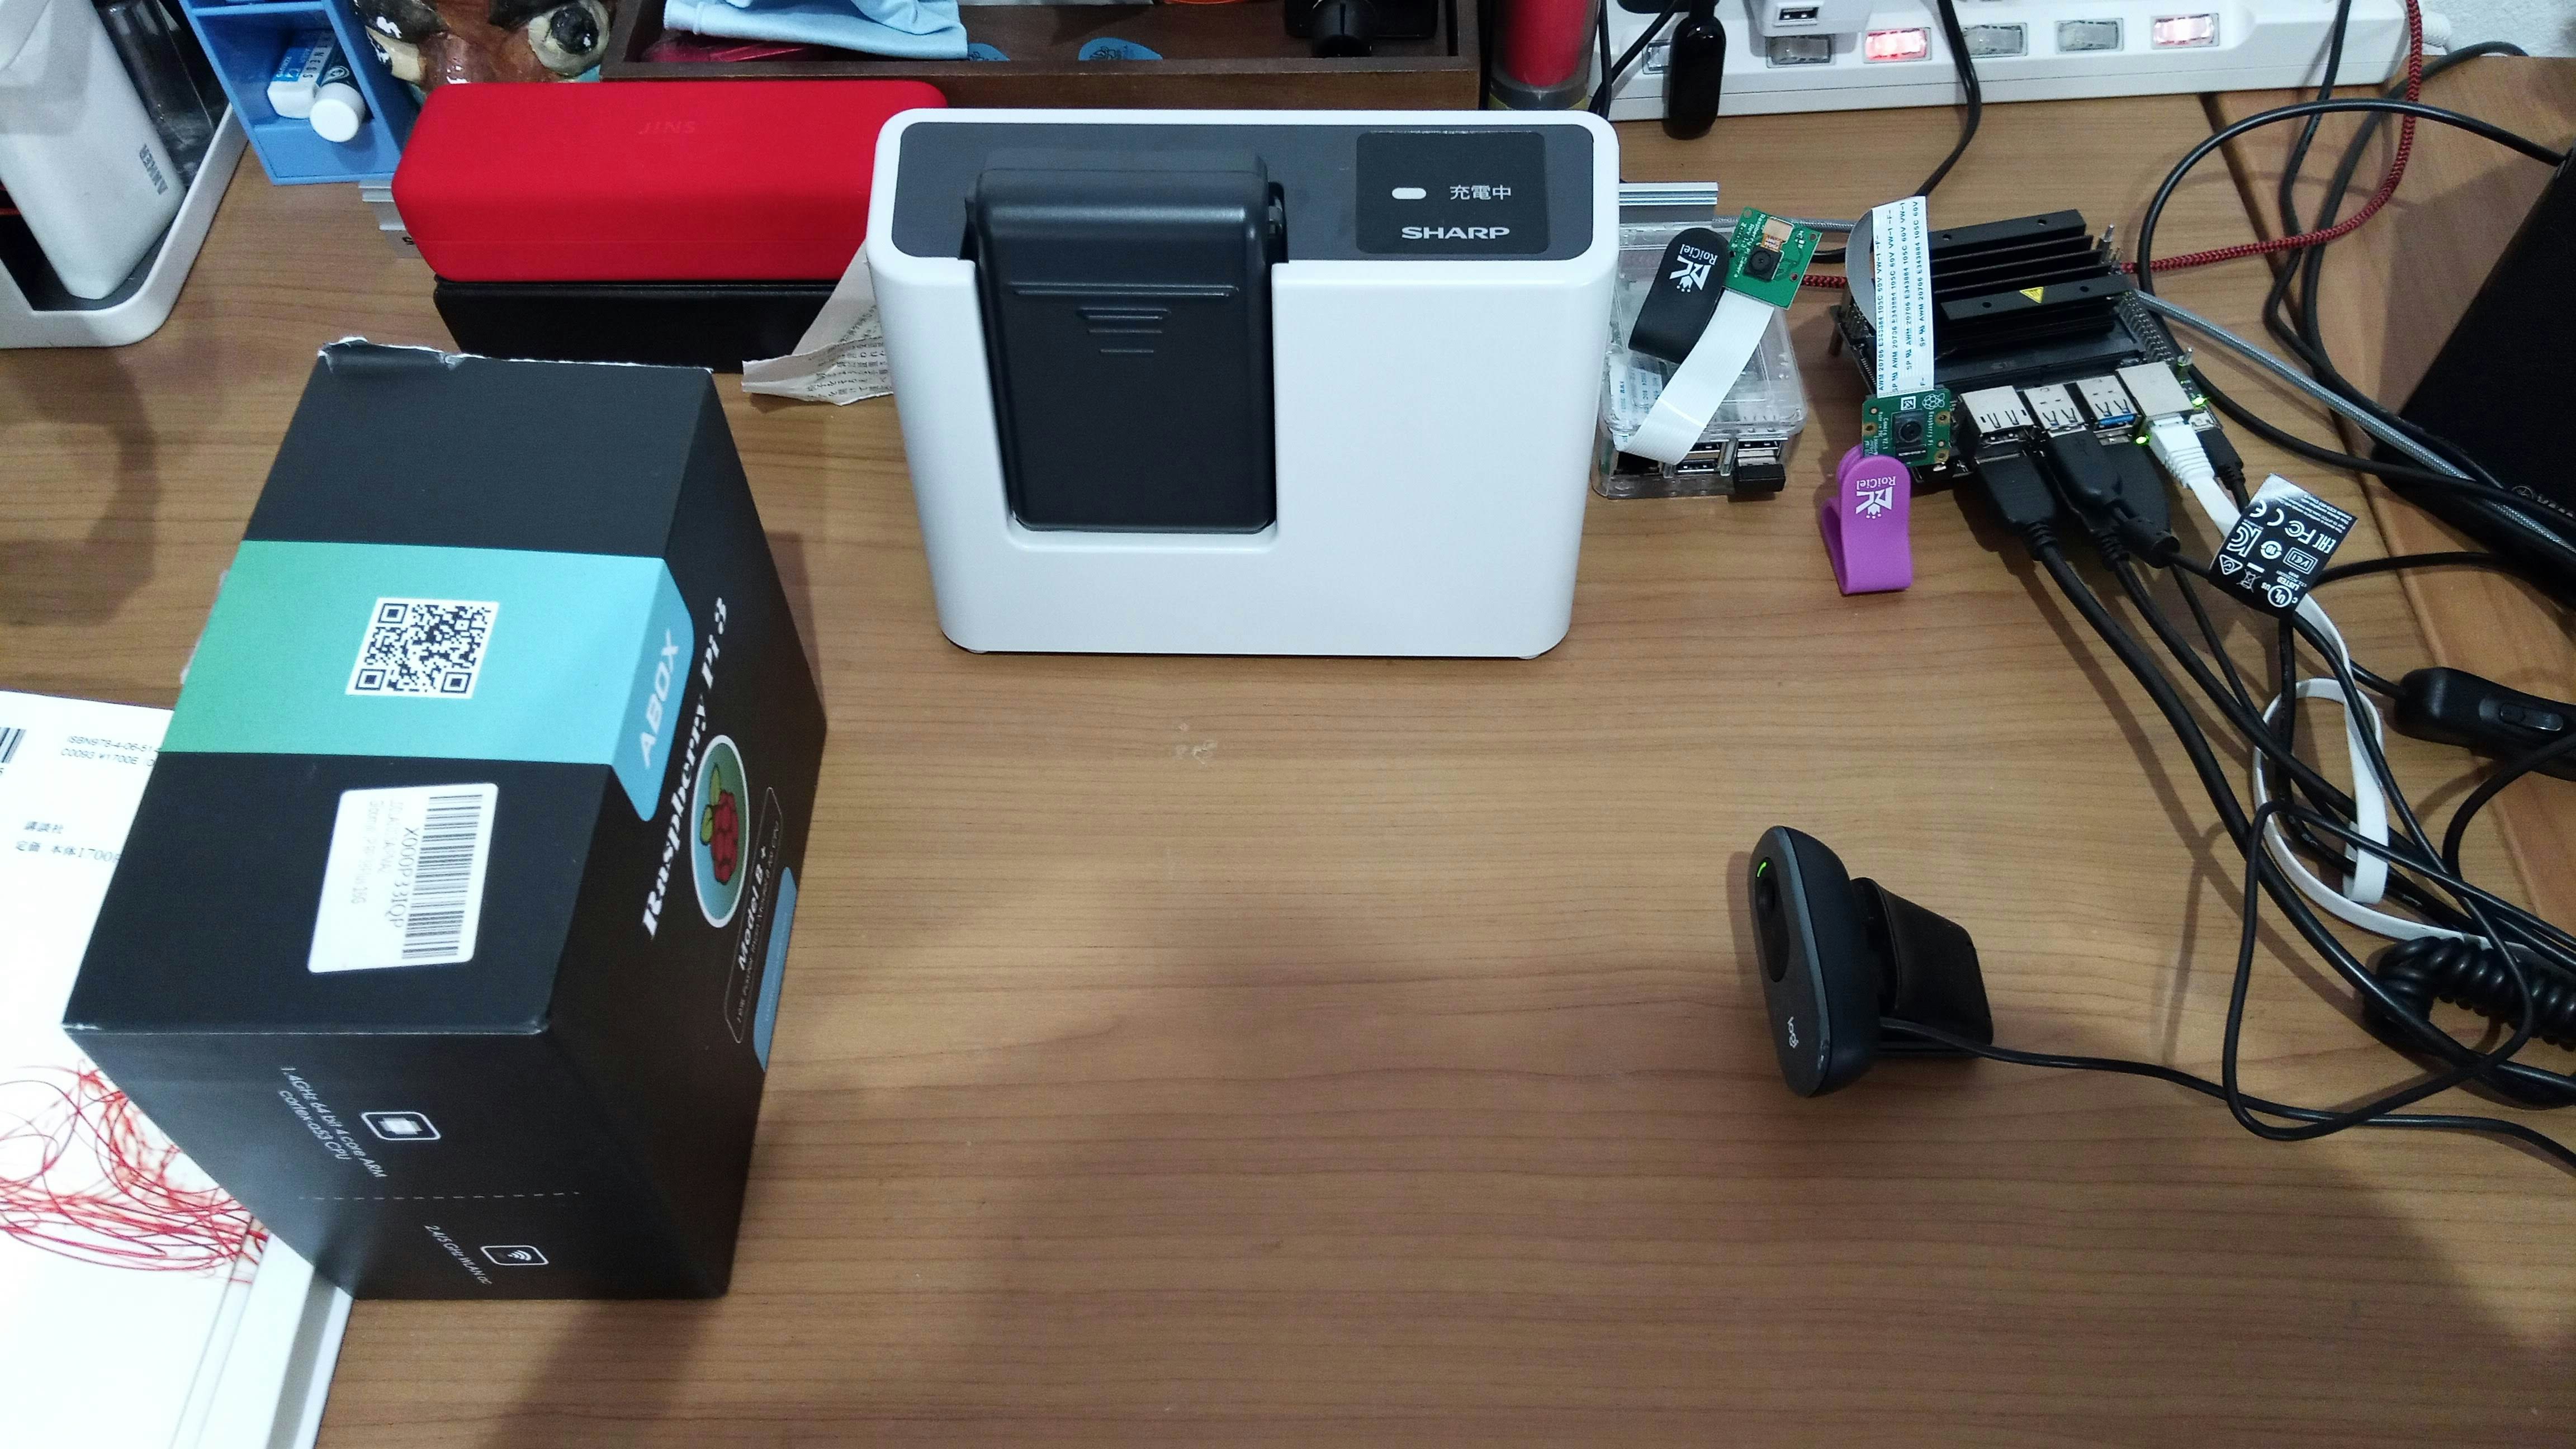
Jetson Nano + USBカメラ + OpenCV + Scikit-image でサブピクセル精度の計測をするPythonスクリプトを書いてみました。Jetson Nanoに限らず、Pythonが走ればRaspberry Piでも動作します。
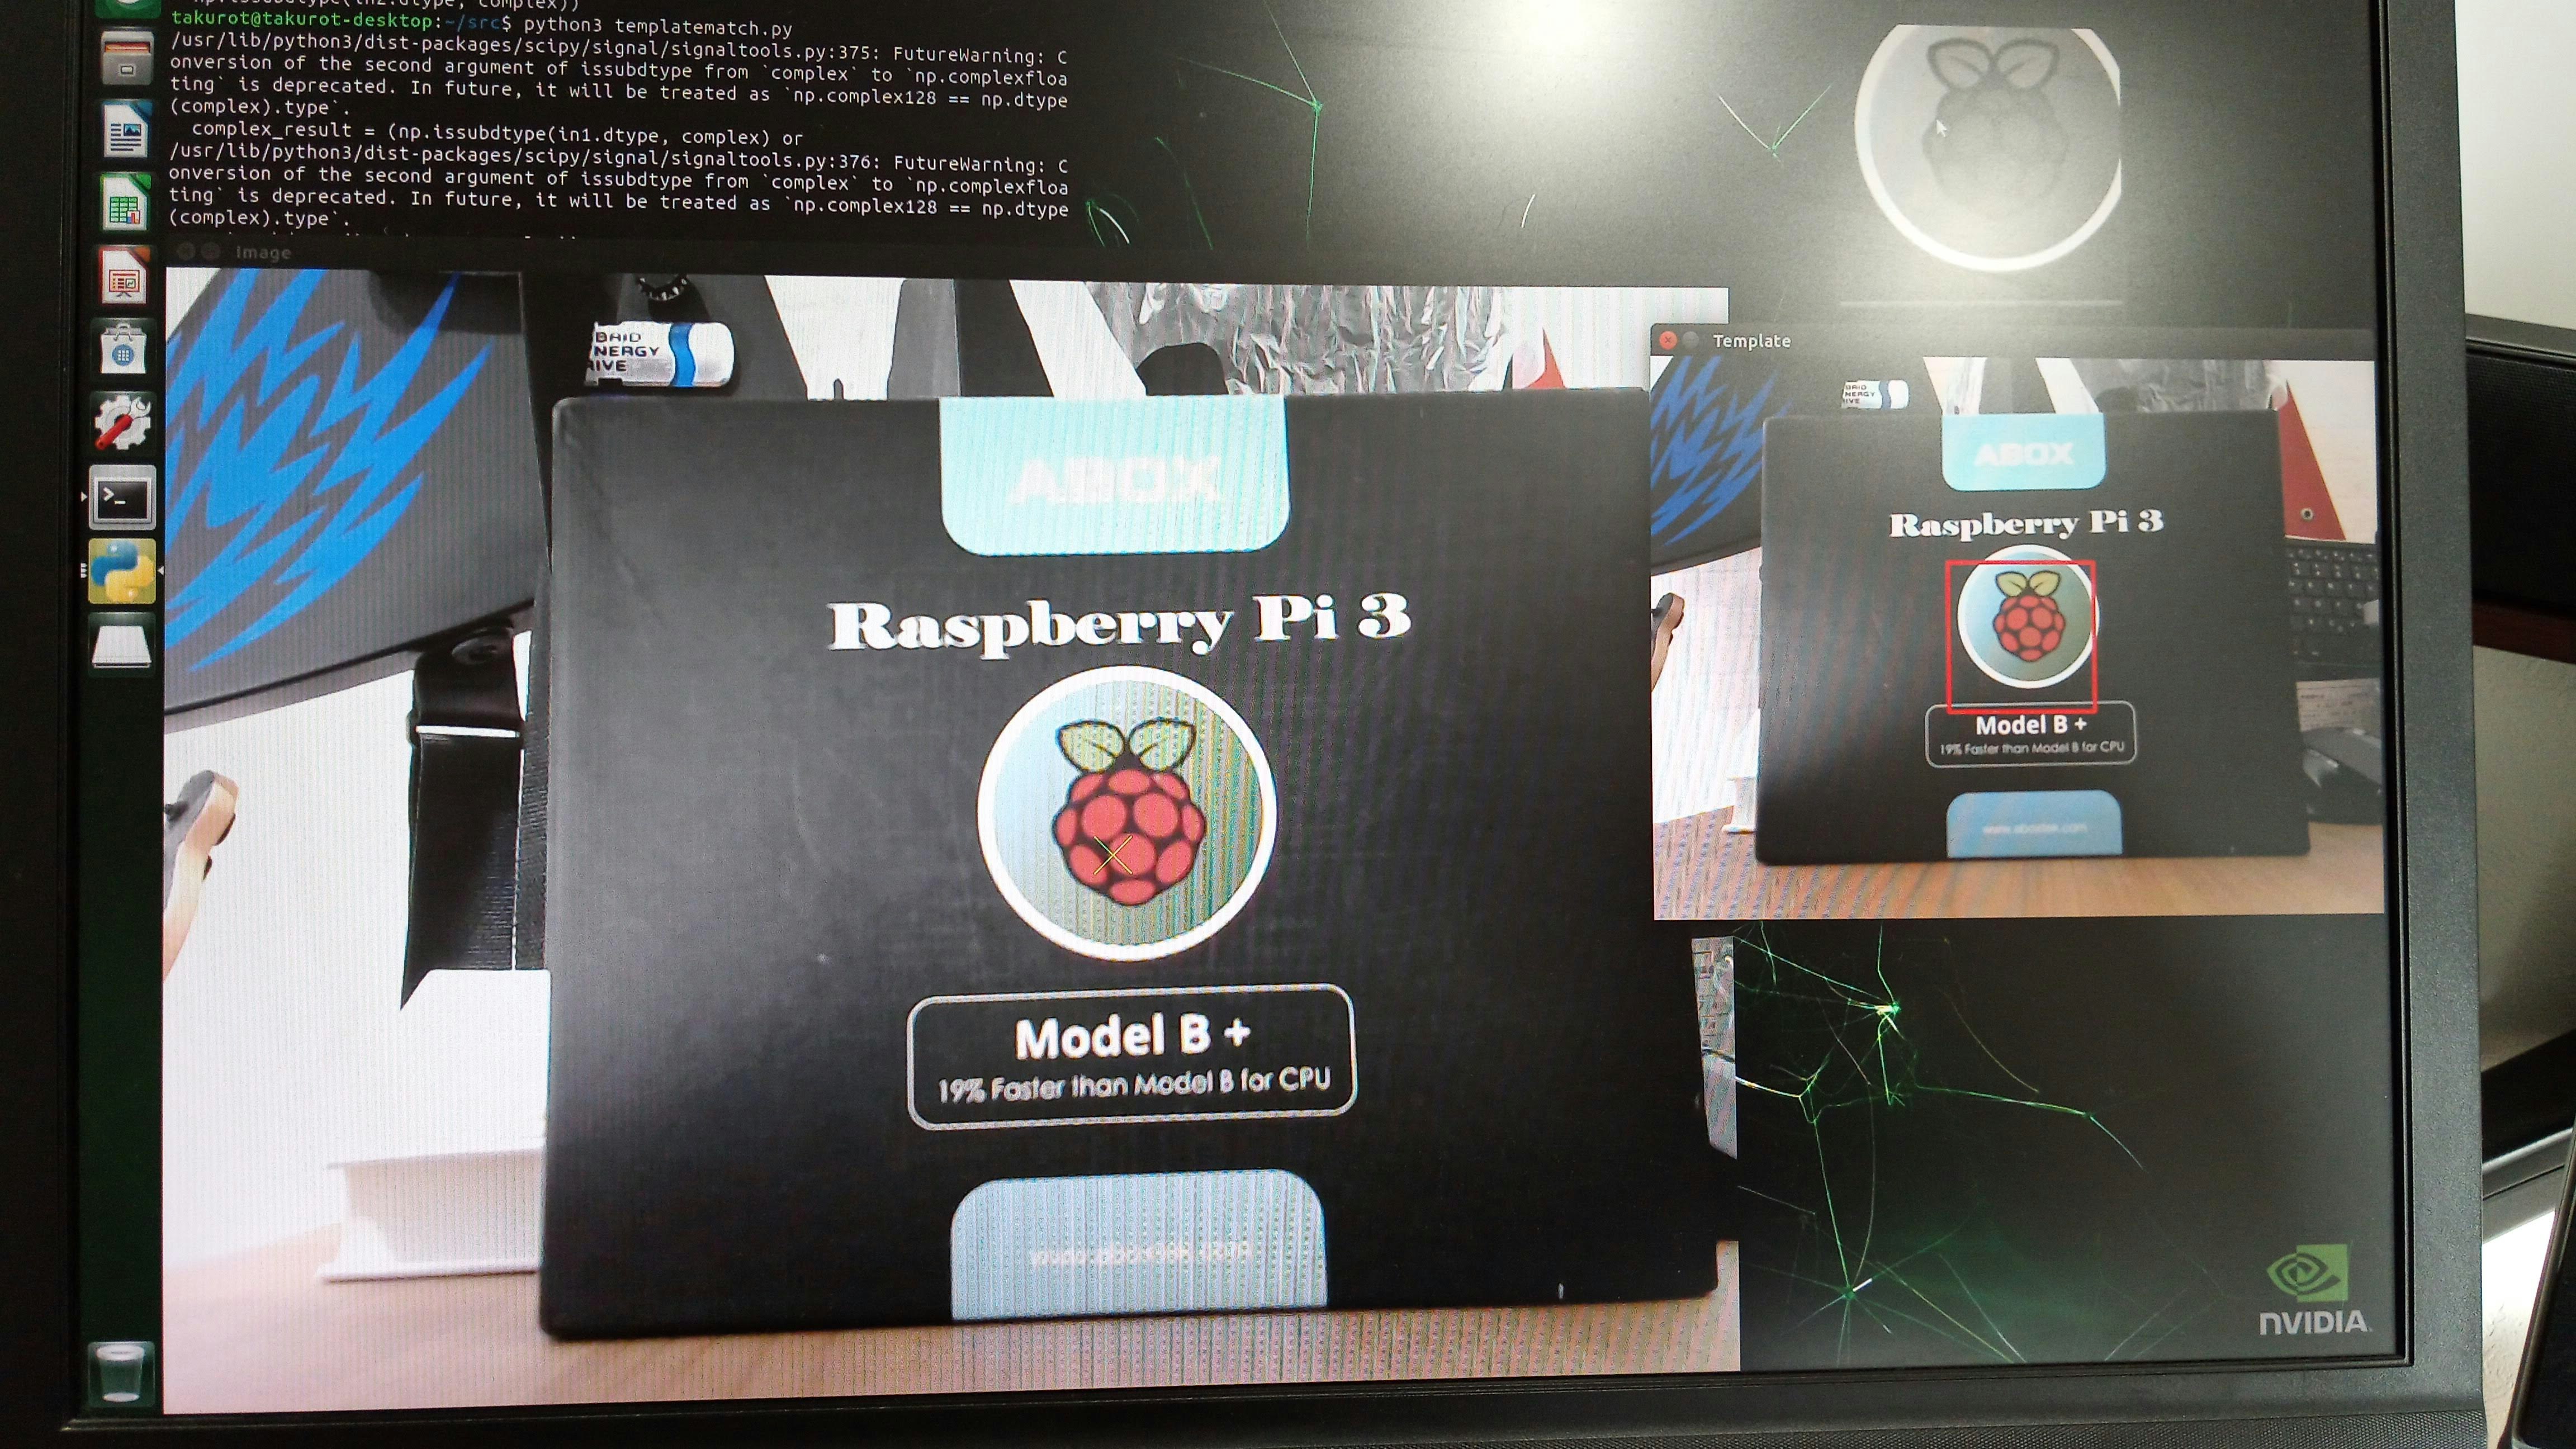
テンプレートマッチングで見つけた座標に対し、Phase Correlationを使ってサブピクセル位置を特定します。再現性はかなり良いが、リニアリティはレンズ次第。
スクリプトは以下からダウンロードできます。
https://github.com/takurot/templatematch
実行環境
実行例
必要なモジュール
OpenCV
Scikit-image
Numpy
Matplot
実行手順
- 画面内の□カーソルに内にテンプレート対象を入れる + ESC
- 画面内の連続計測実行、テンプレート画像を見つけたところに□カーソルが描かれる
- プリント文で実行時間と左上を(0,0)としたピクセル座標が出力される
コード解説
def main():
    TEMPLATE_SIZE = 32
    capture = cv2.VideoCapture(0)
↑
TEMPLATE_SIZEとあるが本当のサイズは倍の64
cv2.VideoCapture(0)でUSBカメラから画像取得するポート0にカメラがある前提
    while True:
        ret, org_img = capture.read()
        img = cv2.resize(org_img, dsize=None, fx=0.5, fy=0.5)
↑
fx, fyで画像のサイズを決めている。オリジナルサイズは1280x960だが、640x480にリサイズしている。適度な処理時間になるようにリサイズしたが、サイズ自体は任意に設定可能。画像が小さいと早い。
        height, width, channnel = img.shape[:3]

        y1 = int(height/2-TEMPLATE_SIZE)
        y2 = int(height/2+TEMPLATE_SIZE)
        x1 = int(width/2-TEMPLATE_SIZE)
        x2 = int(width/2+TEMPLATE_SIZE)
        # print(width, height, x1, x2, y1, y2)
        if ret != True:
            print("Error1")
            return
        disp = cv2.rectangle(img, (x1, y1), (x2, y2), (0, 0, 255), 3)
        cv2.imshow("Select Template(Size 64x64) Press ESC", disp)
        key = cv2.waitKey(10)
        if key == 27: # ESC
            break
↑
テンプレートの□カーソルを描く座標を画像中心基準求めて表示。ESCを押したらテンプレート登録完了。
    image = cv2.cvtColor(img,cv2.COLOR_BGR2GRAY)
    template = image[y1:y2, x1:x2]

    cv2.imshow("Template-2", template)
↑
テンプレートとして登録された画像をモノクロ変換して表示。
    while True:
        time_start = time.time()
        ret, org_img2 = capture.read()
        if ret != True:
            print("Error2")
            return
        img2 = cv2.resize(org_img2, dsize=None, fx=0.5, fy=0.5)
        offset_image = cv2.cvtColor(img2,cv2.COLOR_BGR2GRAY)
        time_cap = int((time.time() - time_start) * 1000)
↑
計測画像をリサイズしてモノクロ変換。計測はモノクロで行う。
        time_start = time.time()
        result = match_template(offset_image, template)
        ij = np.unravel_index(np.argmax(result), result.shape)
        x, y = ij[::-1]
        meas_image = offset_image[y:(y+TEMPLATE_SIZE*2), x:(x+TEMPLATE_SIZE*2)]
        # print (template.shape[0], template.shape[1], meas_image.shape[0], meas_image.shape[1])
        shift, error, diffphase = register_translation(template, meas_image, 100)
        time_meas = int((time.time() - time_start) * 1000)
↑ ここが処理の中核
テンプレートマッチングを行ったあと、見つけた座標基準で画像をテンプレートサイズに切り出し。そして、切り出した画像とテンプレート画像でPhase Correlation(register_translation)を実行し、サブピクセル精度の座標を求める。register_translationの最後の100は「1/100ピクセル精度」を現している。この数字を大きくすると精度が上がる。
        cv2.rectangle(img2, (x, y), (x+TEMPLATE_SIZE*2, y+TEMPLATE_SIZE*2), (0, 255, 0), 3)

        cv2.imshow("Real Time Measurement 640x480", img2)

        print ("Capture[ms]:", time_cap, "Meas[ms]:", time_meas, "X[pix]:", x+TEMPLATE_SIZE+shift[0], "Y[pix]:", y+TEMPLATE_SIZE+shift[1])

        key = cv2.waitKey(10)
        if key == 27: # ESC
            break
↑
テンプレートを見つけた座標に□カーソルを描いて出力
実行時間と座標を出力
ESCが押されたら終了
感想
自宅でも簡単にサブピクセル精度の計測系を構築することができました。カメラを増やして多眼計測とかもできると思います。実行時間は計測画像サイズ、テンプレートサイズに依存するので、ターゲット時間に対し適宜調整する必要があります。顕微鏡などを使えばnmの精度でも計測できますが、実行環境の振動が大きく影響するので除振台が必要です。
何かのお役に立てたならぜひ教えてね!でもコピペで提出しちゃダメよ!