全世界で利用されているメール配信サービスのSendGridを使って簡単にメールを送ります。
大まかな手順
- SendGridアカウント登録
- API Key発行
- SendGridライブラリのインストール
- プログラムの記述
SendGridアカウント登録
まずは、SendGridでアカウント登録してください。
少し質問項目が多いですが、用途に合わせて真面目に回答しましょう。
問題なければ1~2日でアカウント作成が完了します。(無料利用で大丈夫です)
API Key発行
アカウント作成後、API Keyを発行します。
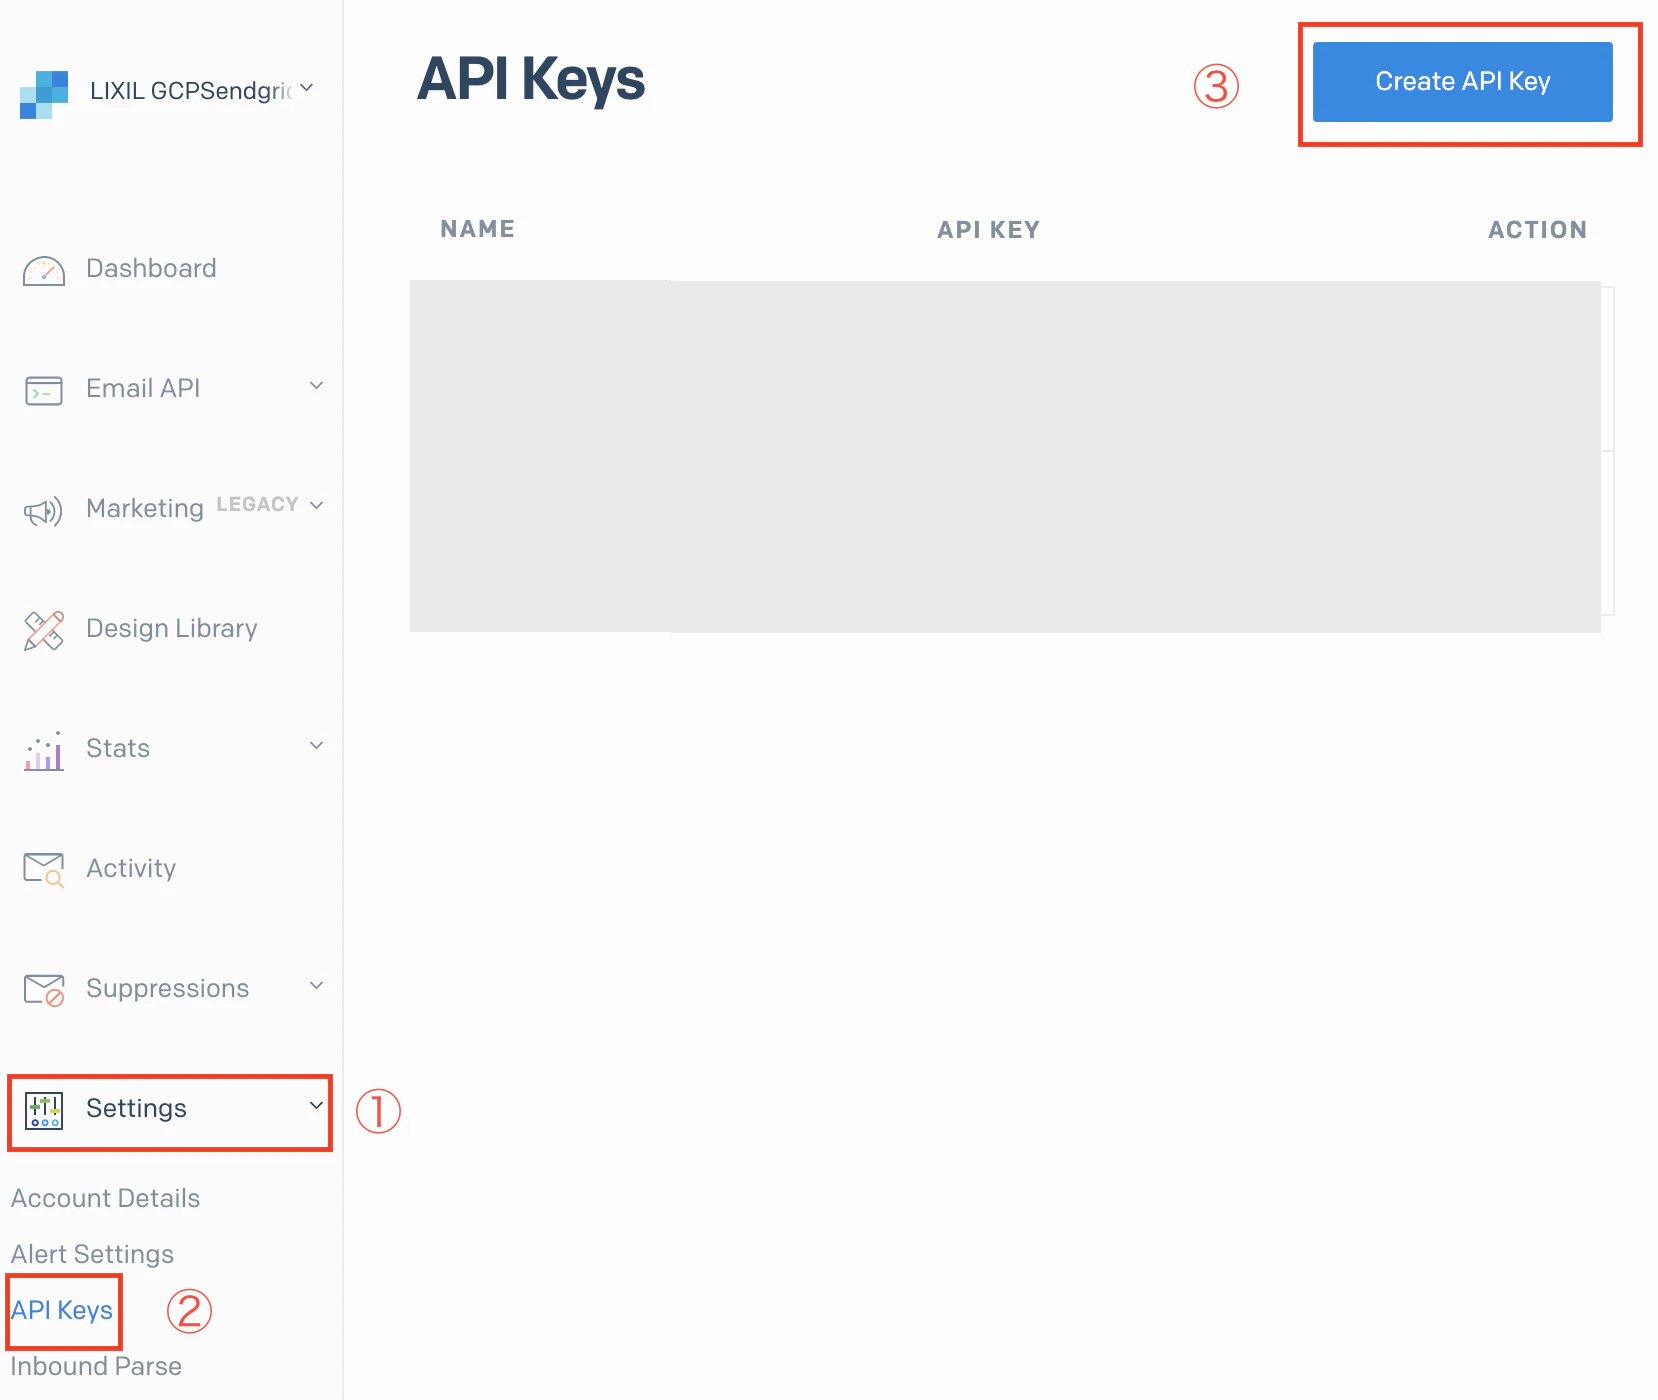
SendGridの管理ページを開きます。
[Settings]->[API Keys]、[Create API Key]の順でボタンをクリックして設定画面を開きます。
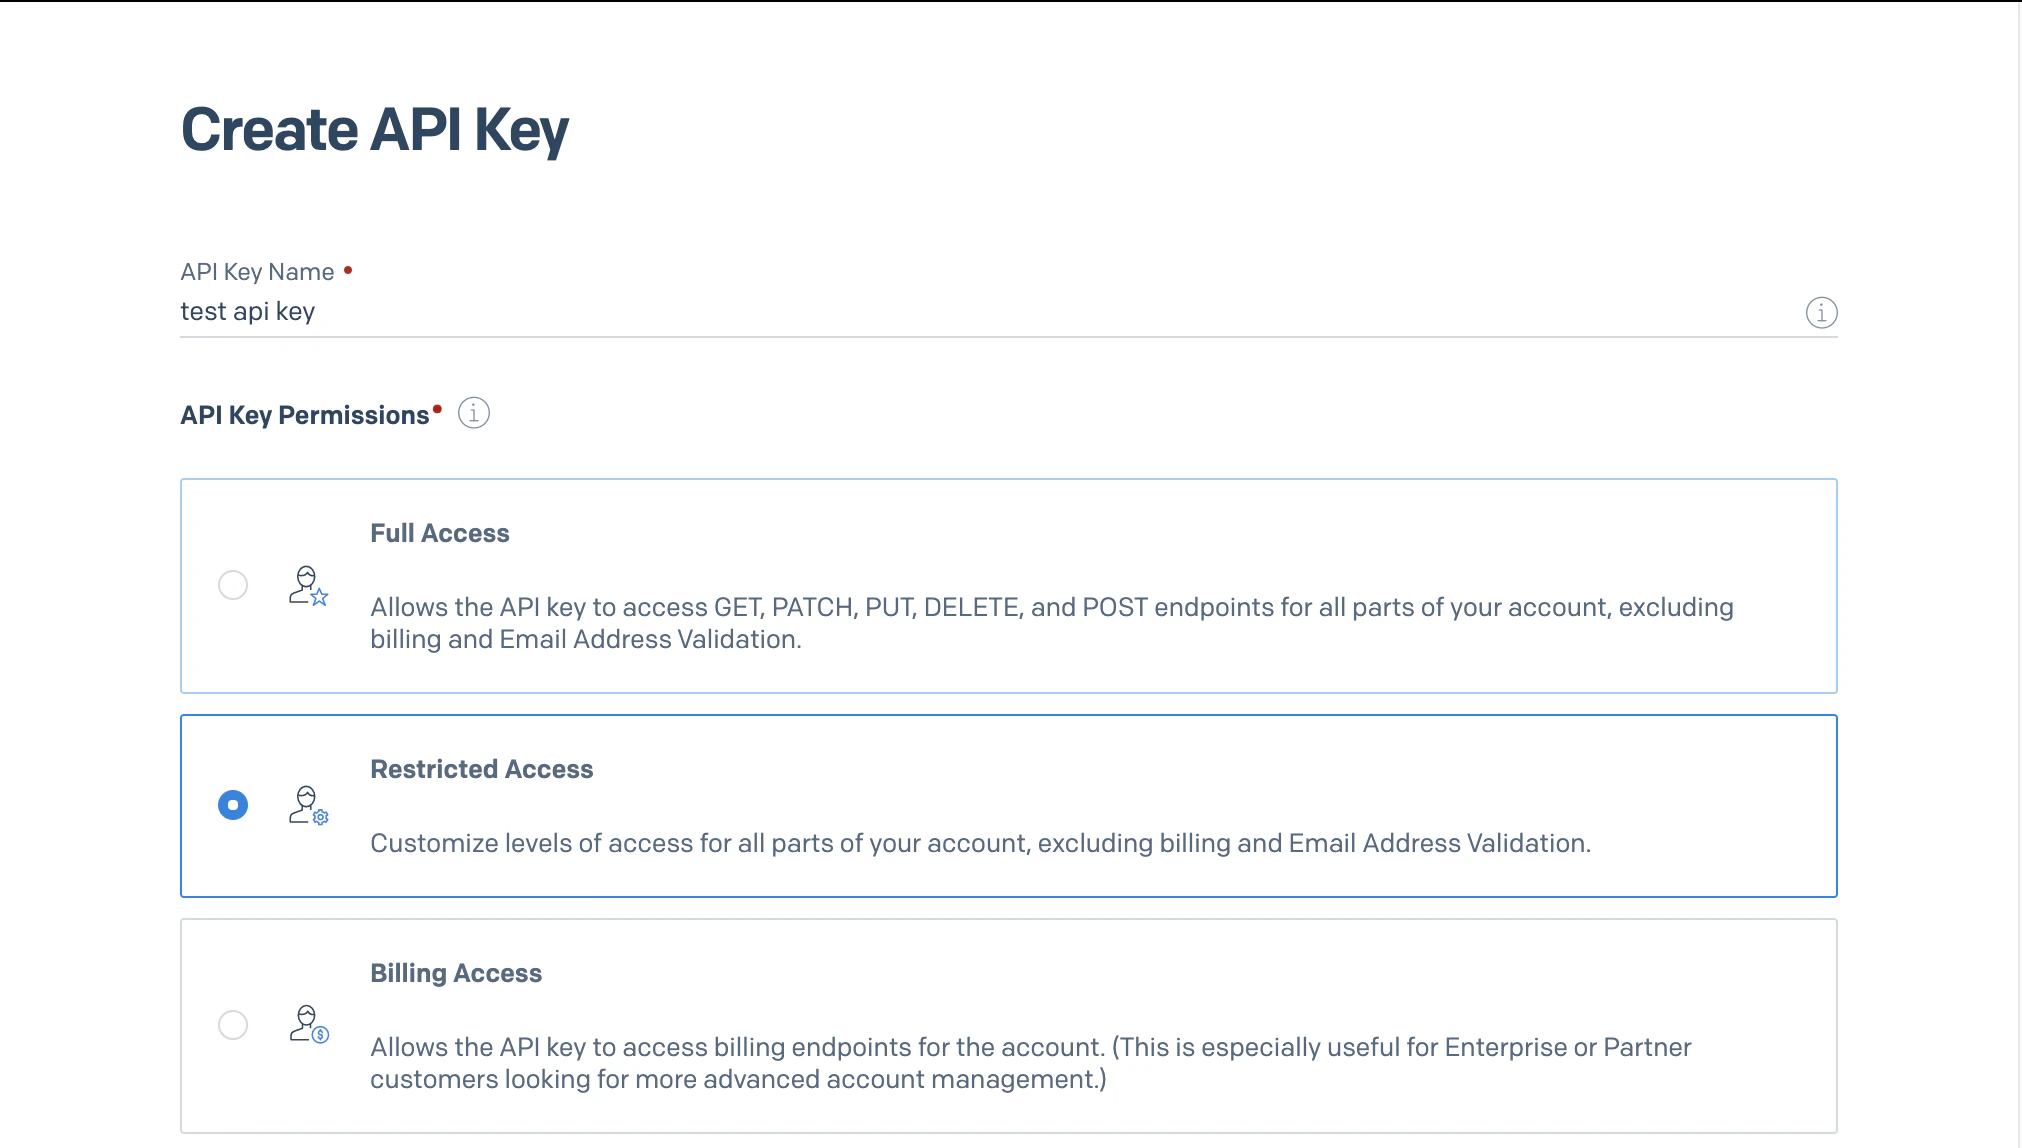
API Keyでのアクセス権限を設定します。
[API Key Name]を入力し、[API Key Permissions]は[Restricted Access]を選択します。
[Access Details]は[Mail Send]>[Mail Send]を有効にします。(バーの右側にある丸い箇所をクリック)
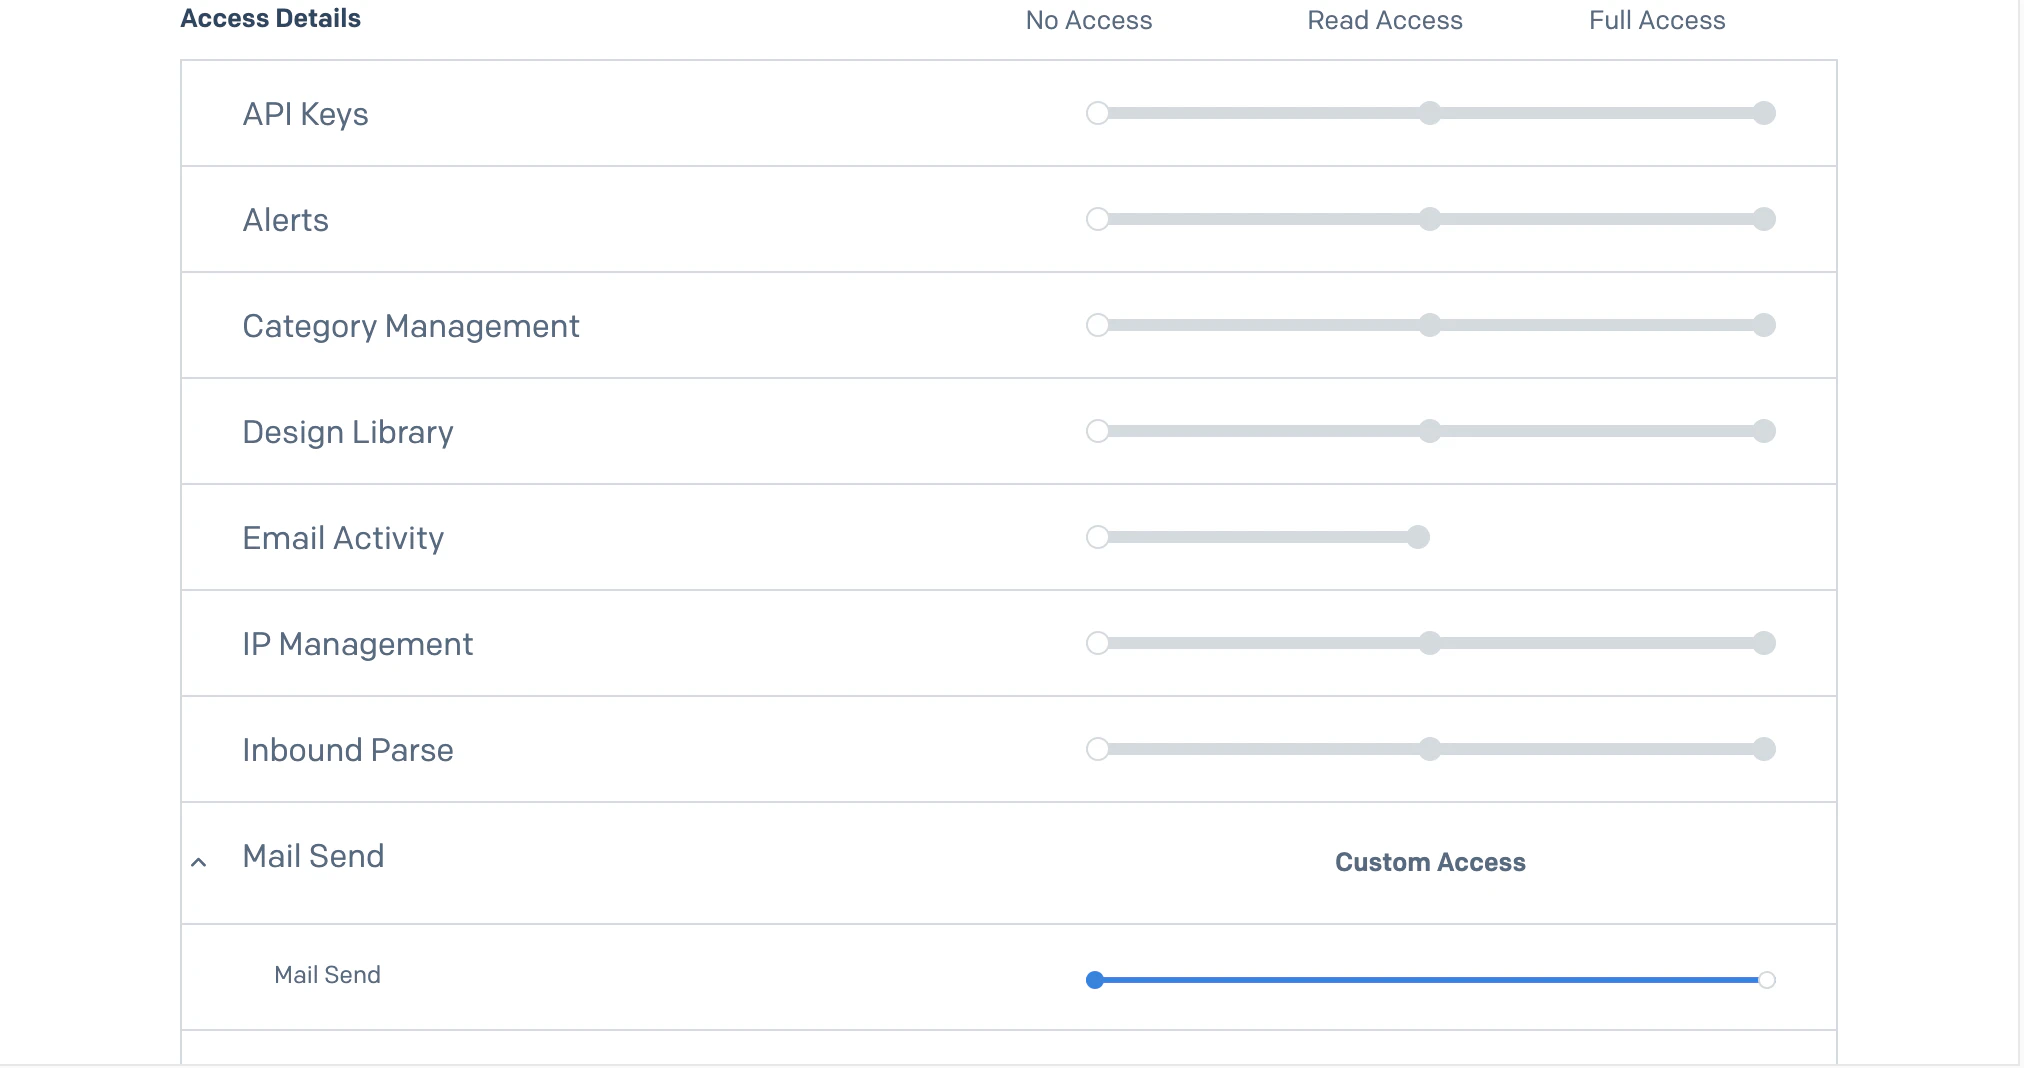
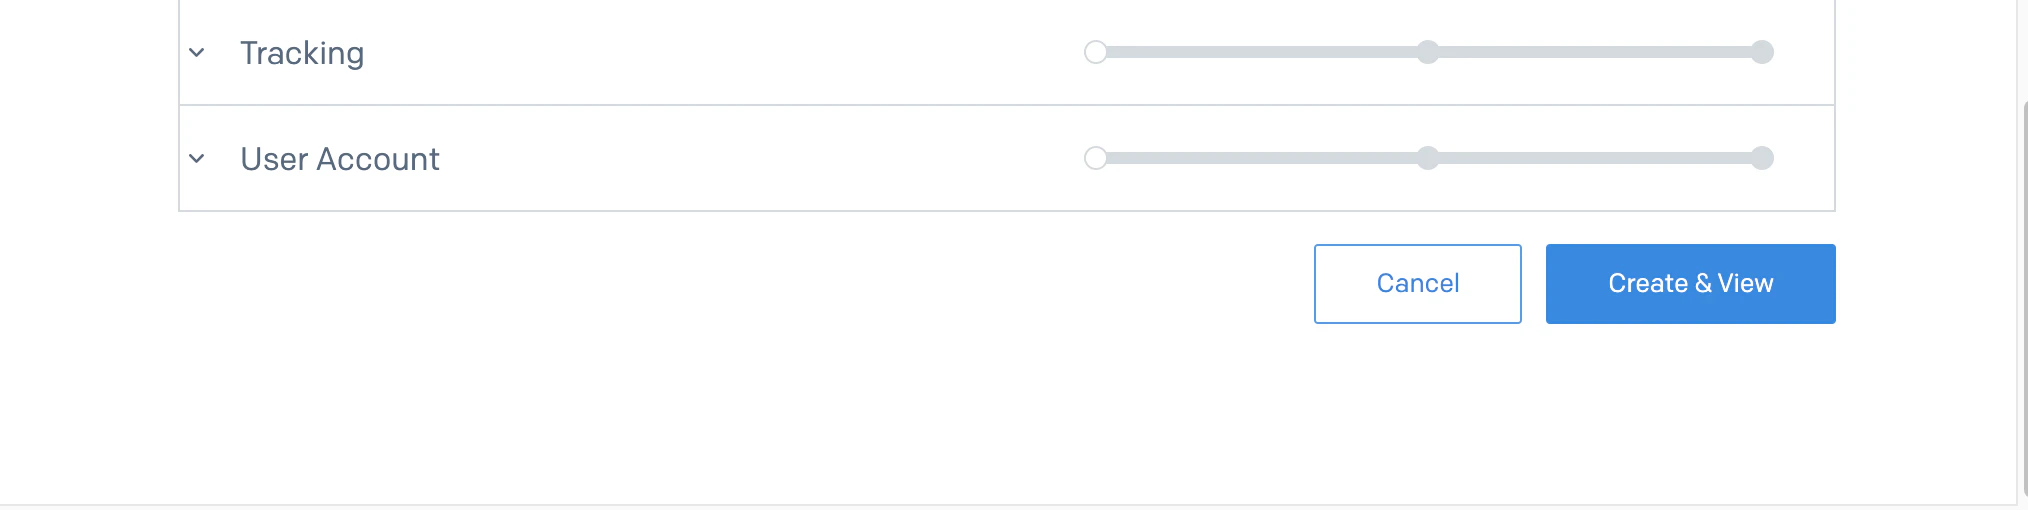
それだけ有効にしたら、[Create & View]で発行
画面に表示されたAPI Keyをメモしてプログラムで読み込みます。
SendGridライブラリのインストール
sendgridライブラリのインストールはGitHub からダウンロードしてくるか、pip installコマンドでインストールします。
terminal
$ pip install sendgrid
プログラムの記述
公式ドキュメントをコピーして貼り付けます。
python3
# using SendGrid's Python Library
# https://github.com/sendgrid/sendgrid-python
import sendgrid

client = sendgrid.SendGridClient("SENDGRID_APIKEY")
message = sendgrid.Mail()

message.add_to("test@sendgrid.com")
message.set_from("you@youremail.com")
message.set_subject("Sending with SendGrid is Fun")
message.set_html("and easy to do anywhere, even with Python")

client.send(message)
以上です。