はじめに
Amazon Kinesis Video Streams に ビデオチャットサービスが加わりました。
ブラウザ(JavaScript)向けのSDKだけでなく、組み込み用途のC言語SDKや、iOS/Androidといったモバイルアプリ向けのSDKも用意されており、ビデオチャットサービスを実装することができます。
今回は iOS, Android のサンプルを動かし、iOS <-> Android アプリ間でビデオ通話をしてみようと思います。
Getting Started
iOS SDK
Android SDK
AWSでリソースを作成する
AndroidのSDKのREADMEの手順が分かりやすかったので、それに倣って進めていきます。
Amazon Kinesis Video Streams Android WebRTC SDK README.md
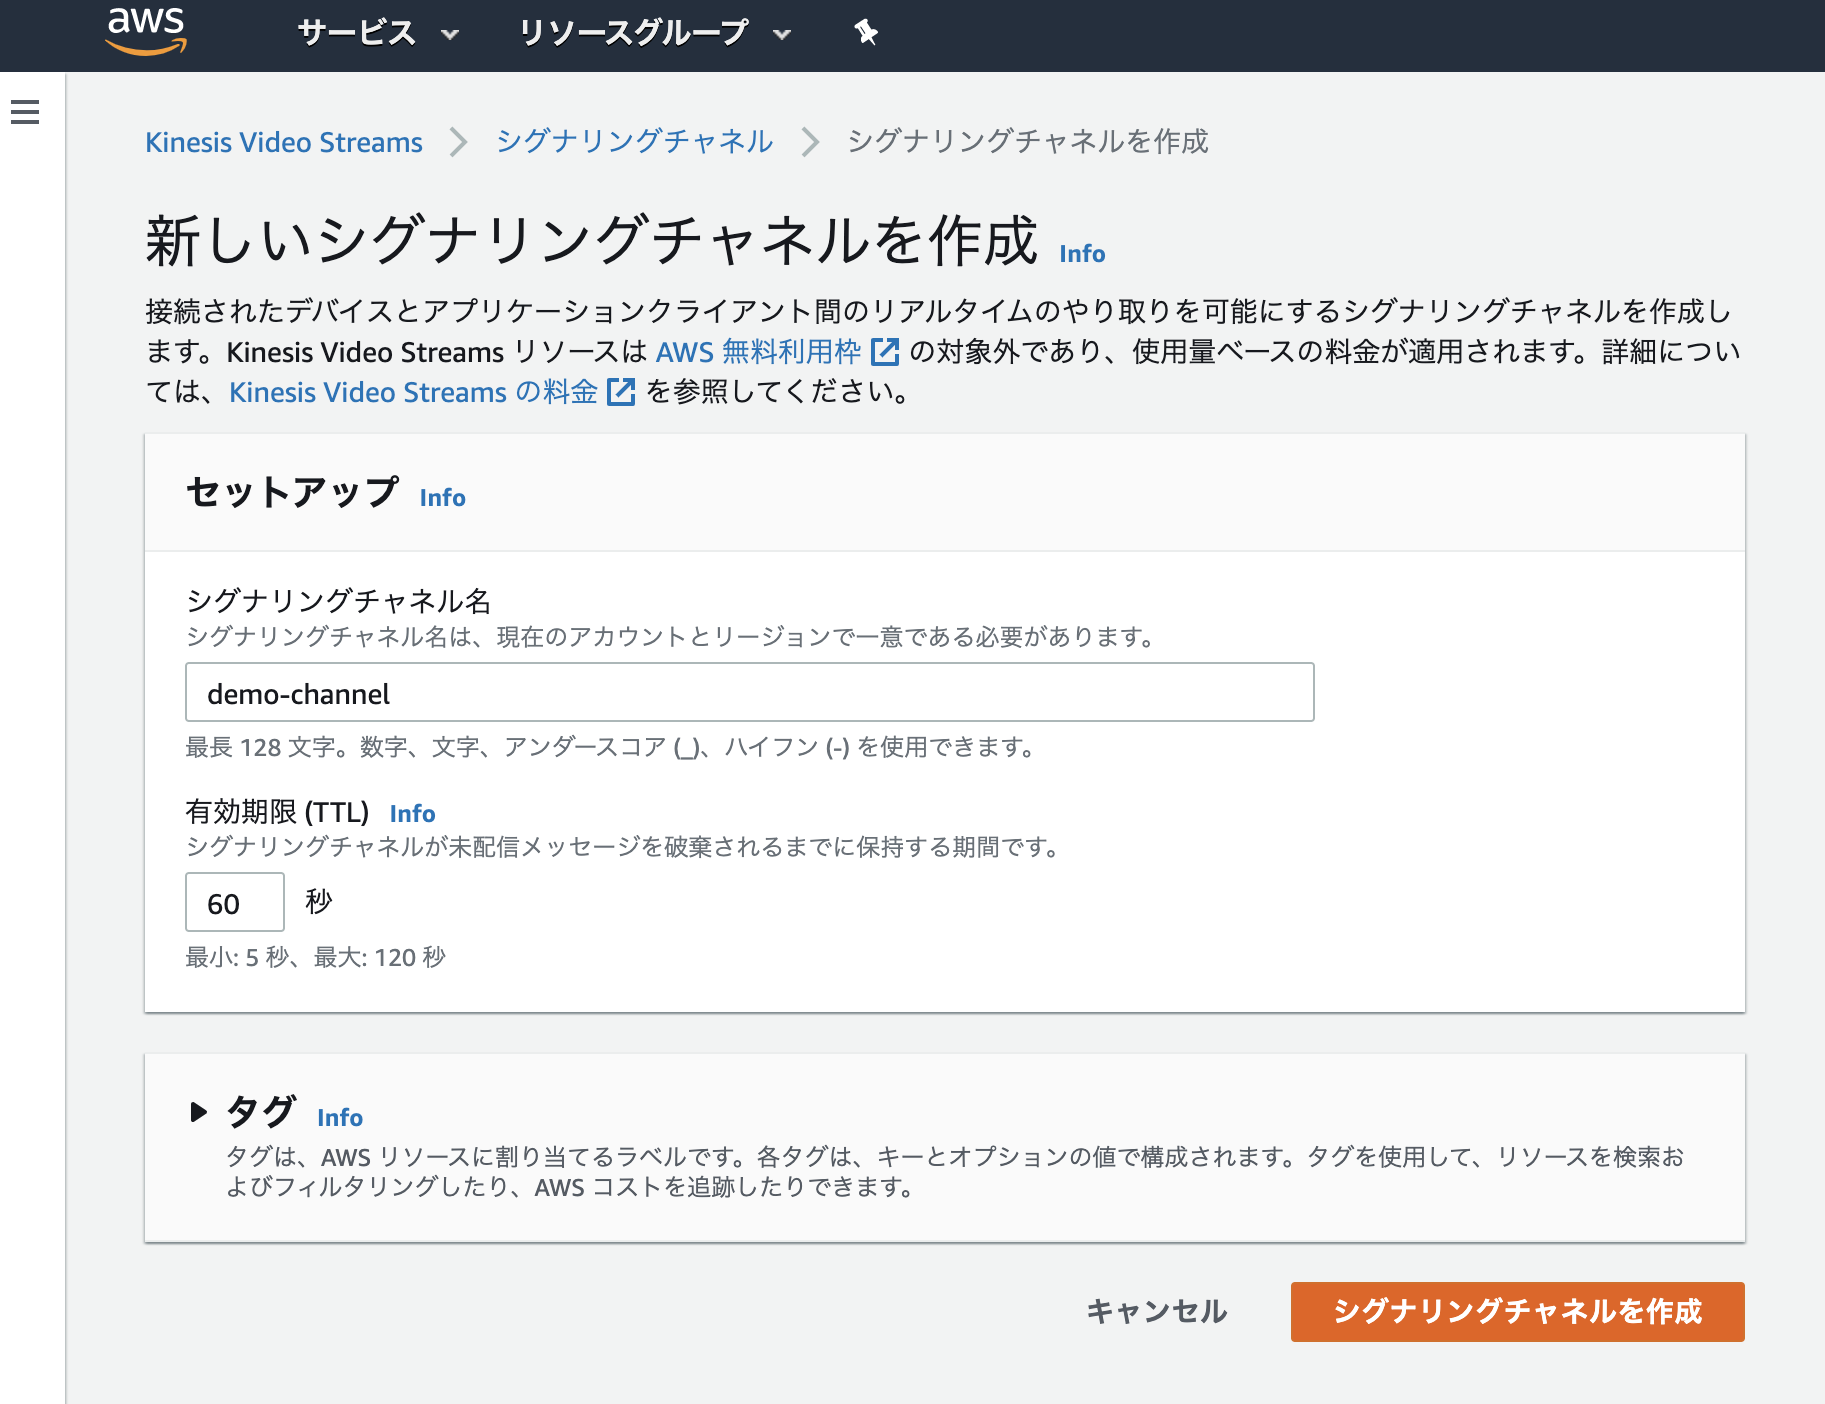
シグナリングチャンネルを作成する
Kinesis Video Streams でシグナリングチャンネルを作ります。
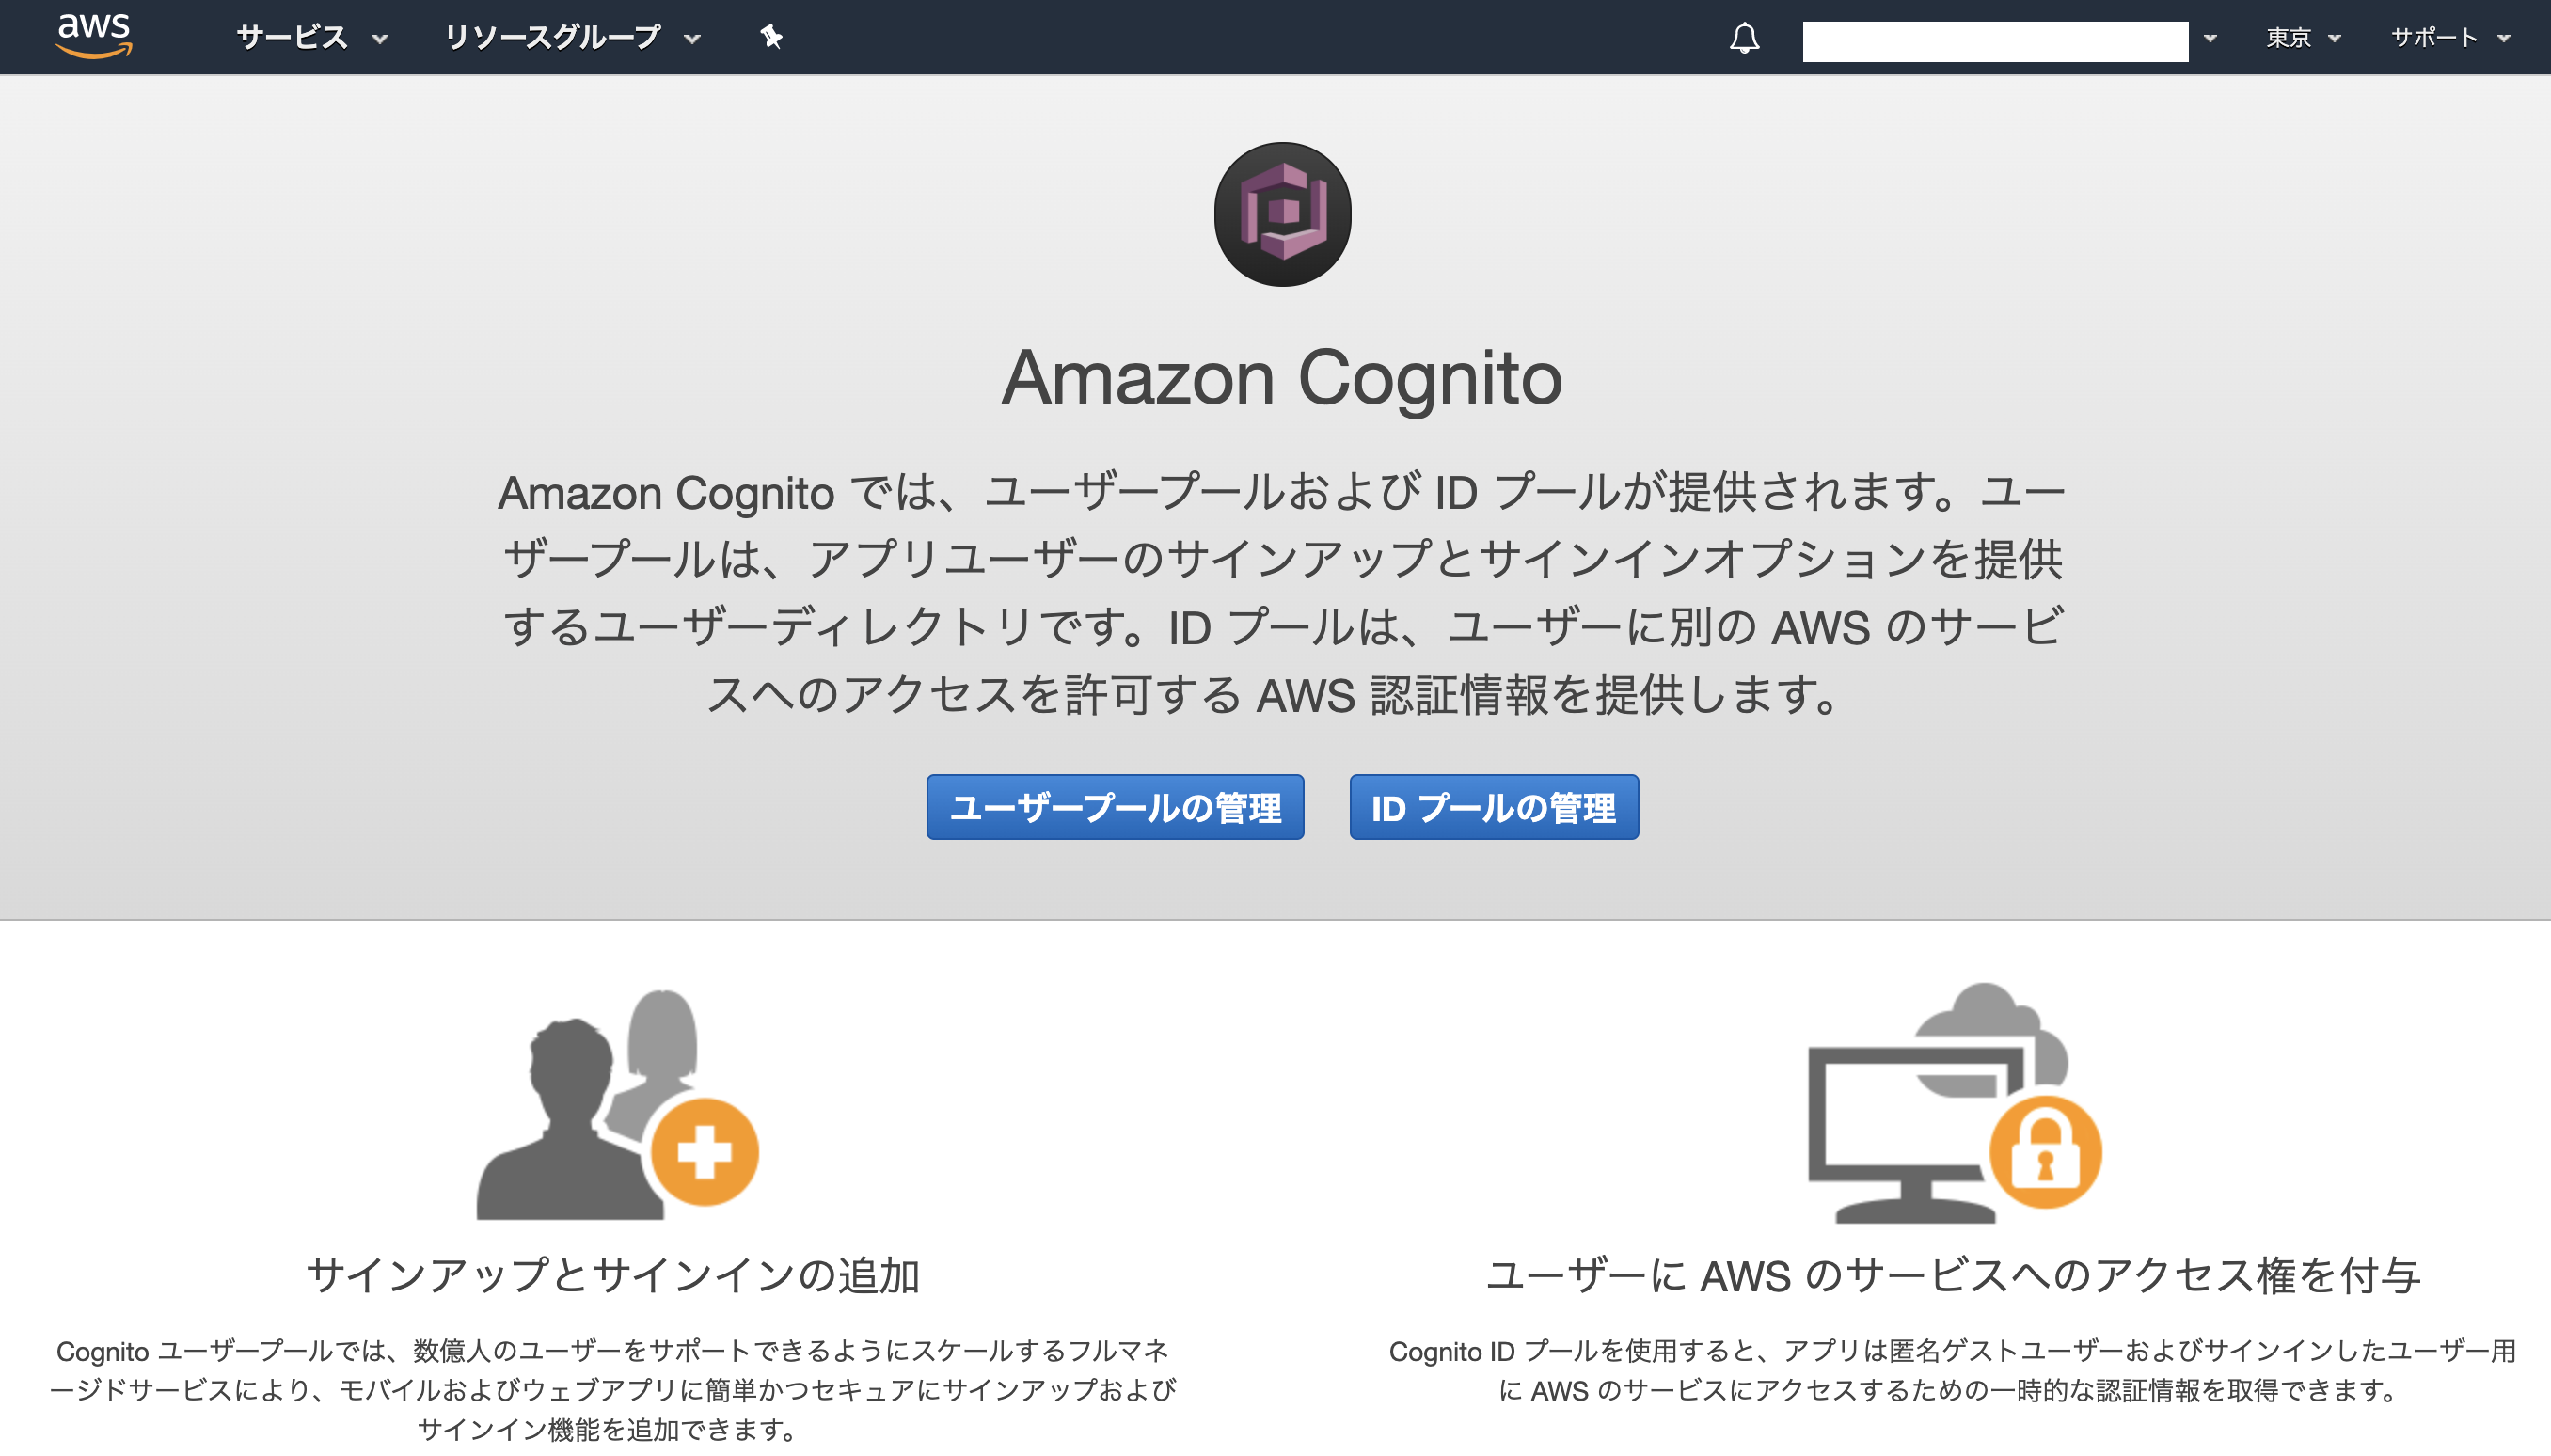
CognitoUserPool を作成する
CognitoUserPool を作成します。
-
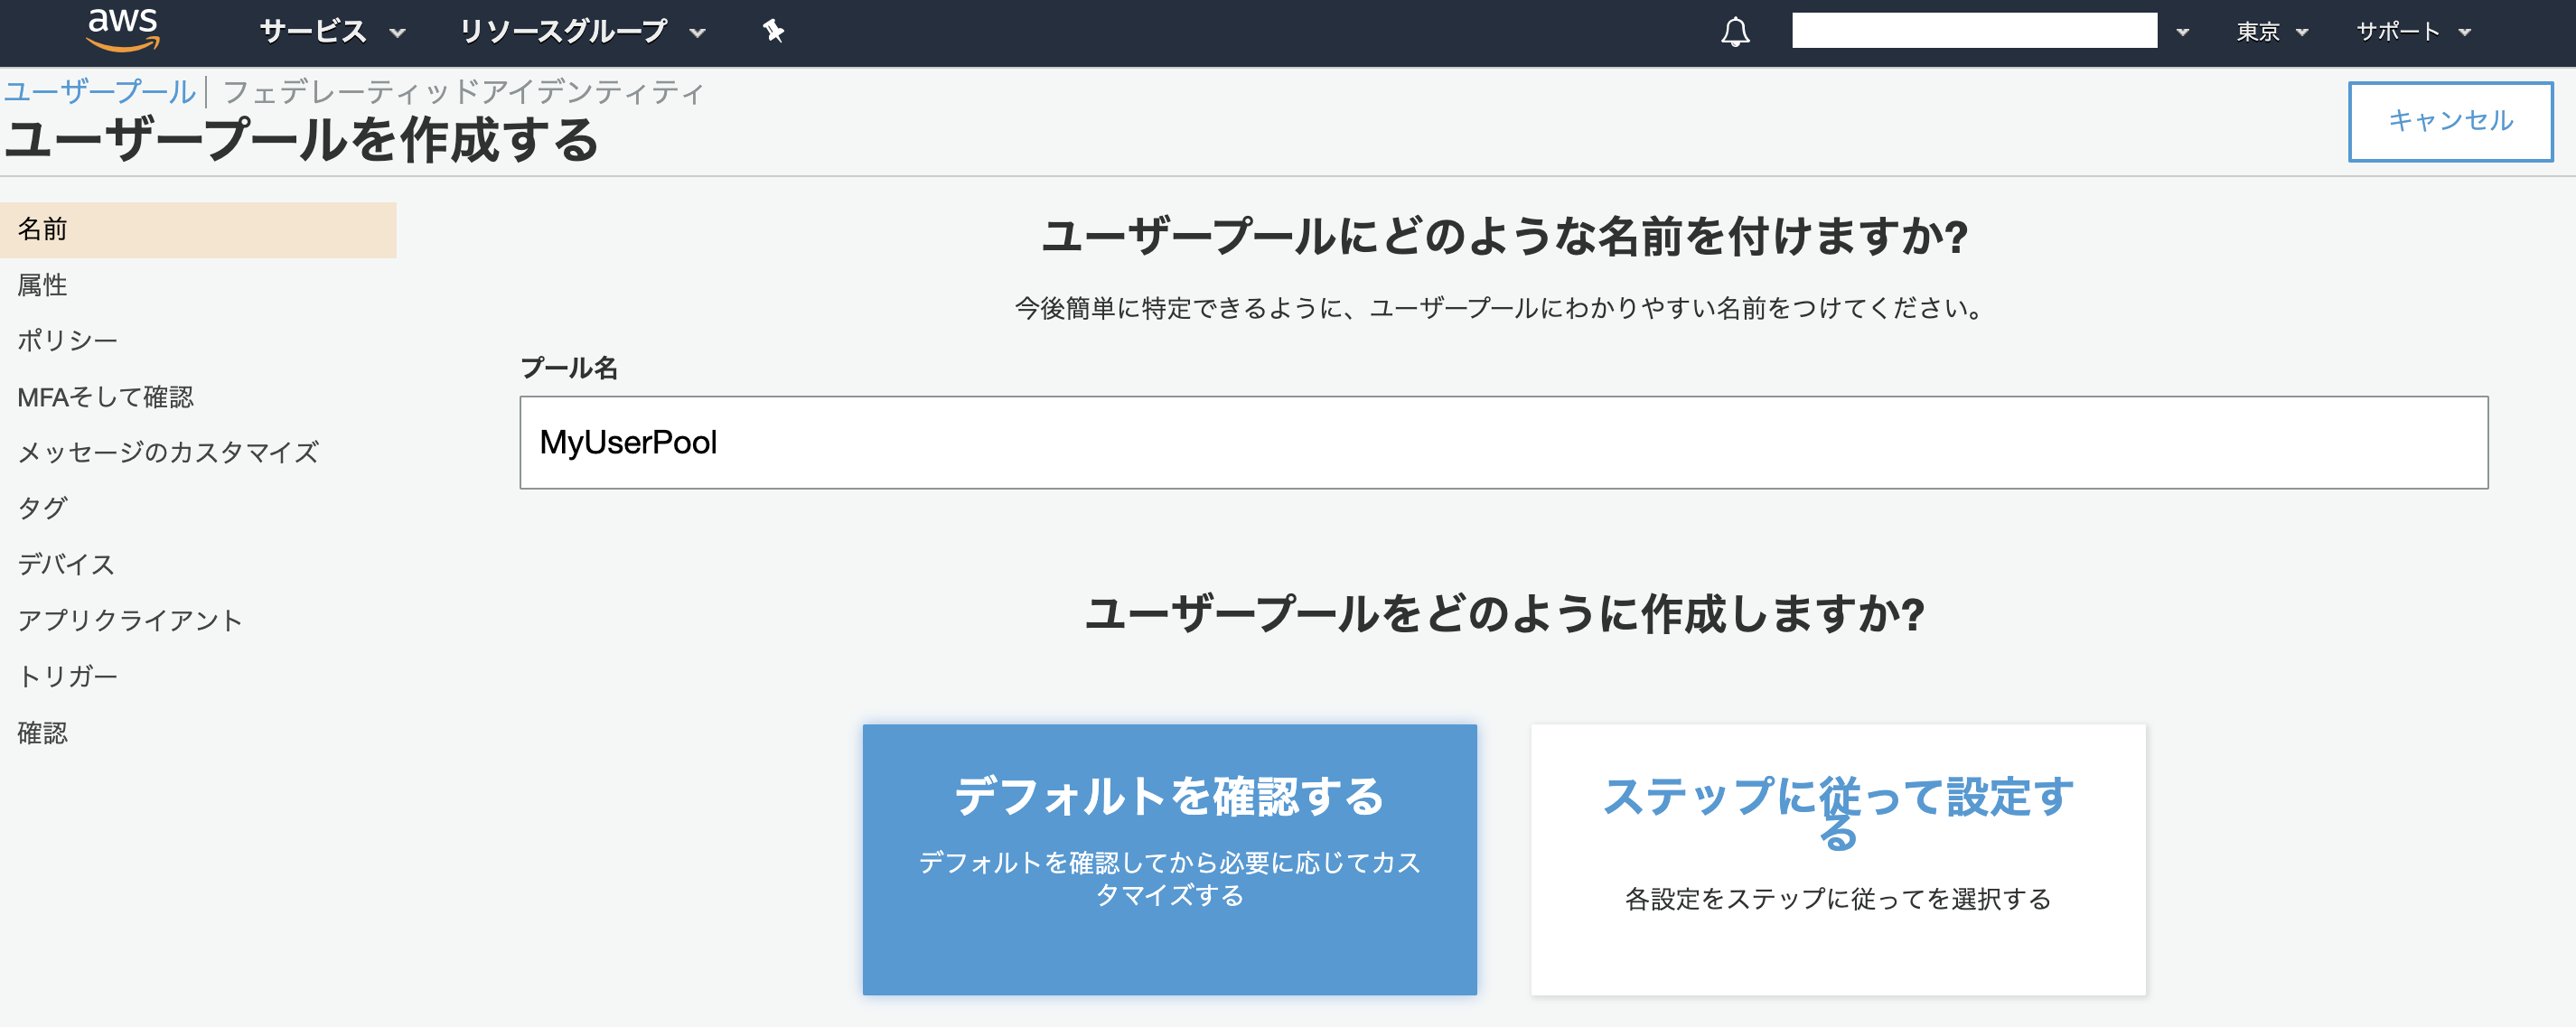
プール名を入力します。今回は[MyUserPool]としました。プール名を入力したら[デフォルトを確認する]を選択し、次のページでデフォルト値を変えずに[プールを作成]を選択します。
-
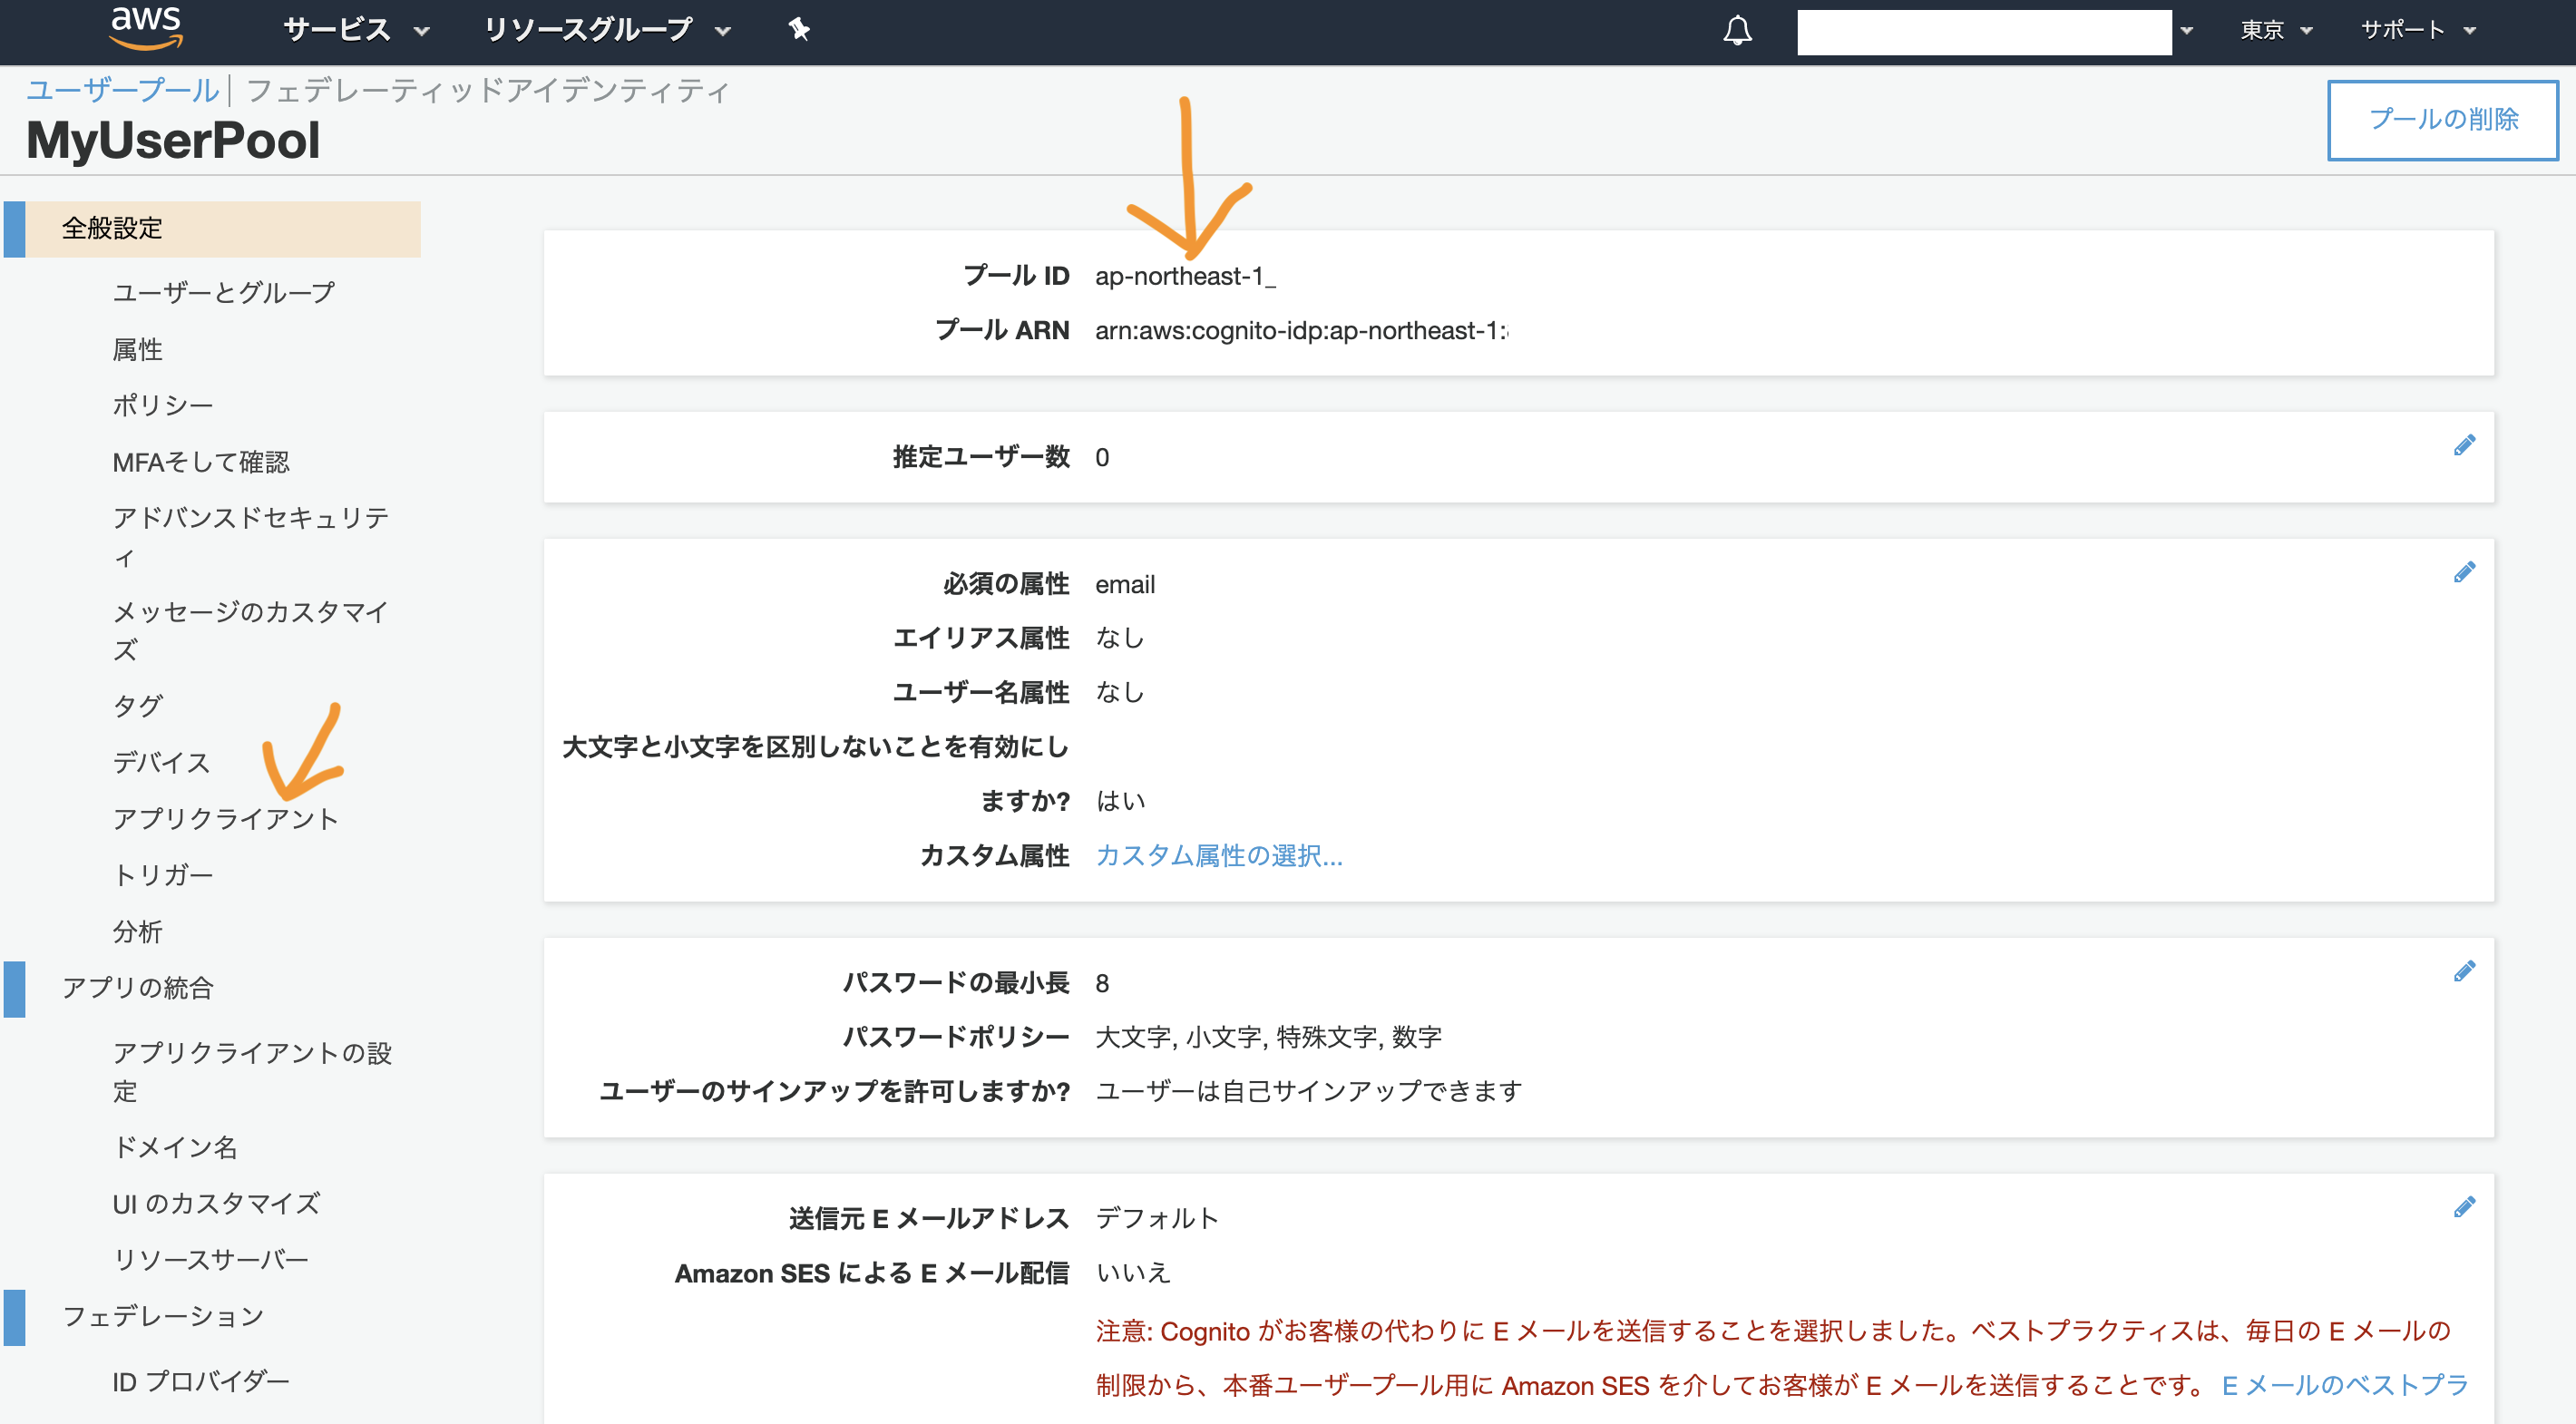
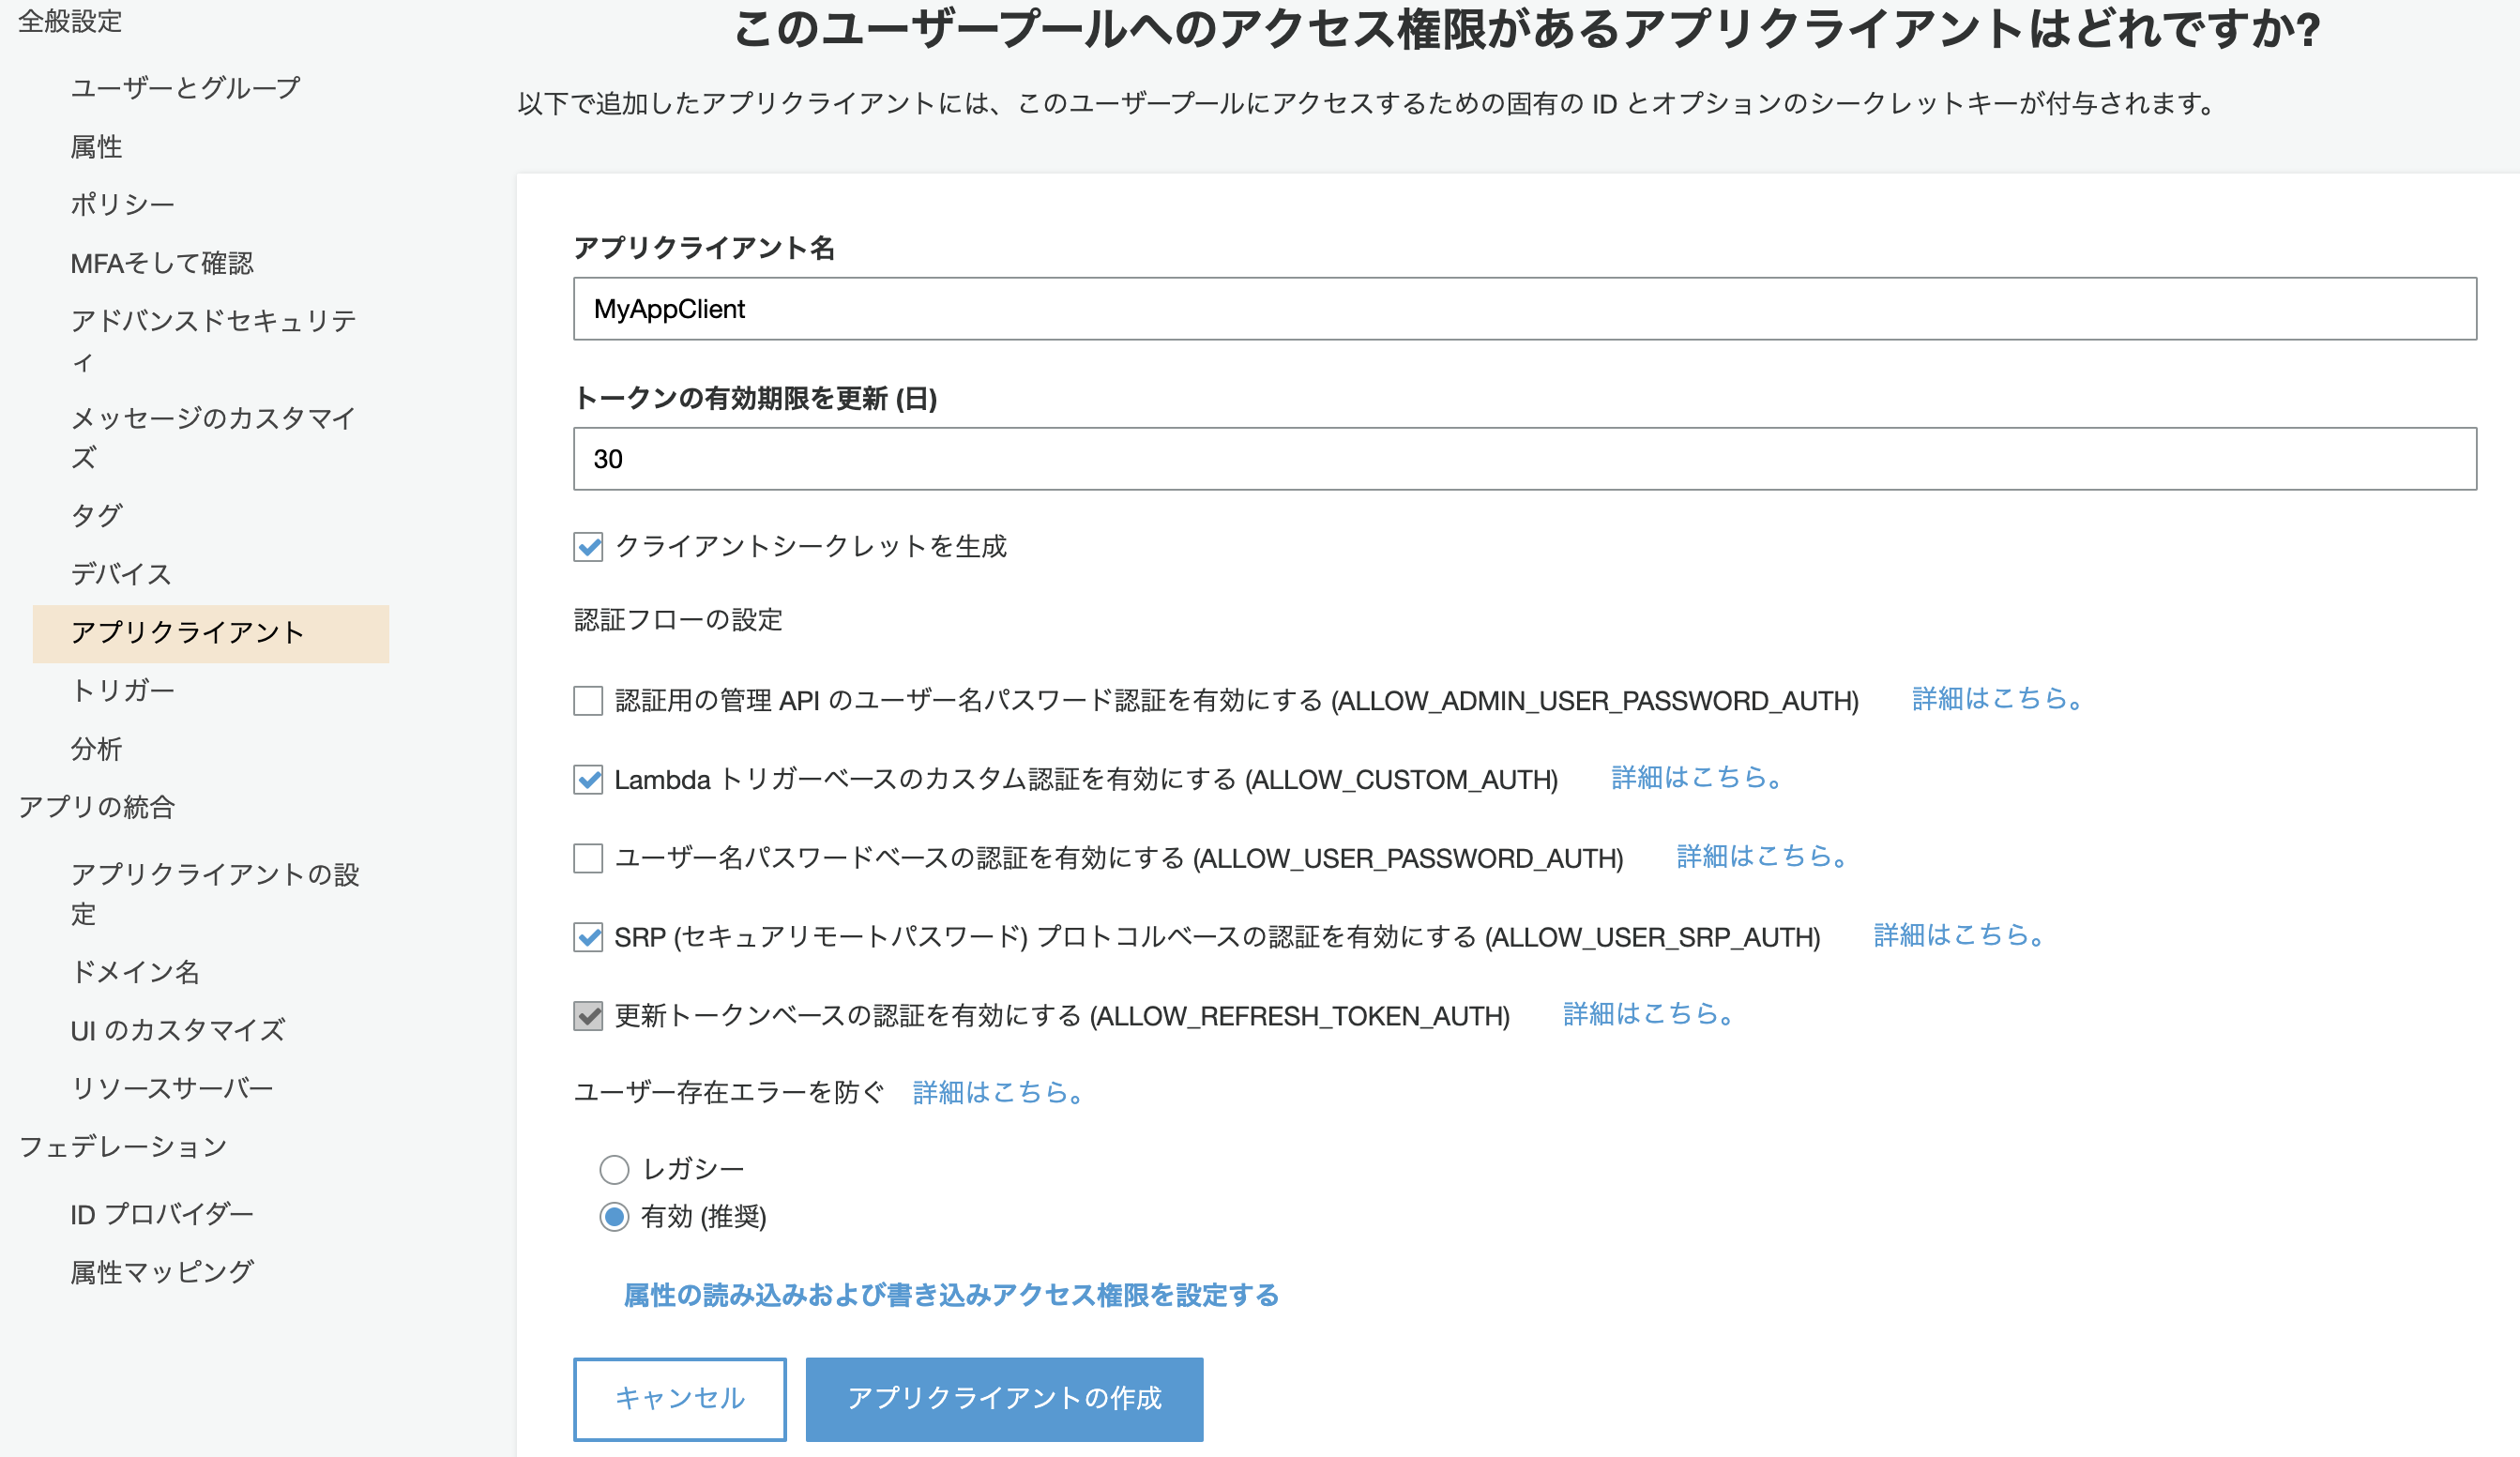
新しいアプリクライアントを作成します。まずアプリクライアント名を入力します。ここでは[MyAppClient]という名前で作成しました。
-
アプリクライアントの作成が完了したら[アプリクライアント ID]と[アプリクライアントのシークレット]をメモします。[詳細を表示]を選択すると表示されます。
CognitoIdentityPool を作成する
CognitoIdentityPool を作成します。
-
[認証プロバイダー]の[Cognito]のタブを開き、[ユーザープールId]と[アプリクライアントId]に先ほどメモをした値を入力し、作成します。

-
Cognito_MyIdentityPoolAuth_RoleとCognito_MyIdentityPoolUnauth_Roleの2つロールが作成されます、一つはログイン済みユーザーに付与されるロールで、もう一つはログインされていないユーザーに付与されるロールです。つまりログイン済みのユーザーはkinesisvideoにアクセスできるように以下のポリシーをアタッチします。
{
   "Version":"2012-10-17",
   "Statement":[
      {
         "Effect":"Allow",
         "Action":[
            "cognito-identity:*",
            "kinesisvideo:*"
         ],
         "Resource":[
            "*"
         ]
      }
   ]
}
Android
AWSのリソースの作成ができたので、Android のサンプルアプリをビルドしていきます
- Androidのサンプルプロジェクトをダウンロードします。
$ git clone https://github.com/awslabs/amazon-kinesis-video-streams-webrtc-sdk-android.git
-
AndroidStudio を起動し、 Open an existing Android Studio project で先ほどダウンロードしたサンプルプロジェクトを開きます。
-
/res/raw/awsconfiguration.jsonにメモしたIdentityPoolId,UserPoolId,UserPoolAppClientSecret,UserPoolAppClientSecret,UserPoolAppClientIdを貼り付けます。IdentityPoolIdはリージョンも含めて入力する必要があるので気をつけてください。 -
実機にインストールし、ユーザーを作成します。入力したメールアドレスに二要素認証のコードが送られてくるので間違えずに入力します。
-
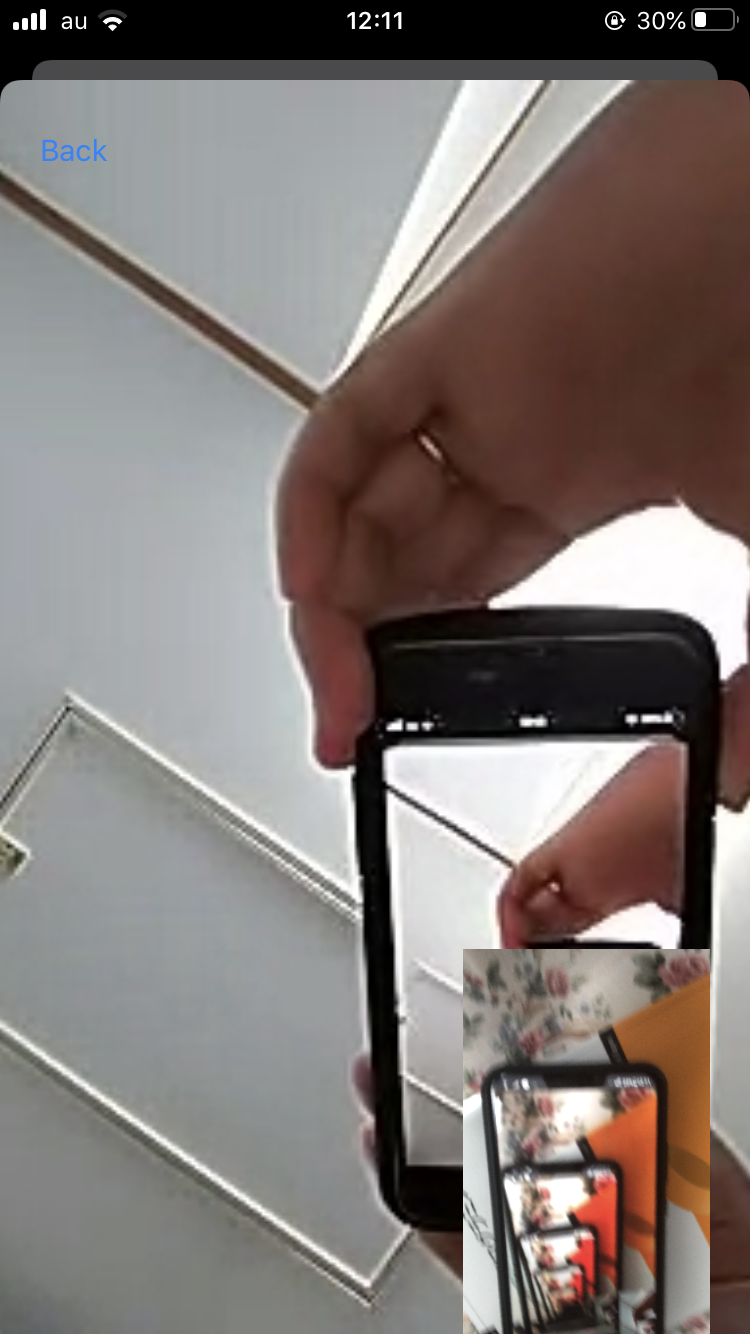
ユーザーの作成とログインができたら [Start Viewer]でビデオチャットを始めます。
-
PCで Kinesis の demo-channel を開き、Master でビデオを流すと PC と Android アプリでビデオチャットができます。
カビゴンがPCのカメラで、エヴァ初号機がAndroidのカメラで撮ってます。
ブラウザ <-> Androidアプリ間でビデオ通信ができました。
iOS
基本的な設定はAndroidで既に終わっているので、設定を追加してビルドします。
$ git clone git@github.com:awslabs/amazon-kinesis-video-streams-webrtc-sdk-ios.git
$ cd amazon-kinesis-video-streams-webrtc-sdk-ios
$ cd Swift
$ pod install  # もし cocoapods が入っていなかったらインストールが必要
awsconfiguration.jsonを追加。
{
  "Version": "1.0",
  "CredentialsProvider": {
    "CognitoIdentity": {
      "Default": {
        "PoolId": "YOUR_IDENTITY_POOL_ID",
        "Region": "ap-northeast-1"
      }
    }
  },
  "IdentityManager": {
    "Default": {}
  },
  "CognitoUserPool": {
    "Default": {
      "AppClientSecret": "YOUR_APP_CLIENT_SECRET",
      "AppClientId": "YOUR_APP_CLIENT_ID",
      "PoolId": "YOUR_USER_POOL_ID",
      "Region": "ap-northeast-1"
    }
  }
}
Constants.swift を開いて入力
let CognitoIdentityUserPoolRegion: AWSRegionType = AWSRegionType.APNortheast1
let CognitoIdentityUserPoolId = "YOUR_USER_POOL_ID"
let CognitoIdentityUserPoolAppClientId = "YOUR_APP_CLIENT_ID"
let CognitoIdentityUserPoolAppClientSecret = "YOUR_APP_CLIENT_SECRET"
let cognitoIdentityPoolId = "YOUR_IDENTITY_POOL_ID"
ログインし、ビデオ通話を開始します。
先ほど作成したユーザーを使いまわしても大丈夫です。
