ConohaVPS上でUbuntu + Nginx + Vaporの簡単なアプリを動かしてみます。
Conohaちゃん可愛い&価格でConohaVPSを選びました。
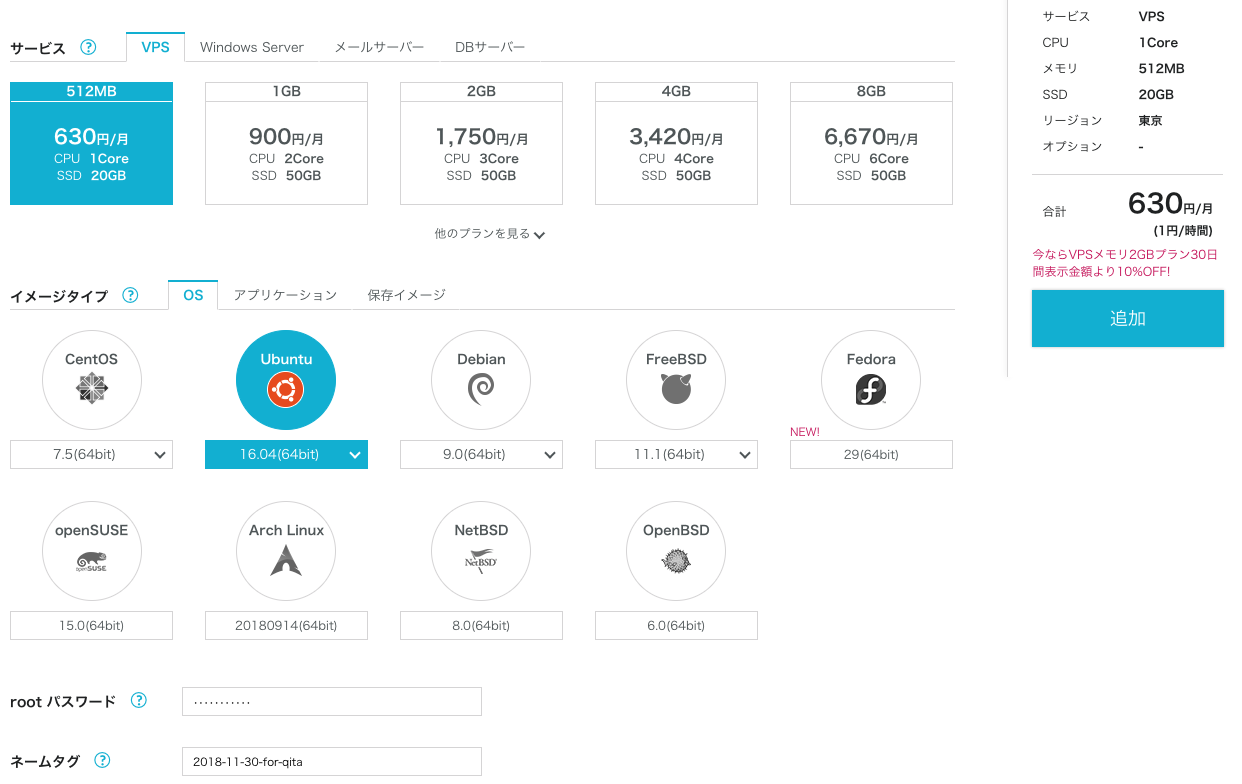
サーバーインスタンスを作成
Ubuntuの16.04 のインスタンスを作ります。Swiftは最新の18系ではサポートされていないので気をつけてください。
作成したVPSにSSHでログインします。
$ ssh root@IP_ADRESS
OSの情報はこんな感じです。
$ cat /etc/os-release
NAME="Ubuntu"
VERSION="16.04.1 LTS (Xenial Xerus)"
ID=ubuntu
ID_LIKE=debian
PRETTY_NAME="Ubuntu 16.04.1 LTS"
VERSION_ID="16.04"
HOME_URL="http://www.ubuntu.com/"
SUPPORT_URL="http://help.ubuntu.com/"
BUG_REPORT_URL="http://bugs.launchpad.net/ubuntu/"
VERSION_CODENAME=xenial
UBUNTU_CODENAME=xenial
本来は証明書を作ったり、rootログインを禁止しないといけないのですが省略します。
NginxをAPTでインストールし起動します。
$ apt-get install nginx
$ nginx
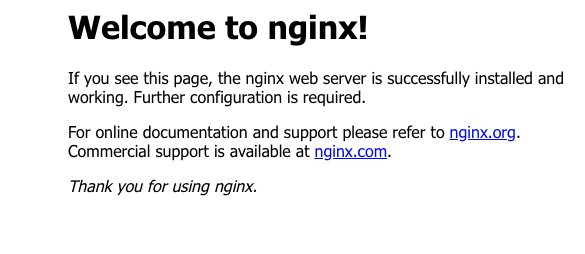
ブラウザからアクセスし、Nginxの初期画面が表示されていることを確認します。
次にNginxでリバースプロキシをするための設定していきます。
/etc/nginx/nginx.conf ファイルを編集し、include /etc/nginx/sites-enabled/*; の行をコメントアウトします。
cd /etc/nginx/
vi nginx.conf
include /etc/nginx/sites-enabled/*;
# include /etc/nginx/sites-enabled/*;
/etc/nginx/conf.d にvapor.conf ファイルを作成し、以下のように記述します。
これでVaporのデフォルトのポートである8080番にNginxがポートフォワードしてくれます。
cd conf.d
vi vapor.conf
server {
    listen 80;
    listen [::]:80;
    server_name  localhost;

    location / {
            proxy_pass http://localhost:8080;
    }
}
Nginxの設定ファイルのを変更を反映させます。
nginx -s reload
この状態でブラウザからアクセスすると「502 Bad Gateway」と表示されているはずです。
次にSwiftとVaporをインストールし、Vaporのプロジェクトを作成します。
以下のスクリプトでVaporのリポジトリをAPTで参照できるようにし、APTでSwiftとVaporをインストールします。
この辺りはアドベントカレンダー初日の記事を良かったら参考にしてみてください。
Install on Ubuntu (公式)
Swift製Webフレームワーク Vaporの紹介2018
$ eval "$(curl -sL https://apt.vapor.sh)"
$ sudo apt-get install swift vapor
Webテンプレートでプロジェクトを作成、ビルド、起動します。
$ cd /root
$ vapor new Hello --template=web
$ cd Hello
$ vapor build
$ vapor run
ブラウザからアクセスするとVaporのロゴが表示されているはずです。
                         **
                       **~~**
                     **~~~~~~**
                    **~~~~~~~~~~**
                  **~~~~~~~~~~~~~~**
                **~~~~~~~~~~~~~~~~~~**
               **~~~~~~~~~~~~~~~~~~~~~~**
              **~~~~~~~~~~~~~~~~~~~~~~~~**
             **~~~~~~~~~~~~~~~~~~~~~~~~~~**
            **~~~~~~~~~~~~~~~~~~~~~~~~~~~~**
            **~~~~~~~~~~~~~~~~~~~~~~~~~~~~**
            **~~~~~~~~~~~~~~~~~~~~~++++~~~**
             **~~~~~~~~~~~~~~~~~~~++++~~~**
               ***~~~~~~~~~~~~~~~++++~~~***
                 ****~~~~~~~~~~++++~~****
                   *****~~~~~~~~~*****
                      *************
               _       __    ___   ___   ___
              \ \  /  / /\  | |_) / / \ | |_)
               \_\/  /_/--\ |_|   \_\_/ |_| \
               a web framework for Swift
           Project "Hello" has been created.
    Type `cd Hello` to enter the project directory.
Use `vapor cloud deploy` to host your project for free!
                         Enjoy!
おまけ
Nginxのコマンド
nginx -s stop
nginx -s reload
Vaporをバックグラウンドで起動する
$ control + z
$ jobs
$ bg 1