前の記事ではWSL環境で試験的に環境設定を行った.今回は手元にあったRaspberry Pi2にElasticsearchをインストールしたので,手順と詰まったところをまとめておく.ラズパイ自体久しぶりに起動したのでapt-getで最新版に更新しておいた.ついでに言うと,Javaはなぜかインストール済みだったのでそのまま利用した.
次のサイトを参考にした.
- Raspberry Pi 3(Raspbian)でElasticsearch 6.1.1+Kibana 6.1.1を使う
- RaspberryPiでログの見える化するよ(Elasticsearch×kibana×Fluentd)
$ java -version
java version "1.8.0_65"
Java(TM) SE Runtime Environment (build 1.8.0_65-b17)
Java HotSpot(TM) Client VM (build 25.65-b01, mixed mode)

$ pinout
,--------------------------------.
| oooooooooooooooooooo J8     +====
| 1ooooooooooooooooooo        | USB
|                             +====
|      Pi Model 2B V1.1          |
|      +----+                 +====
| |D|  |SoC |                 | USB
| |S|  |    |                 +====
| |I|  +----+                    |
|                   |C|     +======
|                   |S|     |   Net
| pwr        |HDMI| |I||A|  +======
`-| |--------|    |----|V|-------'
環境設定
Elasticsearchをダウンロードしてきて設定.公開用ではないので,古いバージョンでそのまま試した.ついでにconfig/jvm.optionsを編集して,1Gから256Mに設定.またconfig/elasticsearch.ymlを修正して,外部からのアクセスと,起動時のフィルタ的な物(詳細不明)をfalseに設定した.
$ wget https://artifacts.elastic.co/downloads/elasticsearch/elasticsearch-6.1.1.tar.gz
$ tar zxvf elasticsearch-6.1.1.tar.gz
$ cd elasticsearch-6.1.1/
bootstrap.system_call_filter: false
network.host: 0.0.0.0
このままラズパイで起動すると怒られるので,以下の設定をしておく.ただしsysctlの設定は再起動するとリセットされていたので,永続的にするにはちゃんとどこかに書く必要がある(未調査).
$ sudo sysctl -w vm.max_map_count=262144
起動して別PC(SSH元)からアクセスし,次のようにJSONが返ってくることを確認.
{
  "name" : "rFLJjqP",
  "cluster_name" : "elasticsearch",
  "cluster_uuid" : "F1PiMal1S6669hQ7520iHQ",
  "version" : {
    "number" : "6.1.1",
    "build_hash" : "bd92e7f",
    "build_date" : "2017-12-17T20:23:25.338Z",
    "build_snapshot" : false,
    "lucene_version" : "7.1.0",
    "minimum_wire_compatibility_version" : "5.6.0",
    "minimum_index_compatibility_version" : "5.0.0"
  },
  "tagline" : "You Know, for Search"
}
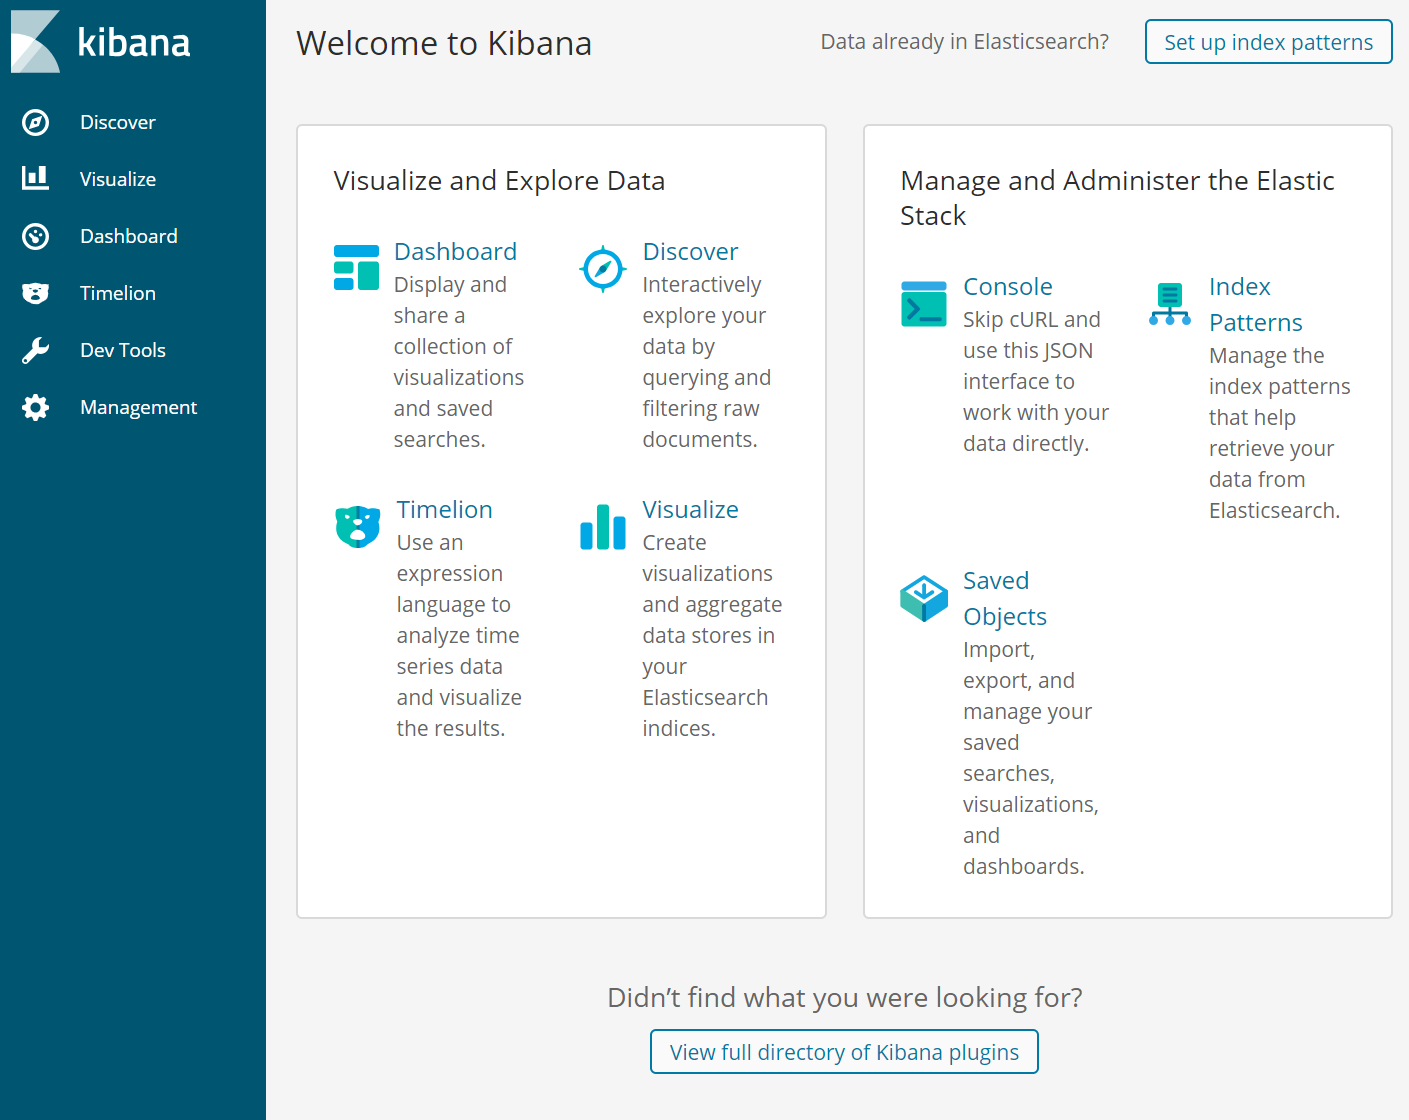
次に上の参考にしたブログ記事の通り,Kibanaをインストールする.特に変更点はなし.動作確認するときに0.0.0.0の設定を忘れない(elasticsearchと同じ).elasticsearchとkibanaを両方起動させ,動作を確認する.WSLとバージョンが違うので画面が少し異なるけど,ブラウザから起動確認できた.
