こんにちは!
簡易的なリアルタイムチャットアプリを作ったので、復習もかねて実装方法についてご紹介します。
成果物
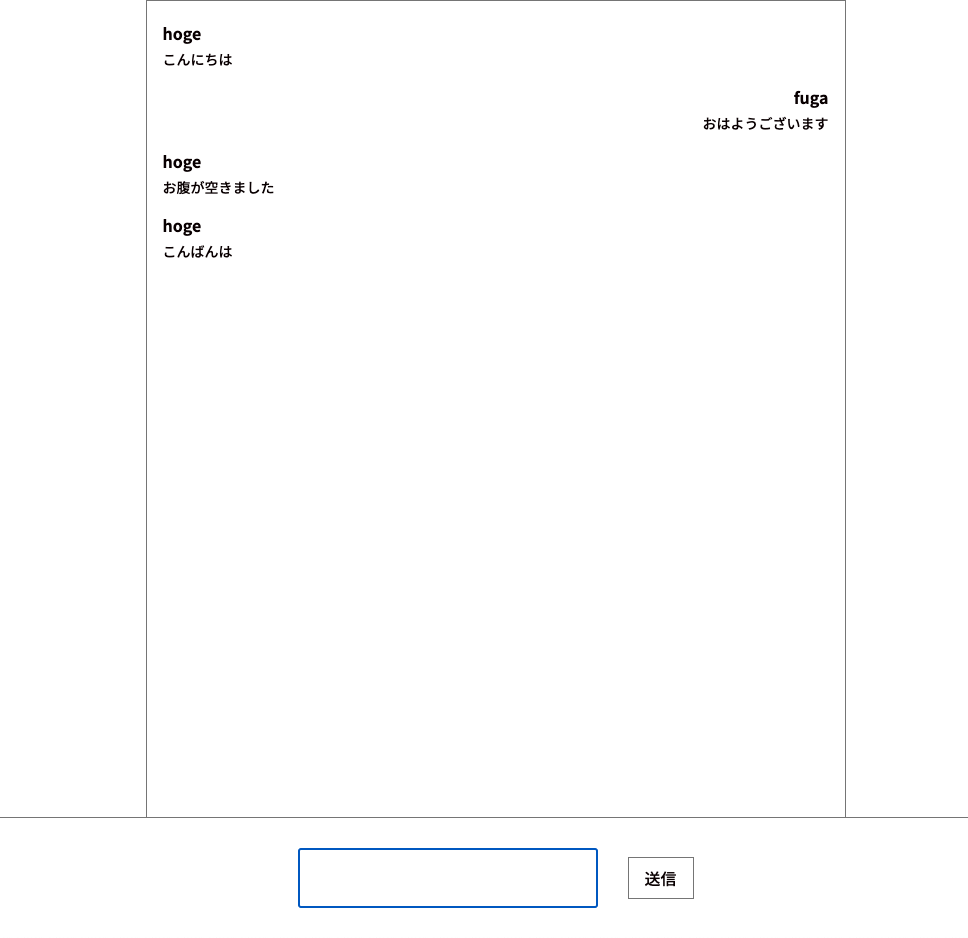
こちらが成果物です。
https://chat-demo-lake-alpha.vercel.app/
使った技術はNuxtとPusherです。
Pusherはリアルタイム通信を実現するために使い、Nuxtは最近勉強中なので、使ってみた感じです。
今回はリアルタイムにメッセージのやり取りをすることを目標につくったので、ログイン機能やデータベースとの連携は行っていません。
お一人で試す場合には、ブラウザでタブを2つ開いてメッセージを送信するとリアルタイムにやり取りできていることがわかります。
Pusherって何?
今回のチャットアプリの肝となるPusherですが、こちらはWebSocketを使ってリアルタイムかつ両方向の通信機能をWebサイトやモバイルアプリに組み込むサービスです。(公式サイト)
Pusherには以下の2つの機能が用意されています。
- Channels…リアルタイムコンテンツの配信
- Beams…プッシュ通知
上記のうち、今回はリアルタイム通信のためのChannelsを使用します。
Channelsは無料枠でも以下の制限内で使用できます。(詳しくはこちら)
- 同時接続最大100ユーザー
- 200,000回/1日
実装
実装の大まかな流れは以下のような感じです。
流れに沿って説明します。
- Pusherに登録
- シークレットキー等を環境変数に登録
- 名前入力ページの処理を実装
- チャットページのサーバーサイド処理を実装
- チャットページのクライアントサイド処理を実装
Pusherに登録
まずは、Pusherのサービスに登録しましょう。
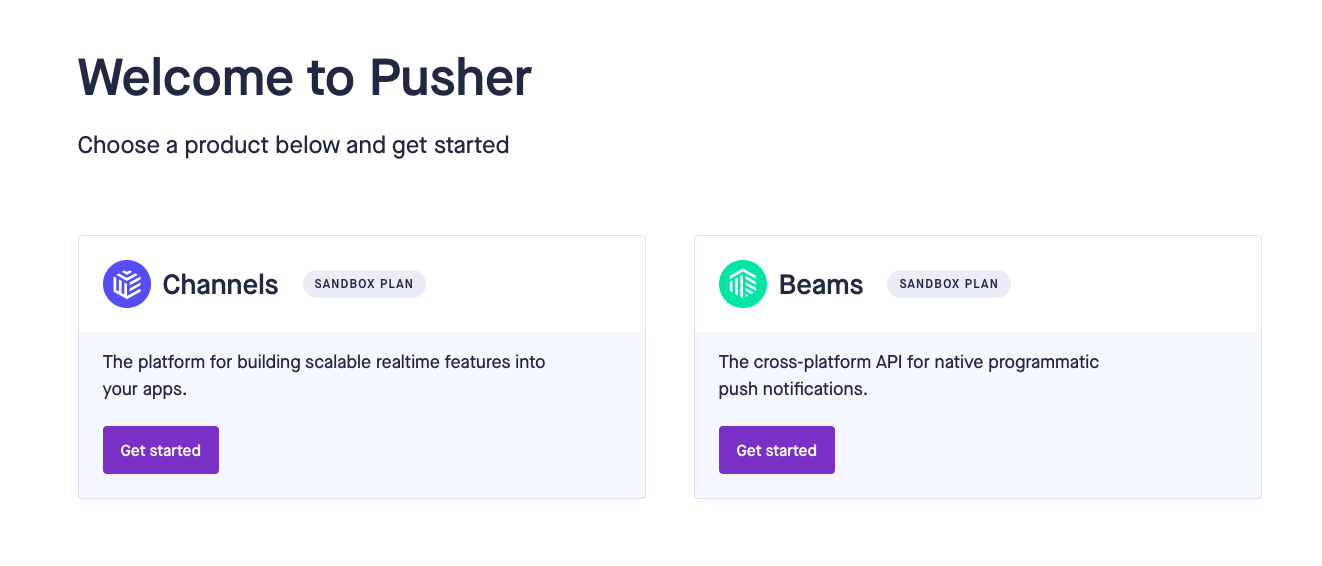
登録すると、以下の画面が出てくるので、ChannelsのGet startedを押して設定を完了してください。
シークレットキー等を環境変数に登録
次に、Pusherのシークレットキー等を環境変数に登録していきます。
まずは、.envファイルを作ってPusherの設定から値をコピペしてきてください。
こちらの値はアプリケーション概要画面のApp Keysの項目にあります。
PUSHER_APP_ID="ここにコピペする"
PUSHER_KEY="ここにコピペする"
PUSHER_SECRET="ここにコピペする"
PUSHER_CLUSTER="ここにコピペする"
そして、useRuntimeConfigで参照できるように、nuxt.config.tsで環境変数の設定をします。
export default defineNuxtConfig({
  runtimeConfig: {
    public: {
      pusher_app_id: process.env.PUSHER_APP_ID,
      pusher_key: process.env.PUSHER_KEY,
      pusher_secret: process.env.PUSHER_SECRET,
      pusher_cluster: process.env.PUSHER_CLUSTER,
    },
  },
});
名前入力ページ
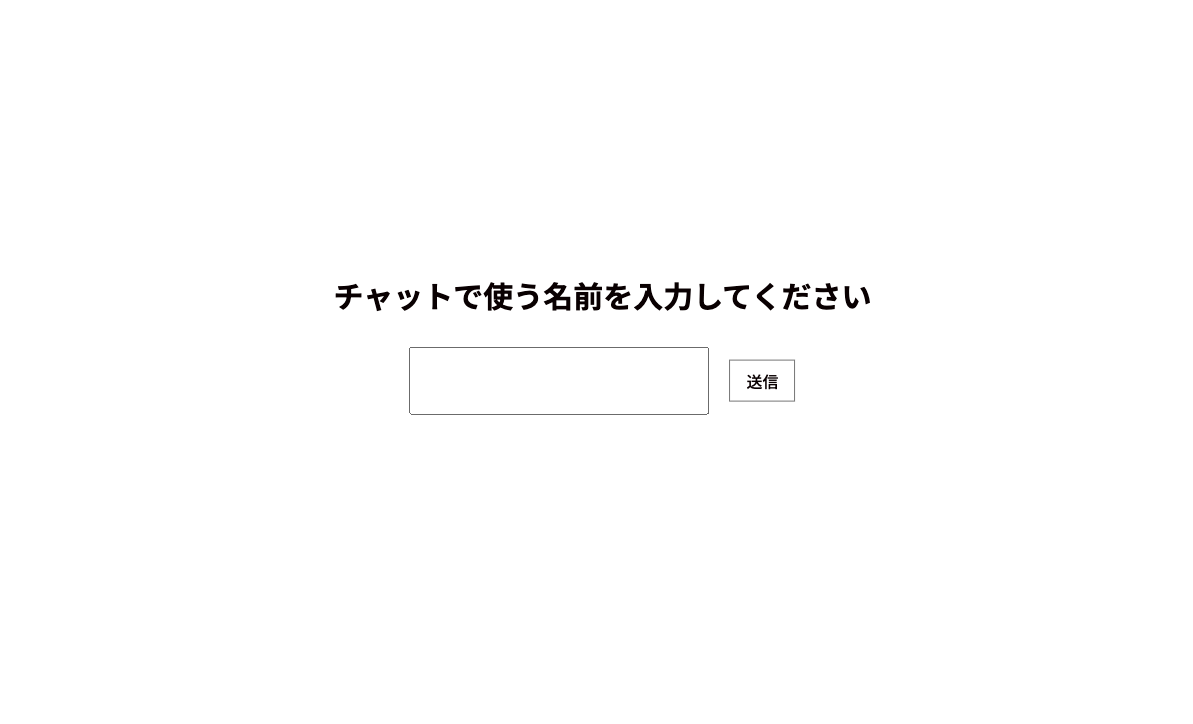
名前入力ページはチャットページで使用する名前を登録するだけのページです。
入力した名前はチャットページでも使えるようにしたいので、useStateを使用して管理します。
今回は、公式ページで紹介されているパターンで定義します。
以下のように定義してあげると、composablesディレクトリ内で定義されているのでauto-importできるようになり、また、useStateのkey名のタイポが少なくなります。
export const useName = () => {
  return useState<string | undefined>('name', () => {
    return undefined;
  });
};
次に、ランダムで生成した文字列をidとしてチャットページで使用したいので、同じようにidのcomposablesも用意してあげます。
export const useId = () => {
  return useState<string | undefined>('userId', () => {
    return undefined;
  });
};
スタイルを除いた名前入力ページの全体像は下記のようになります。
<script lang="ts" setup>
//定義したcomposablesの使用
const name = useName();
const userId = useId();

//ランダム文字列の生成関数
const createId = () => {
  const N = 16;
  return btoa(String.fromCharCode(...crypto.getRandomValues(new Uint8Array(N)))).substring(0, N);
};

//submit時の処理
const handleSubmit = (e: Event) => {
  e.preventDefault();
  userId.value = createId();
  return navigateTo('/chat/');
};
</script>

<template>
  <div class="wrapper">
    <h1>チャットで使う名前を入力してください</h1>
    <form @submit="handleSubmit">
      <input type="text" v-model="name" />
      <button>送信</button>
    </form>
  </div>
</template>
ランダムな文字列の生成ロジックはお好きなものを使ってください!
今回はidが被った時の処理等の実装はせずに、シンプルにランダムな文字列を返すだけの実装をしています。
また、navigateToを使ってsubmit時にチャットページへ遷移するようにしています。
チャットページ

次は実際にメッセージのやり取りをするページの実装です。
まずはサーバーサイドの処理から見ていきましょう。
サーバーサイドの実装
今回はサーバーサイドの処理をNuxtのserverディレクトリを使って実装しています。
まず、npmでpusherのライブラリをインストールします。
npm i pusher
そして、環境変数で用意した値でPusherのインスタンスを作成します。
const key: string = process.env.PUSHER_KEY;
const cluster: string = process.env.PUSHER_CLUSTER;
const appId: string = process.env.PUSHER_APP_ID;
const secret: string = process.env.PUSHER_SECRET;

const pusher = new Pusher({
  appId,
  key,
  secret,
  cluster,
  useTLS: true,
});
最後に、getQueryでクエリパラメーターを取得しつつ、
pusher.triggerでチャンネルとイベントを登録して、クエリパラメーターで受け取った値を返す処理を書きます。
このようにチャンネルとイベントを登録することで、同様のチャンネルでイベントの受信設定を行なっているクライアントに対してWebSocketを介したデータ送信ができます。
export default defineEventHandler(async (event) => {
  const query = getQuery(event);
  const { name, message, userId } = query;
  await pusher.trigger('my-channel', 'my-event', {
    name,
    message,
    userId,
  });
});
以下が最終的なコードです。
import Pusher from 'pusher';

if (
  !process.env.PUSHER_KEY ||
  !process.env.PUSHER_CLUSTER ||
  !process.env.PUSHER_APP_ID ||
  !process.env.PUSHER_SECRET
) {
  throw new Error('Pusher environment variables are not set.');
}

const key: string = process.env.PUSHER_KEY;
const cluster: string = process.env.PUSHER_CLUSTER;
const appId: string = process.env.PUSHER_APP_ID;
const secret: string = process.env.PUSHER_SECRET;

const pusher = new Pusher({
  appId,
  key,
  secret,
  cluster,
  useTLS: true,
});

export default defineEventHandler(async (event) => {
  const query = getQuery(event);
  const { name, message, userId } = query;
  await pusher.trigger('my-channel', 'my-event', {
    name,
    message,
    userId,
  });
});
クライアントサイドの処理
まずはsubmit時の処理を見ていきましょう。
submit時に、前回のページで作成したnameとuserId、そして今回入力されたmsgをクエリパラメーターにして、useFetchでフェッチします。
こうすることで、先ほど書いたサーバーサイド側にクエリパラメーターとしてデータを渡します。
const name = useName();
const userId = useId();
const msg = useState<string | undefined>('msg', () => {
  return undefined;
});

const handleSubmit = async (e: Event) => {
  e.preventDefault();
  if (msg.value === '') return;
  await useFetch(`/api/chat/?name=${name.value}&message=${msg.value}&userId=${userId.value}`);
  msg.value = '';
};
そして、次にクライアントでPusherの実装をするためにpusher-jsを入れましょう。
npm i pusher-js
Pusherのインスタンスを作成します。
ここで、環境変数に登録した値を使います。
const runtimeConfig = useRuntimeConfig();
const key = runtimeConfig.public.pusher_key;
const cluster = runtimeConfig.public.pusher_cluster;

const pusher = new Pusher(key, {
  cluster,
});
インスタンスを作成したら、マウント時に走らせるPusherの処理を実装していきます。
中身としてはPusherのチャンネルをsubscribeで登録して、channel.bindでイベントの受信とその処理を書いています。
このようにクライアントでチャンネルとイベントの設定を行うことでイベントを受信して、Pusherからデータを受け取れます。
受け取ったデータは配列のchatsに入れていきます。
const chats = useState<Array<Message> | undefined>("chats", () => {
  return undefined;
});

onMounted(() => {
  if (!name.value) {
    return navigateTo("/");
  }

  const channel = pusher.subscribe("my-channel");
  channel.bind("my-event", function (data) {
    const { name, message, userId } = JSON.parse(JSON.stringify(data));
    if (!chats.value) {
      chats.value = [{ name, message, userId }];
      return;
    } else {
      chats.value?.push({ name, message, userId });
    }
  });
});
チャットページ全体のコードは以下のような感じです。
chatsに入れたデータをv-forで回して、メッセージとして表示させています。
またuseIdは自分が送信したメッセージか相手が送信したメッセージかを判断して、スタイルを出し分けるために使っています。
<script setup lang="ts">
import Pusher from 'pusher-js';
type Message = {
  message: string;
  name: string;
  userId: string;
};
const chats = useState<Array<Message> | undefined>('chats', () => {
  return undefined;
});
const name = useName();
const userId = useId();
const msg = useState<string | undefined>('msg', () => {
  return undefined;
});

const runtimeConfig = useRuntimeConfig();
const key = runtimeConfig.public.pusher_key;
const cluster = runtimeConfig.public.pusher_cluster;

const pusher = new Pusher(key, {
  cluster,
});
onMounted(() => {
  if (!name.value) {
    return navigateTo('/');
  }

  const channel = pusher.subscribe('my-channel');
  channel.bind('my-event', function (data) {
    const { name, message, userId } = JSON.parse(JSON.stringify(data));
    if (!chats.value) {
      chats.value = [{ name, message, userId }];
      return;
    } else {
      chats.value?.push({ name, message, userId });
    }
  });
});

const handleSubmit = async (e: Event) => {
  e.preventDefault();
  if (msg.value === '') return;
  await useFetch(`/api/chat/?name=${name.value}&message=${msg.value}&userId=${userId.value}`);
  msg.value = '';
};
</script>

<template>
  <div class="wrapper">
    <ul class="chats">
      <li v-for="(item, i) in chats" :key="i" class="chat">
        <div :class="item.userId === userId ? 'left' : 'right'">
          <p class="name">{{ item.name }}</p>
          <p class="message">{{ item.message }}</p>
        </div>
      </li>
    </ul>
    <div class="footer">
      <div class="footer_inner">
        <form @submit="handleSubmit" class="form">
          <input v-model="msg" type="text" />
          <button type="submit">送信</button>
        </form>
      </div>
    </div>
  </div>
</template>
まとめ
今回はメッセージの送受信のみを実装しましたが、他の機能もPusherで作成することができます。
例えば、入力中であれば「入力中です」というテキストの表示、新しいユーザーの参加通知もPusherで実装できるでしょう。
Pusherに関してはまだまだ知らないことだらけなので、他のアプリも作りつつ知見を貯めていきます。
最後まで読んでいただきありがとうございました!

