Mac環境
私のMacの環境は以下
$ sw_vers
ProductName:	Mac OS X
ProductVersion:	10.12.6
BuildVersion:	16G29
ngrokって?
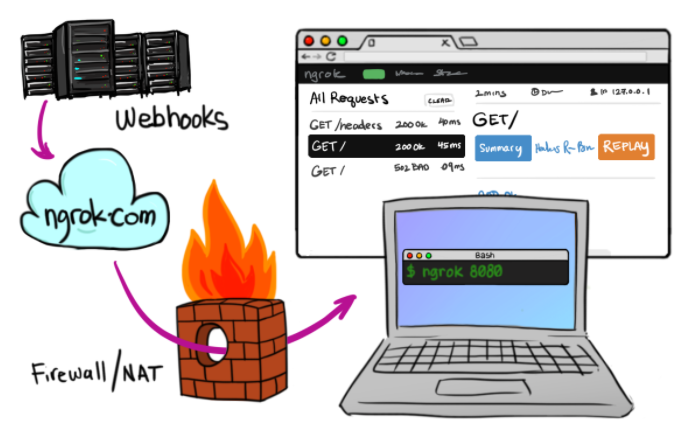
ポワードフォワーディングのサービスの一つです。ファイアウォール下でもHTTP等をトンネリングして外部からアクセスできるようにするトンネリングサービスです。どちらかというとWebアプリケーション等の開発者向けで、用途としてはローカルで開発中のWebアプリケーション等の動作検証で外部からアクセスしてもらえるようにする、などがあるようです。
注意
ポートフォワーディングはネットワークに穴を開ける行為です。 セキュリティ上のリスクを承知したうえで使う必要があります。
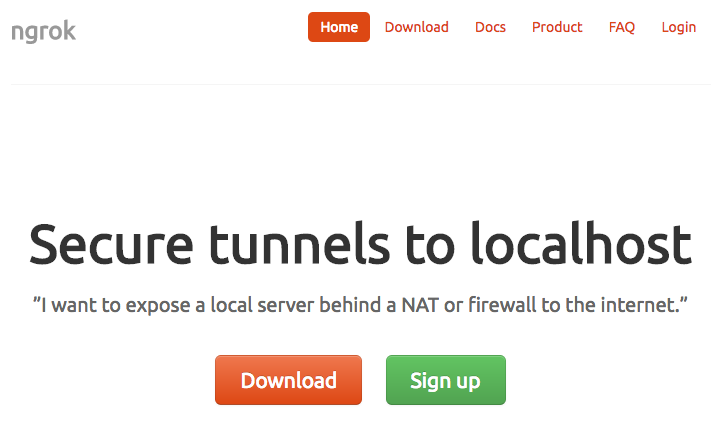
ngrokをダウンロード
ngrockのサイトからOSに合わせた資材をダウンロードします。
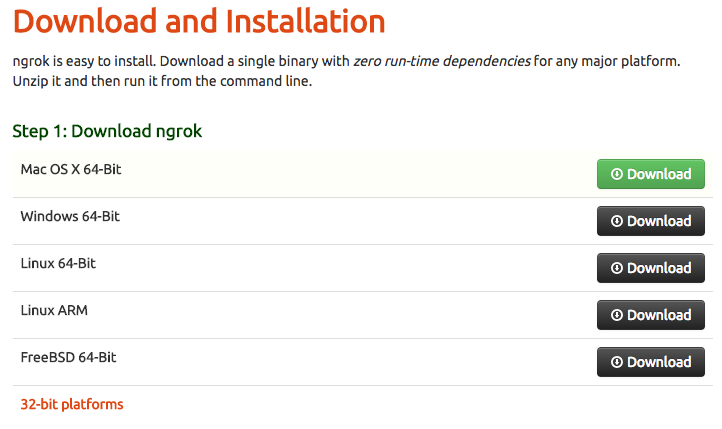
ダウンロードフォルダにzipファイルがダウンロードされました。

$ unzip ~/Downloads/ngrok-stable-darwin-amd64.zip
Archive:  /Users/take/Downloads/ngrok-stable-darwin-amd64.zip
  inflating: ngrok
ヘルプコマンドで動作テスト
helpコマンドで動作確認します。
$ ./ngrok help
NAME:
   ngrok - tunnel local ports to public URLs and inspect traffic

DESCRIPTION:
    ngrok exposes local networked services behinds NATs and firewalls to the
    public internet over a secure tunnel. Share local websites, build/test
    webhook consumers and self-host personal services.
    Detailed help for each command is available with 'ngrok help <command>'.
    Open http://localhost:4040 for ngrok's web interface to inspect traffic.

EXAMPLES:
    ngrok http 80                    # secure public URL for port 80 web server
    ngrok http -subdomain=baz 8080   # port 8080 available at baz.ngrok.io
    ngrok http foo.dev:80            # tunnel to host:port instead of localhost
    ngrok tcp 22                     # tunnel arbitrary TCP traffic to port 22
    ngrok tls -hostname=foo.com 443  # TLS traffic for foo.com to port 443
    ngrok start foo bar baz          # start tunnels from the configuration file

VERSION:
   2.2.8

AUTHOR:
  inconshreveable - <alan@ngrok.com>

COMMANDS:
   authtoken	save authtoken to configuration file
   credits	prints author and licensing information
   http		start an HTTP tunnel
   start	start tunnels by name from the configuration file
   tcp		start a TCP tunnel
   tls		start a TLS tunnel
   update	update ngrok to the latest version
   version	print the version string
   help		Shows a list of commands or help for one command
使ってみる
早速使ってみます
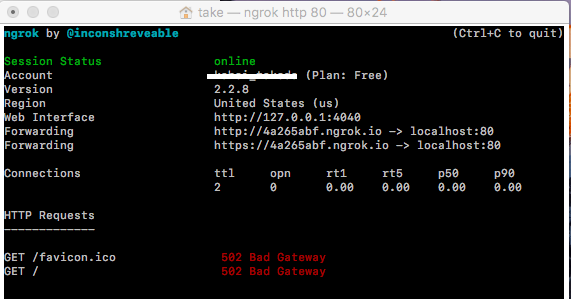
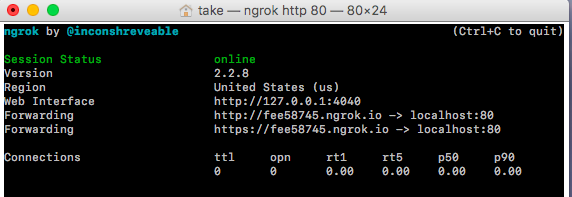
$ ./ngrok http 80
この状態でインターネットにつながる端末ならどこからでも http://fee58745.ngrok.io にアクセスすればローカルの80番につながります。お手軽ですね。サブドメインの fee58745 は動かすたびにランダムな文字列が設定されます。
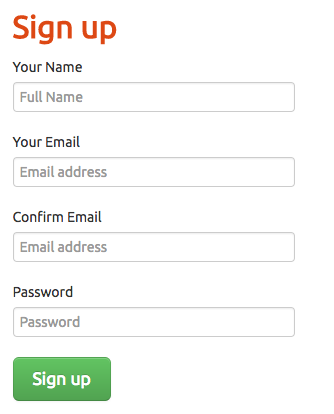
PCとユーザアカウントを紐付ける
するとトークンが発行されるので、画面に指示されたとおりにコマンドを実行します。
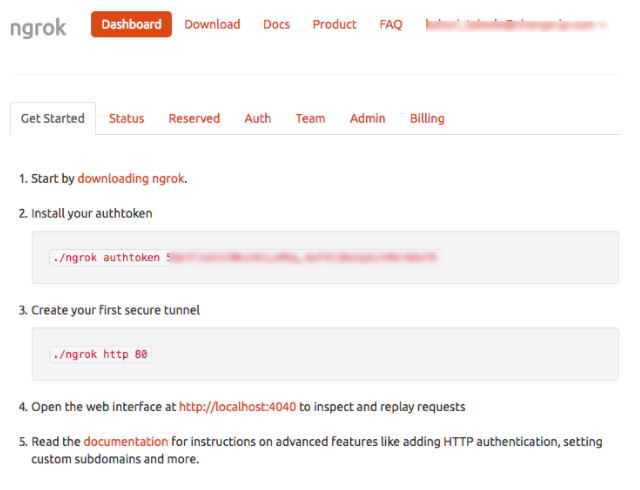
$ ./ngrok authtoken xxxxxxxxxxxxxxxxxxxxxxxxxxxxxxxxxxxxx
Authtoken saved to configuration file: /Users/take/.ngrok2/ngrok.yml
動作確認
再度80番ポートで使ってみます
$ ./ngrok http 80
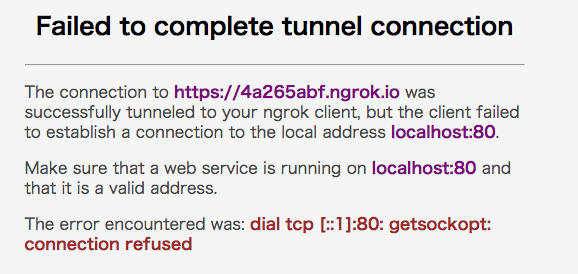
ブラウザからアクセスしてみると、エラー画面になります。これはトンネリング通信はできていますが、私のPC自体80番ポートを使ったhttps通信を行うアプリを起動していないためです。ポワードフォワーディングの仕組み上は問題なしです。
以上です。ngrokは1.xバージョンではサブアドレスの指定が無料でできましたが2.xバージョンでは有料になってます。動作テスト程度でしたら無料でOKかと思います。

