環境構築が楽になるDockerを始めてみます。
環境の前提
- Windows10 pro 1803
- Docker.comのアカウント作成済
Docker環境構築手順
Dockerのダウンロード
Docker.comサイトにアクセスして以下の[Download Desktop and Take a Tutorial]をクリック。
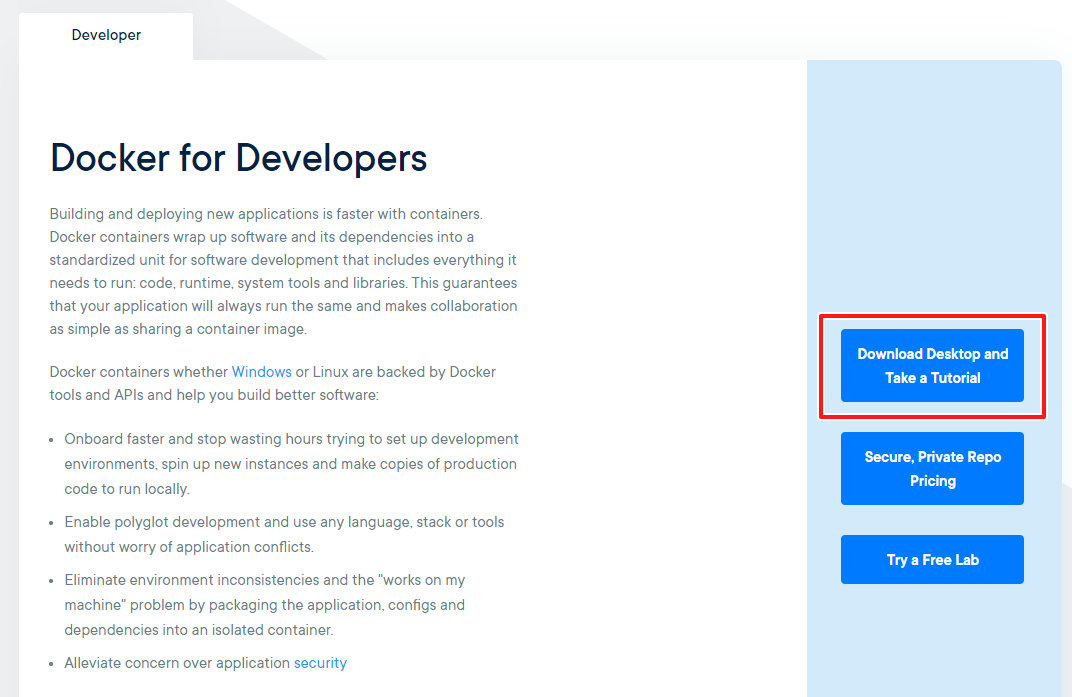
ぉお。なんかチュートリアル式になってる。[Download Docker Desktop for Windows]をクリック。
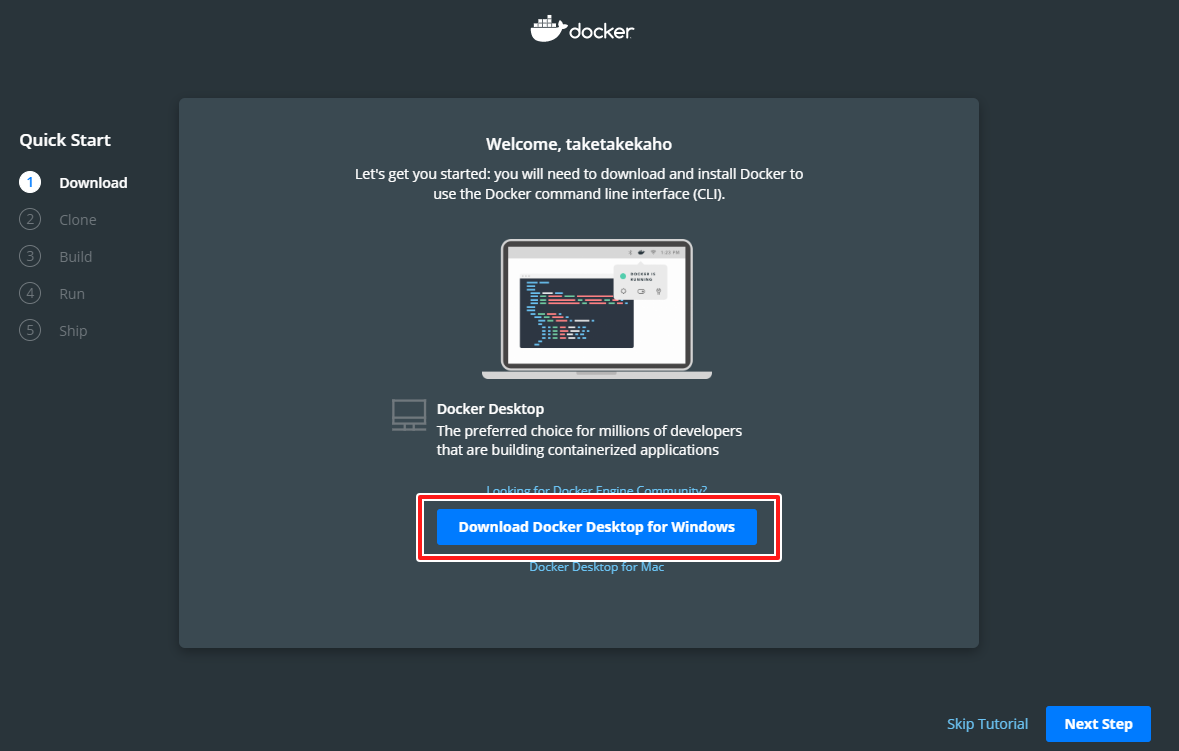
Docker Desktop Installer.exeというファイルがダウンロードフォルダにダウンロードされます。
Hyper-V機能の有効化
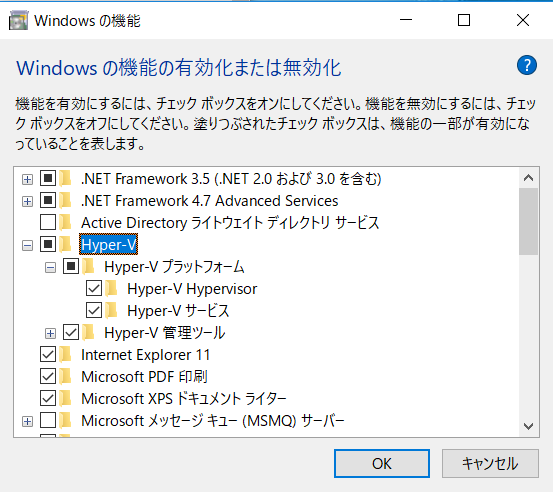
コントロールパネルからWindowsの機能設定でHyper-V機能にチェックをつけて再起動します。
Dockerインストール
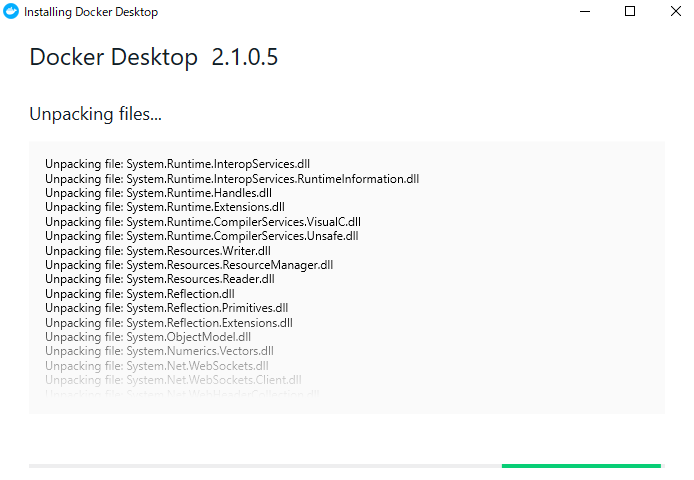
ダウンロードしたexeを起動するといきなりダウンロードが始まり少し待ちます。
1年前にインストールした時にはこんな手順あったんですがなくなったのかな?
2つ目のチェックを直訳すると「Linuxコンテナーの代わりにWindowsコンテナーを使用する(これはインストール後に変更できます)」ってなるんで不要っぽいんでそのまま[OK]
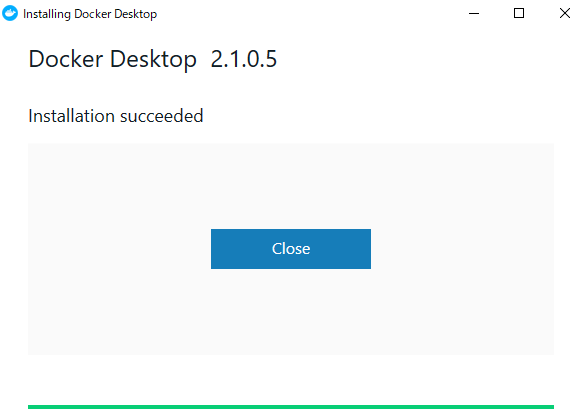
インストール完了して[Close]クリックすると閉じます。
デスクトップにショートカットできてた。

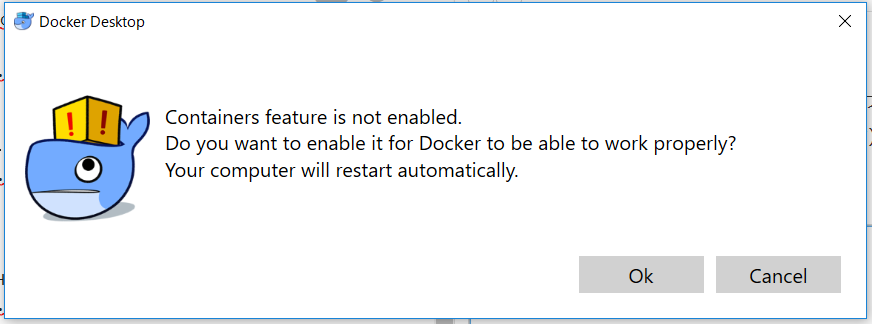
1年前はこんな手順だったのですが何も起こらないので
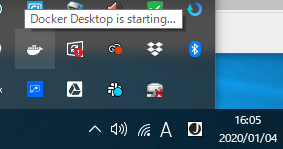
アイコンダブルクリックして起動してみます。
ん?使う前にアンケート出すのちょっと不自然だけど適当に答える
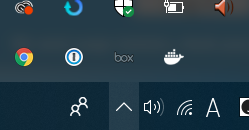
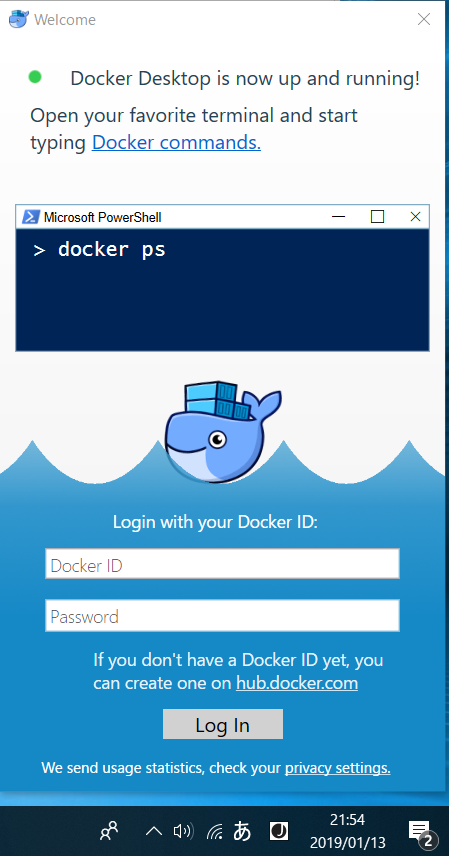
去年は自動でこんな画面が起動してきたんだけど何も起こらないので
タスクバーのDockerアイコンを右クリックして[Sign in / Create Docker ID...]をクリック
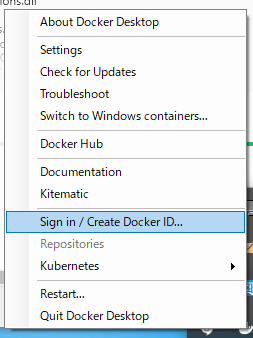
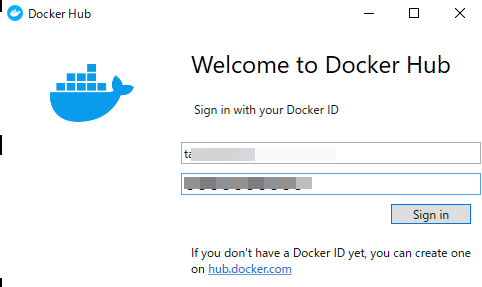
以下の画面でログイン。ID未作成の場合にはdocker hubサイトで作成できます。
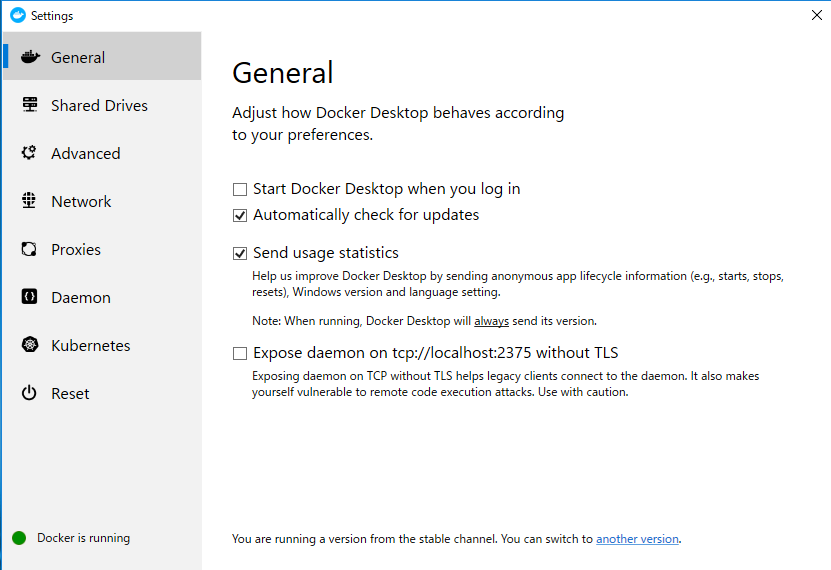
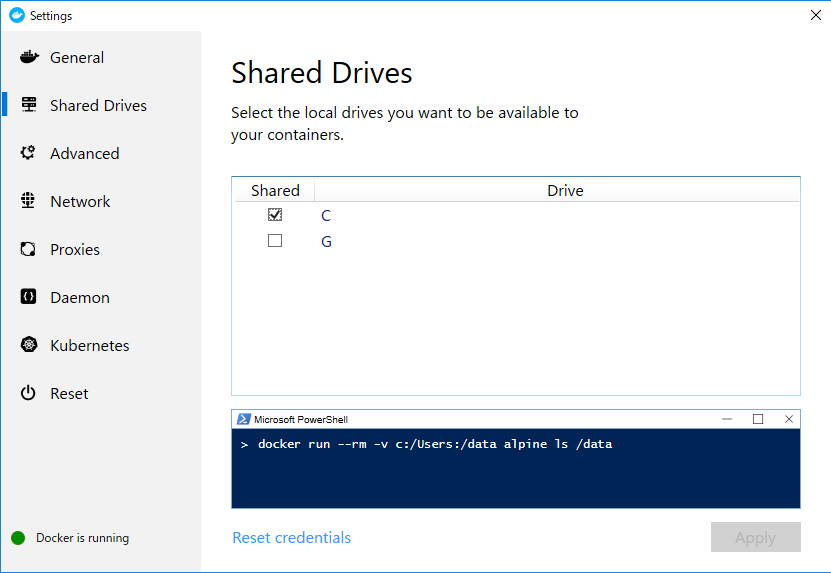
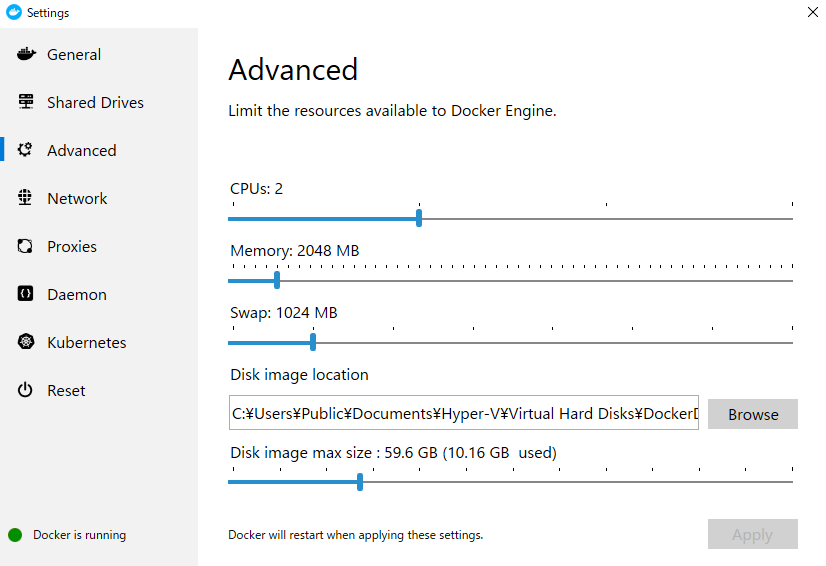
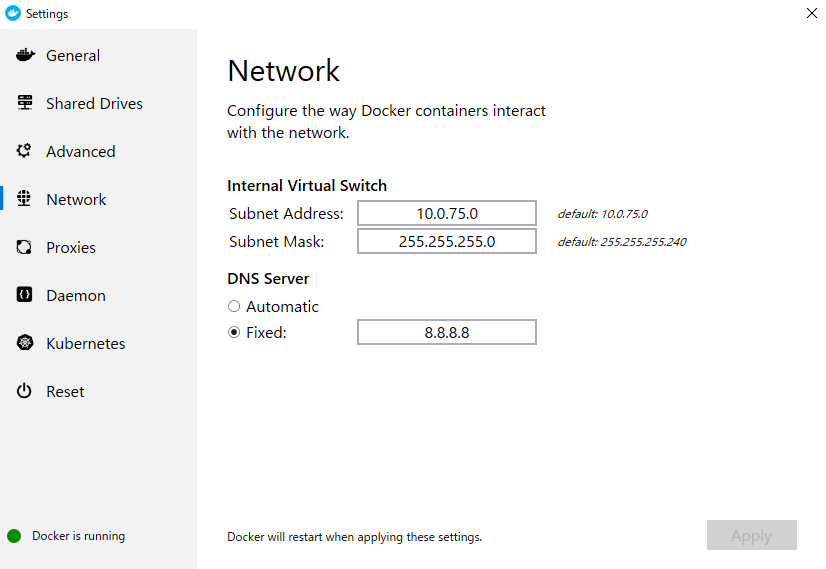
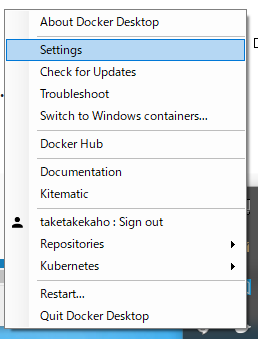
タスクバーのDockerアイコンを右クリックして[Settings]をクリックします。
チュートリアル
インストールテスト
ここのドキュメントに沿ってインストールテストしてみます。
バージョン確認
> docker --version
Docker version 19.03.5, build 633a0ea
hello-worldイメージの実行
DockerHubからイメージをPullして実行します。
>docker run hello-world
Unable to find image 'hello-world:latest' locally
latest: Pulling from library/hello-world
1b930d010525: Pull complete
Digest: sha256:d1668a9a1f5b42ed3f46b70b9cb7c88fd8bdc8a2d73509bb0041cf436018fbf5
Status: Downloaded newer image for hello-world:latest

Hello from Docker!
This message shows that your installation appears to be working correctly.

To generate this message, Docker took the following steps:
 1. The Docker client contacted the Docker daemon.
 2. The Docker daemon pulled the "hello-world" image from the Docker Hub.
    (amd64)
 3. The Docker daemon created a new container from that image which runs the
    executable that produces the output you are currently reading.
 4. The Docker daemon streamed that output to the Docker client, which sent it
    to your terminal.

To try something more ambitious, you can run an Ubuntu container with:
 $ docker run -it ubuntu bash

Share images, automate workflows, and more with a free Docker ID:
 https://hub.docker.com/

For more examples and ideas, visit:
 https://docs.docker.com/get-started/
イメージのリスト表示
DockerHubからダウンロードしたhello-worldイメージのリストを表示します。
> docker image ls
REPOSITORY          TAG                 IMAGE ID            CREATED             SIZE
hello-world         latest              fce289e99eb9        12 days ago         1.84kB
| 項目 | 説明 |
|---|---|
| REPOSITORY | Dockerイメージの名前 |
| TAG | Dockerイメージのタグ名 |
| IMAGE ID | DockerイメージのID |
| CREATED | 作成日 |
| SIZE | サイズ |
なんで12日前になるんだろう…?
コンテナの一覧表示
docker runコマンドでHello from Docker!が出力された時点で終了したってことらしい。
> docker container ls --all
CONTAINER ID        IMAGE               COMMAND             CREATED              STATUS                          PORTS               NAMES
d332fc741236        hello-world           "/hello"                 About a minute ago   Exited (0) About a minute ago                            sharp_elion
アプリケーション探索
UbuntuOSでWebサーバー立てて起動してみます。
> docker run --interactive --tty ubuntu bash
Unable to find image 'ubuntu:latest' locally
latest: Pulling from library/ubuntu
2746a4a261c9: Pull complete
4c1d20cdee96: Pull complete
0d3160e1d0de: Pull complete
c8e37668deea: Pull complete
Digest: sha256:250cc6f3f3ffc5cdaa9d8f4946ac79821aafb4d3afc93928f0de9336eba21aa4
Status: Downloaded newer image for ubuntu:latest
root@52f9f6a42bb5:/#  hostname
f316521640c9
root@52f9f6a42bb5:/# exit
exit
> docker container ls --all
CONTAINER ID        IMAGE                 COMMAND                  CREATED              STATUS                      PORTS                    NAMES
f316521640c9        ubuntu                "bash"                   About a minute ago   Exited (0) 11 seconds ago                            epic_merkle
d332fc741236        hello-world           "/hello"                 4 minutes ago        Exited (0) 4 minutes ago                             sharp_elion
> docker run --detach --publish 80:80 --name webserver nginx
Unable to find image 'nginx:latest' locally
latest: Pulling from library/nginx
8ec398bc0356: Pull complete
465560073b6f: Pull complete
f473f9fd0a8c: Pull complete
Digest: sha256:b2d89d0a210398b4d1120b3e3a7672c16a4ba09c2c4a0395f18b9f7999b768f2
Status: Downloaded newer image for nginx:latest
9d6bdf802ea3acbe95980dfec8897494a03d803a312ae7ffa383f4d908df8144
ブラウザでローカルにアクセスするとマニュアルの通りnginxのスタートページが表示されます。
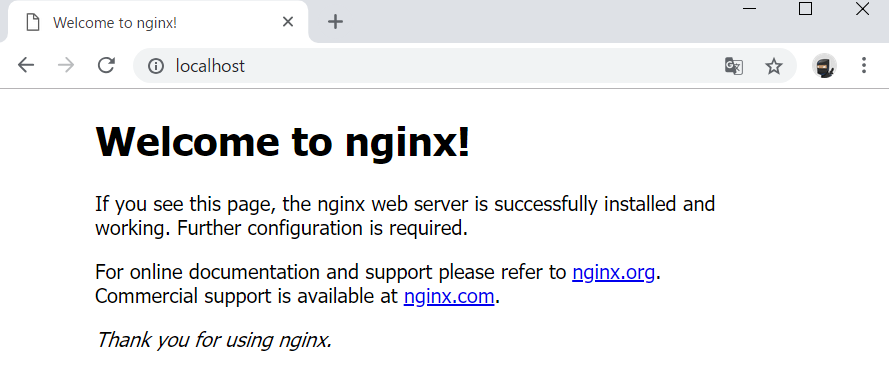
実行中のコンテナのみの一覧表示するとwebserverという名前で表示されます。
> docker container ls
CONTAINER ID        IMAGE               COMMAND                  CREATED             STATUS              PORTS                NAMES
9d6bdf802ea3        nginx               "nginx -g 'daemon of…"   About a minute ago   Up About a minute   0.0.0.0:80->80/tcp   webserver
実行中のnginxコンテナを、割り当てた名前webserverで停止します。
> docker container stop webserver
webserver
> docker container ls
CONTAINER ID        IMAGE               COMMAND             CREATED             STATUS              PORTS               NAMES
作成したイメージを削除します。
> docker container ls --all
CONTAINER ID        IMAGE                 COMMAND                  CREATED             STATUS                      PORTS                    NAMES
9d6bdf802ea3        nginx                 "nginx -g 'daemon of…"   2 minutes ago       Exited (0) 27 seconds ago                            webserver
f316521640c9        ubuntu                "bash"                   4 minutes ago       Exited (0) 3 minutes ago                             epic_merkle
d332fc741236        hello-world           "/hello"                 7 minutes ago       Exited (0) 7 minutes ago                             sharp_elion
> docker container rm webserver epic_merkle sharp_elion
webserver
epic_merkle
sharp_elion
> docker container ls --all
CONTAINER ID        IMAGE               COMMAND             CREATED             STATUS              PORTS               NAMES
チュートリアル
ここのチュートリアルページをやってみます。
Docker環境を設定する
テストDockerのバージョン
> docker --version
Docker version 19.03.5, build 633a0ea
> docker info
Client:
 Debug Mode: false

Server:
 Containers: 0
  Running: 0
  Paused: 0
  Stopped: 0
 Images: 29
 Server Version: 19.03.5
 Storage Driver: overlay2
  Backing Filesystem: extfs
  Supports d_type: true
  Native Overlay Diff: true
 Logging Driver: json-file
 Cgroup Driver: cgroupfs
 Plugins:
  Volume: local
  Network: bridge host ipvlan macvlan null overlay
  Log: awslogs fluentd gcplogs gelf journald json-file local logentries splunk syslog
 Swarm: inactive
 Runtimes: runc
 Default Runtime: runc
 Init Binary: docker-init
 containerd version: b34a5c8af56e510852c35414db4c1f4fa6172339
 runc version: 3e425f80a8c931f88e6d94a8c831b9d5aa481657
 init version: fec3683
 Security Options:
  seccomp
   Profile: default
 Kernel Version: 4.9.184-linuxkit
 Operating System: Docker Desktop
 OSType: linux
 Architecture: x86_64
 CPUs: 2
 Total Memory: 1.934GiB
 Name: docker-desktop
 ID: IMNX:RXOX:3ND2:KIZR:LOQ5:DZUB:66ZI:T5WK:JYMT:NYSF:UHRW:MHM5
 Docker Root Dir: /var/lib/docker
 Debug Mode: true
  File Descriptors: 29
  Goroutines: 44
  System Time: 2020-01-04T07:34:09.0142818Z
  EventsListeners: 1
 Registry: https://index.docker.io/v1/
 Labels:
 Experimental: false
 Insecure Registries:
  127.0.0.0/8
 Live Restore Enabled: false
 Product License: Community Engine
イメージを作成して1つのコンテナとして実行する
Dockerfileを作成する
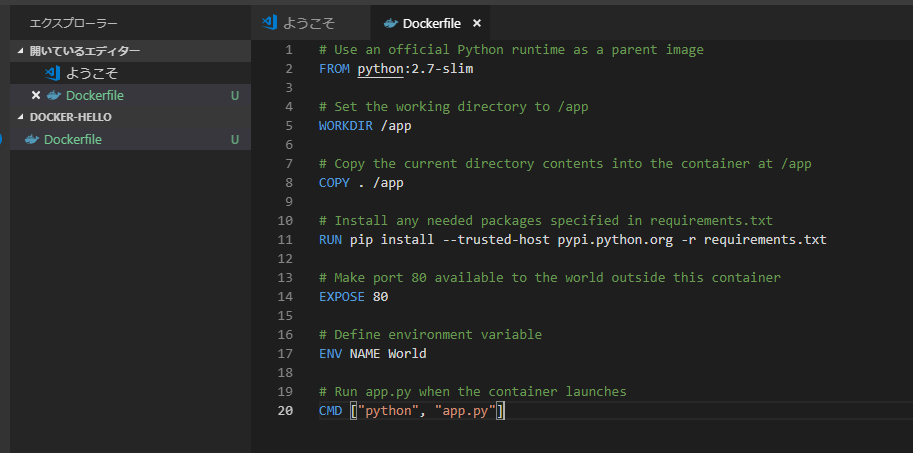
空のディレクトリを作ってDockerfileというファイルを作成してドキュメントのままコピペします。
Pythonアプリ作成とビルド
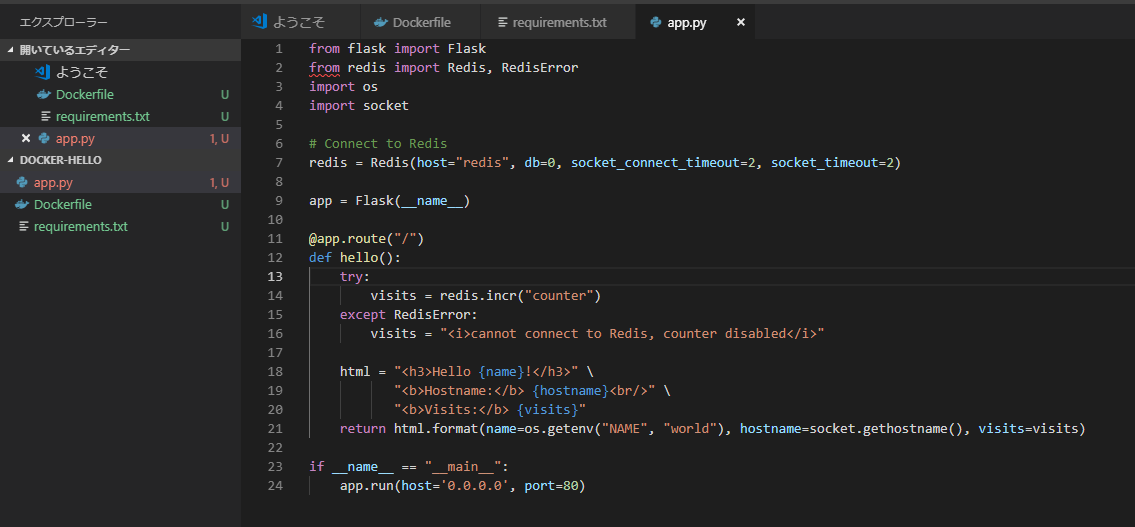
同様にアプリの部分をチュートリアルの通りファイル作成します。

> docker build --tag=friendlyhello .
Sending build context to Docker daemon   5.12kB
Step 1/7 : FROM python:2.7-slim
2.7-slim: Pulling from library/python
177e7ef0df69: Already exists
f6b2167b8d5a: Pull complete
432b044db3f9: Pull complete
7356f8556c46: Pull complete
Digest: sha256:df3ba9998242864e650d62d158685c3c7af8c4f3ae1545bdc38780473b0b6c55
Status: Downloaded newer image for python:2.7-slim
 ---> f090c78858fa
Step 2/7 : WORKDIR /app
 ---> Running in 7bc008575a2b
Removing intermediate container 7bc008575a2b
 ---> 2dd111963883
Step 3/7 : COPY . /app
 ---> d014f400e031
Step 4/7 : RUN pip install --trusted-host pypi.python.org -r requirements.txt
 ---> Running in dba2e3bb7bd7
Collecting Flask (from -r requirements.txt (line 1))
  Downloading https://files.pythonhosted.org/packages/7f/e7/08578774ed4536d3242b14dacb4696386634607af824ea997202cd0edb4b/Flask-1.0.2-py2.py3-none-any.whl (91kB)
Collecting Redis (from -r requirements.txt (line 2))
  Downloading https://files.pythonhosted.org/packages/f5/00/5253aff5e747faf10d8ceb35fb5569b848cde2fdc13685d42fcf63118bbc/redis-3.0.1-py2.py3-none-any.whl (61kB)
Collecting itsdangerous>=0.24 (from Flask->-r requirements.txt (line 1))
  Downloading https://files.pythonhosted.org/packages/76/ae/44b03b253d6fade317f32c24d100b3b35c2239807046a4c953c7b89fa49e/itsdangerous-1.1.0-py2.py3-none-any.whl
Collecting Jinja2>=2.10 (from Flask->-r requirements.txt (line 1))
  Downloading https://files.pythonhosted.org/packages/7f/ff/ae64bacdfc95f27a016a7bed8e8686763ba4d277a78ca76f32659220a731/Jinja2-2.10-py2.py3-none-any.whl (126kB)
Collecting Werkzeug>=0.14 (from Flask->-r requirements.txt (line 1))
  Downloading https://files.pythonhosted.org/packages/20/c4/12e3e56473e52375aa29c4764e70d1b8f3efa6682bef8d0aae04fe335243/Werkzeug-0.14.1-py2.py3-none-any.whl (322kB)
Collecting click>=5.1 (from Flask->-r requirements.txt (line 1))
  Downloading https://files.pythonhosted.org/packages/fa/37/45185cb5abbc30d7257104c434fe0b07e5a195a6847506c074527aa599ec/Click-7.0-py2.py3-none-any.whl (81kB)
Collecting MarkupSafe>=0.23 (from Jinja2>=2.10->Flask->-r requirements.txt (line 1))
  Downloading https://files.pythonhosted.org/packages/bc/3a/6bfd7b4b202fa33bdda8e4e3d3acc719f381fd730f9a0e7c5f34e845bd4d/MarkupSafe-1.1.0-cp27-cp27mu-manylinux1_x86_64.whl
Installing collected packages: itsdangerous, MarkupSafe, Jinja2, Werkzeug, click, Flask, Redis
Successfully installed Flask-1.0.2 Jinja2-2.10 MarkupSafe-1.1.0 Redis-3.0.1 Werkzeug-0.14.1 click-7.0 itsdangerous-1.1.0
Removing intermediate container dba2e3bb7bd7
 ---> 7c02026059c6
Step 5/7 : EXPOSE 80
 ---> Running in 081bfbcfc98b
Removing intermediate container 081bfbcfc98b
 ---> f858d151f4c4
Step 6/7 : ENV NAME World
 ---> Running in a3eb369da3c6
Removing intermediate container a3eb369da3c6
 ---> ac4a76ffead5
Step 7/7 : CMD ["python", "app.py"]
 ---> Running in bf820deaa930
Removing intermediate container bf820deaa930
 ---> 0728f2f8cfc8
Successfully built 0728f2f8cfc8
Successfully tagged friendlyhello:latest
SECURITY WARNING: You are building a Docker image from Windows against a non-Windows Docker host. All files and directories added to build context will have '-rwxr-xr-x' permissions. It is recommended to double check and reset permissions for sensitive files and directories.
PS C:\Users\kahori_takeda\Desktop\code\docker-hello> docker image ls
REPOSITORY                 TAG                 IMAGE ID            CREATED             SIZE
friendlyhello              latest              0728f2f8cfc8        19 seconds ago      131MB
hello-world                latest              fce289e99eb9        12 days ago         1.84kB
python                     2.7-slim            f090c78858fa        2 weeks ago         120MB
nginx                      latest              7042885a156a        2 weeks ago         109MB
ubuntu                     latest              1d9c17228a9e        2 weeks ago         86.7MB
docker4w/nsenter-dockerd   latest              2f1c802f322f        3 months ago        187kB
アプリの実行
マシンのポート4000をコンテナの公開ポート80にマッピングして、アプリを実行します。
> docker run -p 4000:80 friendlyhello
 * Serving Flask app "app" (lazy loading)
 * Environment: production
   WARNING: Do not use the development server in a production environment.
   Use a production WSGI server instead.
 * Debug mode: off
 * Running on http://0.0.0.0:80/ (Press CTRL+C to quit)
ブラウザからhttp://localhost:4000にアクセスすると以下の表示になるらしい。
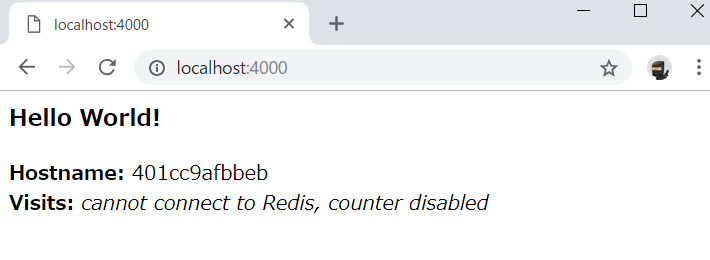
コンテナの内側と外側の意味がいまいちよくわかってないけど。
一旦停止して
> docker container ls
CONTAINER ID        IMAGE               COMMAND             CREATED             STATUS              PORTS                  NAMES
401cc9afbbeb        friendlyhello       "python app.py"     4 minutes ago       Up 4 minutes        0.0.0.0:4000->80/tcp   festive_ganguly
> docker container stop festive_ganguly
festive_ganguly
> docker container ls
CONTAINER ID        IMAGE               COMMAND             CREATED             STATUS              PORTS               NAMES
バックグラウンドでデタッチモードで実行すると長いコンテナIDが返されてバックグラウンドで動いた状態になります。docker container lsで表示されるコンテナIDは短縮されたものらしい。止め方は同じコマンドdocker container stop hogehogeで止められた。
> docker run -d -p 4000:80 friendlyhello
e0547f8f2269a24363254d0f4f5d5a1b9344947dfd7a82005c8430f1b75f185d
> docker container ls
CONTAINER ID        IMAGE               COMMAND             CREATED             STATUS              PORTS                  NAMES
e0547f8f2269        friendlyhello       "python app.py"     29 seconds ago      Up 28 seconds       0.0.0.0:4000->80/tcp   inspiring_cori
> docker container stop inspiring_cori
inspiring_cori
イメージの共有
DockerIDのログイン
> docker login
Authenticating with existing credentials...
Login Succeeded
ローカルイメージをレジストリのリポジトリに関連付けてタグ付けします。
> docker image ls
REPOSITORY                 TAG                 IMAGE ID            CREATED             SIZE
friendlyhello              latest              0728f2f8cfc8        28 minutes ago      131MB
hello-world                latest              fce289e99eb9        12 days ago         1.84kB
python                     2.7-slim            f090c78858fa        2 weeks ago         120MB
nginx                      latest              7042885a156a        2 weeks ago         109MB
ubuntu                     latest              1d9c17228a9e        2 weeks ago         86.7MB
docker4w/nsenter-dockerd   latest              2f1c802f322f        3 months ago        187kB
> docker tag friendlyhello taketakekaho/get-started:part2
> docker image ls
REPOSITORY                 TAG                 IMAGE ID            CREATED             SIZE
friendlyhello              latest              0728f2f8cfc8        29 minutes ago      131MB
taketakekaho/get-started   part2               0728f2f8cfc8        29 minutes ago      131MB
hello-world                latest              fce289e99eb9        12 days ago         1.84kB
python                     2.7-slim            f090c78858fa        2 weeks ago         120MB
nginx                      latest              7042885a156a        2 weeks ago         109MB
ubuntu                     latest              1d9c17228a9e        2 weeks ago         86.7MB
docker4w/nsenter-dockerd   latest              2f1c802f322f        3 months ago        187kB
イメージをレポジトリにアップロード
pushでアップロードすると
> docker push taketakekaho/get-started:part2
The push refers to repository [docker.io/taketakekaho/get-started]
307b0e792743: Pushed
a74e0db9825a: Pushed
cd320dec8b62: Pushed
af9628477752: Mounted from library/python
f1bd403e5041: Mounted from library/python
b7fcb2747224: Mounted from library/python
7b4e562e58dc: Mounted from library/python
part2: digest: sha256:0a6ae2a33b9b0e53be1240789656088e3a046b5a59dacbd65d409f72ab9a7aab size: 1787
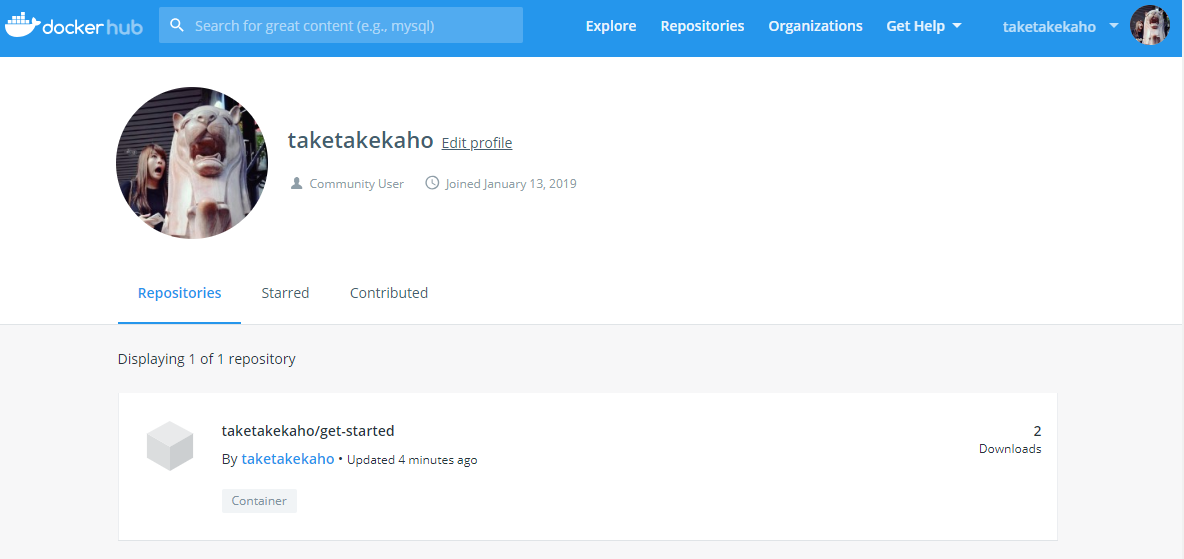
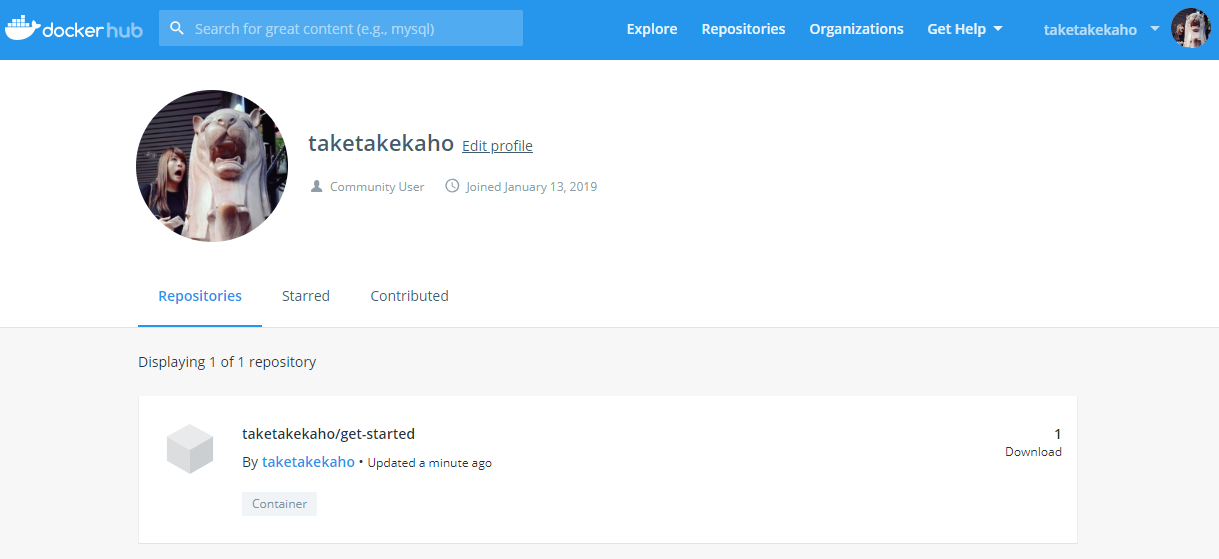
空っぽだったレポジトリが
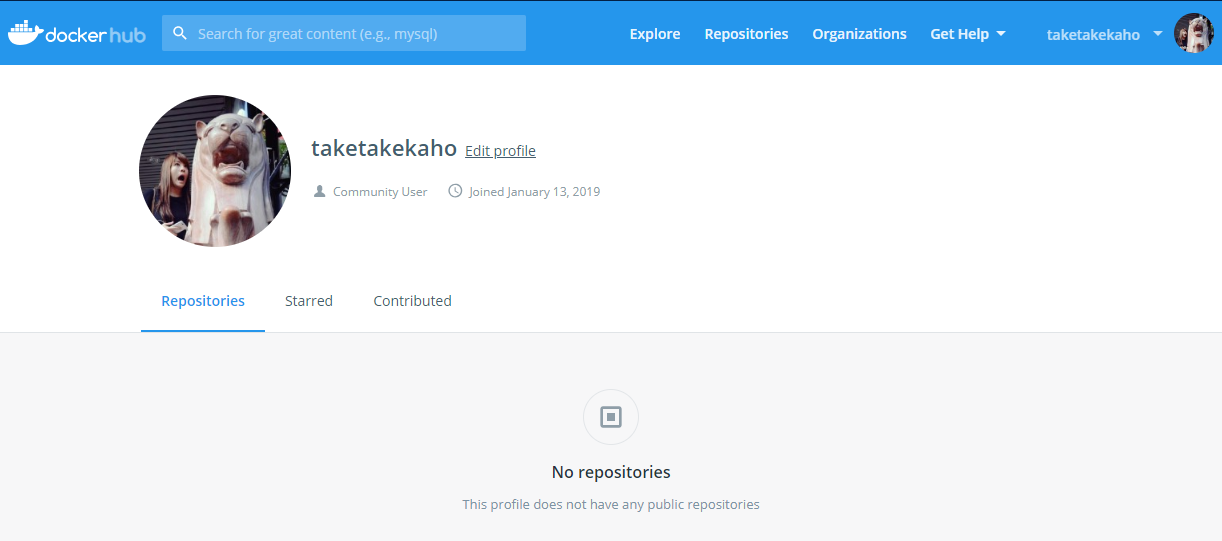
1件表示された!これで一般公開されるのでイメージを共有することができるっぽい。
複数のコンテナを実行するようにアプリを拡張する
Part3のページにはDocker Composeを入手してと書いてるけどDocker for Windowsの中に内包されてるので別途作業は不要っぽい。
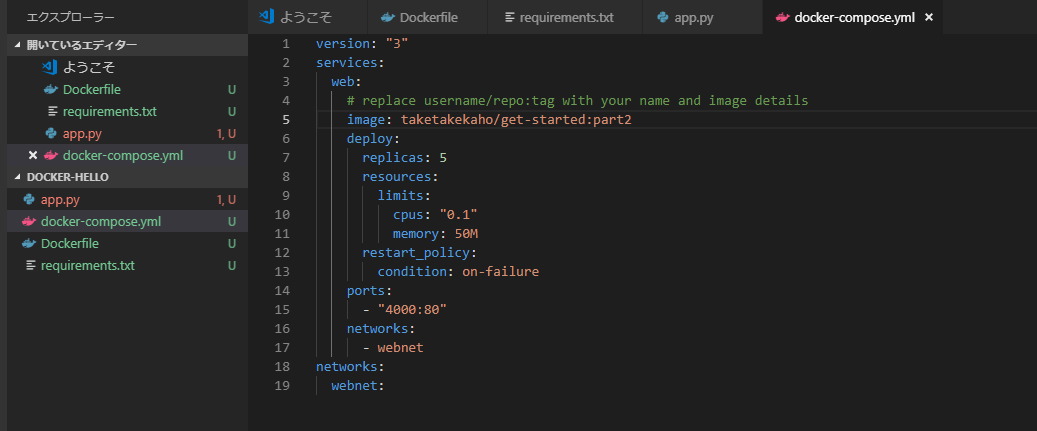
docker-compose.ymlを作成
好きな場所でよさげなのでさっきのフォルダの中に作ってコピペしてusername/repo:tag部分のみ書換えた。
レポジトリにPushする
> docker tag friendlyhello taketakekaho/get-started:part2
> docker push taketakekaho/get-started:part2
The push refers to repository [docker.io/taketakekaho/get-started]
307b0e792743: Layer already exists
a74e0db9825a: Layer already exists
cd320dec8b62: Layer already exists
af9628477752: Layer already exists
f1bd403e5041: Layer already exists
b7fcb2747224: Layer already exists
7b4e562e58dc: Layer already exists
part2: digest: sha256:0a6ae2a33b9b0e53be1240789656088e3a046b5a59dacbd65d409f72ab9a7aab size: 1787
新しい負荷分散アプリケーションを実行する
Swarm Managerの指定をしてdocker stack deployでアプリに名前をつけます。
> docker swarm init
Swarm initialized: current node (kdf8cjnuy3j2mbg055174g9bn) is now a manager.
To add a worker to this swarm, run the following command:
    docker swarm join --token SWMTKN-1-4njae1kvdb63f3l0c2fxmjucb7d6kncrw79hzqoh8sceg2drim-8rxzr1g276di1f4txfgyetfku 192.168.65.3:2377

To add a manager to this swarm, run 'docker swarm join-token manager' and follow the instructions.
> docker stack deploy -c docker-compose.yml getstartedlab
Creating network getstartedlab_webnet
Creating service getstartedlab_web
サービスID取得
> docker service ls
ID                  NAME                MODE                REPLICAS            IMAGE                            PORTS
1jymp8m9yklv        getstartedlab_web   replicated          5/5                 taketakekaho/get-started:part2   *:4000->80/tcp
> docker service ps getstartedlab_web
ID                  NAME                  IMAGE                            NODE                    DESIRED STATE       CURRENT STATE           ERROR               PORTS
7gy72bz3zcck        getstartedlab_web.1   taketakekaho/get-started:part2   linuxkit-00155d027401   Running             Running 4 minutes ago
ua00hbyflsto        getstartedlab_web.2   taketakekaho/get-started:part2   linuxkit-00155d027401   Running             Running 4 minutes ago
tyuswx1ogybf        getstartedlab_web.3   taketakekaho/get-started:part2   linuxkit-00155d027401   Running             Running 4 minutes ago
xux41z5uo8h7        getstartedlab_web.4   taketakekaho/get-started:part2   linuxkit-00155d027401   Running             Running 4 minutes ago
u5etplqzwdv7        getstartedlab_web.5   taketakekaho/get-started:part2   linuxkit-00155d027401   Running             Running 4 minutes ago
> docker container ls -q
7765cdc46c7a
fc5c1f843a6a
e6fc2fbe9eb1
c4f046ba6598
4fc874856b26
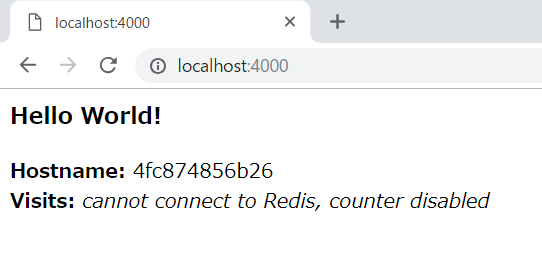
更新する度にHostname箇所がdocker container ls -qの出力結果にラウンドロビンで振り分けられているのがわかります。
アプリ停止と切り離し
> docker stack rm getstartedlab
Removing service getstartedlab_web
Removing network getstartedlab_webnet
> docker swarm leave --force
Node left the swarm.
アプリをクラスタ全体に配布する
VMを2つ作成
> docker-machine create -d hyperv --hyperv-virtual-switch "myswitch" myvm1
Creating CA: C:\Users\kahori_takeda\.docker\machine\certs\ca.pem
Creating client certificate: C:\Users\kahori_takeda\.docker\machine\certs\cert.pem
Running pre-create checks...
Error with pre-create check: "Hyper-v commands have to be run as an Administrator"
> docker-machine create -d hyperv --hyperv-virtual-switch "myswitch" myvm2
Running pre-create checks...
Error with pre-create check: "Hyper-v commands have to be run as an Administrator"
Hyper-V管理者権限がなかったので管理者モードでPowerShellを開いて
net localgroup "Hyper-V Administrators" <current username> /addでに今自分がログインしているユーザにして実行し直す。
…あれ?やっぱりおかしい。管理者モードのPowerShellで実行してもダメ…
ひとまずここまで。
