Wordpress5のカスタムフィールドの作り方
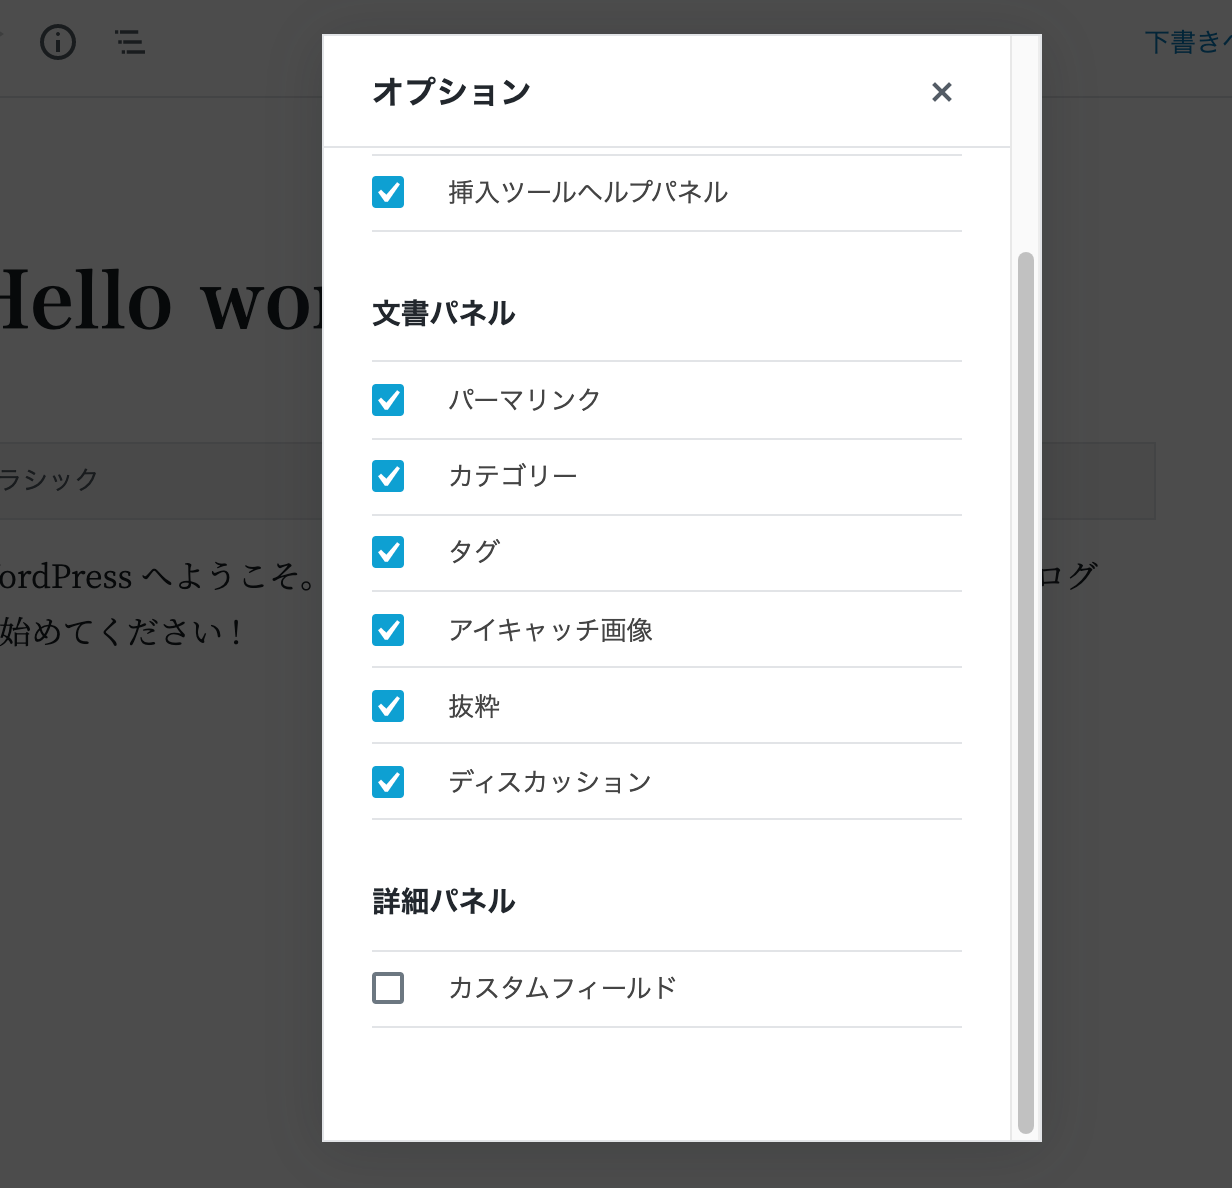
Wordpress5からカスタムフィールドは右上の設定アイコンから表示できるようになった。チェックを入れ、「有効化してリロード」ボタンを押せば表示されるようになる。
カスタムフィールドは投稿画面の下で作成する。フィールド名を記入し、値を入れるだけでOK。
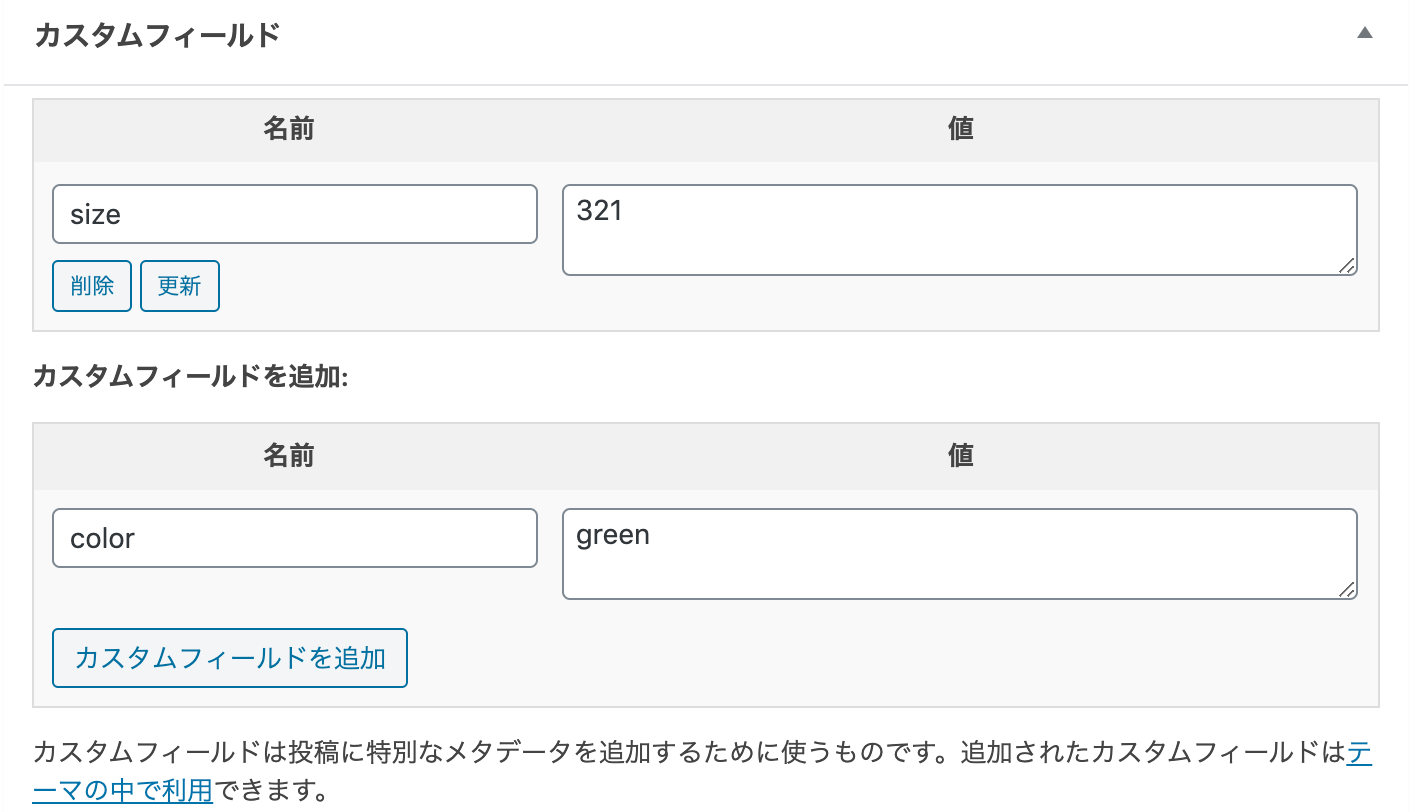
次からは選択フォームに以前作成したカスタムフィールドが表示されるので、それを選択する。
カスタムフィールドの値を表示する方法
一覧ページや記事ページの表示したい場所にコードを追加するだけ。
echo get_post_meta($post->ID, 'key', true);
テンプレートに追記する場合はこんな感じ。
<div class="entry-meta">
  <ul class="nav">
    <li>投稿日: <?php echo get_the_date('Y-m-d'); ?></li>
    <li>サイズ: <?php echo get_post_meta($post->ID, 'size', true); ?></li>
  </ul>
</div><!-- .entry-meta -->
1つのカスタムフィールドで複数の値を入力した場合の表示方法
1つのカスタムフィールド名(キー)に対して複数の値を入れる場合は、必要な分だけキーを追加して1つづつ値を入れていく。

値の表示方法は配列の表示と同じ。
<?php
$colors = get_post_meta($post->ID, 'color', false);
if( count( $colors ) != 0 ) { ?>

<ul>
  <?php foreach($colors as $color) {
    echo '<li>'.$color.'</li>';
  }
  ?>
</ul>

<?php } ?>