ReactとGraphQLを使って簡単なTodoアプリを作ってみたのでメモ。
新しいReactプロジェクトの作成
まずは新しいReactプロジェクトを作成します。
npx create-react-app graphql-crud-app
cd graphql-crud-app
アプリに必要なパッケージのインストール
次にGraphQLとApolloClientに必要なパッケージをインストールします。
npm install @apollo/client graphql
npm install @apollo/server graphql express
npm install cors
Apollo Clientの設定
srcフォルダにあるindex.jsファイルを開き、Apollo Clientを設定します。
import React from 'react';
import ReactDOM from 'react-dom/client';
import './index.css';
import App from './App';
import { ApolloClient, InMemoryCache, ApolloProvider } from '@apollo/client';

const client = new ApolloClient({
  uri: 'http://localhost:4000/graphql', // GraphQLサーバーのエンドポイント
  cache: new InMemoryCache()
});

const root = ReactDOM.createRoot(document.getElementById('root'));
root.render(
  <React.StrictMode>
    <ApolloProvider client={client}>
      <App />
    </ApolloProvider>
  </React.StrictMode>
);
アプリのコンポーネントの作成
src/App.jsファイルを編集してTODOアプリのコンポーネントを作成します。
import React, { useState } from 'react';
import { useQuery, useMutation, gql } from '@apollo/client';

const GET_TODOS = gql`
  query GetTodos {
    todos {
      id
      title
      completed
    }
  }
`;

const ADD_TODO = gql`
  mutation AddTodo($title: String!) {
    addTodo(title: $title) {
      id
      title
      completed
    }
  }
`;

const TOGGLE_TODO = gql`
  mutation ToggleTodo($id: ID!) {
    toggleTodo(id: $id) {
      id
      completed
    }
  }
`;

const DELETE_TODO = gql`
  mutation DeleteTodo($id: ID!) {
    deleteTodo(id: $id)
  }
`;

function App() {
  const [newTodoTitle, setNewTodoTitle] = useState('');
  const { loading, error, data } = useQuery(GET_TODOS);
  const [addTodo] = useMutation(ADD_TODO, {
    refetchQueries: [{ query: GET_TODOS }],
  });
  const [toggleTodo] = useMutation(TOGGLE_TODO);
  const [deleteTodo] = useMutation(DELETE_TODO, {
    refetchQueries: [{ query: GET_TODOS }],
  });

  if (loading) return <p>Loading...</p>;
  if (error) return <p>Error :(</p>;

  return (
    <div>
      <h1>Todo List</h1>
      <form onSubmit={e => {
        e.preventDefault();
        addTodo({ variables: { title: newTodoTitle } });
        setNewTodoTitle('');
      }}>
        <input
          value={newTodoTitle}
          onChange={e => setNewTodoTitle(e.target.value)}
          placeholder="New todo title"
        />
        <button type="submit">Add Todo</button>
      </form>
      <ul>
        {data.todos.map(todo => (
          <li key={todo.id}>
            <input
              type="checkbox"
              checked={todo.completed}
              onChange={() => toggleTodo({ variables: { id: todo.id } })}
            />
            <span style={{ textDecoration: todo.completed ? 'line-through' : 'none' }}>
              {todo.title}
            </span>
            <button onClick={() => deleteTodo({ variables: { id: todo.id } })}>Delete</button>
          </li>
        ))}
      </ul>
    </div>
  );
}

export default App;
サーバーの実装
プロジェクトフォルダにserver.jsファイルを作成し、以下のコードを追加します。
const { ApolloServer } = require('@apollo/server');
const { expressMiddleware } = require('@apollo/server/express4');
const express = require('express');
const cors = require('cors');

// GraphQLスキーマの定義
const typeDefs = `
  type Todo {
    id: ID!
    title: String!
    completed: Boolean!
  }

  type Query {
    todos: [Todo!]!
    todo(id: ID!): Todo
  }

  type Mutation {
    addTodo(title: String!): Todo!
    toggleTodo(id: ID!): Todo!
    deleteTodo(id: ID!): Boolean!
  }
`;

// ダミーデータ
let todos = [
  { id: '1', title: 'GraphQLを学ぶ', completed: false },
  { id: '2', title: 'Apolloサーバーを構築する', completed: false },
];

// リゾルバーの実装
const resolvers = {
  Query: {
    todos: () => todos,
    todo: (_, { id }) => todos.find(todo => todo.id === id),
  },
  Mutation: {
    addTodo: (_, { title }) => {
      const newTodo = { id: String(todos.length + 1), title, completed: false };
      todos.push(newTodo);
      return newTodo;
    },
    toggleTodo: (_, { id }) => {
      const todo = todos.find(todo => todo.id === id);
      if (todo) {
        todo.completed = !todo.completed;
      }
      return todo;
    },
    deleteTodo: (_, { id }) => {
      const initialLength = todos.length;
      todos = todos.filter(todo => todo.id !== id);
      return todos.length !== initialLength;
    },
  },
};

async function startServer() {
  const app = express();
  const server = new ApolloServer({ typeDefs, resolvers });

  await server.start();

  app.use(
    '/graphql',
    cors({
      origin: 'http://localhost:3000',
      credentials: true,
    }),
    express.json(),
    expressMiddleware(server)
  );

  app.listen(4000, () => {
    console.log('サーバーが http://localhost:4000/graphql で起動しました');
  });
}

startServer();
サーバーとアプリケーションの起動
以下のコマンドを実行して起動します。
node server.js
npm start
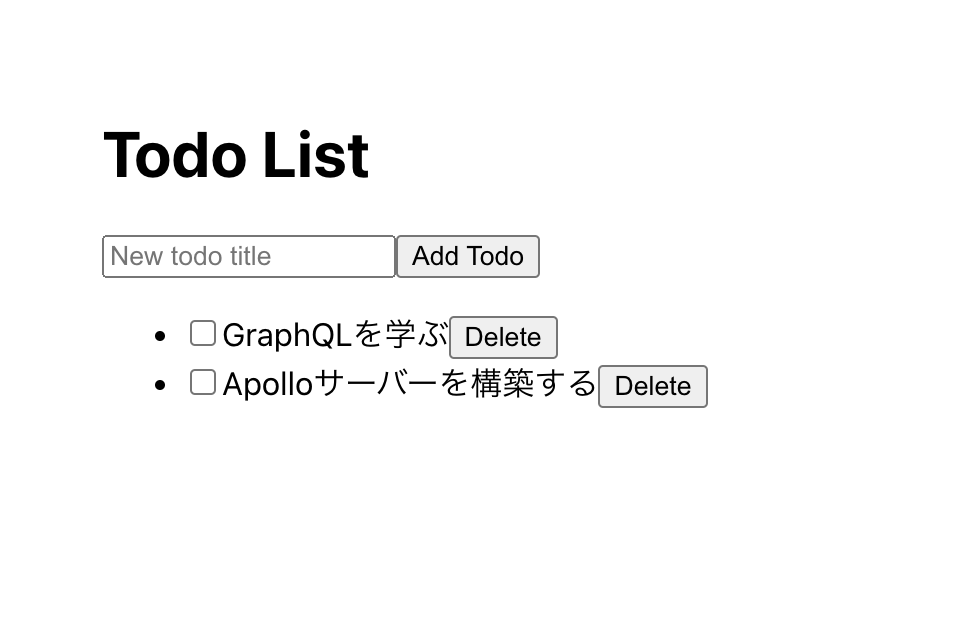
こんな感じのTodoアプリを作れました。
このあとは?
このあとはTodoistのようにカテゴリ設定したり、inboxに登録したりしていきます。