トップページに表示する要素が増えてくると、1つのファイルにすべてのコードが書かれていると読みにくくなりがちです。コンテンツの区切りごとにコンポーネントとして分割することで、コードの見通しが良くなり、メンテナンスもしやすくなります。
ここでは、トップページに以下の3つのコンテンツを作成し、それぞれコンポーネント化してimportします。
-
Hero.astro: ページ上部の見出しやキャッチコピーを表示する部分 -
RecentPosts.astro: 新着記事一覧を表示する部分 -
CTA.astro: 行動喚起(Call to Action)のための部分(例: 全記事一覧へのリンクボタンなど)
トップページを作成する手順
1.コンポーネントファイルを作成する
-
src/components/ディレクトリ内に、以下の3つのファイルを作成しますHero.astroRecentPosts.astroCTA.astro
これらのコンテンツのデザインについてはFigmaで使える日本語対応テンプレートのWEB-UIKITがおすすめです。コンテンツごとのHTMLファイルが付属しているため効率よくサイトの作成が可能です。
ここでは例としてシンプルな構造のコンポーネントを作成していきます。
2.各コンポーネントの内容を作成する
-
Hero.astroの作成:
現在のindex.astroにある見出しや説明文の部分をHero.astroに移します。Propsでタイトルや説明文を受け取れるようにしておくと再利用性が高まります。
{/* src/components/Hero.astro */}
---
interface Props {
  title: string;
  tagline?: string; // オプショナルな説明文
}
const { title, tagline } = Astro.props;
---
<section class="text-center py-12 px-4 bg-gradient-to-r from-blue-50 to-indigo-100"> {/* スタイル例 */}
  <h1 class="text-4xl md:text-5xl font-bold text-blue-800 mb-4">{title}</h1>
  {tagline && <p class="text-lg text-gray-600 max-w-2xl mx-auto">{tagline}</p>}
</section>
-
RecentPosts.astroの作成:
過去の記事で作成したindex.astroのフロントマターにある記事取得・ソート・絞り込みロジックと、テンプレートの記事一覧表示部分をRecentPosts.astroに移動します。getPostUrlヘルパー関数のインポートもこちらに移動します。
{/* src/components/RecentPosts.astro */}
---
import { getCollection } from 'astro:content';
import { getPostUrl } from '../utils/url'; // パスは環境に合わせて調整
import type { CollectionEntry } from 'astro:content'; // 型定義をインポート

// このコンポーネント内で記事データを取得・処理
const allPosts = await getCollection('blog');
const sortedPosts = allPosts.sort((a, b) =>
  b.data.pubDate.valueOf() - a.data.pubDate.valueOf()
);
const recentPosts: CollectionEntry<'blog'>[] = sortedPosts.slice(0, 5); // 型を明示
---
<section class="py-8">
  <h2 class="text-2xl font-semibold mb-6 text-center">新着記事</h2>
  <ul class="space-y-4 max-w-3xl mx-auto">
    {recentPosts.map((post) => (
      <li class="border-b pb-4">
        <a href={getPostUrl(post)} class="text-xl text-blue-700 hover:underline font-medium">
          {post.data.title}
        </a>
        <div class="text-sm text-gray-500 mt-1">
          公開日: {post.data.pubDate.toLocaleDateString()}
        </div>
        {post.data.description && (
          <p class="text-gray-600 mt-2">{post.data.description}</p>
        )}
      </li>
    ))}
  </ul>
</section>
(注意: ../utils/url のパスは、getPostUrl 関数の実際の場所に合わせて修正してください)
-
CTA.astroの作成:
行動喚起のためのシンプルなコンポーネントを作成します。ここでは例として、全記事一覧ページへのリンクボタンを表示します。
{/* src/components/CTA.astro */}
<section class="text-center py-10 bg-gray-100">
  <h2 class="text-xl font-semibold mb-4">もっと記事を読む</h2>
  <a href="/blog/" class="inline-block bg-indigo-600 hover:bg-indigo-700 text-white font-bold py-3 px-6 rounded text-lg transition duration-300">
    記事一覧へ
  </a>
</section>
3.トップページ (src/pages/index.astro) を修正する
-
フロントマター部分の修正:
記事取得関連のロジックを削除し、作成したコンポーネントをインポートします。レイアウトに渡すpageTitleなどは残します。
---
// src/pages/index.astro
import BaseLayout from '../layouts/BaseLayout.astro';
// ↓ 作成したコンポーネントをインポート
import Hero from '../components/Hero.astro';
import RecentPosts from '../components/RecentPosts.astro';
import CTA from '../components/CTA.astro';

// 記事取得ロジックは削除 (RecentPosts.astro へ移動)

// トップページ用のデータは残す
const pageTitle = "My Astro Blog"; // 例: ブログタイトルに変更
const pageTagline = "Astro と Tailwind CSS で作るブログサイト"; // 例: タグラインを追加
---
-
テンプレート部分の修正:
既存のコンテンツ表示部分を削除し、インポートしたコンポーネントタグを配置します。Heroコンポーネントには Props を渡します。
---
// --- 上記のフロントマター ---
---
<BaseLayout title={pageTitle}>

  {/* Heroコンポーネントを呼び出し、Propsを渡す */}
  <Hero title={pageTitle} tagline={pageTagline} />

  {/* 新着記事一覧コンポーネントを呼び出す */}
  <RecentPosts />

  {/* CTAコンポーネントを呼び出す */}
  <CTA />

  {/* 以前のコード (h1, p, ul など) は削除 */}

</BaseLayout>
開発サーバーでの確認
- 開発サーバーを起動 (
npm run devなど) して、トップページ (/) にアクセスします。 - Hero、新着記事一覧、CTAがそれぞれ表示され、コンポーネント化前と(見た目上は)同様のコンテンツが表示されていることを確認してください。
- 新着記事のリンクなどが正しく機能することも確認しましょう。
まとめ
これでトップページのコンポーネント化が完了しました!見た目はこんな感じになっています![]()
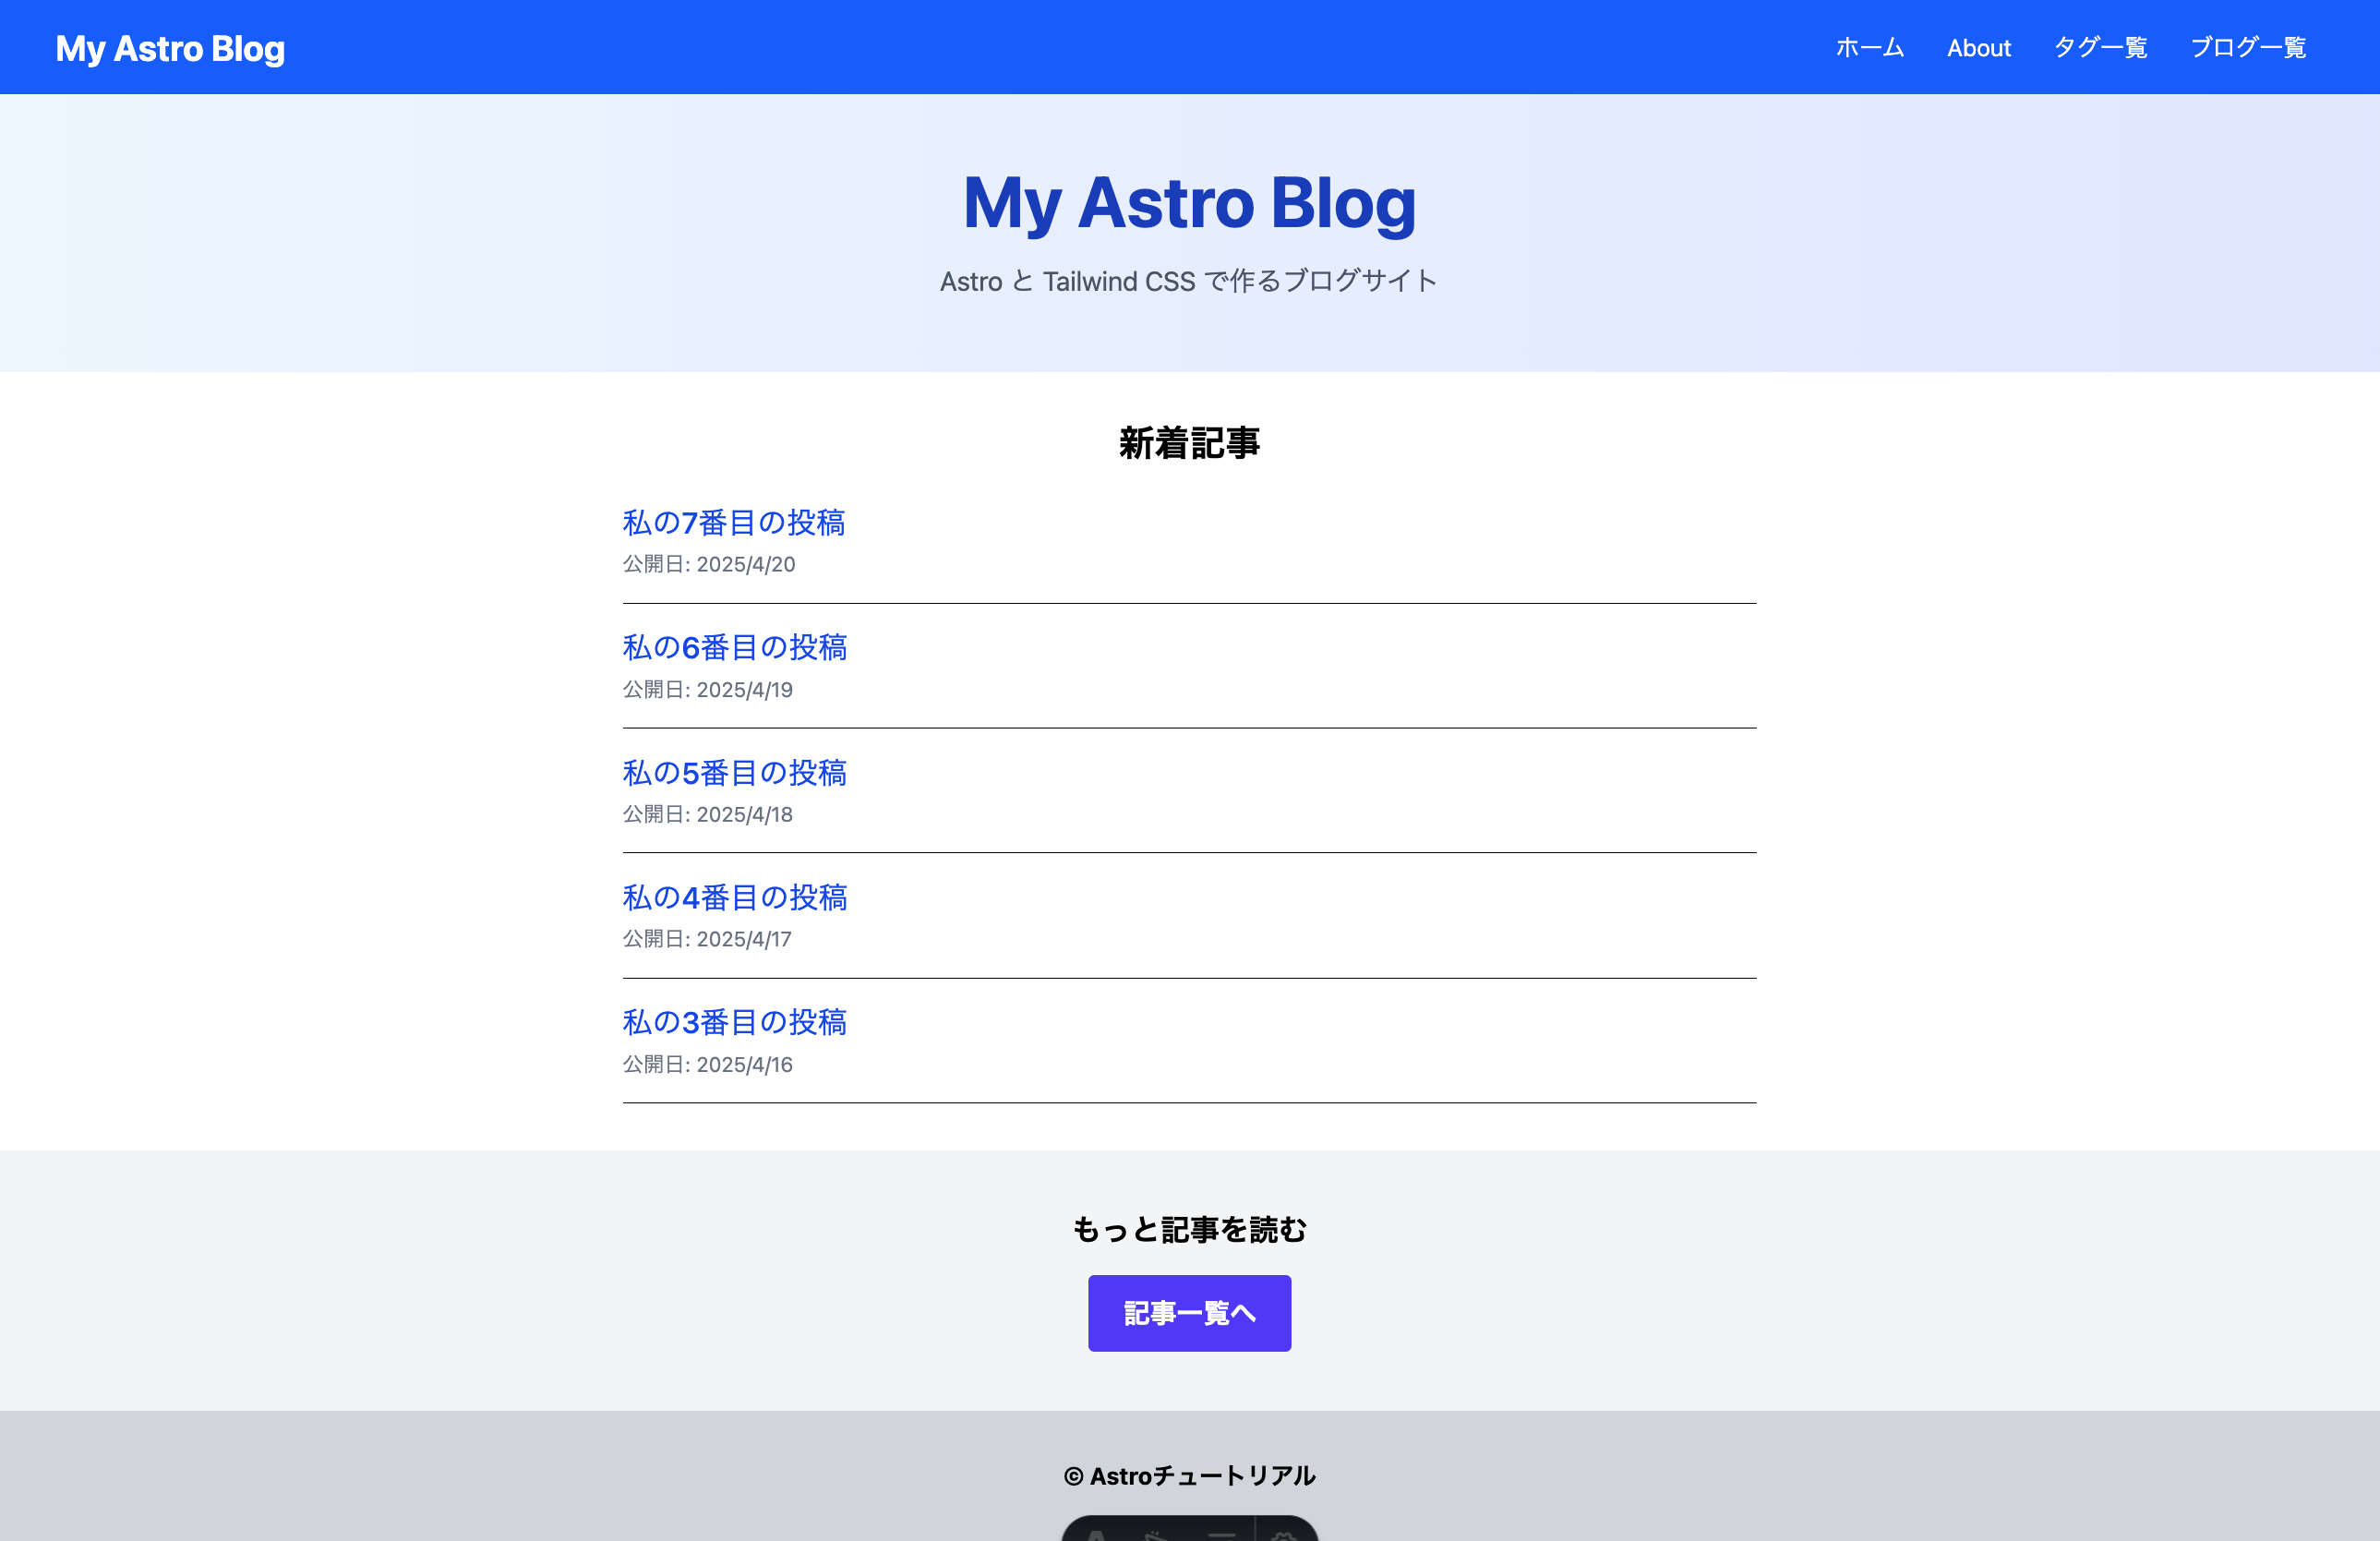
index.astro ファイルが非常にスッキリし、各セクションの内容は対応するコンポーネントファイルを見ればわかるようになりました。このようにコンテンツを分離することで、今後の開発や修正がしやすくなります。