Unity 2018でGUIを日本語化する方法
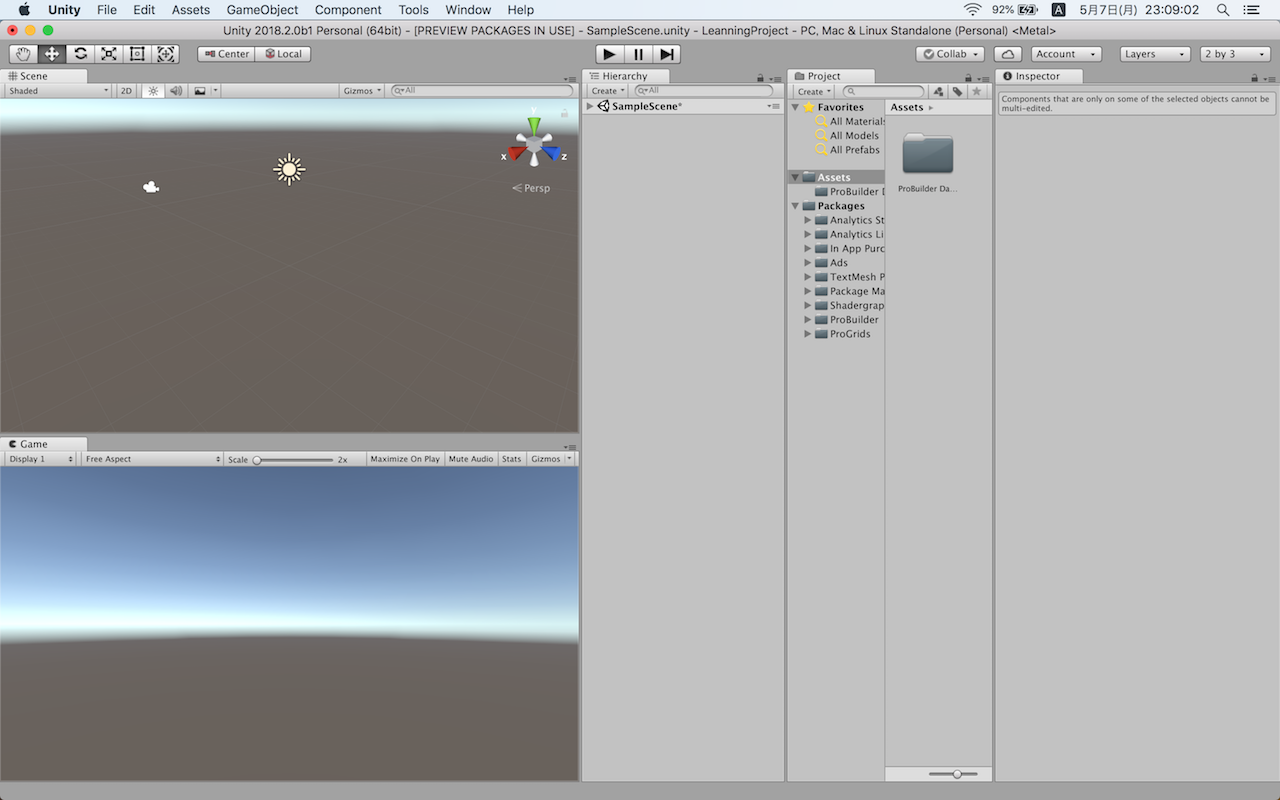
Unity 2018は英語
Unity2018を日本語化
-
日本語化に必要な翻訳ファイルを以下のURLからダウンロードします。
http://editor-localization.s3-website-ap-northeast-1.amazonaws.com/2018.1/ja.po -
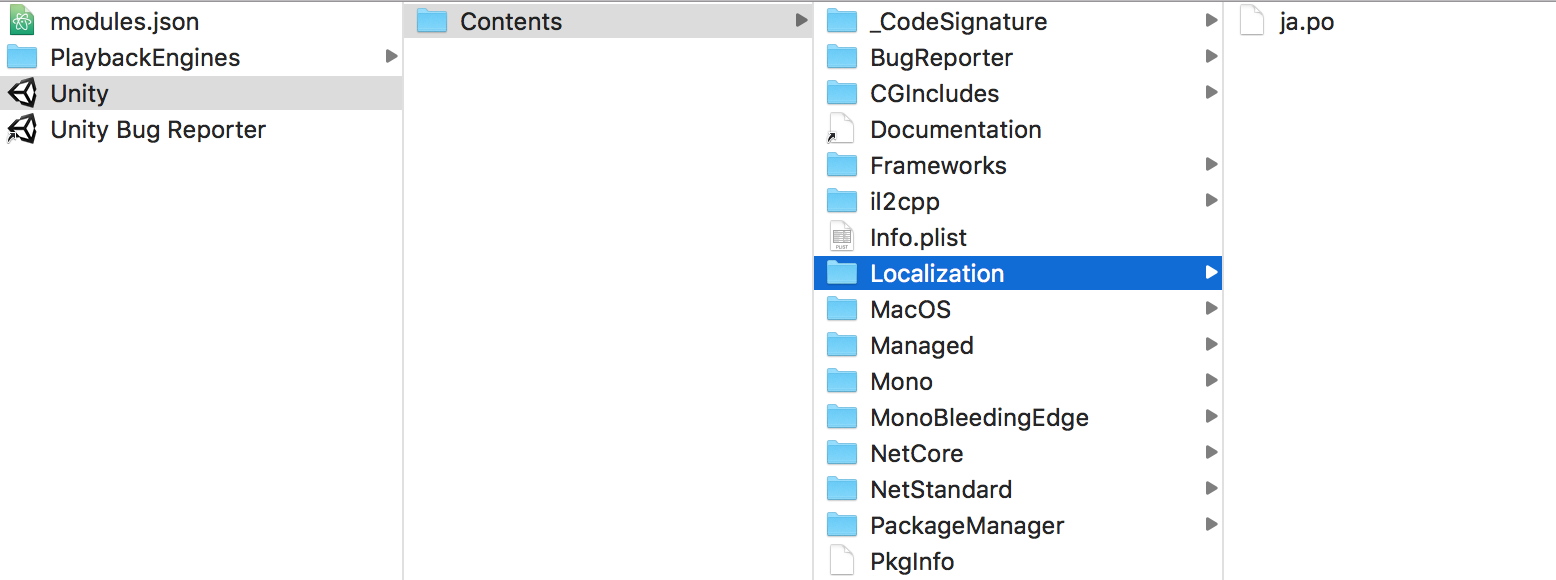
ja.poファイルを以下のディレクトリーに移動します。
(Localizationディレクトリーは作成する必要があります)-
Unityを単体でインストールした場合
C:\Program Files\Unity\Editor\Data\Localization
//Applications/Unity/Unity.app/Contents/Localization
-
-
Unity Hubを使ってインストールした場合
(Windows)```
C:\ProgramFiles\Unity\Hub\Editor\2018.1.0f2\Editor\Data\Localization
```
     (macOS)

    ```
/Applications/Unity/Hub/Editor/2018.1.0f2/Unity.app/Contents/Localization
```
-
Unity エディターを起動し、設定ウィンドウを開きます。
(Windowsの場合)
・Edit > Preferences…(macOSの場合)
・Unity > Preferences
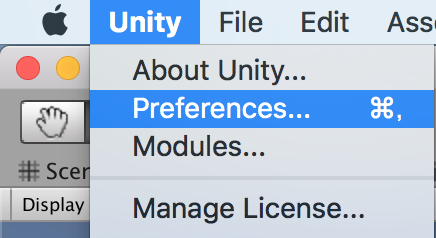
※Unity エディターを起動したまま.poファイルを移動した場合は、エディターを再起動してください。
-
Languageを変更します。
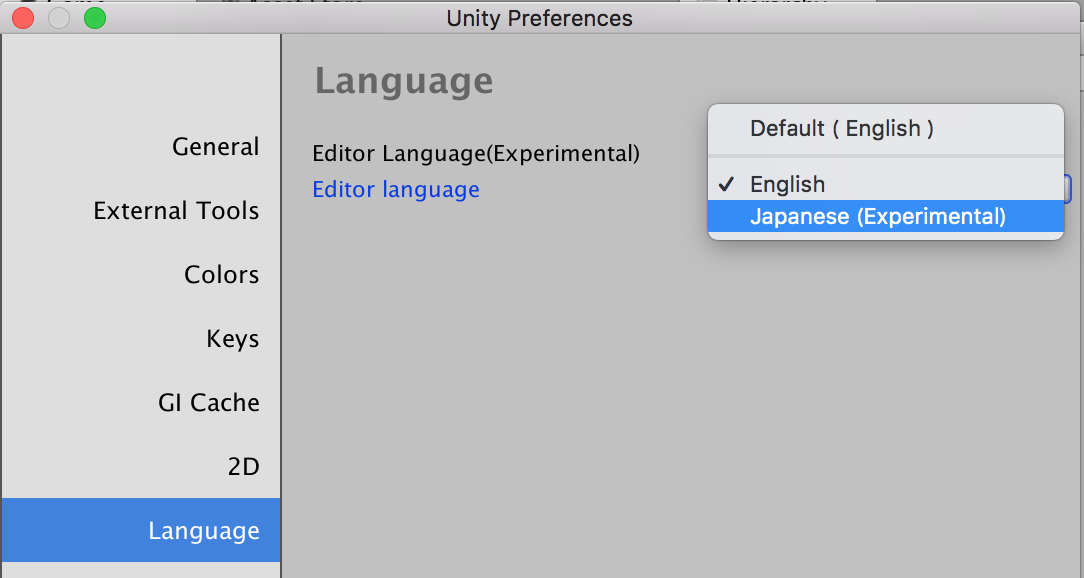
- 日本語化
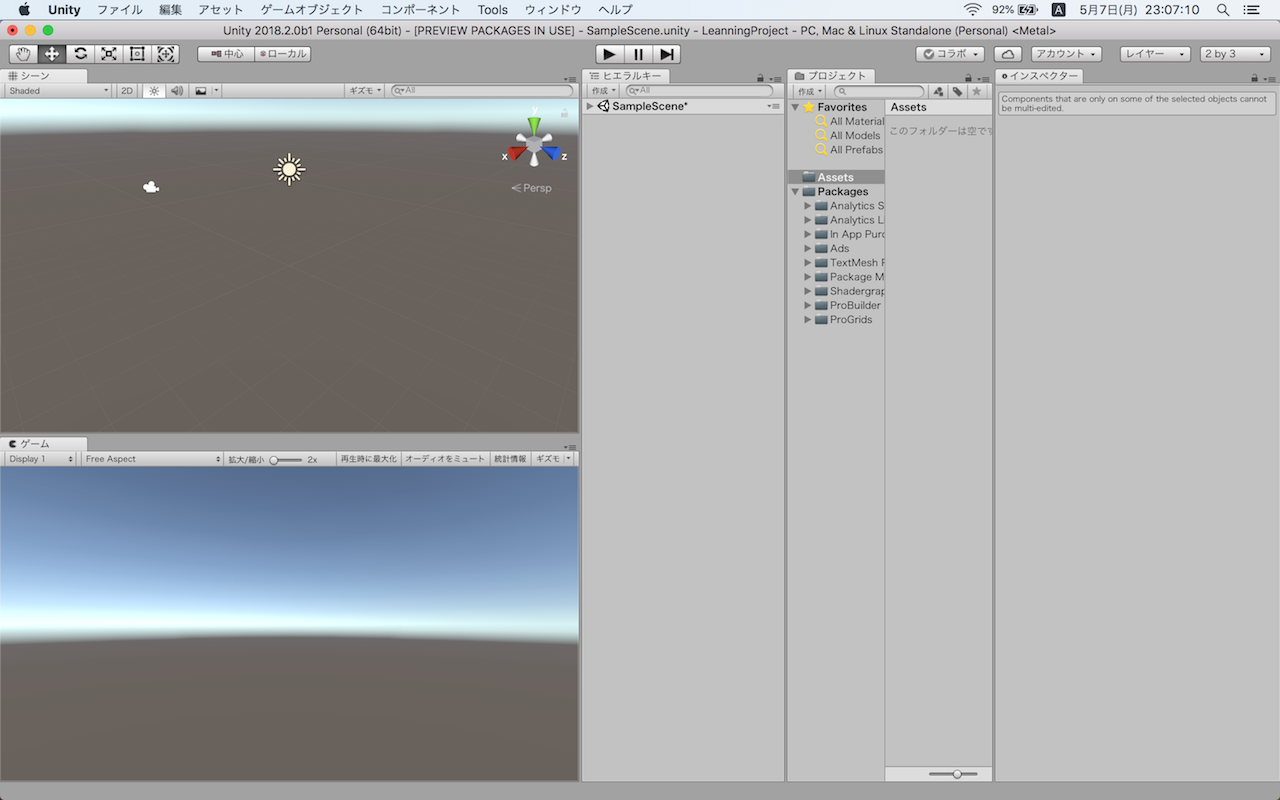
参考
「Unite Tokyo 2018」
http://events.unity3d.jp/unitetokyo2018/index.html
「UnityConect Unityエディター日本語化フィードバック」
https://connect.unity.com/g/5aefe5b903b0024a1c8aa7bf
