割とよく書くけど(私が)忘れやすいので、SwiftでJSONファイルを扱う方法についてまとめます。
本記事ではJSONSerializationを取り上げます。
JSONデータ ⇔ オブジェクト変換
JSONSerializationを使うと、JSONデータ(Dataオブジェクト)とFoundationオブジェクト(String、Int、Array、Dictionaryなど)を相互変換することができます。
まずは JSONデータ → Foundationオブジェクト の変換です。
JSONSerialization.jsonObject(with:options:)
let json = try! JSONSerialization.jsonObject(with: data, options: []) as! [String: Any]
続いて、逆の Foundationオブジェクト → JSONデータ の変換です。
JSONSerialization.data(withJSONObject:options:)
let data = try! JSONSerialization.data(withJSONObject: json, options: [])
2つのメソッドがよくごっちゃになるのですが、メソッド名が戻り値の形を表現してるので名前で覚えましょう。
jsonObject(with:options:)なのでオブジェクトを返す。
data(withJSONObject:options:)なのでDataを返す。
ファイルからJSONデータを読み込んでオブジェクトとして取り出す
ユニットテストの期待値をJSONファイルにしてテスト時に読み込む、ということをよくやるので、JSONファイルを扱う方法について説明したいと思います。
JSONファイル(test.json)をプロジェクトに追加しておきます。
ファイルの中身はこんな感じです。
{
  "string": "value",
  "int": 10,
  "bool": true,
  "array": ["array_value1", "array_value2"],
  "dict": {"dict_string": "dict_value", "dict_int": 20}
}
以下のコードでJSONファイルをロードします。
let url = Bundle(for: type(of: self)).url(forResource: "test", withExtension: "json")!
let data = try! Data(contentsOf: url)
let json = try! JSONSerialization.jsonObject(with: data, options: []) as! [String: Any]
JSONの各値は以下のように取り出せます。
let string = json["string"] as! String
let int = json["int"] as! Int
let bool = json["bool"] as! Bool
let array = json["array"] as! [String]
let dict = json["dict"] as! [String: Any]
let dict_string = dict["dict_string"] as! String
let dict_int = dict["dict_int"] as! Int
オブジェクトをJSONファイルとして保存する
オブジェクトをJSONファイルとして保存する方法についても取り上げてみたいと思います。
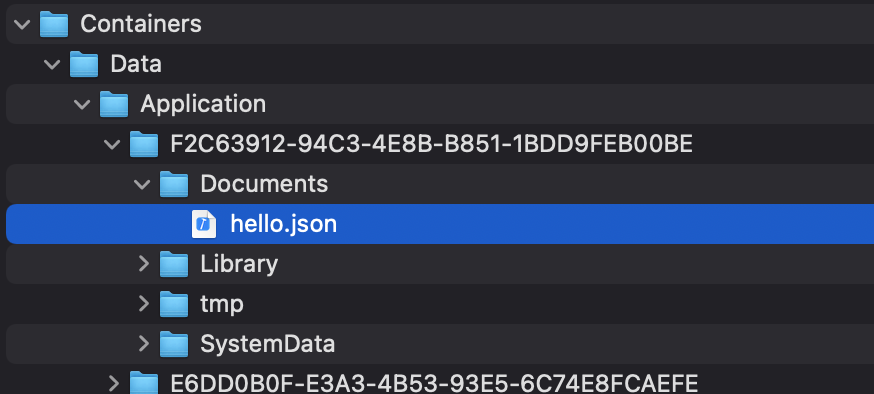
以下のコードを実行すると、アプリのドキュメントフォルダにhello.jsonというファイルを保存することができます。
let dict = ["string": "value", "int": 10] as [String: Any]
let url = FileManager.default.urls(for: .documentDirectory, in: .userDomainMask).first!
let filePath = (url.path as NSString).appendingPathComponent("hello.json")
let data = try! JSONSerialization.data(withJSONObject: dict, options: [])
FileManager.default.createFile(atPath: filePath, contents: data, attributes: nil)
シミュレーターで実行した場合は、Finderでファイルが保存されていることを確認できます。
まとめ
JSONSerializationを使ったJSONデータの扱い方について説明しました。
JSONSerializationだとロードしたデータはAny型なので、値を取り出すのに苦労します。
あらかじめJSONのフォーマットが決まっている場合は、JSONEncoder/JSONDecoderとCodableを使うと良いでしょう。
