はじめに
グローバルに展開するアプリケーションはさまざまな言語環境で動作させる必要があります。
Androidアプリでは簡単に多言語化する仕組みが備わっています。
参考
環境
- Android Studio 3.4.1
手順
文字列リソースはリソースフォルダに次の形式でフォルダを作成して、リソースファイルを作成していきます。
values-言語コード
- res/values-en/strings.xml(英語)
- res/values-ja/strings.xml(日本語)
地域別に定義したい場合は次のような形式になります。
values-言語コード-r国コード
- res/values-en-rUS/strings.xml(英語-アメリカ合衆国)
- res/values-en-rGB/strings.xml(英語-イギリス)
言語または地域別に作成したstring.xmlに翻訳した文字列リソースを定義すればOKです。簡単ですね。
今回はAndroid StudioのプロジェクトツリーをProjectに切り替えてフォルダとリソースファイルを追加しました。
サンプルプロジェクトを作成して試してみます。
res/values/strings.xml
<resources>
    <string name="app_name">My Application</string>
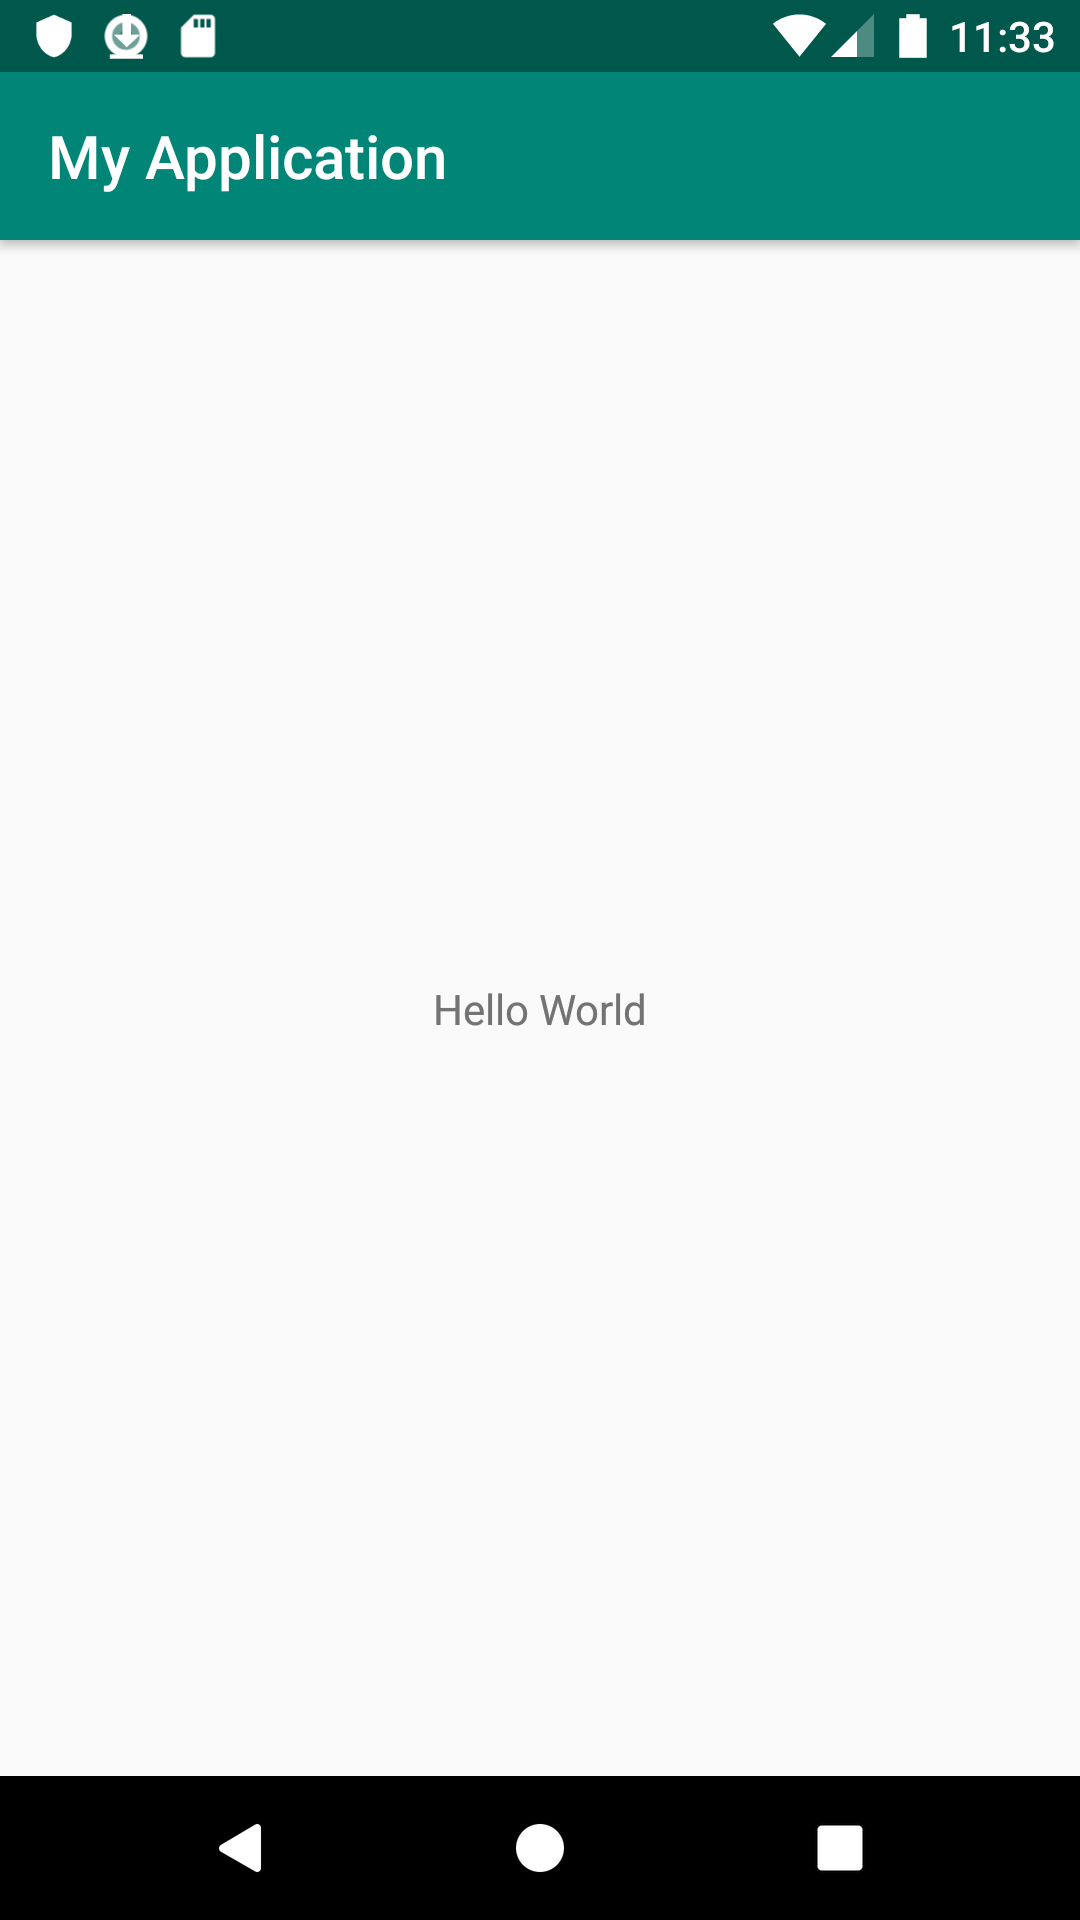
    <string name="text">Hello World</string>
</resources>
res/values-ja/strings.xml
<resources>
    <string name="app_name">私のアプリケーション</string>
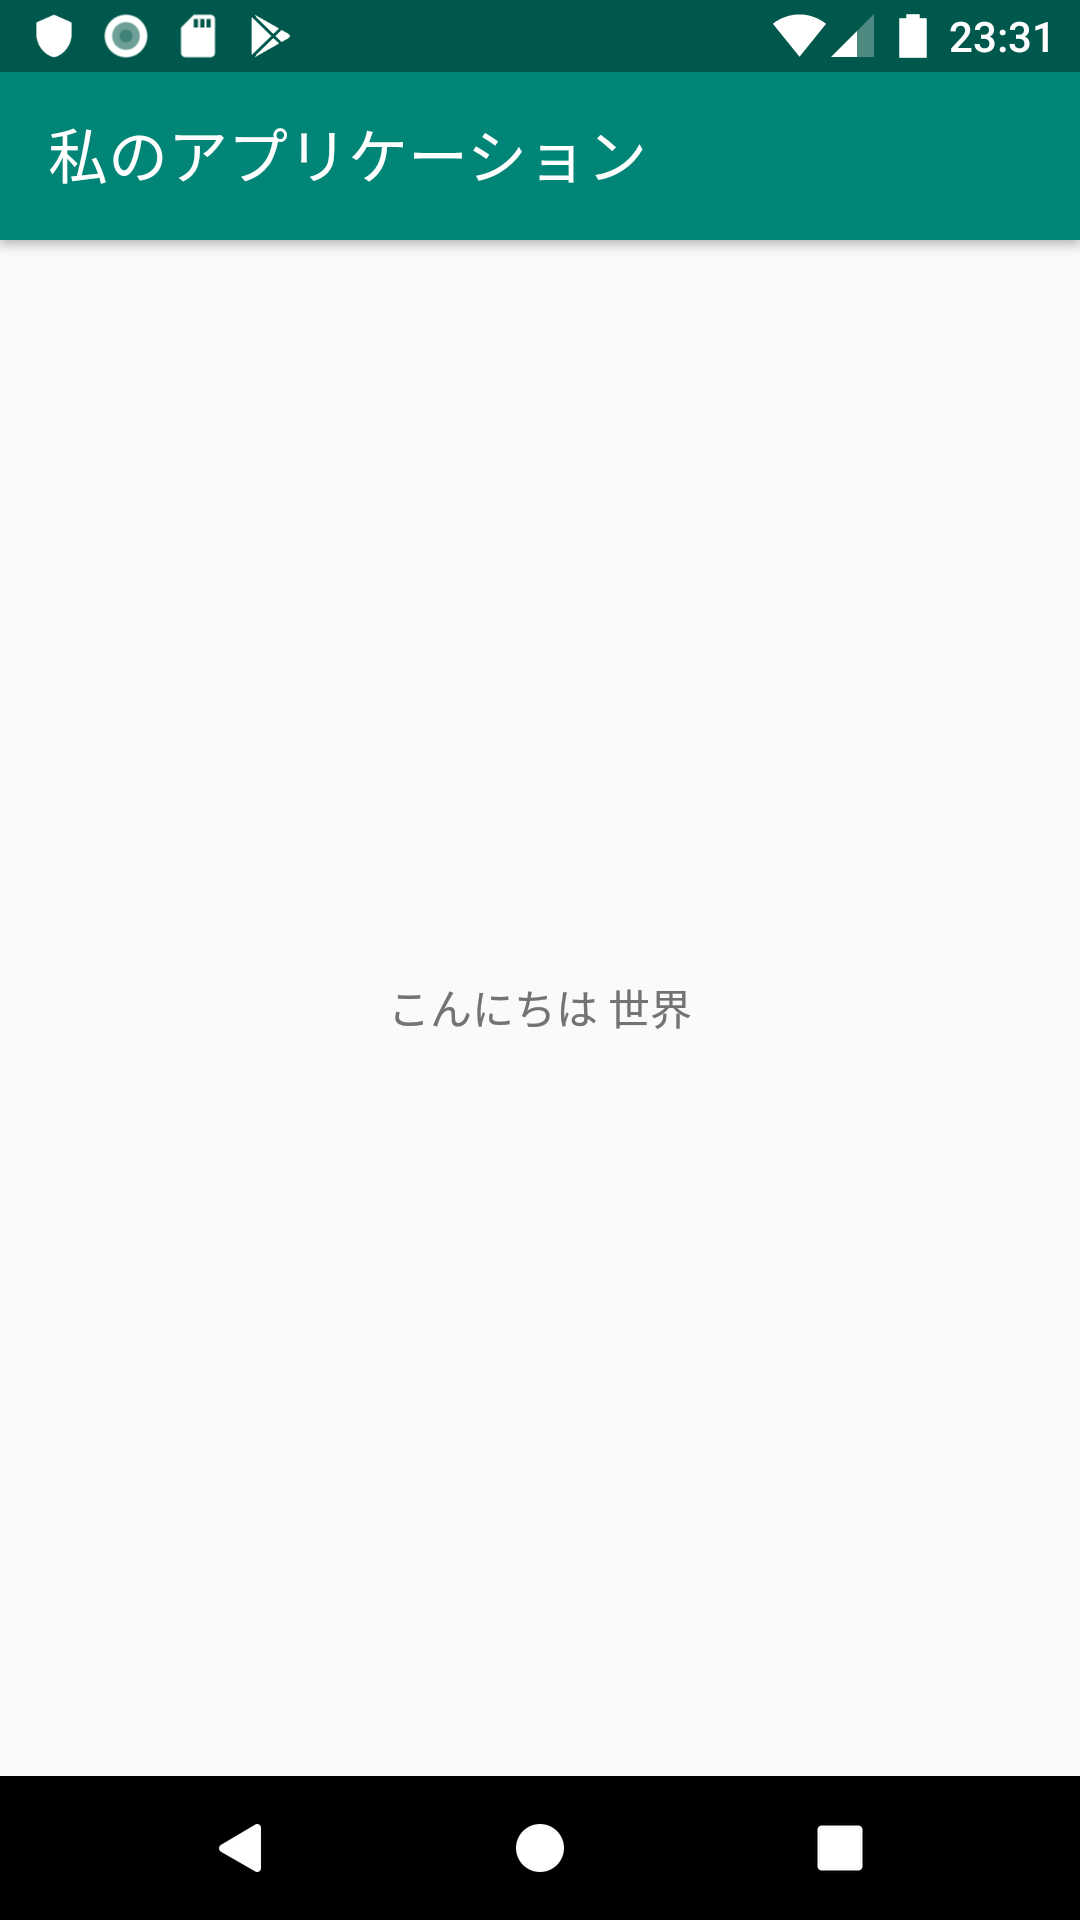
    <string name="text">こんにちは 世界</string>
</resources>
res/layout/activity_main.xml
<?xml version="1.0" encoding="utf-8"?>
<android.support.constraint.ConstraintLayout
        xmlns:android="http://schemas.android.com/apk/res/android"
        xmlns:tools="http://schemas.android.com/tools"
        xmlns:app="http://schemas.android.com/apk/res-auto"
        android:layout_width="match_parent"
        android:layout_height="match_parent"
        tools:context=".MainActivity">

    <TextView
            android:layout_width="wrap_content"
            android:layout_height="wrap_content"
            android:text="@string/text"
            app:layout_constraintBottom_toBottomOf="parent"
            app:layout_constraintLeft_toLeftOf="parent"
            app:layout_constraintRight_toRightOf="parent"
            app:layout_constraintTop_toTopOf="parent"/>

</android.support.constraint.ConstraintLayout>
Androidエミュレータを起動して確認。
Androidの表示言語は設定 - システム - 言語と入力 - 言語 から設定できます。

