はじめに
WEB APIの勉強で使用したLINE Messaging API について整理のため記述します。
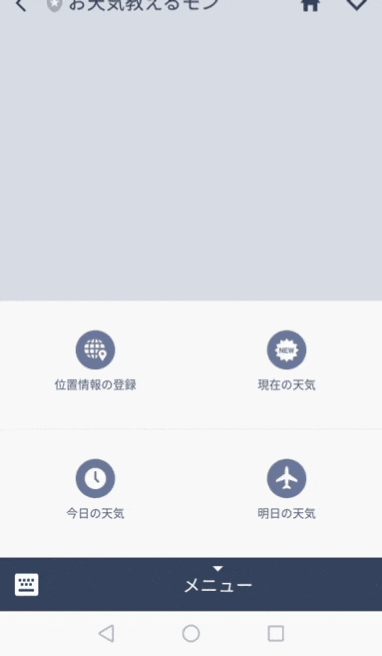
以下のようなLINE Botを作成しました。
今回ここでは、機能を理解するためオウム返しをするLINE Bot作成をしていきます。
環境
| 開発環境 | バージョン |
|---|---|
| Ruby | 2.6.0 |
| Ruby on Rails | 5.1.7 |
| Heroku | - |
Messaging API を使用するための下準備
1. LINE Developersへの登録(基本無料)
登録方法は、こちらの記事がわかりやすくておすすめです。
→LINEのBot開発 超入門(前編) ゼロから応答ができるまで#手順
2. Gemfileへ'line-bot-api'を記述
Gemfile
gem 'line-bot-api'
$ bundle install
3. Herokuへデプロイ確認
$ git init
$ git add -A
$ git commit -m "initial commit"
$ git push origin -u master
$ git push heroku
$ heroku open
作成したURLにアクセスできれば作成テスト完了です。
4. 実装
4-1. コントローラーの作成
$ rails generate controller Linebot
作成したコントローラーに記述
linebot_controller.rb
class LinebotController < ApplicationController
  require 'line/bot'

  def callback
    body = request.body.read
    signature = request.env['HTTP_X_LINE_SIGNATURE']
    unless client.validate_signature(body, signature)
      error 400 do 'Bad Request' end
    end
    events = client.parse_events_from(body)

    events.each do |event|
      case event
      when Line::Bot::Event::Message
        case event.type
        when Line::Bot::Event::MessageType::Text
          message = {
            type: 'text',
            text: event.message['text']
          }
        end
      end
      client.reply_message(event['replyToken'], message)
    end
    head :ok
  end

private

# LINE Developers登録完了後に作成される環境変数の認証
  def client
    @client ||= Line::Bot::Client.new { |config|
      config.channel_secret = ENV["LINE_CHANNEL_SECRET"]
      config.channel_token = ENV["LINE_CHANNEL_TOKEN"]
    }
  end
end
callback内で記述されている
events = client.parse_events_from(body)には以下のような
JSONオブジェクトが入っています。
詳しくは公式APIリファレンスへ
{
  "replyToken": "nHuyWiB7yP5Zw52FIkcQobQuGDXCTA",
  "type": "message",
  "timestamp": 1462629479859,
  "source": {
    "type": "user",
    "userId": "U4af4980629..."
  },
  "message": {
    "id": "325708",
    "type": "text",
    "text": "Hello, world!"
  }
}
このeventsの中身のデータを踏まえれば、
callback内ででのような処理が行われているか見えてきます。
# evnets内のtypeを識別していく。
events.each do |event|
  case event
  when Line::Bot::Event::Message
    case event.type
# 今回はメッセージに対応する処理を行うため、type: "text"の場合処理をする。
# 例えば位置情報に対応する処理を行うためには、MessageType::Locationとなる。
    when Line::Bot::Event::MessageType::Text
      message = {
        type: 'text',
        text: event.message['text'] #送られた内容をそのまま返す
      }
    end
  end
# 応答メッセージを送る
  client.reply_message(event['replyToken'], message)
end
4-2. routesへ記述
routes.rb
Rails.application.routes.draw do
  post '/callback' => 'linebot#callback'
end
4-3. ここまでの変更をHerokuへデプロイ
$ git add -A
$ git commit -m "add to linebot_text"
$ git push
$ git push heroku
4-4. Messaging APIコンソールでWebhook URLの登録
 routesでも記述したように`サーバーアプリのURL/callback`を入力して登録する。
あとは、実際にオウム返しができているか確認してみましょう!
routesでも記述したように`サーバーアプリのURL/callback`を入力して登録する。
あとは、実際にオウム返しができているか確認してみましょう!
まとめ
個人的にWEB APIを使用したのは初めてで、ハマる部分もありました。
ただ、APIを組み合わせれば有効なサービスができるという実感を得ることができました。