こんにちは!
今日はEC2にデプロイしているアプリケーションにActionCableを適用させていきたいと思います
環境
- Ruby on Rails 6.0
- AWS/EC2
- Nginx
- MariaDB
- unicorn
- エディタはVS Codeを使用しています
※上記の細かな解説は控えます
前提条件
- ローカル環境でAction Cableは実装済み
- 上記環境を持ちいて、web上で通常の動作が確認できている
Action Cableの実装開始
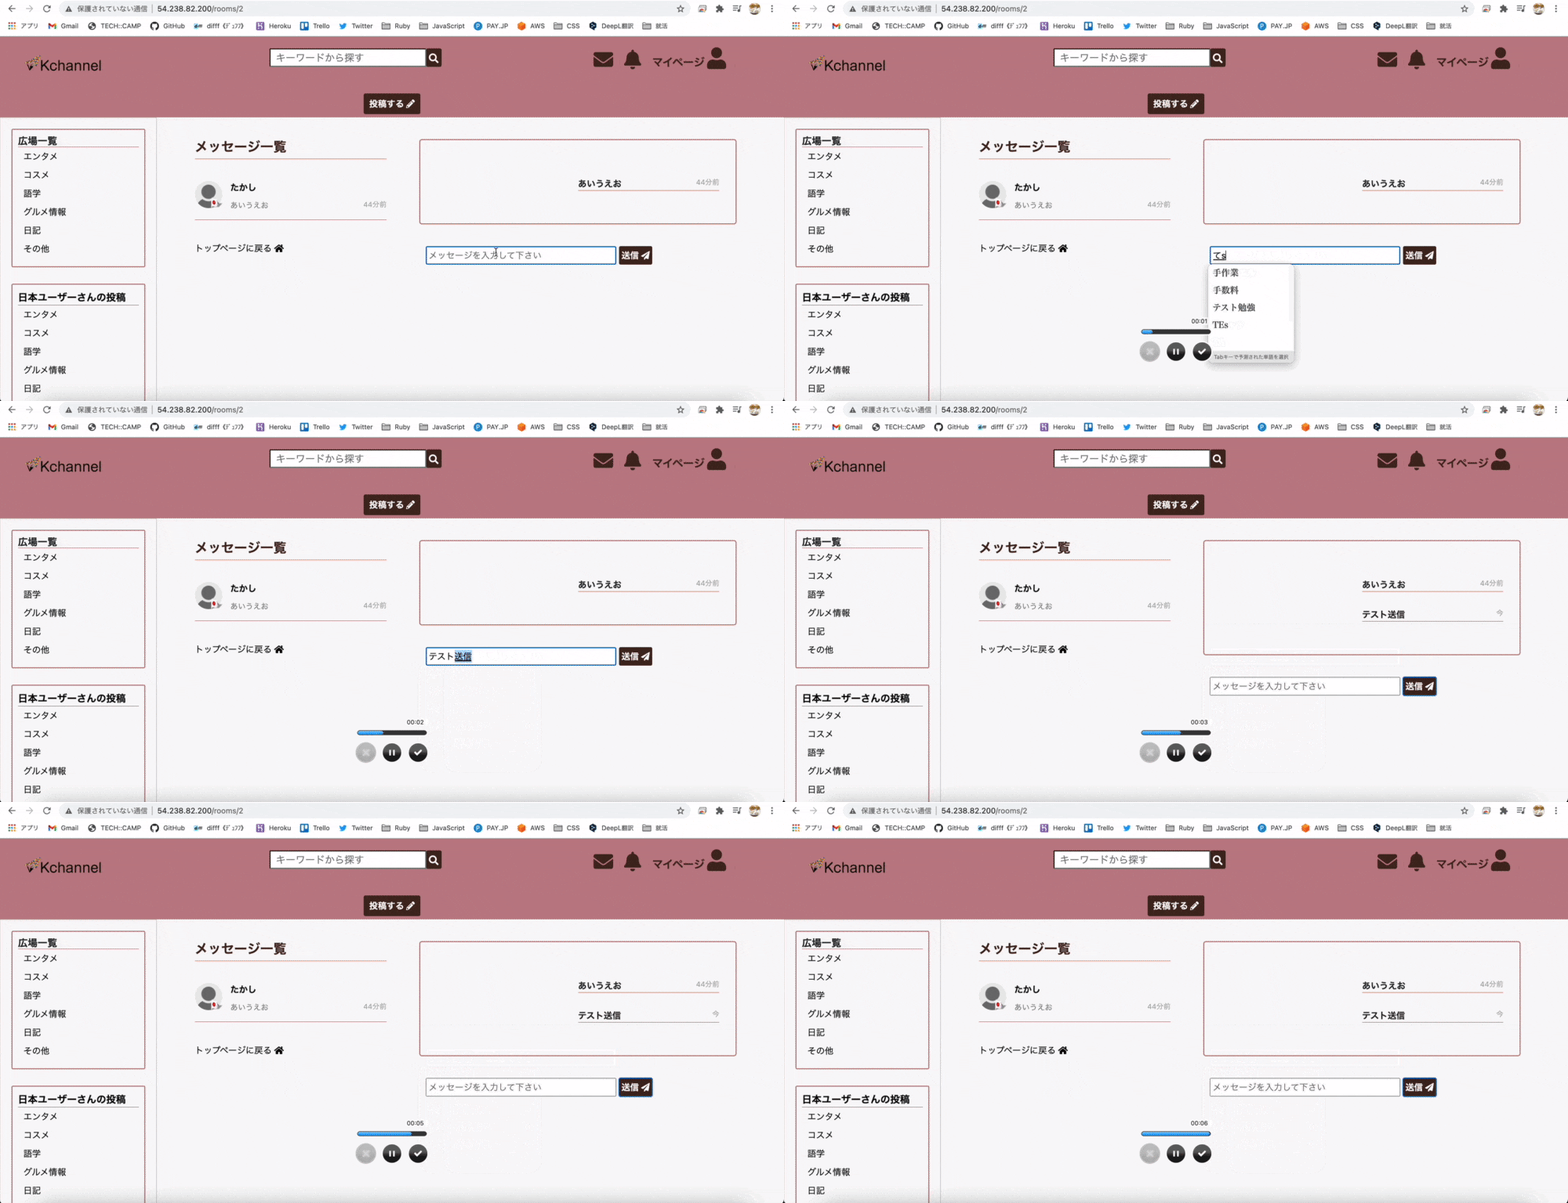
※ リロードの挙動が見られない
※ 送信時刻が"今"と自身で設定したものですので、間違いなくActionCabeが挙動している
というご認識でお願いいたします
では早速設定を始めていきましょう!
手順① 「Action Cableの環境設定ファイル、 cable.ymlの編集」
「config/cable.yml」に以下の記述に書き換えてください
【まずは従来の記述】
development:
  adapter: async

test:
  adapter: test

production:
  adapter: redis
  url: <%= ENV.fetch("REDIS_URL") { "redis://localhost:6379/1" } %>
  channel_prefix: kch_production
↓ 以下のように書き換えます ↓
development:
  adapter: async

test:
  adapter: test

production:
  adapter: async # ここを書き換えるだけ
※本来async型の通信は非推奨ですが、今回はこのまま進めます
development環境やtest環境での利用を意図したものであり、production環境で使うべきではありません。
とrailsガイドにも記述がございます
私はまた直してみます
手順② 「本番環境の設定 production.rbに追記」
「config/environments/production.rb」に以下の記述を書き足してください
一番下で大丈夫です
  # 省略
  # config.active_record.database_resolver = ActiveRecord::Middleware::DatabaseSelector::Resolver
  # config.active_record.database_resolver_context = ActiveRecord::Middleware::DatabaseSelector::Resolver::Session

  config.assets.initialize_on_precompile = false

  # ↓以下を書き足します ↓
  ActionCable.server.config.disable_request_forgery_protection = true
  config.action_cable.url = 'ws://Elastic IP/cable'
  config.action_cable.allowed_request_origins = [ 'http://Elastic IP' ]
end
手順③ 「Nginxの設定を編集する」
では、EC2にログインしていきましょう!
ターミナル
(base) takahiro@***** .ssh %. ssh -i ***.pem ec2-user@1*.1**.1*.1**
↓ ログインするとおなじみのアイコン?でお出迎え ↓
Last login: Sat May  8 13:53:22 2021 from 11-11-1-1.rev.home.ne.jp

       __|  __|_  )
       _|  (     /   Amazon Linux 2 AMI
      ___|\___|___|

hogehugahogehuga〜〜
では、Nginxの設定をしていきましょう
下記のコマンドをコピペで実行しましょう!
[ec2-user@i%-111-11-11-0 ~]$ sudo vim /etc/nginx/conf.d/rails.conf
すると、下記の表示に変わるので、 「 i 」を押して編集モードに切り替えます
upstream app_server {
  # Unicornと連携させるための設定
  server unix:/var/www/自分のアプリ/shared/tmp/sockets/unicorn.sock;
}

# {}で囲った部分をブロックと呼ぶ。サーバの設定ができる
server {
  # このプログラムが接続を受け付けるポート番号
  listen 80;
  # 接続を受け付けるリクエストURL ここに書いていないURLではアクセスできない
  server_name 11.111.11.111; # 自分のElastic IPに書き換えてください

  # クライアントからアップロードされてくるファイルの容量の上限を2ギガに設定。デフォルトは1メガなので大きめにしておく
  client_max_body_size 2g;

# 接続が来た際のrootディレクトリ
  root /var/www/自分のアプリ/current/public;

# assetsファイル(CSSやJavaScriptのファイルなど)にアクセスが来た際に適用される設定
  location ^~ /assets/ {
    gzip_static on;
    expires max;
    add_header Cache-Control public;
    root /var/www/自分のアプリ/current/public;
  }

  try_files $uri/index.html $uri @unicorn;

  location @unicorn {
    proxy_set_header X-Forwarded-For $proxy_add_x_forwarded_for;
    proxy_set_header Host $http_host;
    proxy_redirect off;
    proxy_pass http://app_server;
  }

  error_page 500 502 503 504 /500.html;

}
~
~
~
↓ 書き換えましょう ↓
upstream app_server {
  server unix:/var/www/自分のアプリ/shared/tmp/sockets/unicorn.sock;
}

server {
  listen 80;
  server_name 11.111.11.111; # 自分のElastic IPに書き換えてください

  client_max_body_size 2g;

  root /var/www/自分のアプリ/current/public;

  location ^~ /assets/ {
    gzip_static on;
    expires max;
    add_header Cache-Control public;
    root /var/www/自分のアプリ/current/public;
  }

  try_files $uri/index.html $uri @unicorn;


  location @unicorn {
    proxy_set_header X-Forwarded-For $proxy_add_x_forwarded_for;
    proxy_set_header Host $http_host;
    proxy_redirect off;
    proxy_pass http://app_server;
  }

  error_page 500 502 503 504 /500.html;

  # ↓ 以下が書き加えられます ↓
  location /cable {
    proxy_pass http://app_server/cable;
    proxy_http_version 1.1;
    proxy_set_header Upgrade websocket;
    proxy_set_header Connection Upgrade;
    proxy_set_header X-Real-IP $remote_addr;
    proxy_set_header X-Forwarded-For $proxy_add_x_forwarded_for;
    proxy_set_header X-Forwarded-Proto https;
  }
  # ↑ 以上 ↑

}
~
~
書き換えましたら、 「 esc → : → w → q → Return(Enter) 」 を押して保存、終了します
手順④ 「Nginxを再起動」
上記から抜けましたら、Nginxを再起動しましょう
[ec2-user@i%-111-11-11-0 ~]$ sudo systemctl reload nginx
[ec2-user@i%-111-11-11-0 ~]$ sudo systemctl restart nginx
これで全てOKです
本番環境でAction Cableが実装できました!!
もし上手くいかないという方は、
①インスタンスを再起動する
②unicornを再起動する
③MariaDBを再起動する
④もう一度デプロイし、全て再起動しなおす
と複数試してみてください!
参考文献
今日もありがとうございました!!
