はじめに
本文書を参照頂きありがとうございます。
この文書は社内勉強会に向けた文書である為、一部期待値と異なる表現、記載がある場合がありますので、ご利用になられる際はその辺りも加味して頂いてご利用下さい。
Dockerfile、docker-compose
前回、任意のDockerイメージをダウンロードして、動かしてみることが出来たかと思いますが、システムって、例えばデータベースとWebサーバは同時に動いていることがほとんどかと思います。
また、Raspberry Piの起動・停止に合わせてDockerイメージも起動・停止をコントロールしたり等、自分の都合に合わせてDockerをコントロールする為に、Dockerfile、docker-composeという仕組みがあります。
今回は、それらを学習していきたいと思います。
Dockerfile
Dockerfileの構文につきましては、下記の公式リファレンスと参考資料を元にしました。
※参考資料:公式リファレンス(英語)
※参考資料:Dockerfileについて
まずはDockerfileを書いてみる
まずはUbuntuにnginxを入れたイメージを作ってみたいと思います。
# ベースとなるDockerイメージを指定
FROM ubuntu
# Shellの実行を行う為のコマンドを記載
RUN apt-get update && apt-get install -y nginx curl
# コンテナがlistenするポート番号を明示
EXPOSE 80
# コンテナ起動時に実行するコマンドを指定
ENTRYPOINT ["nginx", "-g", "daemon off;"]
Raspberry Pi側の準備
Dockerfile置き場を作っておきます。
pi@raspberrypi:~ $ pwd
/home/pi
pi@raspberrypi:~ $ mkdir Docker
pi@raspberrypi:~ $ cd Docker/
pi@raspberrypi:~/Docker $ mkdir ubuntu
pi@raspberrypi:~/Docker $ cd ubuntu
pi@raspberrypi:~/Docker/ubuntu $ vi Dockerfile
pi@raspberrypi:~/Docker/ubuntu $ cd ..
pi@raspberrypi:~/Docker $ ls
ubuntu
Dockerfileを使ってイメージ取得&ビルド
作成したDockerfileを使ってUbuntuとnginxのイメージを取得します。
pi@raspberrypi:~/Docker $ docker build -f ubuntu/Dockerfile -t ubuntu:nginx ./ubuntu/
Sending build context to Docker daemon  2.048kB
Step 1/4 : FROM ubuntu
latest: Pulling from library/ubuntu
5379ca036368: Pull complete
4ede4c7641a5: Pull complete
0994f5ac8c79: Pull complete
a81b96316730: Pull complete
Digest: sha256:c303f19cfe9ee92badbbbd7567bc1ca47789f79303ddcef56f77687d4744cd7a
Status: Downloaded newer image for ubuntu:latest
 ---> 6348795f7982
Step 2/4 : RUN apt-get update && apt-get install -y nginx curl
 ---> Running in 76e7f68a4e78
Get:1 http://ports.ubuntu.com/ubuntu-ports bionic InRelease [242 kB]
Get:2 http://ports.ubuntu.com/ubuntu-ports bionic-updates InRelease [88.7 kB]
Get:3 http://ports.ubuntu.com/ubuntu-ports bionic-backports InRelease [74.6 kB]
Get:4 http://ports.ubuntu.com/ubuntu-ports bionic-security InRelease [88.7 kB]
Get:5 http://ports.ubuntu.com/ubuntu-ports bionic/multiverse armhf Packages [157 kB]

〜 省略 〜

Step 3/4 : EXPOSE 80
 ---> Running in bf0c8d3240e7
Removing intermediate container bf0c8d3240e7
 ---> 51f684a004f8
Step 4/4 : ENTRYPOINT ["nginx", "-g", "daemon off;"]
 ---> Running in 24e4a3c110e2
Removing intermediate container 24e4a3c110e2
 ---> f8afafd2a441
Successfully built f8afafd2a441
Successfully tagged ubuntu:nginx
pi@raspberrypi:~/Docker $
ログをよく見て頂くと分りますが、Dockerfileに記載した4つのコマンドがStep1〜4まで実行されていることが確認できるかと思います。
作成されたDockerイメージの確認
結果を見てみます。
pi@raspberrypi:~ $ docker images
REPOSITORY               TAG                 IMAGE ID            CREATED             SIZE
ubuntu                   nginx               f8afafd2a441        4 minutes ago       131MB
ubuntu                   latest              6348795f7982        3 weeks ago         46.7MB
centos                   centos7             8c52f2d0416f        5 months ago        175MB
pi@raspberrypi:~ $ docker ps
CONTAINER ID        IMAGE               COMMAND             CREATED             STATUS              PORTS               NAMES
pi@raspberrypi:~ $ docker ps -a
CONTAINER ID        IMAGE                        COMMAND                  CREATED             STATUS                        PORTS               NAMES
f1fec8013f38        centos:centos7               "/bin/bash"              2 hours ago         Exited (137) 14 minutes ago                       centos7
pi@raspberrypi:~ $
ubuntuのDockerイメージが作成されていますね。
現在はコンテナは何も動作していません。
作成したDockerイメージをコンテナで動作させてみる
Dockerイメージをコンテナで動作させてみます。
pi@raspberrypi:~/Docker $ docker run -d -p 80:80 ubuntu:nginx
d76722a1e06cd5fe023926894639877ec416c92208963ce8cf389b6ff83d6a54
pi@raspberrypi:~/Docker $ docker ps
CONTAINER ID        IMAGE               COMMAND                  CREATED             STATUS              PORTS                NAMES
d76722a1e06c        ubuntu:nginx        "nginx -g 'daemon of…"   18 seconds ago      Up 14 seconds       0.0.0.0:80->80/tcp   xenodochial_easley
pi@raspberrypi:~/Docker $
動作確認
curlコマンドで確認してみます。
pi@raspberrypi:~/Docker $ curl localhost
<!DOCTYPE html>
<html>
<head>
<title>Welcome to nginx!</title>
<style>
    body {
        width: 35em;
        margin: 0 auto;
        font-family: Tahoma, Verdana, Arial, sans-serif;
    }
</style>
</head>
<body>
<h1>Welcome to nginx!</h1>
<p>If you see this page, the nginx web server is successfully installed and
working. Further configuration is required.</p>

<p>For online documentation and support please refer to
<a href="http://nginx.org/">nginx.org</a>.<br/>
Commercial support is available at
<a href="http://nginx.com/">nginx.com</a>.</p>

<p><em>Thank you for using nginx.</em></p>
</body>
</html>
pi@raspberrypi:~/Docker $
HTMLの結果が返ってきたので動作していますね。
ついでにRaspberry Pi上のブラウザでも確認してみました。
(画像粗くてすみません。。。)
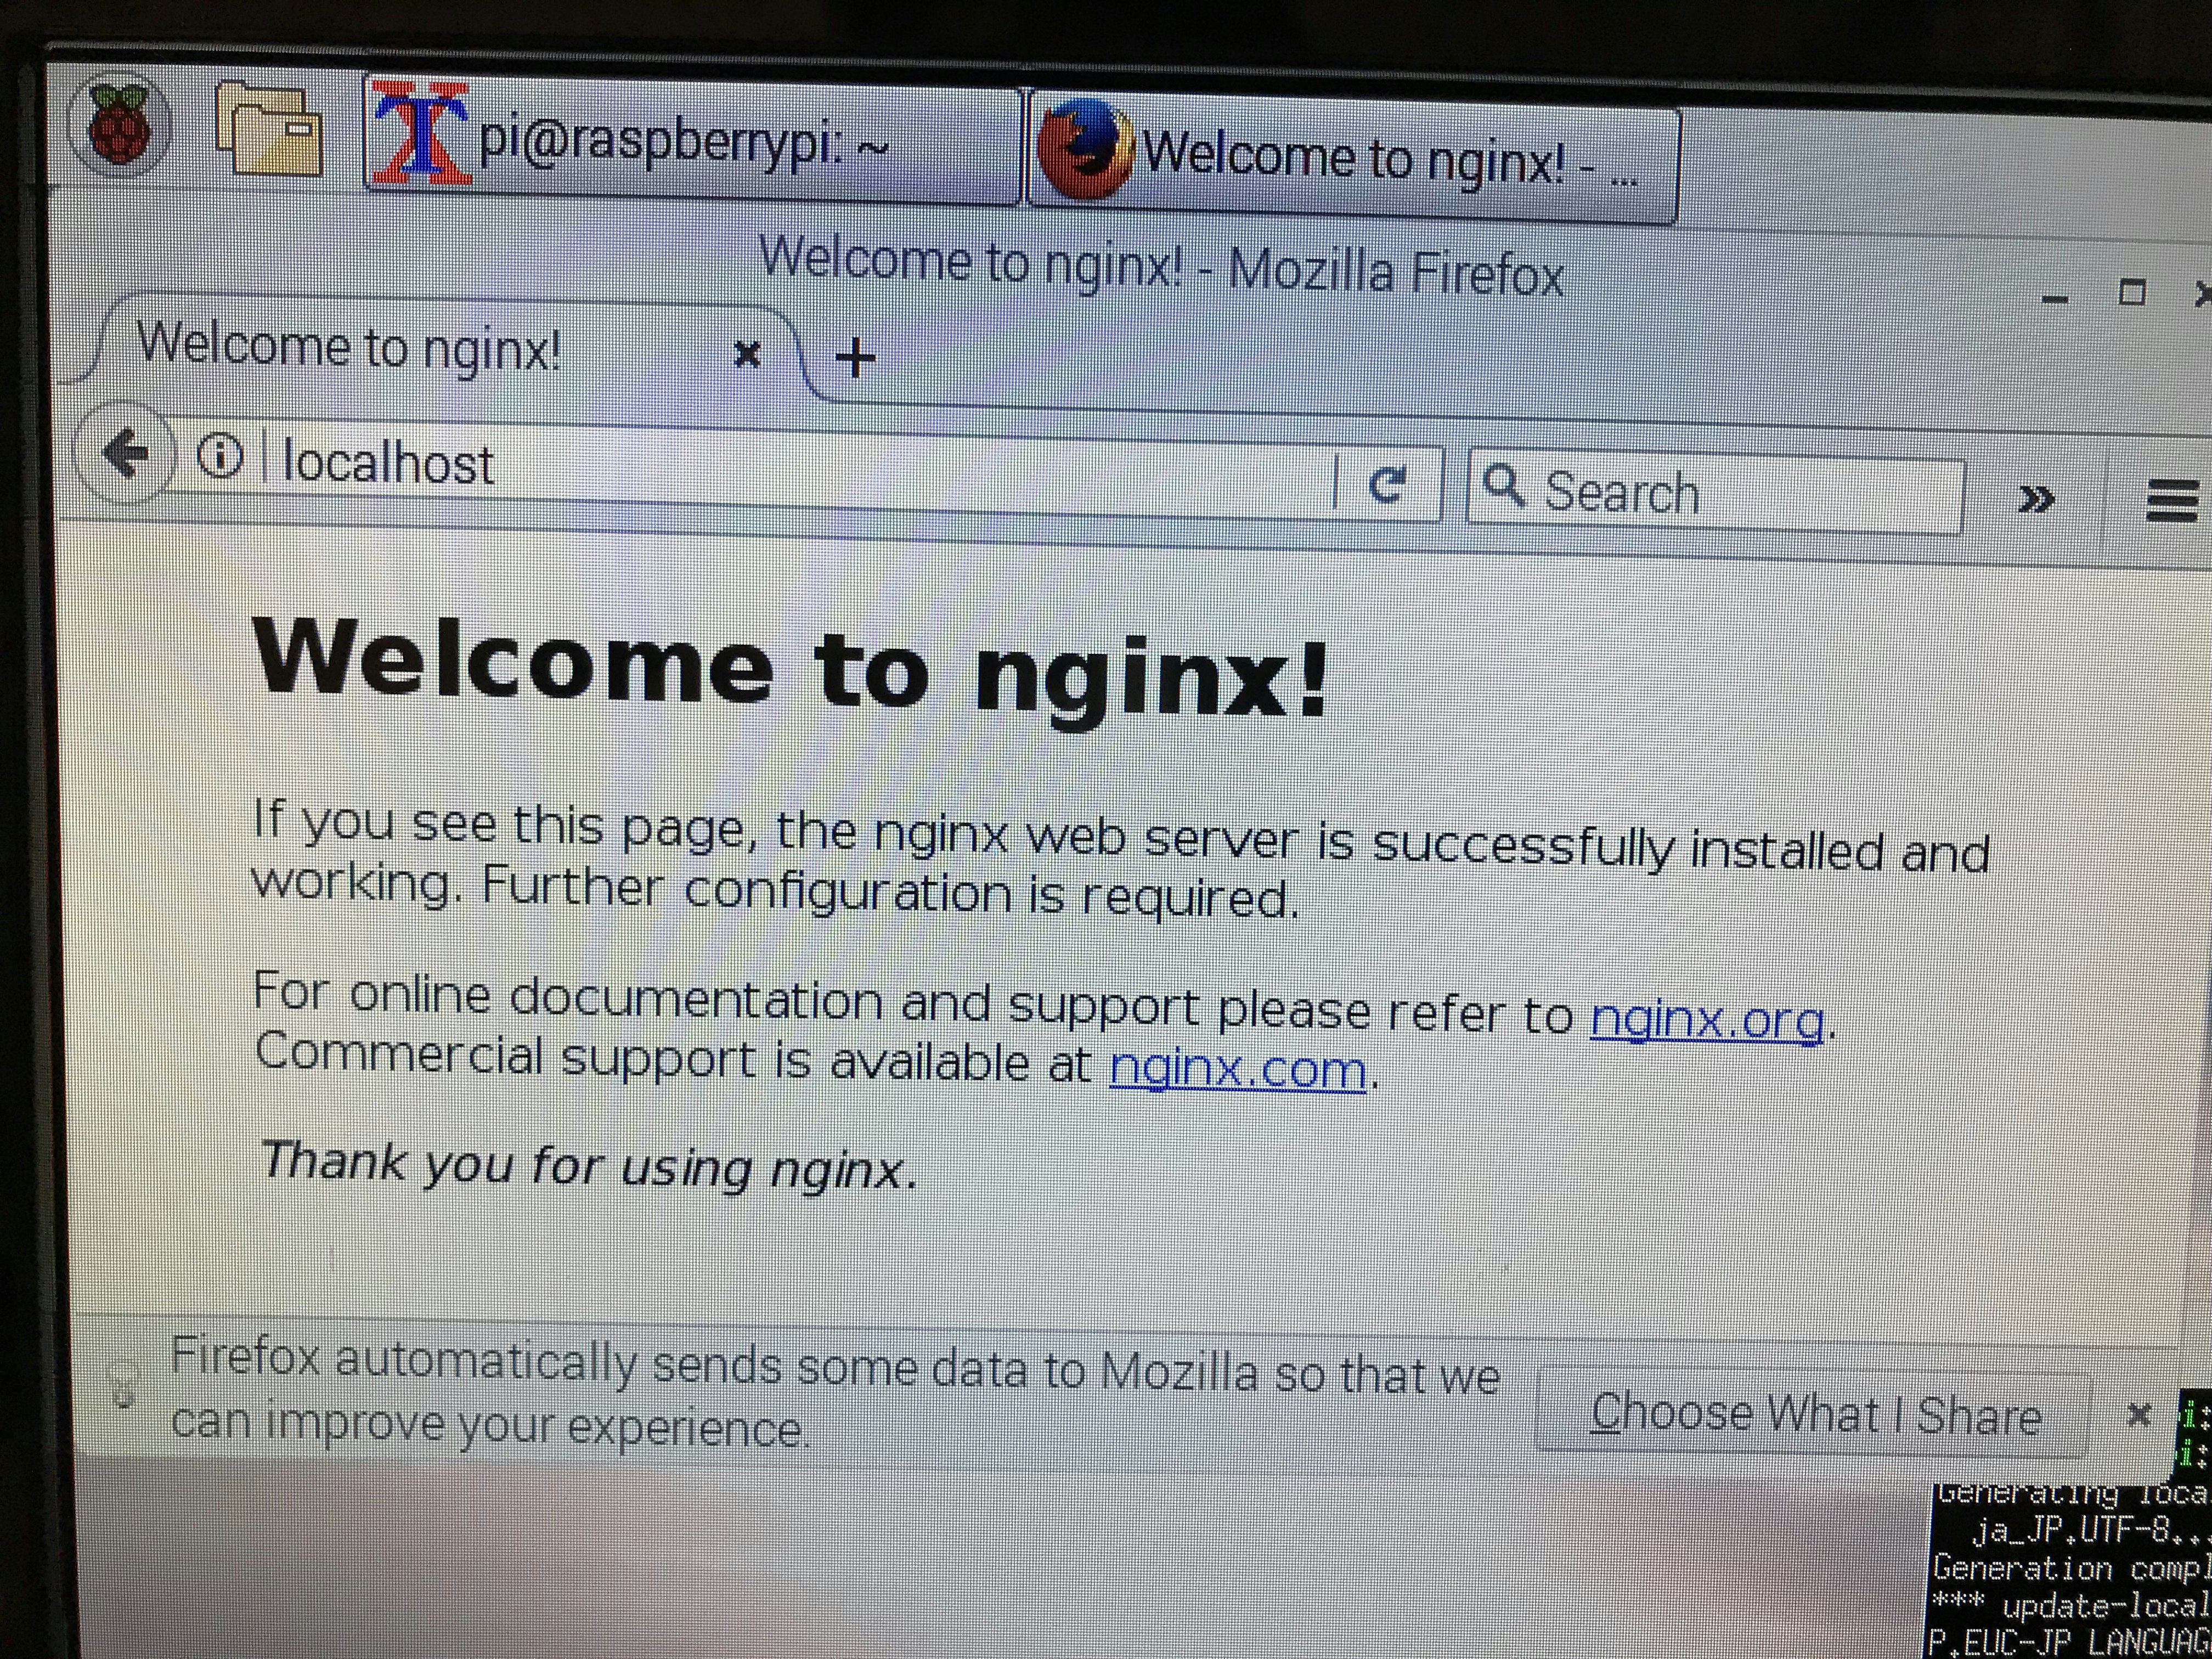
イケてました。
ちなみにUbuntuにログインしてみると、
pi@raspberrypi:~/Docker $ docker exec -it d76722a1e06c bash
root@d76722a1e06c:/# cat /etc/os-release
NAME="Ubuntu"
VERSION="18.04.2 LTS (Bionic Beaver)"
ID=ubuntu
ID_LIKE=debian
PRETTY_NAME="Ubuntu 18.04.2 LTS"
VERSION_ID="18.04"
HOME_URL="https://www.ubuntu.com/"
SUPPORT_URL="https://help.ubuntu.com/"
BUG_REPORT_URL="https://bugs.launchpad.net/ubuntu/"
PRIVACY_POLICY_URL="https://www.ubuntu.com/legal/terms-and-policies/privacy-policy"
VERSION_CODENAME=bionic
UBUNTU_CODENAME=bionic
root@d76722a1e06c:/#
という感じでバージョンの確認も出来ました。
Dockerfileを用いたイメージ作成から動作確認まで、これにて完了です。
docker-compose
※参考資料:docker-composeを使うと複数コンテナの管理が便利に
(執筆中)